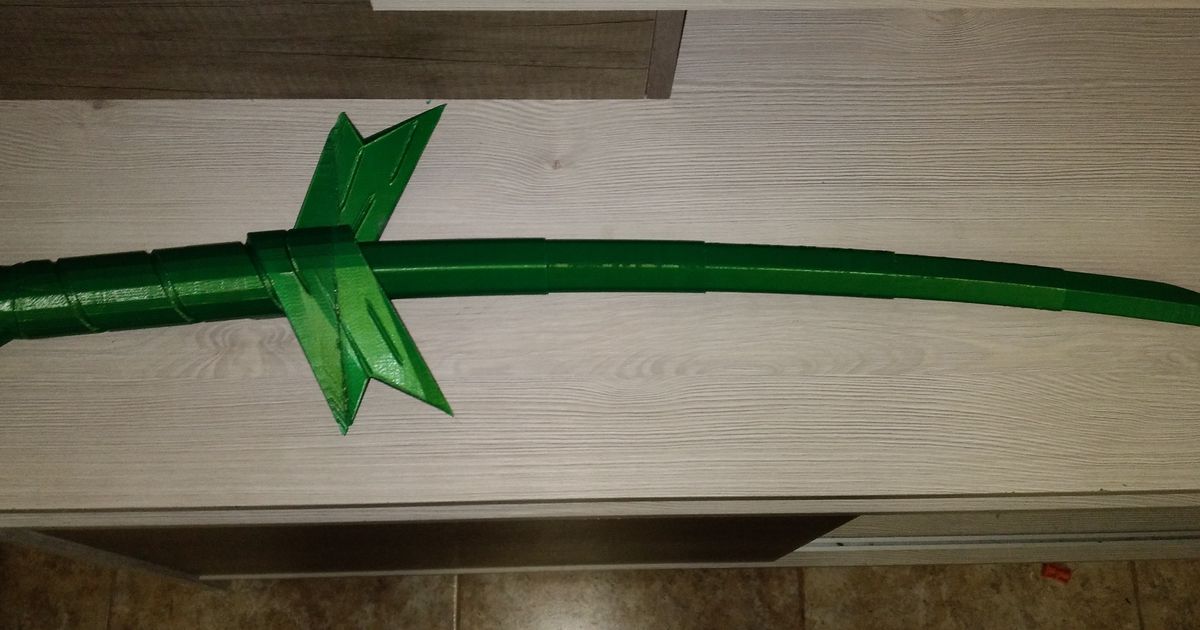
Yam-maodao ~ The Sweet Potato Sword
Yam-maodao ~ The Sweet Potato Sword


Print Profile(2)


Description
"Po-tay-toes! Boil 'em, mash 'em, stick 'em in the guts!" - Samwise Gamgee (mostly)
With this sweet potato, you won't be making stew anytime soon. Instead, focus on the finer food art of making shish kebab by impaling your foe with the Yam-maodao.
This mash up consists of a sweet potato (aka Yam) and a Yanmaodao saber, behold Yam-maodao!

The sweet potato (Ipomoea batatas) is a dicotyledonous plant that belongs to the bindweed or morning glory family, Convolvulaceae. Its large, starchy, sweet-tasting tuberous roots are used as a root vegetable… Sweet potatoes can also be called yams in North America.
source: https://en.wikipedia.org/wiki/Sweet_potato
The Yanmaodao (Chinese: 雁毛刀; lit. 'goose-quill saber') is a type of dao used as a standard military weapon during the Ming Dynasty and middle Qing Dynasty (1368–1800).
source: https://en.wikipedia.org/wiki/Yanmaodao

Requires: four 5x3mm magnets to connect tip to body.
I printed my yam in PolyTerra Matte Marble Brick PLA and the blades were printed in Sunlu orange.
If you opt for the PolyTerra marble, switch to a 0.6mm nozzle and adjust your slicer profile as required. I printed many prototype yams without issue using the 0.4mm nozzle and other filaments. But, for the final version I wanted that sweet yam like PolyTerra color.. wow does that stuff ever clog 0.4mm nozzles..
Assembly:
- glue four 5x3mm magnets into the tip and body ensuring correct magnetic polarity orientation so that the tip attracts to the body
- nest all the blades into each other in the orientation printed from smallest to largest
- insert the nested blade set into the top of the yam body (they will only go in one way, so if you get stuck around half way through, reverse the blade curve orientation)
- screw the connector into the cap (I like to glue into the cap personally but not required)
- screw the cap with connector into the body and ensure it's nicely aligned
- position the tip to the body and allow the magnets to do their work
Note: The cap uses a threaded connector to allow easy blade replacement and simple printing of different colored blades.

For more of my telescoping weapons, check these out:
The Karrotana: https://makerworld.com/en/models/148358
Banana Saber: https://makerworld.com/en/models/118301
The Pickle Sickle: https://makerworld.com/en/models/190877
Sword on the Cob: https://makerworld.com/en/models/417307
7ft Bo Staff: https://makerworld.com/en/models/413159