Touch Magic
Touch Magic


Print Profile(1)

Description
The Idea
This model is a remix of a remix. Well, almost...
A few weeks ago, I stumbled across SnazzyLab's project to rebuild a defective Apple Magic Keyboard by removing the Touch ID button and installing it in its own case. So instead of throwing away the old, broken keyboard, he pulled out the best and brought it back to life. For me, this is such a logical step that I wanted to do the same.
So I watched his video and some remixes of his model. I was particularly interested in one remix because it was built in such a way that the Touch ID button was still clickable after the remodelling. That's how I wanted to build it...
Key Features
- No glue needed when assembling
- No supports needed on printing
- No threaded inserts
Bill of Materials
- A defective Apple Magic Keyboard with Touch ID (this case is made for small wireless version!)
- 4 BT2x3 (or BT2x4) self tapering screws (to attach the inner lid to the case)
- 2 BT2x2 self tapering screws (to attach the Lightning port to its plate)
- 2 M1x3 machine screws (to hold the logic board)
NOTE: I used these self tapering screws and these machine screws.
Parts needed from the Keyboard
- The Touch ID sensor with its ribbon cable
- The Logic-Board
- The Lightning connector with its ribbon cable
Here you can have a look at the current version of the model as a live rendering.
NOTE: I highly recommend to print the “Lightning Plate” and the “Sensor Lid” with 0.1mm layer height!
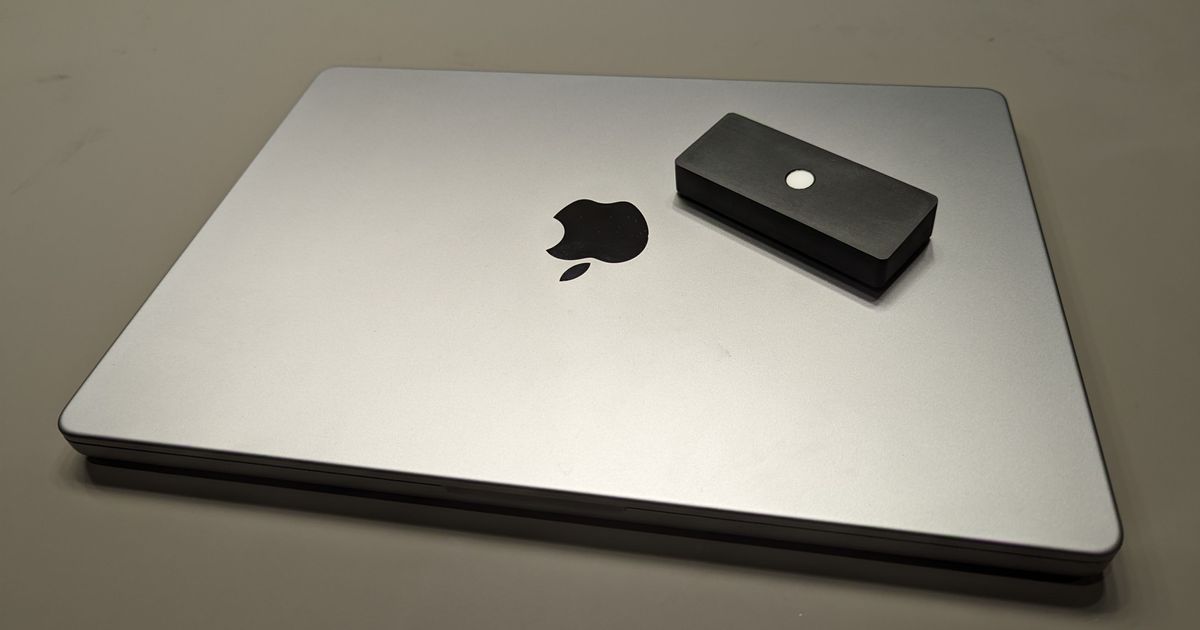
The Result
Well, and this is it. It only needs 5 parts to be printed. No glue, no tape and less screws than the other models. AND: The button is still clickable.
(Sorry for the poor quality of the images, I will make some new ones later)


Some Notes
I printed the whole thing on my Bambu Lab X1C with filaments from extrudr (grey | RAL 7044) and Overture (OVERTURE Matte PLA Black).
Many Thanks to SnazzyLabs for the inspiration and Calvin for his remix which was a great blueprint for me.