Ender 3 Pro X Linear Rail & Sherpa Mini Mount
Ender 3 Pro X Linear Rail & Sherpa Mini Mount


Print Profile(0)
Description
I've converted my ender 3 pro x axis to linear rail without losing any print space by removing the 2020 profile. I've used and remixed many different models.
You can find necessary parts list at the bottom of the page, and where they are used on pictures.
You can use the original belt.
I'm using kevinakasam belted-Z , so it's compatible.
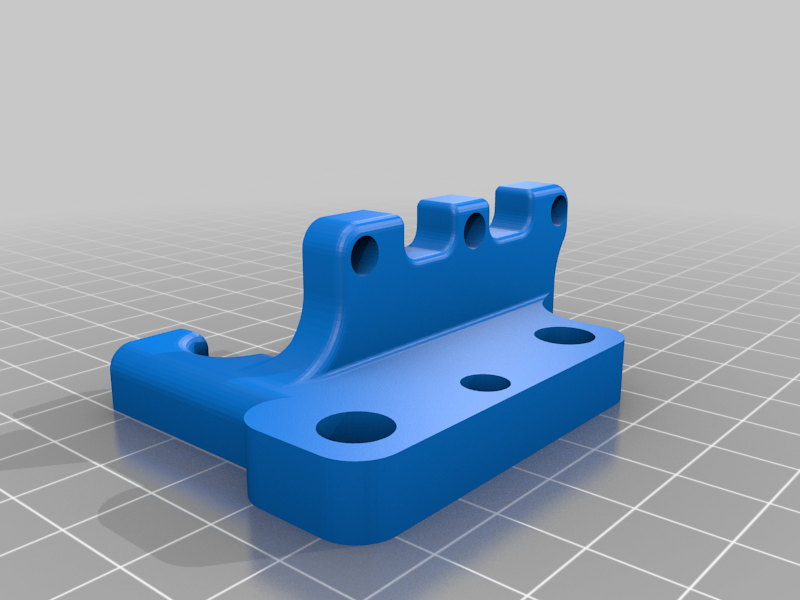
Linear Rail Holder - Remix :
On left rail holder I've cut down a small part to open space for x axis limit switch.
I've divided the tensioner to be able to print each part individually.
Right rail holder stays as original.
Remixed from https://www.thingiverse.com/thing:5169306
Linear Rail Car - X Plate Mount
You need to drill 4 m3 holes to x plate to mount the lienear-rail-car. I used the drill guide model which you can download from:
https://www.thingiverse.com/thing:3031918/
Bltouch Mount Remix
With 4 new screws on x-plate (linear rail car mount), the bltouch needs to be remixed slightly.
Remixed from: https://www.thingiverse.com/thing:3003725
Sherpa Mini Mount Remix
I've remixed sherpa mini mount. Added a hole for chain mount and changed the plate mounting holes size to be able to used with m4 screw directly.
Remixed from: https://www.thingiverse.com/thing:4687028
X Chain Top Mount
I've used the x chain top mount without a change, which you can download from:
https://www.thingiverse.com/thing:4500068/files
--------PARTS LIST-------
- 1 300mm linear rail with mgn12h car.
- 4 m3x5 button head screws to mount x plate to linear rail car.
- 2 m3x10 button head screws to mount bltouch mount.
- 6 m3 nuts to fit into left&right holders.
- 3 m4 nuts to fit into left&right holders.
- 2 m3x12 button head screw. Original screws that holds x axis 2020 proile are m3x16 and on left side there are 2 of them and 1 on right side. On left side 1 can be reused. On both sides 1 needs to be shorter to not to hit linear rail. Buy new or cut the old one with a dremel.
- 6 m3x12 hex screw to mount linear rail to left&right holders.
- 1 m6x? button head screw . The right side screw screw that holding the accentric nut and wheel needs to be changed cause original one is hex and does not fit inside the hole in the right-holder
- 1 m4x30 button head screw and 1 m4 nut to mount tightener to mount x axis.
------ADDITIONAL INFO----
Fan-Duct
I'm using mini-me fan-duct-cooler. It has a height adjustable version and a fixed version. It is lightweight and also adjustable one is compatible if you use a volcano type hotend. Here is the link:
https://www.thingiverse.com/thing:5141104