
Pocket Escalator Mechanical Fidget Toy

Print Profile(2)


Description
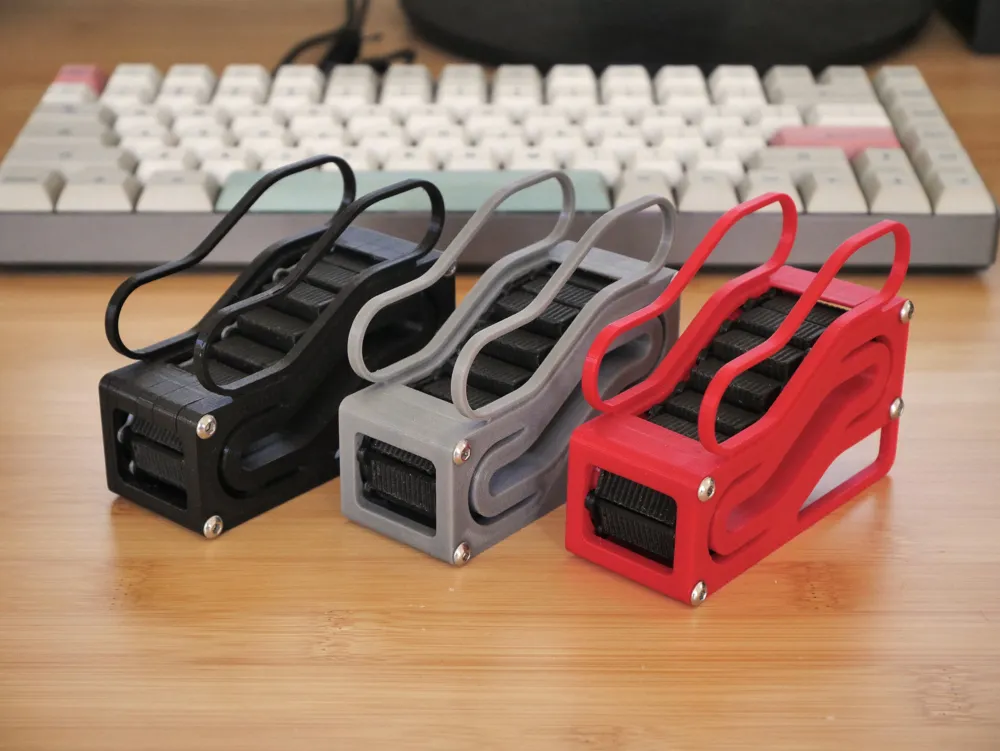

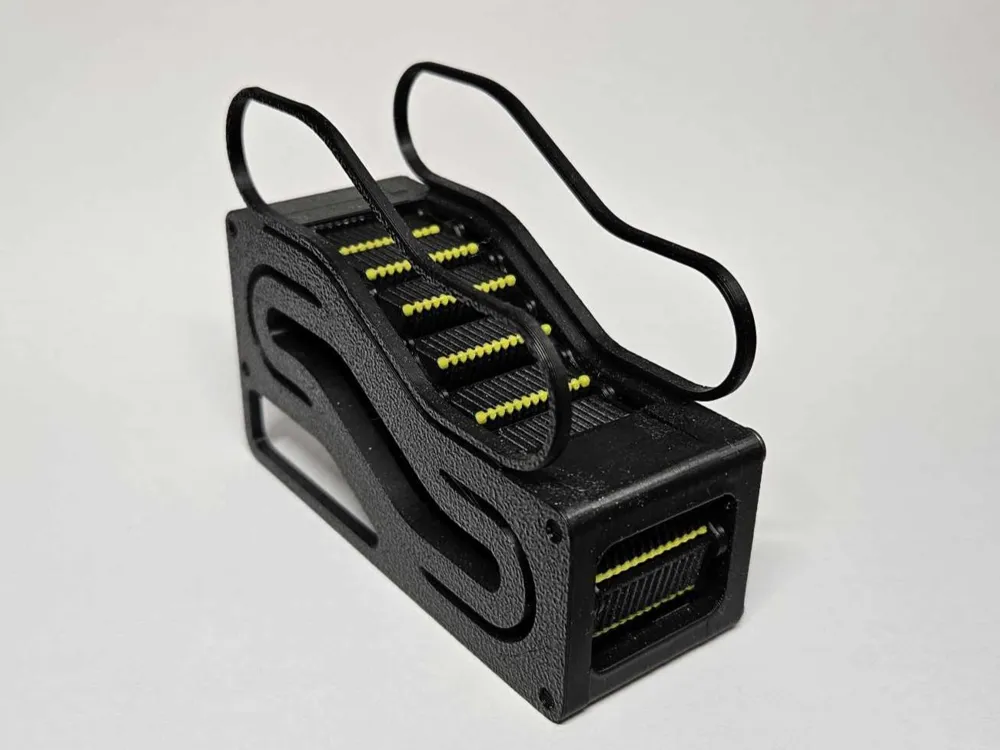
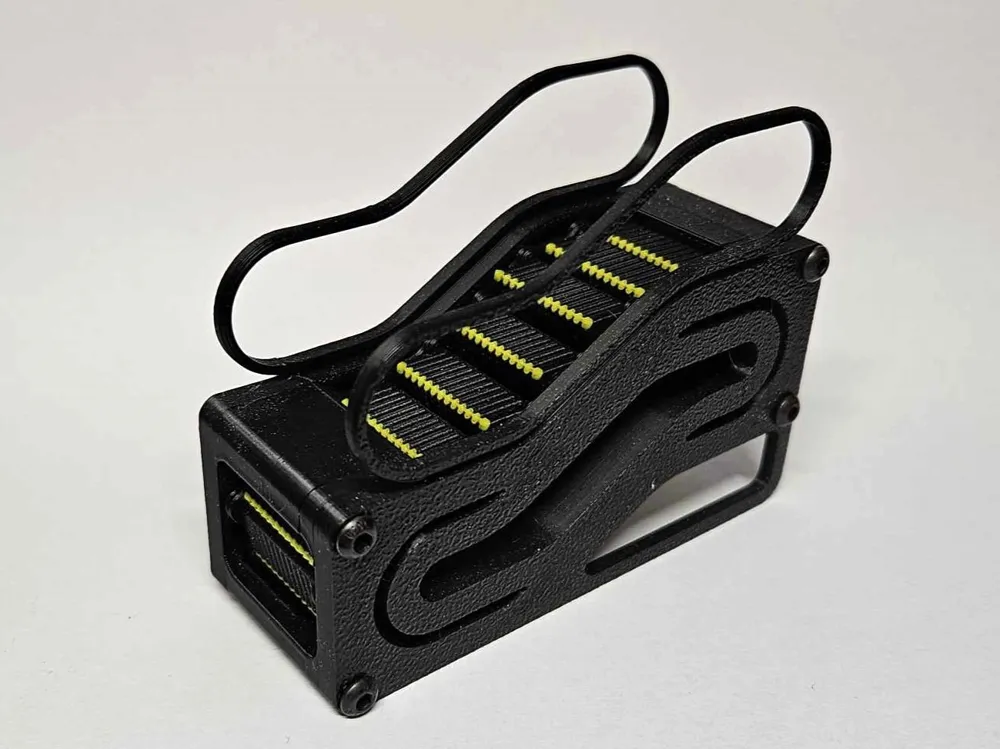
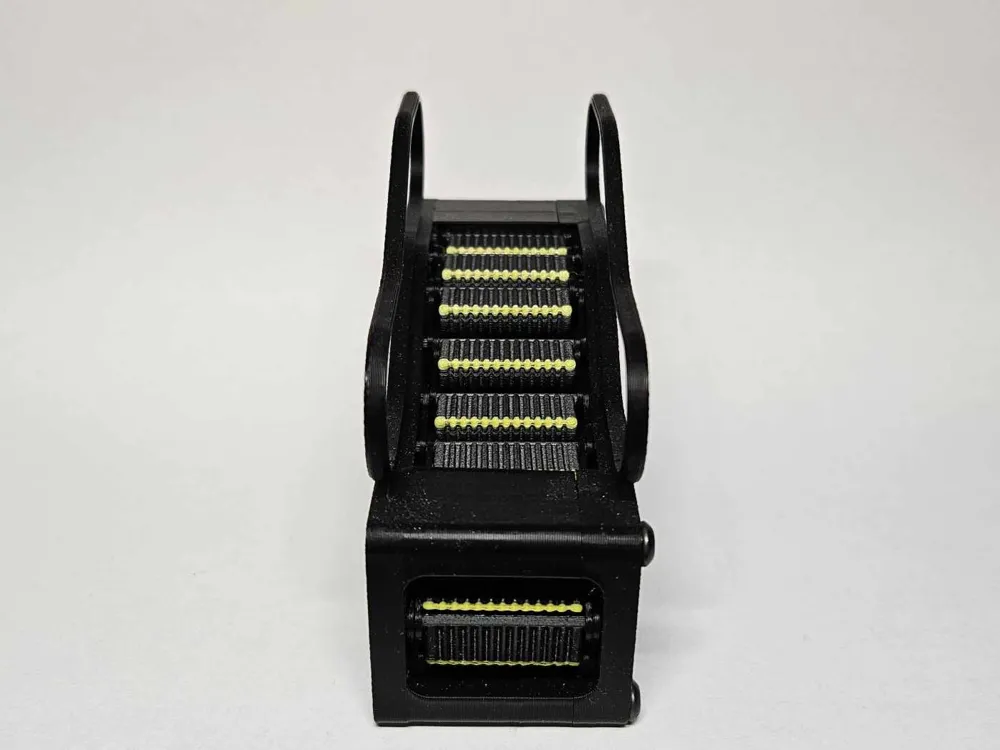
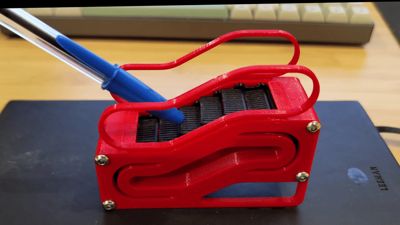
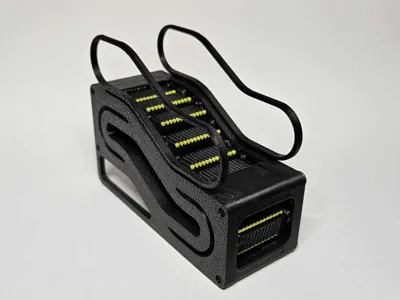
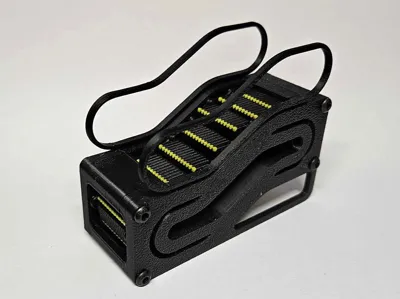
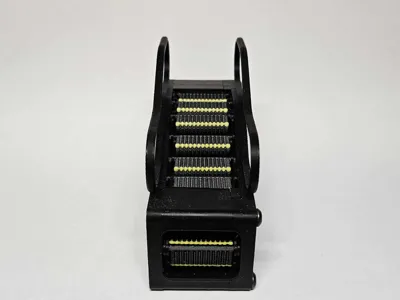
This is a tiny, functional escalator fidget toy. Mechanically, it works similarly to my full-size escalator models, but for simplicity, the drive sprockets and knob have been removed. You can fidget with this escalator by pushing the steps up and down.
Included are files for a version without handrails for easier fidgeting.
Warning: Due to the small size of this model, this is a challenging model to print and assemble. Make sure your printer is very well-calibrated. Any blobs or imperfections on the parts will make the mechanism operate less smoothly. A small amount of light grease is recommended if the motion isn't smooth.
Recommended print settings:
0.1mm, 2+ perimeters, any amount of infill
Non-printed parts required:
- 4x M3x10mm bolts
Printed parts:
- 1 track guide
- 1 mirrored track guide
- 20 steps
- 40 chain links
- 1 assembly jig
Assembly guide
[Video upcoming]
Note: this is a work-in-progress, and will be updated with more details at a later time.
- Place 20 chain links into the slots on the assembly jig. Follow the cutout pattern on the jig; the chain links should be overlapping and alternating over and under.
- Insert the steps through the chain links into the assembly jig. The flat part of the steps should be facing the outer perimeter.
- After all the steps are inserted, place the remaining chain links onto the exposed pins on the steps. These should also be alternating over and under.
- Take the track guide, and carefully place it down onto the steps. The exposed pins should sit inside the tracks on the track guide.
- Flip the entire assembly over, and carefully remove the assembly jig by lifting straight up.
- Place the other track guide onto the steps, making sure the step pins are properly within the tracks. This step is super finicky, so be careful here. Both track guide pieces should be touching with little to no gap. The steps should now be fully enclosed within the track guides.
- Secure everything together with 4 M3x10mm bolts.
License



Comment & Rating (40)