P1S X1C Poop Chute with Gridfinity Base and "Loo"


Print Profile(1)

Description
I saw this Thangs model and wondered the same thing as the others in the comments - how can I dump the poo? So I extended the idea with a removable Gridfinity “loo” for the poop to fall into. Between prints, just detach the “loo” from the chute base and toss out all the poo!
This is compatible with KyleWarren's Screw Together Baseplate, so expand your Bambu's Gridfinity storage as needed.

Components
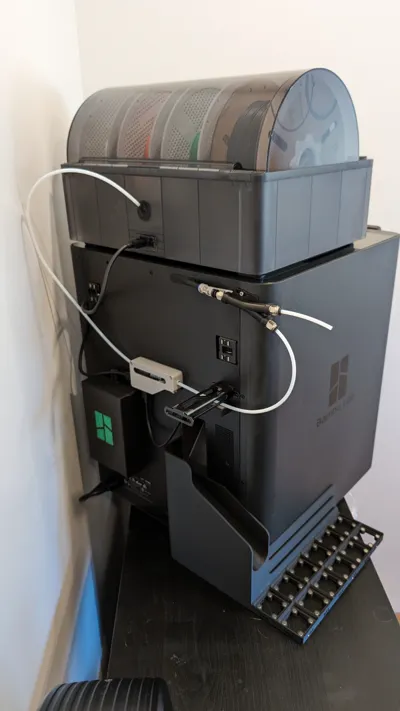
The Chute Base

The main part of this build is a very large print that takes up the majority of the build plate. You must orient it correctly on the bed to print it. I did experience a bit of warping in one corner and added a mouse ear (as shown) to prevent that. I have not tried to print with said mouse ear; if you print this, let me know if you still experience warping!
Notes
- The included Solidworks model is based on KyleWarren's Screw Together Baseplate.
- You should be able to adjust the size of the built-in baseplate by using the “Equations” dialogue in Solidworks.
- You can print these to expand your Gridfinity Loo Base to whatever size you need.
- The magnet holes are modeled at 6.15mm, which creates a perfect press fit on my P1S with this Elegoo PLA* on the settings in the profile. You may want to adjust the size - I believe the standard is 2.5mm for a glue-up fit.
Other Materials
- 0x - 49x standard Gridfinity 6x2mm magnets*
- 0x-9x magnets can go in the “chute” part. These secure the whole base to your printer and align it to its “purge portal.” Add magnets to meet your needs! I only used 4.
- 0x or 40x magnets can be assembled to the Gridfinity baseplate to secure all your bins (including your “Loo” bin!) Hint, check out Jigfinity!!
- If you print additional Screw Together Baseplates to expand this, you'll need the following:

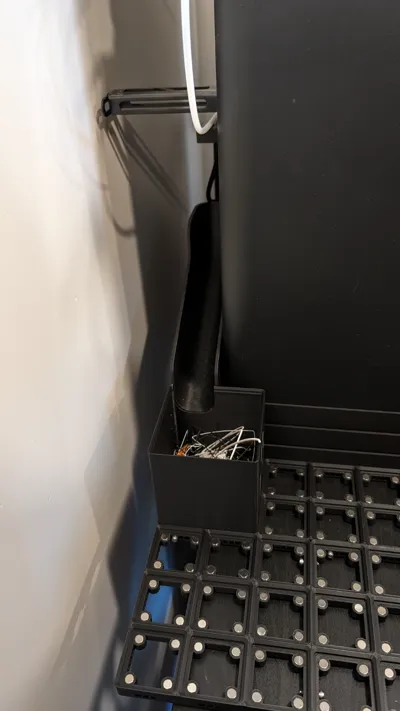
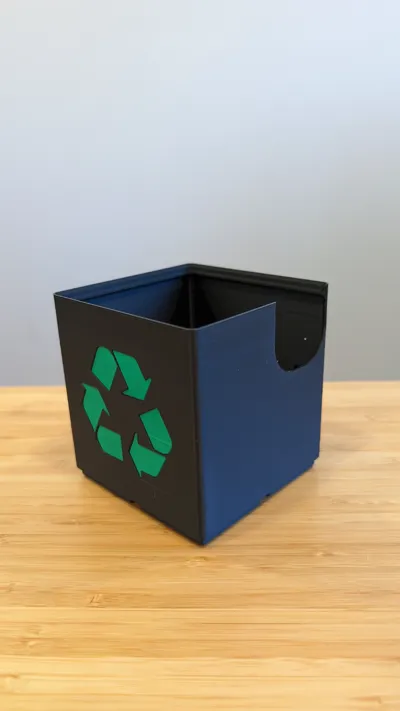
The “Loo” Bin

The FUN part of this print is the Loo bin! I have included all kinds of options:
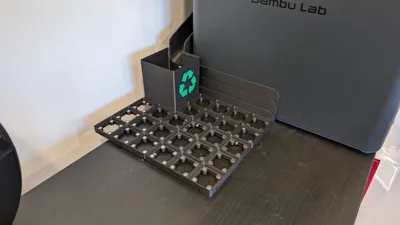
- With and without the icon of your choice: No icon, with Recycling icon, or with Poop icon
- Three sizes, depending on how much your printer poops and how you want to configure: 2x2, 2x3, or 3x2
All of the bins are included in this profile. Remove any bins but the one(s) you want to print before printing! The bins with logos are ready for multi-color printing with the AMS, but you can change the material (on the left) to disable it.
Notes
- The included Solidworks model is based on EllieWhoMakes's parametric Gridfinity bin model.
- You should be able to adjust the size of the bin by using the “Equations” dialogue in Solidworks.
- I was lazy and did not fully define the sketches for the icons, so you may need to adjust them if you make a custom-sized Loo bin.
- The magnet holes are modeled at 6.15mm, which creates a perfect press fit on my P1S with this Elegoo PLA* on the settings in the profile. You may want to adjust the size - I believe the standard is 2.5mm for a glue-up fit.
Other Materials
- 0x - 24x standard Gridfinity 6x2mm magnets*
- Assemble magnets to the Gridfinity Loo Bin to secure it to your baseplate. Hint, check out Jigfinity!!

* Affiliate link
Comment & Rating (109)