The Isle of Cats - Fish Pieces - Multi-color
The Isle of Cats - Fish Pieces - Multi-color


Print Profile(0)
Description
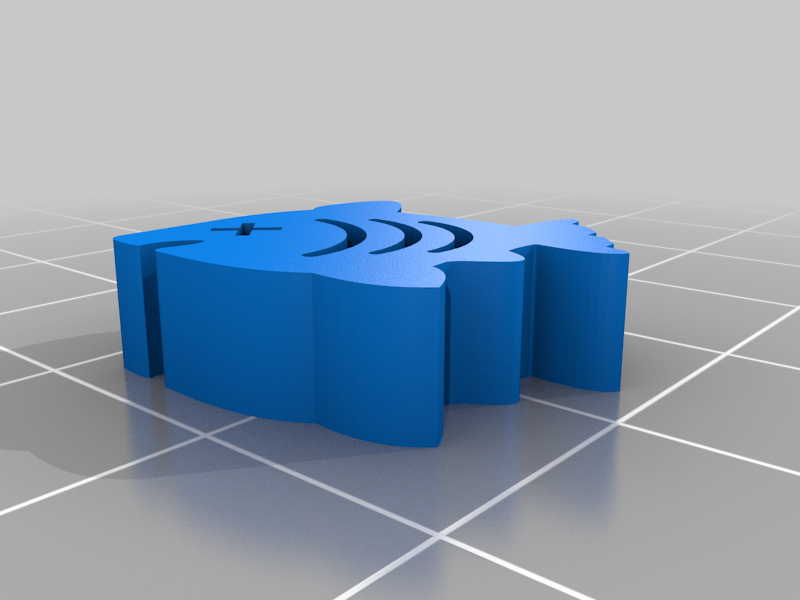
I re-drew the vectors for both single and 5 fish pieces to be able to add multiple layer dimensinoality for multi-color/filament prints.
Printing these in 2 colors can be done on any single-extruder 3D printer, not just Bambu Labs AMS or Prusa MMU machines. Just get OrcaSlicer,
In Orcaslicer, you can add multiple filament presets (and select their color) even for machines that do not have multi-filament capabilities. If you do this, once sliced, slide the slider to the layers with the fish art, right-click, you can right click and do 'change filament > choice' and then re-slice and see the filament differences in the preview. Your machine will pause at each 'filament change' until you resume, allowing you to change the filament(color); and then pause again to change the filament back as many times as needed. see screenshot - Here's a tutorial for Bambu Studio, which is identical to OrcaSlicer: https://www.youtube.com/watch?v=IQmkcdXLMHU
If you don't want to go through the setup to add a second filament and/or don't care about pre-viewing, you can just add a pause, your machine will pause until you resume, allowing you to change the filament(color); and then pause again to change the filmanet back as many times as needed. Here's a tutorial for those who don't see the PAUSE command available when right clicking: https://www.youtube.com/watch?v=ieSEtNpzFcI&t=287s
Recommend turning ironing on for all top surfaces.
Print Settings
Printer Brand:
Creality
Printer:
K1
Rafts:
No
Supports:
No
Resolution:
0.12
Infill:
default
Filament:doesn't matter PLA your choice
Notes:
Turn ironing on for best results.
Converted STL to SVG in TinkerCAD; opened SVGs in Adobe Illustrator. Used Illustrator 2023's new capability of extruding and grouping 3D models from vectors, exported as .OBJ (scale gets lost with .obj) opened .obj in OrcaSlicer, placed files, resized to proper sizing, saved out as .stl.
Category: Toy & Game Accessories