
K1 / Max Quick Removal Magnetic Toolhead Cover v6


Print Profile(1)

Description
Membership
Want to sell 3D prints of this design? 🔥 Get a commercial license to sell 3D-printed versions of my designs at craft fairs, online, in-store, or anywhere you like! Click Join to sign up and start selling today. 🚀
19 Apr: new files uploaded; improved geometry for 3D printing and added front piece without nameplate holder. Included 3mf files for Orca Slicer - K1 Max (ASA and PETG) in the raw files section
Reworked Henlor's K1 series toolhead CAD model into a split front and rear toolhead cover with magnetic interface. Tweaked some geometry to make it more 3D print friendly.
Recommend to print only is ASA / ABS or better for high temp resistance.
I've been running mine in PETG without issue printing PETG and PLA
Requires 8 - 6x3mm magnets!
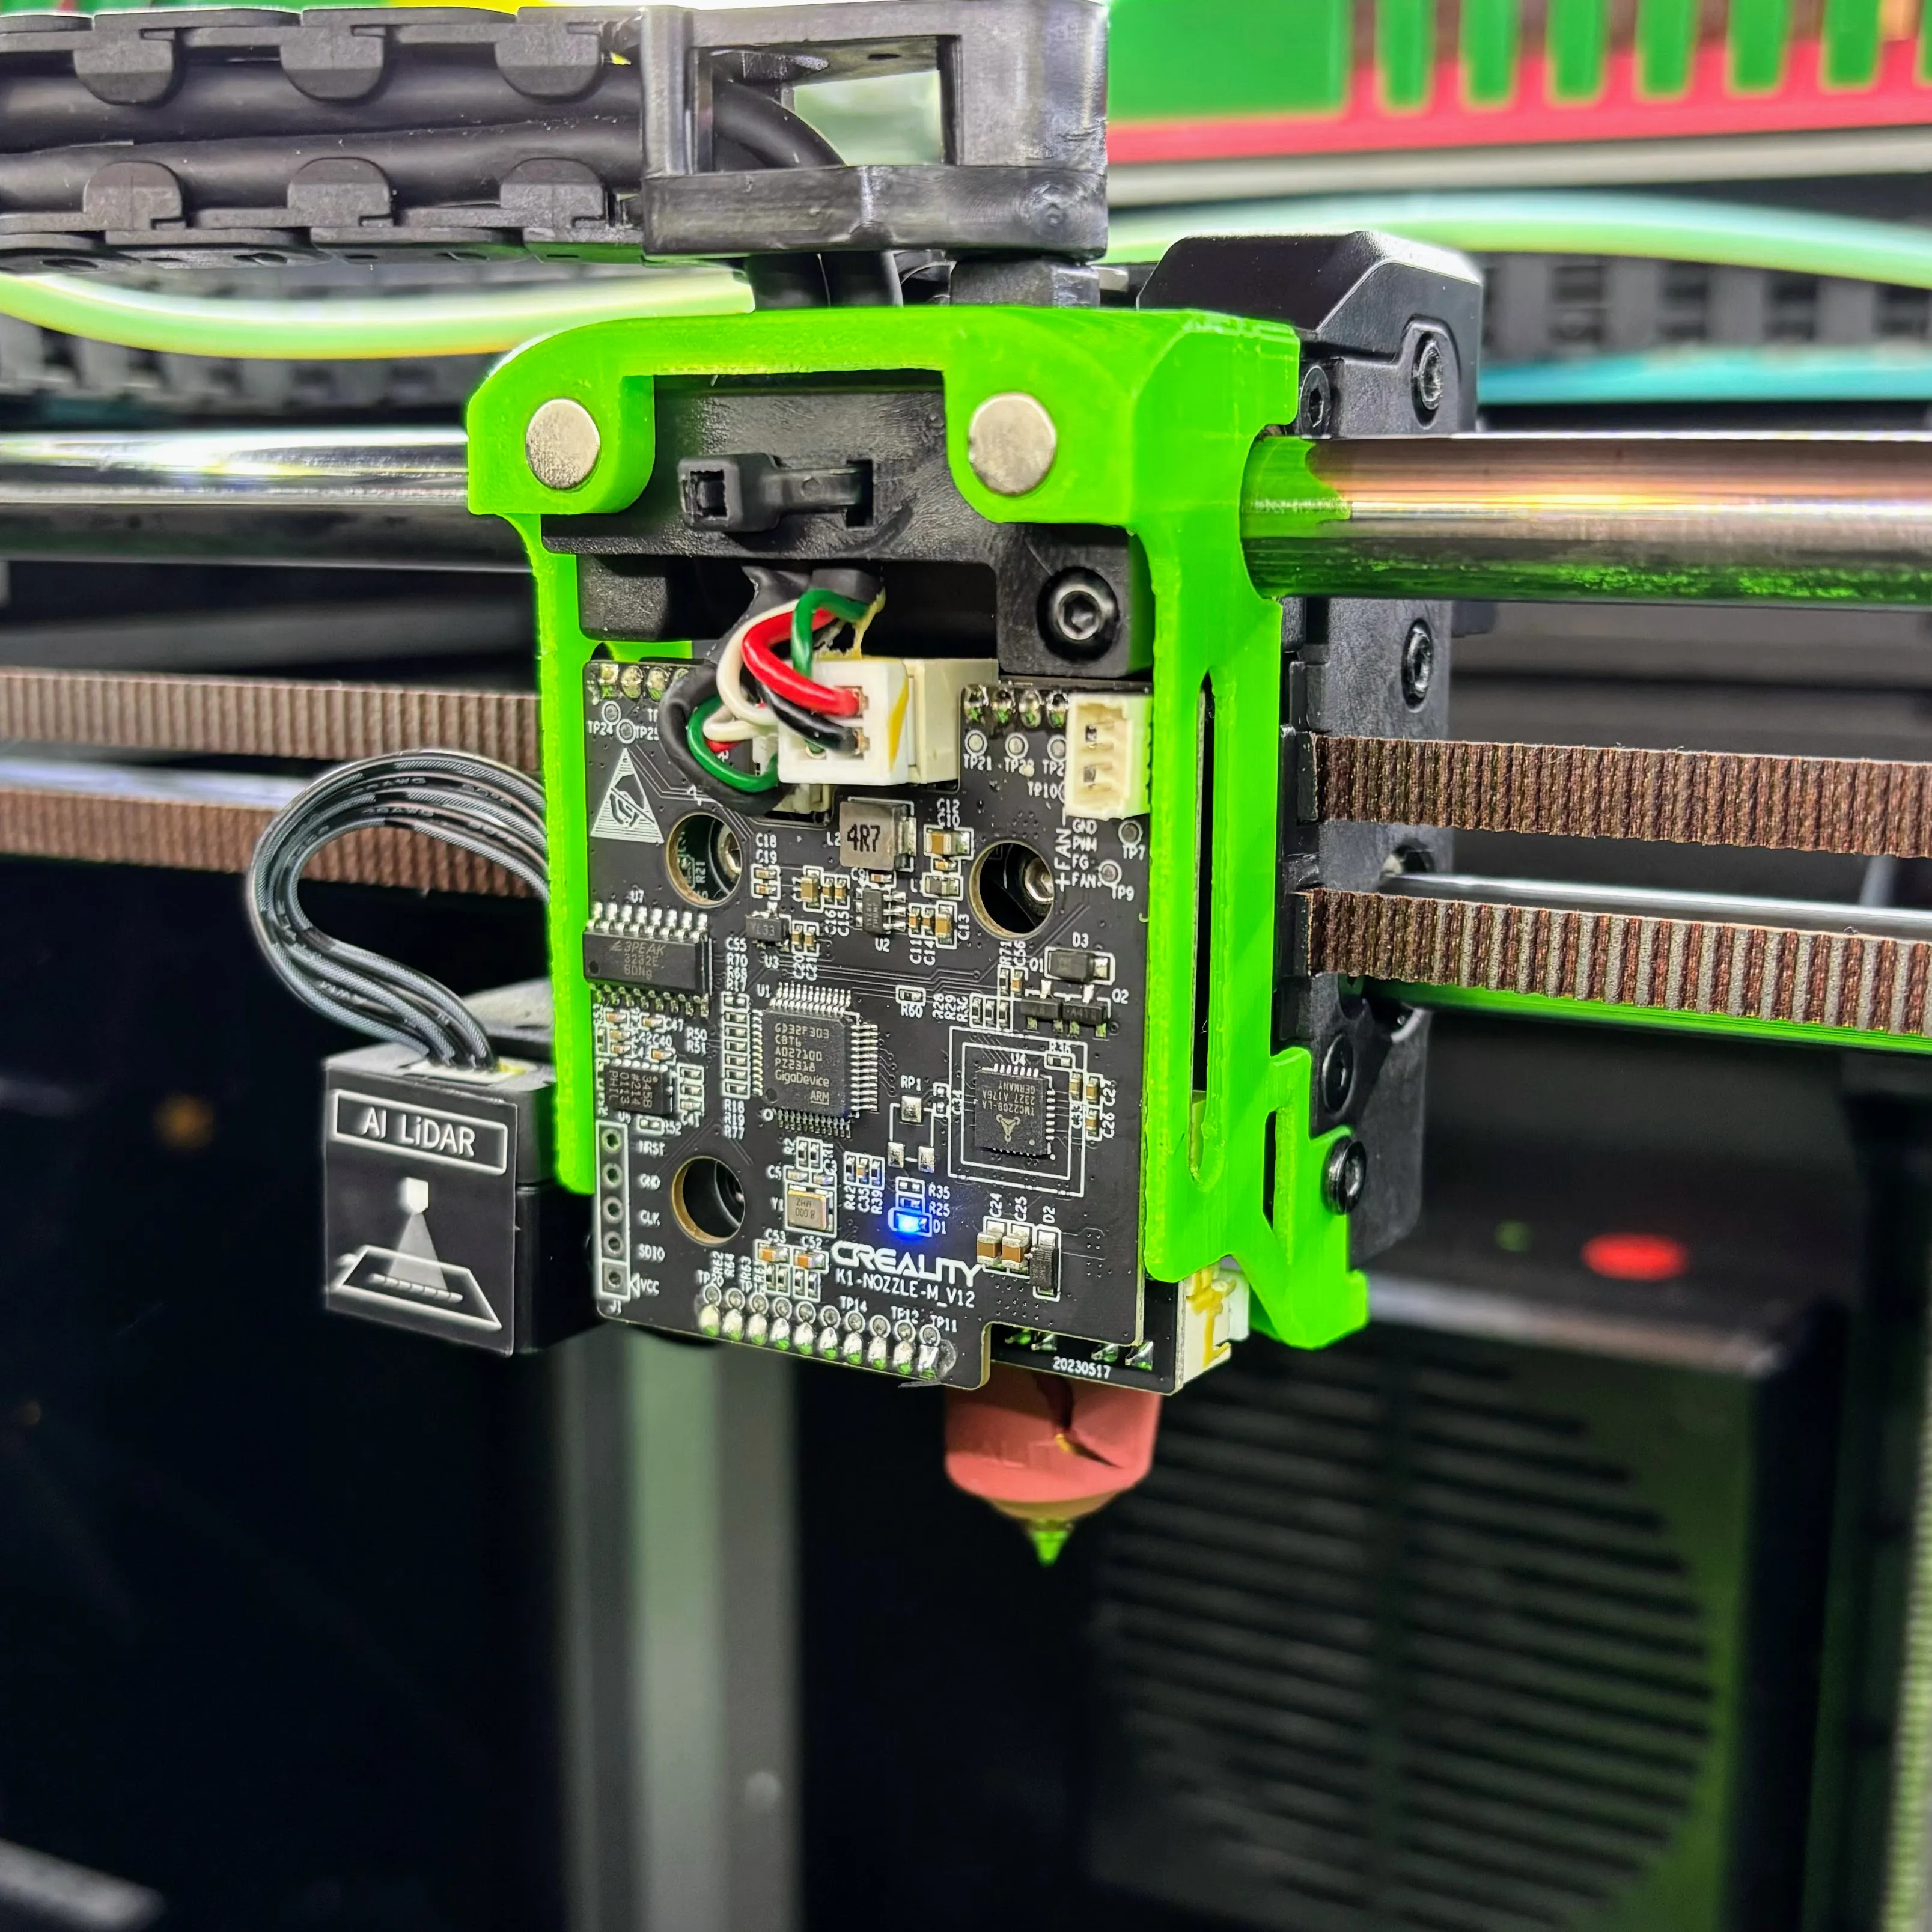
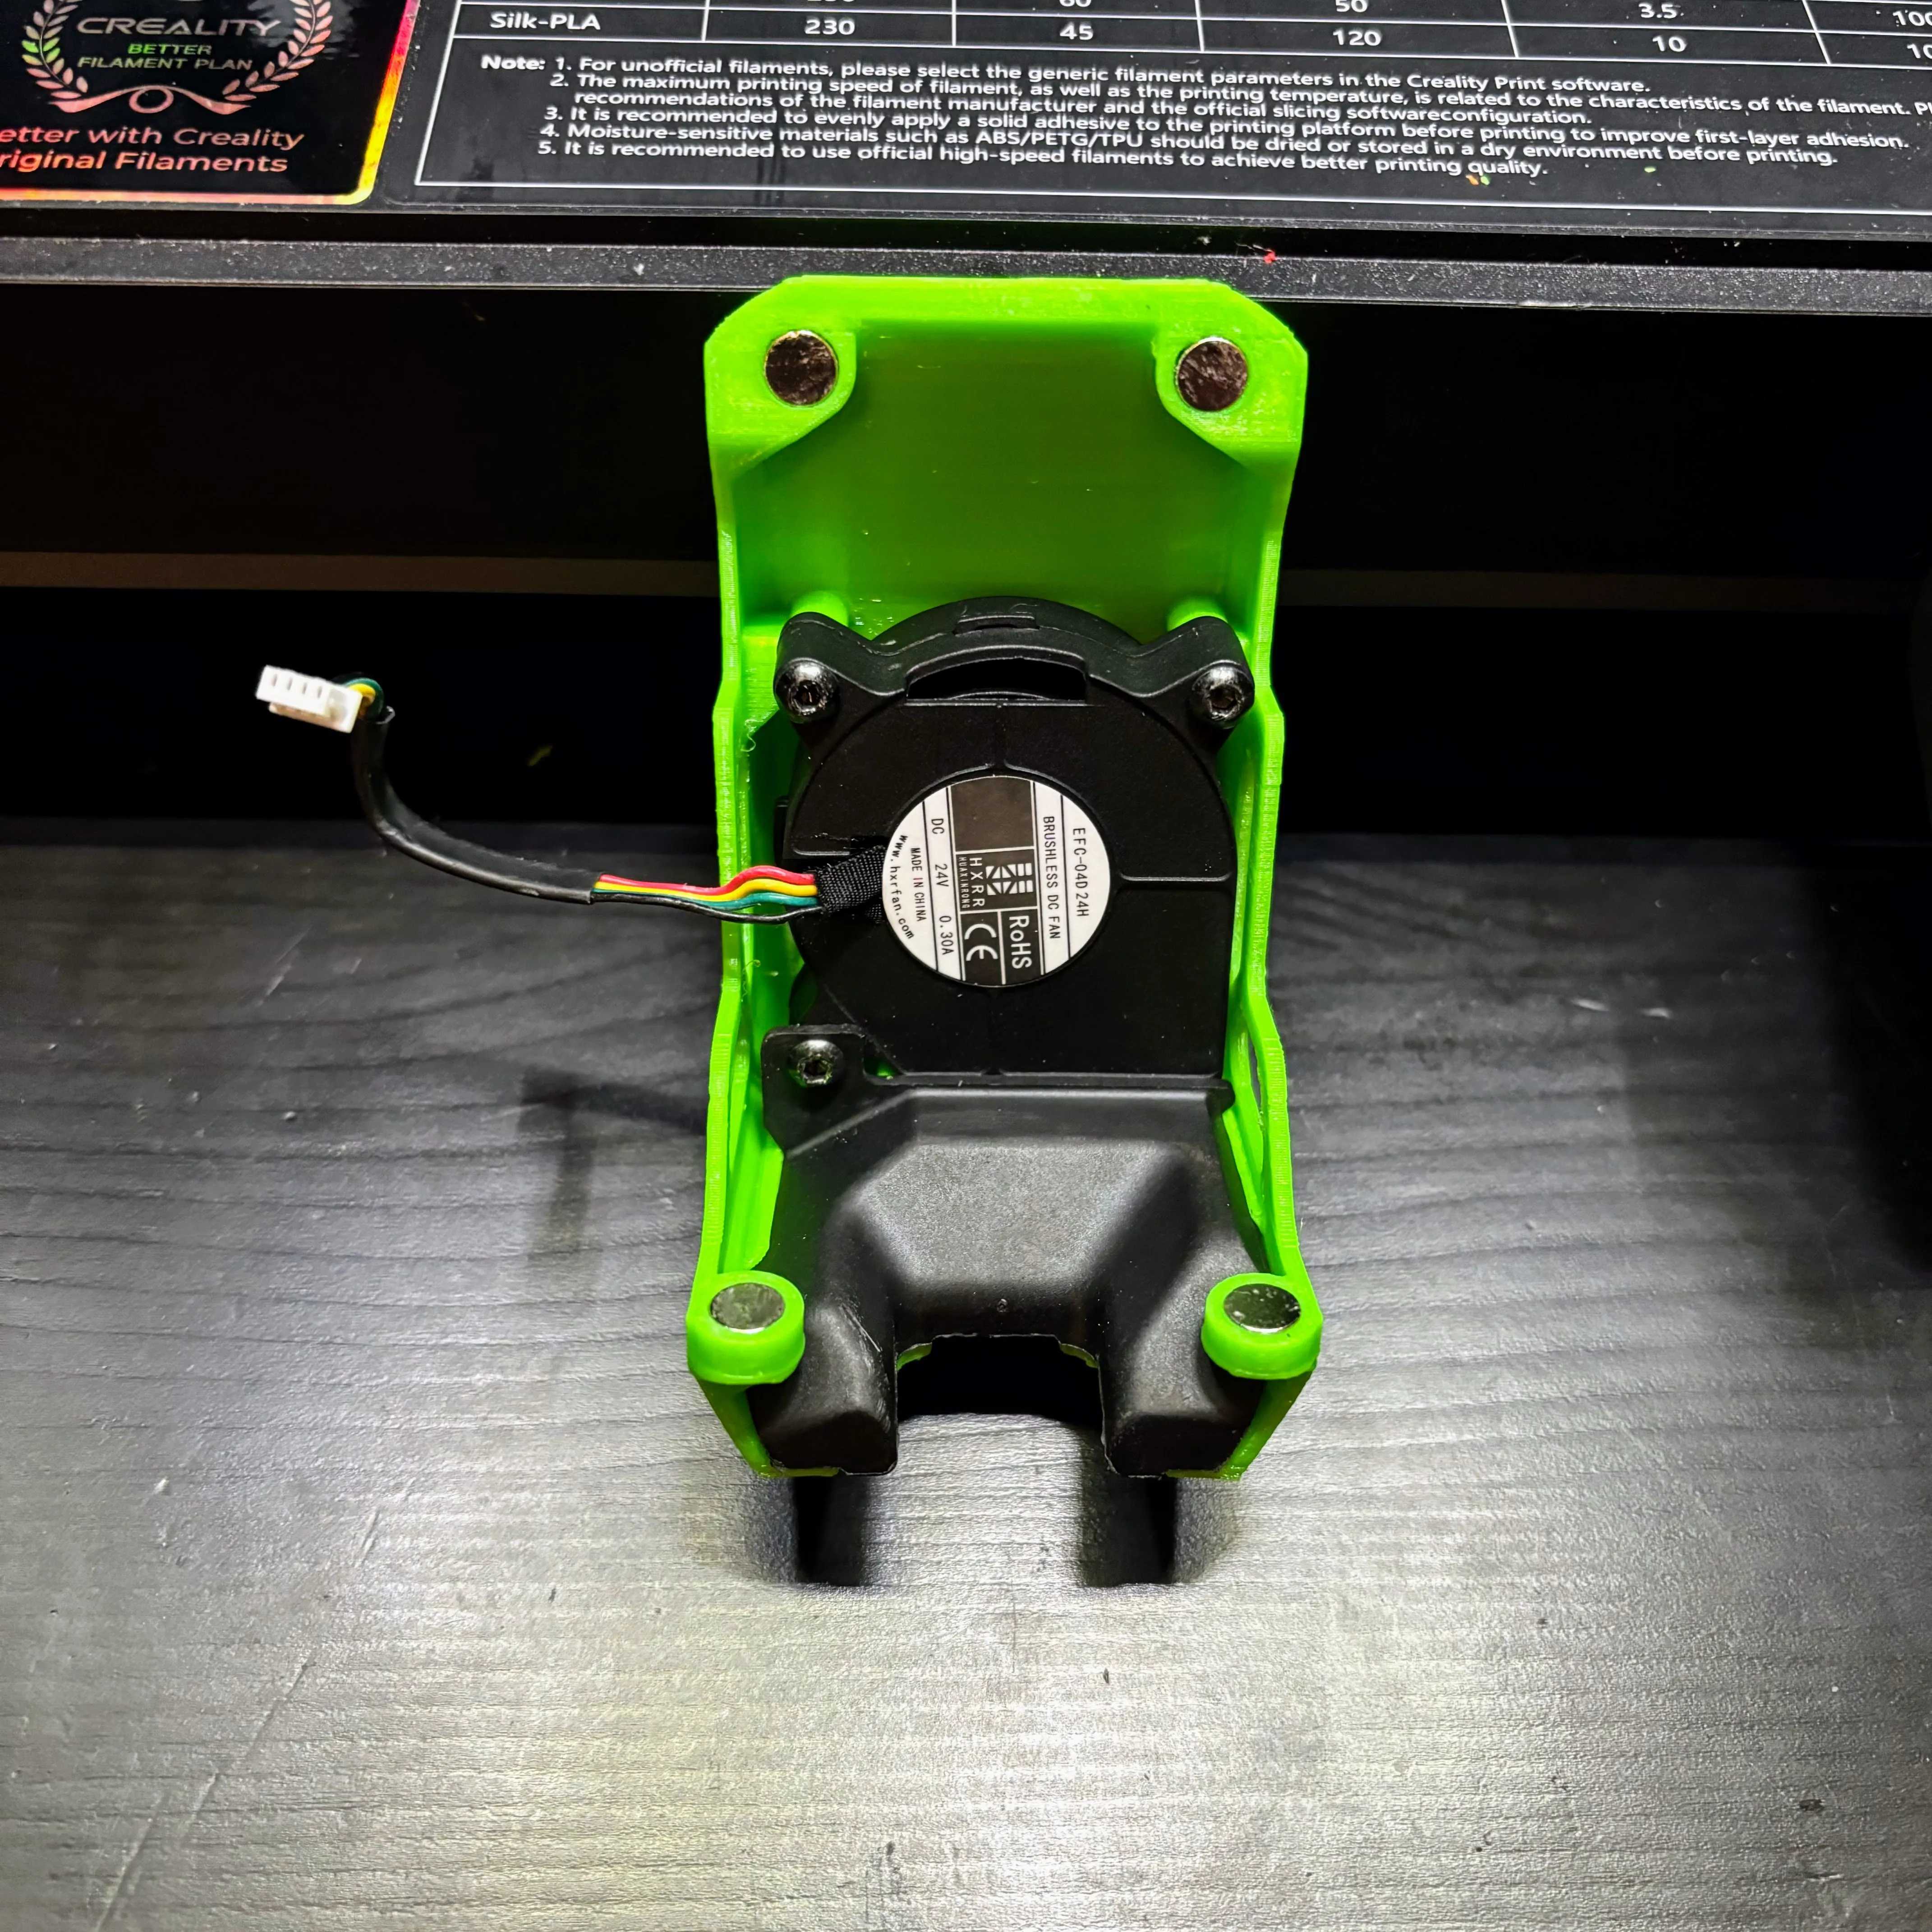
This model is an upgrade to my v5 version which had 3D printed fan ducting. This model reuses the original stock fan ducting to mitigate warping at the duct output. The warping occured on my v5 when printing ASA (high temps and fans off). If you're printing high temp materials, consider printing this cover in similar material or better to avoid warping.
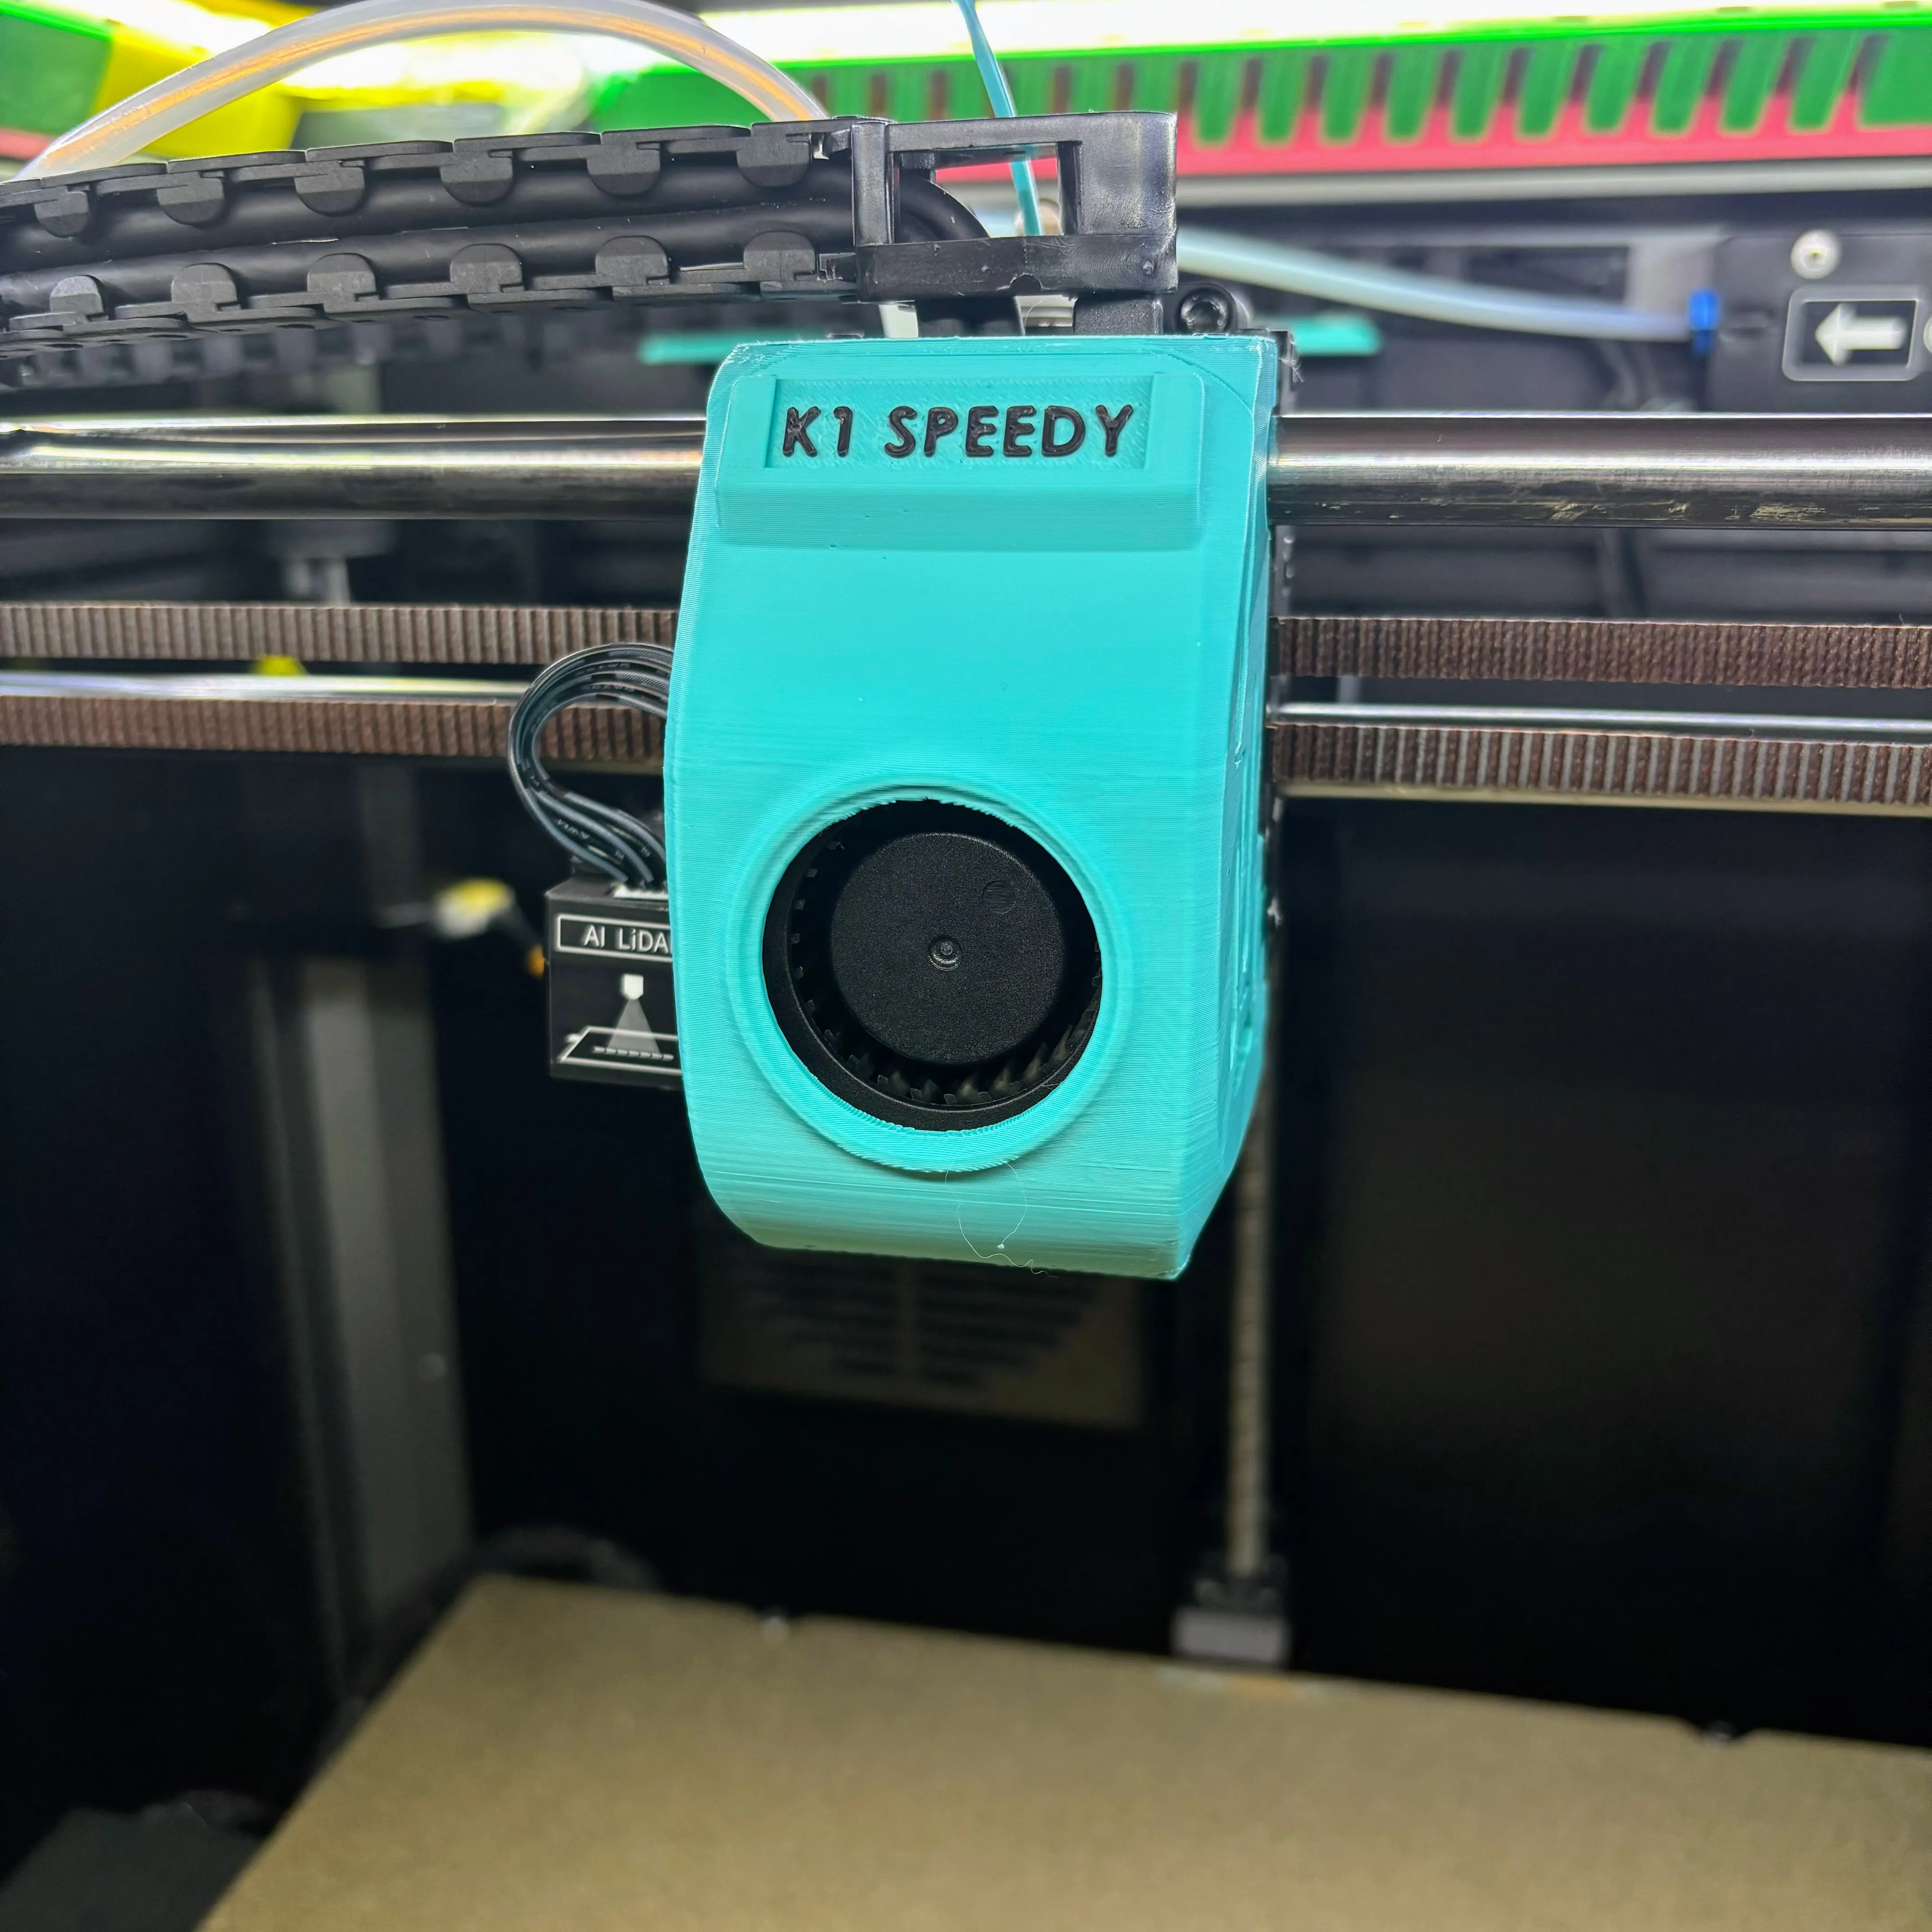
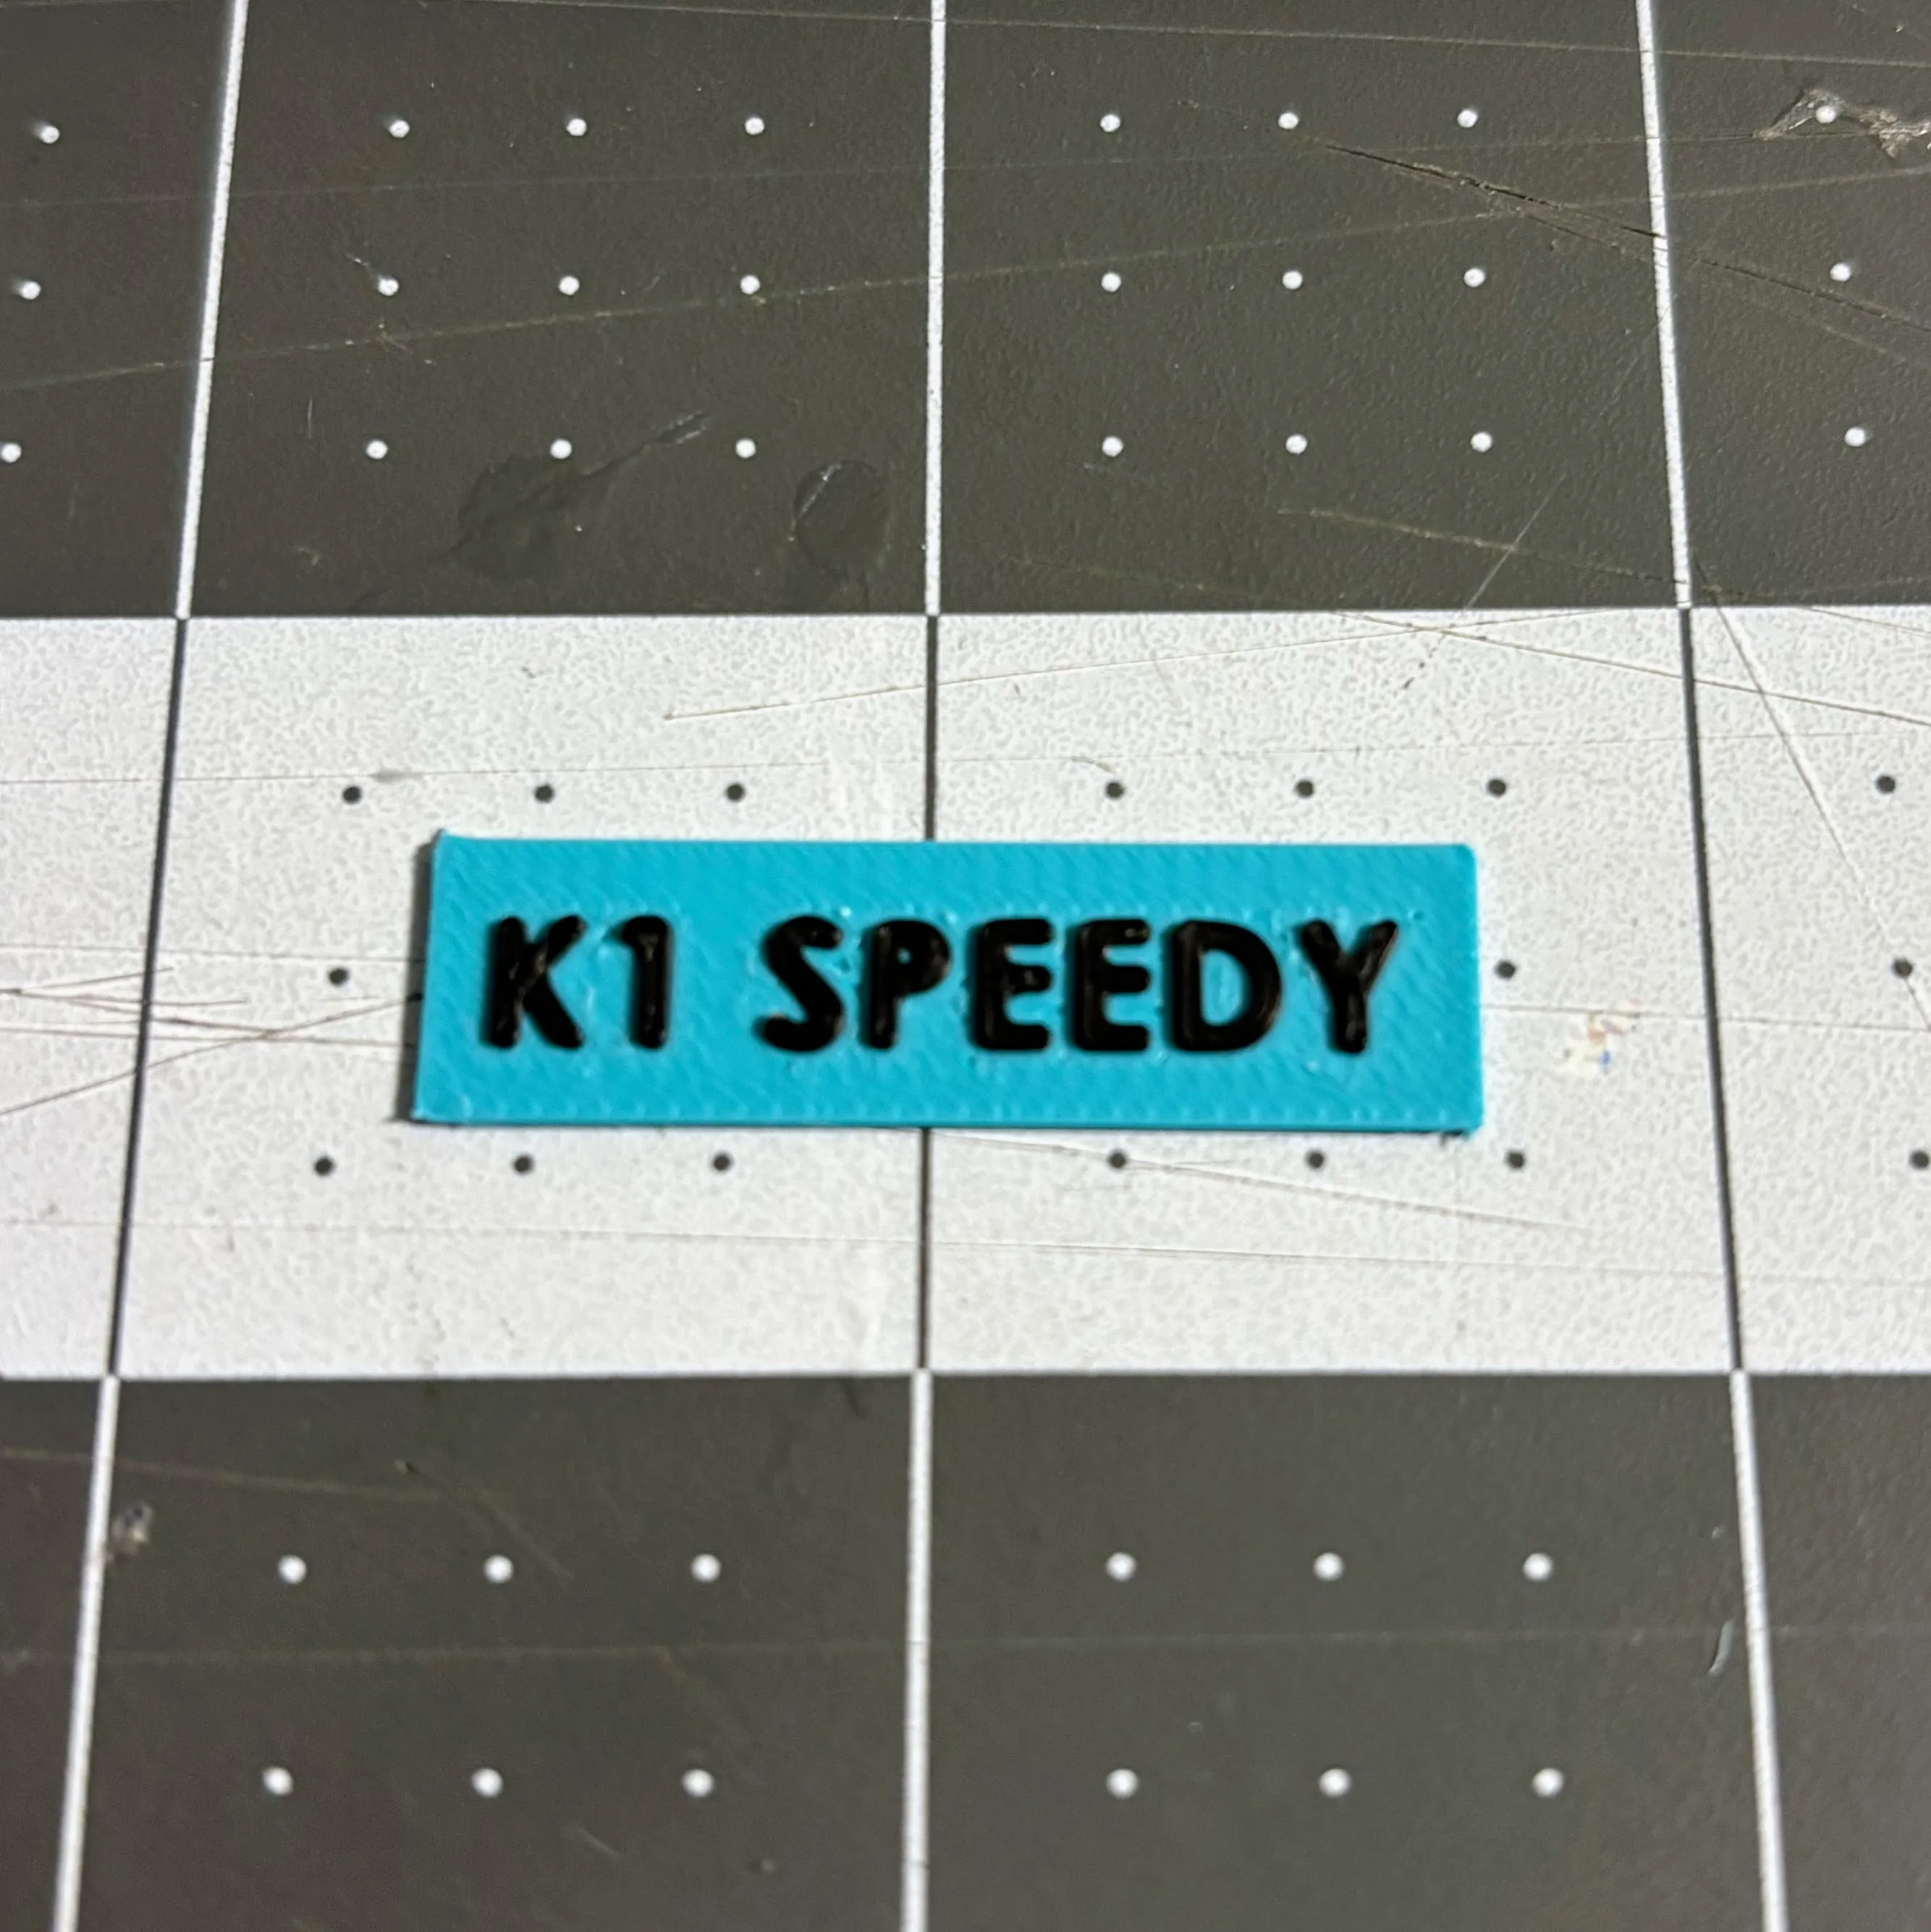
In addition to the fan duct change, this model has a optional name plate holder on the front. The name plate in the 3mf can easily be changed by double clicking the text. Alternatively you can create you own name plate by adding a cube primitative to most slicers and adding your own text. Recommended cube dimensions are 34.5x9.75x0.64mm (XYZ).
Installation instructions:
- Glue 4 magnets into the front and rear toolhead covers ensuring correct magnetic orientation.
- Remove the OEM toolhead using a 2.0mm hex screwdriver
- Dissamble the toolhead fan with the same screwdriver by removing 3 screws.
- Pop out the fan ducting by applying pressure near the output
- Insert the fan duct into the printed cover. This part is tricky and if you are not careful, you will break the print. Insert the duct from the inside and push the duct output into place. Then push down on the ducting to snap it into it's grooves that are on the sides of the cover.
- Insert the fan into the printed cover and secure with the 3 screws. Do not overtighten!
- Install the rear printed cover on the K1 toolhead. You may need to move the hotend temperature sensor wires a bit to accomodate the lower magnet pockets.
- Hold the front printed cover near the toolhead and connect the fan wire.
- Move the front cover into position and let the magnets do the rest!
Note: The overall weight of this toolhead cover is actually about 25% less than stock so there is no concern about adding extra weight to the high velocity toolhead.
Disclaimer: This model has the potential to harm your system. Whereas the Bambu printer has a built in sensor to monitor if the magnetic toolhead cover comes off, the K1 series of course does not. If your magnetic cover comes off during a print, it is impossible to say what harm could come to your machine. Use at your own risk!
Boost Me (for free)
🔥 Love this design? Give it a Boost to show your support! Your tip helps keep the creativity flowing and means the world to me. 💙 Thanks for being awesome!
This remix is based on

License



Comment & Rating (16)