Boxy Y-Splitter v2


Print Profile(7)


Description

UPDATE: After reviewing the comments, and looking at the files, I made a mistake in uploading the incorrect files. This has been corrected. Accept my apologies for those who had issues.
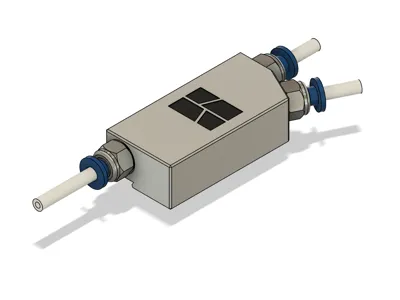
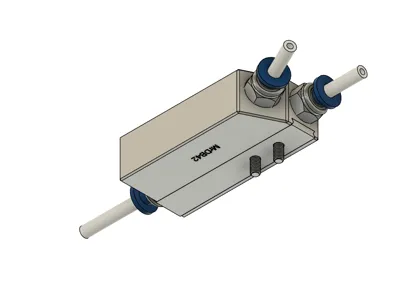
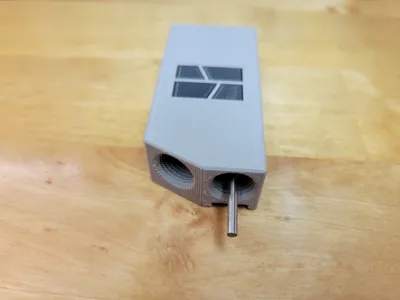
This discreet Y-Splitter is designed for the X1 Carbon and features a hidden sliding tapered dovetail mount, ensuring perfect alignment with the rubber grommet leading into the printer, thus minimizing resistance during filament loading. It is also engineered to allow the removal of the factory inline PTFE coupler from the AMS buffer to the PTFE tubing leading to the print head, with the recommendation to keep the inline coupler should you wish to return to the original setup.
Many of the Y-Splitters available are either oversized or have bulky, visible installations that detract from the sleek design of this modern printer.
Please note: For optimal results when printing functional parts, it is advisable to:
- Dry the filament, even if it's from a newly opened package.
- Calibrate your printer's filament Flow Rate to achieve accurate dimensions.
- Calibrate your printer's filament Flow Dynamics to ensure sharp, clean corners.
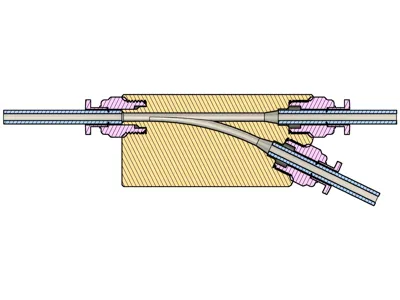
A minimum of two PC4-M10 connectors is required, although three are recommended if you're using a filament dryer or dry box connected through 4mm OD PTFE tubing. A 10-pack of the PC4-M10 connectors I utilized can be acquired from Amazon (BIQU PC4-M10 Pneumatic Connector Fittings). These are the black type (not blue). The black connectors allow the PTFE tube to “pass thru” which is required for the design to work. All PTFE tubes must be inserted until each “stop” is reached (see cutaway diagram).
Additionally, two M3x6 hex button head cap bolts are required for the dovetail mount. While M3x8 hex button head cap bolts may be used, there is no guarantee that they will not interfere with internal components of the printer.

The PC4-M10 coupler must be of a specific cross-section, as illustrated below. Specifically, the black type, not blue. The black connectors enable the PTFE tube to pass through, which is essential for the design to function smoothly and to ensure the correct routing of the filament and PTFE tubing.


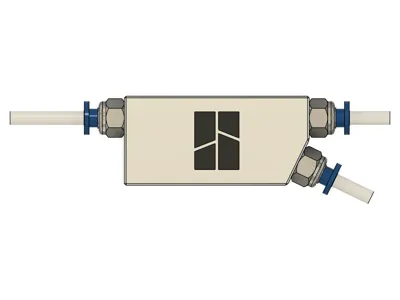
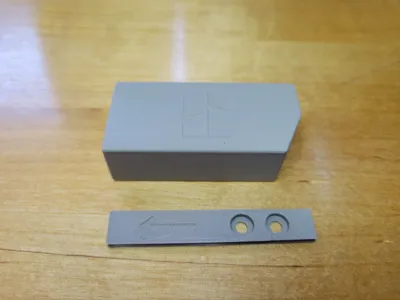
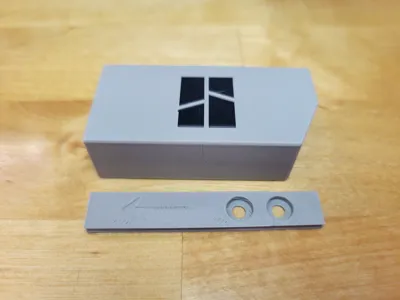
The Y-Splitter is intended for printing with standard 0.20mm strength settings using the default Bambu PLA settings, and it is oriented to eliminate the necessity for supports. You also have the option to color the logo as desired, as illustrated in the accompanying photographs.

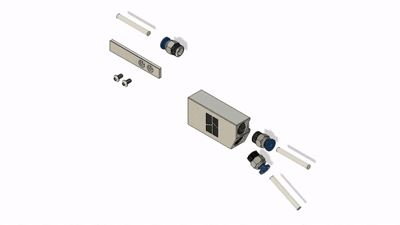
Assembly instructions, including images, are available. Be aware that the sliding tapered dovetail may be quite snug. Allow the print to reach room temperature before installation, and it's acceptable to firmly push or tap the splitter onto the tapered dovetail mount until it's flush. Ensure that the splitter is slid onto the mount as depicted in the animation and instructions.
If you like and rate this design, it would be much appreciated if you include a picture. Thank you.
Documentation (1)
License
You shall not share, sub-license, sell, rent, host, transfer, or distribute in any way the digital or 3D printed versions of this object, nor any other derivative work of this object in its digital or physical format (including - but not limited to - remixes of this object, and hosting on other digital platforms). The objects may not be used without permission in any way whatsoever in which you charge money, or collect fees.
Comment & Rating (882)