Search models, users, collections, and posts

Batman Lightbox
IP Report


Print Profile(1)

0.16mm layer, 3 walls, 15% infill
Designer
8.6 h
2 plates
Open in Bambu Studio
Boost
62
161
19
23
104
72
Released
Description
The materials used are listed below.
Materials
Filament
Yellow (eSUN PLA+) - https://www.amazon.com/gp/product/B07FQHP78J
White (eSUN PLA+) - https://www.amazon.com/gp/product/B0BN4W6P6Q
Black (Bambu Labs) – Basic PLA Black
- LED Strip Light
COB LED Strip Light (5V) - https://www.amazon.com/gp/product/B08X1QMRKK
USB C to stripped leads Power Connector
Type-C Female Chassis Connector- https://www.amazon.com/gp/product/B0C7CPYL79
6.6FT 5V USB Type C Switch Ectendion Cable
USB C Extension Power Cable - https://www.amazon.com/dp/B0CQ41BRS1
USB Wall Charger 5V 2A
USB Wall Charger - https://www.amazon.com/dp/B07DCR29GN
Assembly
- Insert the USB-C chassis connector on the back of the light box.
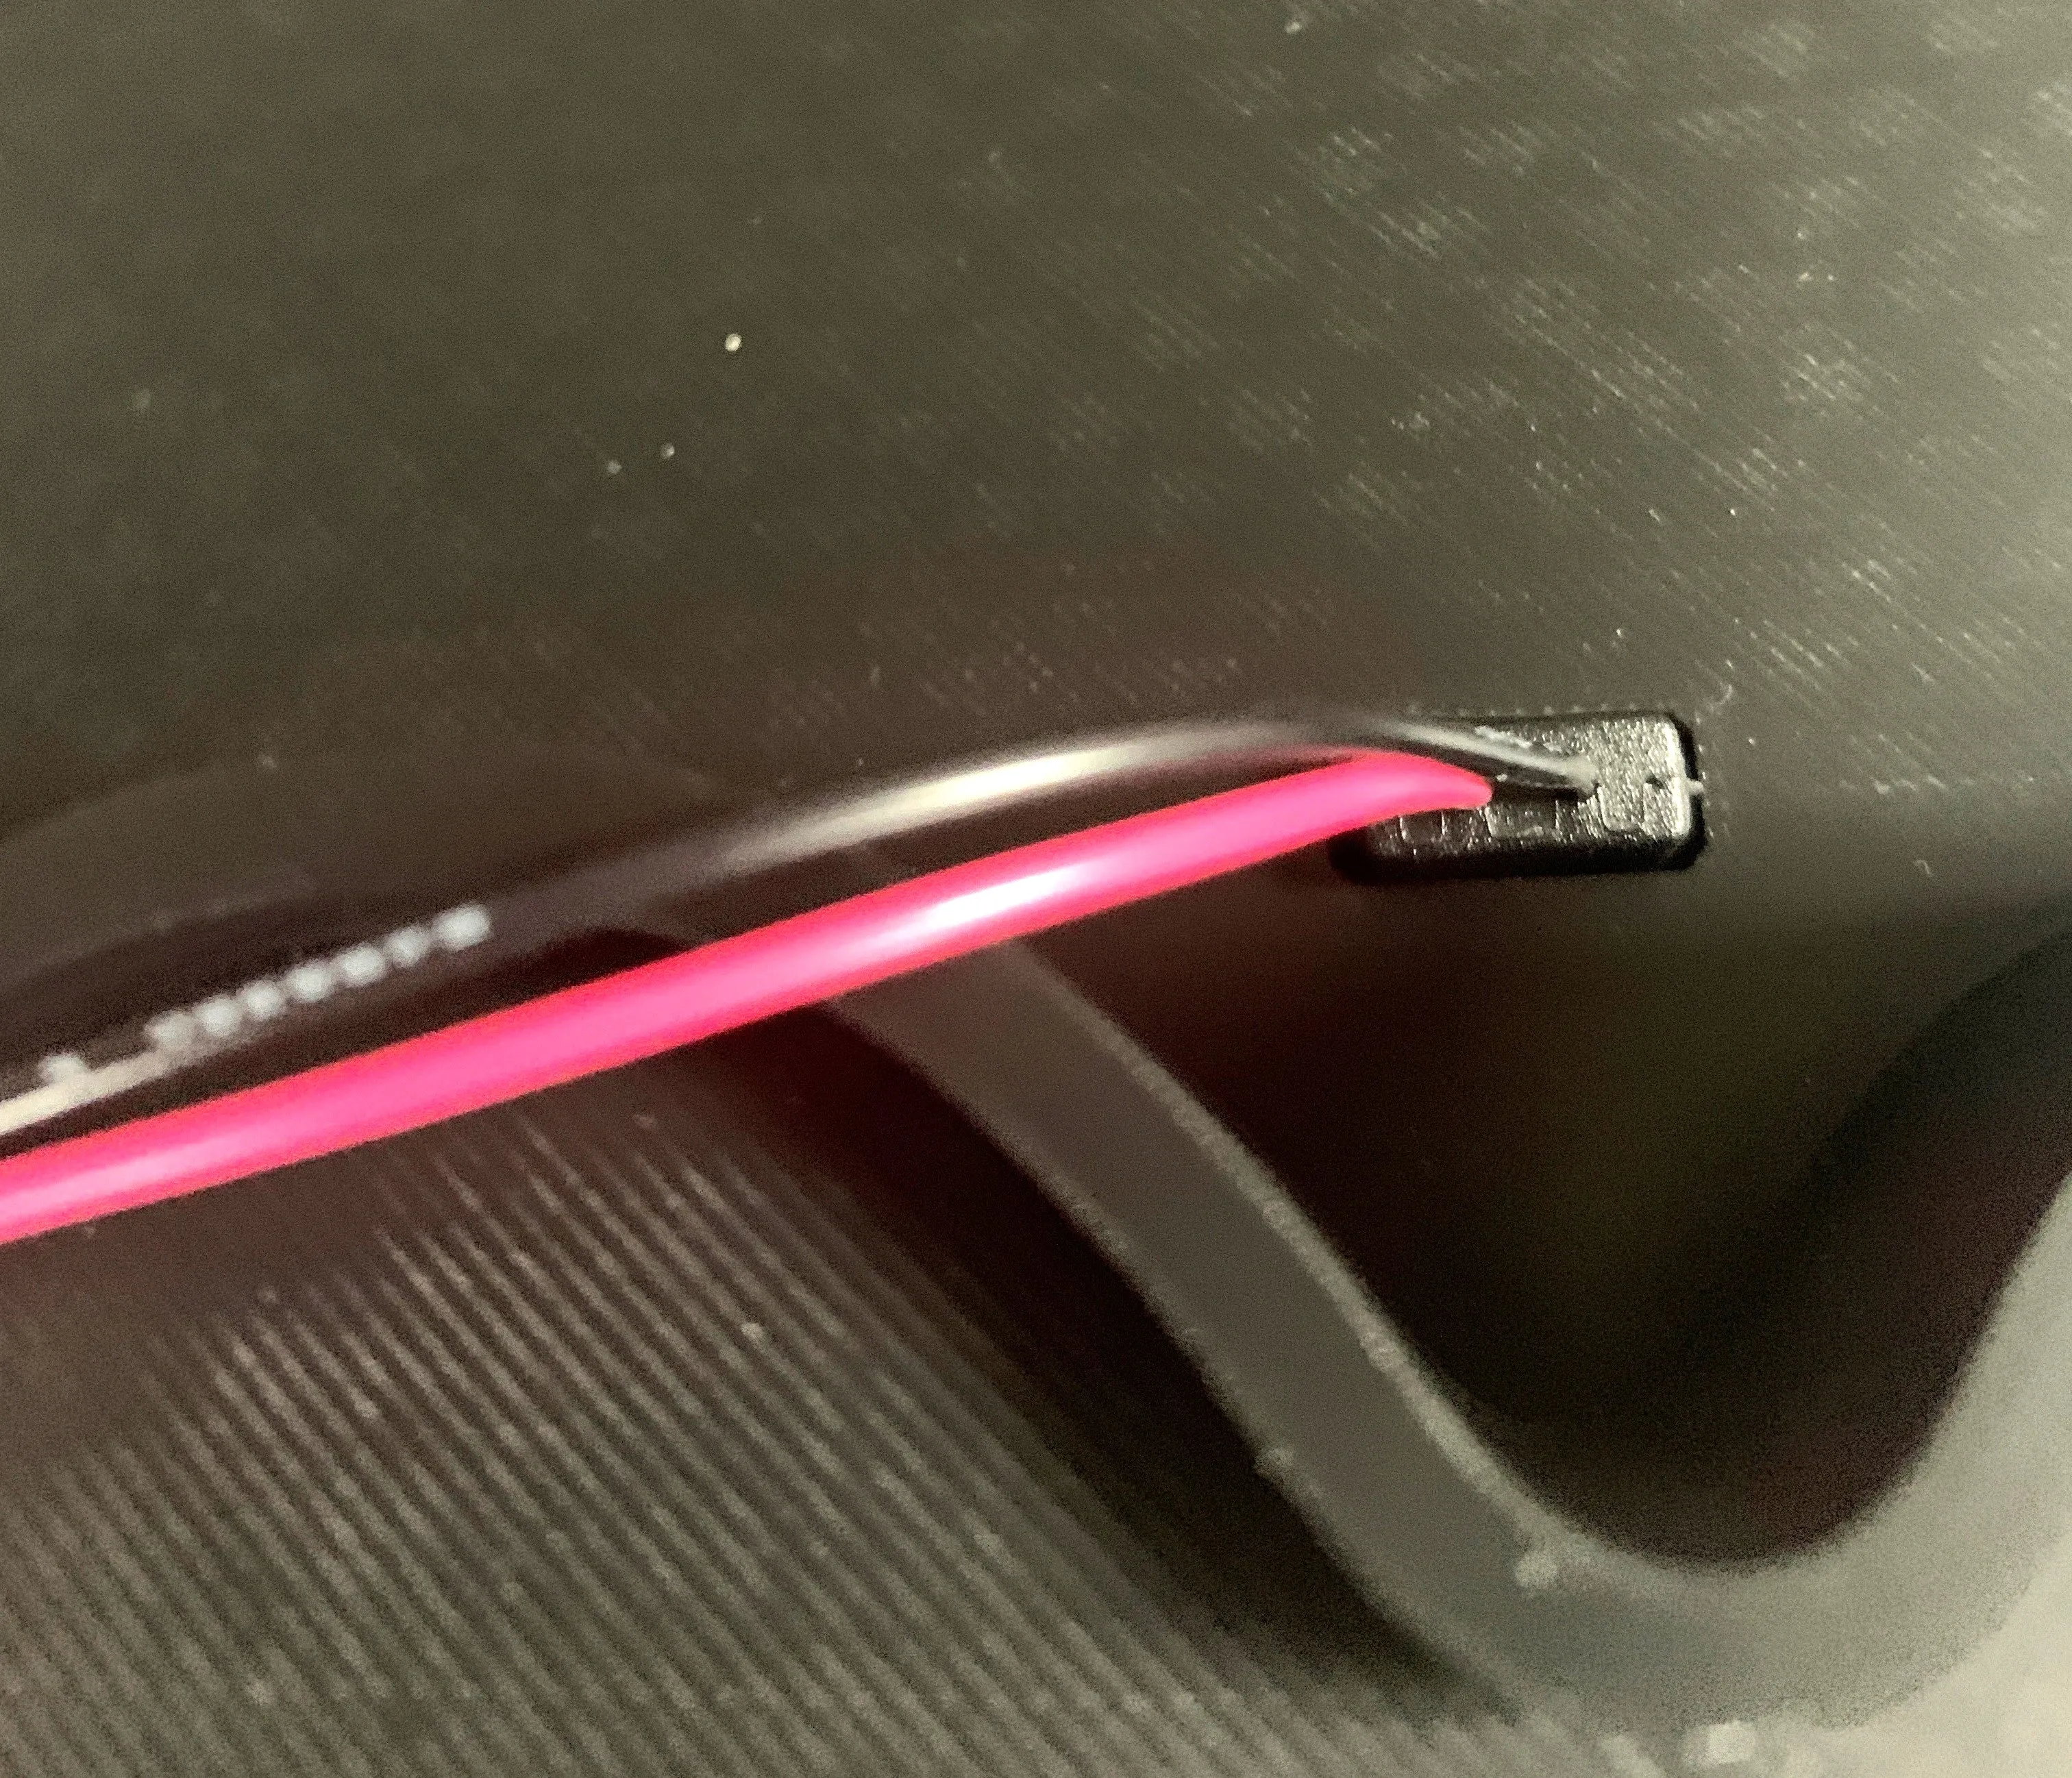
- Cut the LED Strip Light dimmer cord and leave about 5 inches of the white wire attached to the COB Leds.
- Remove a few inches of the white insulation exposing the red and black wire in the insulation.
- Slide heat shrink over the red and black wire on the USB-C chassis connector.
- Solder the USB-C chassis connector wires (red and black) to the COB LED wires (red and black) that are coming out of the white insulation.
- Slide the heat shrink over the exposed solder connection and apply heat to the heat shrink.
- Apply the COB LEDs about and inch down from the top of the back opening and route around the interior of the back attaching the LEDs via the tape on the COB LEDs.
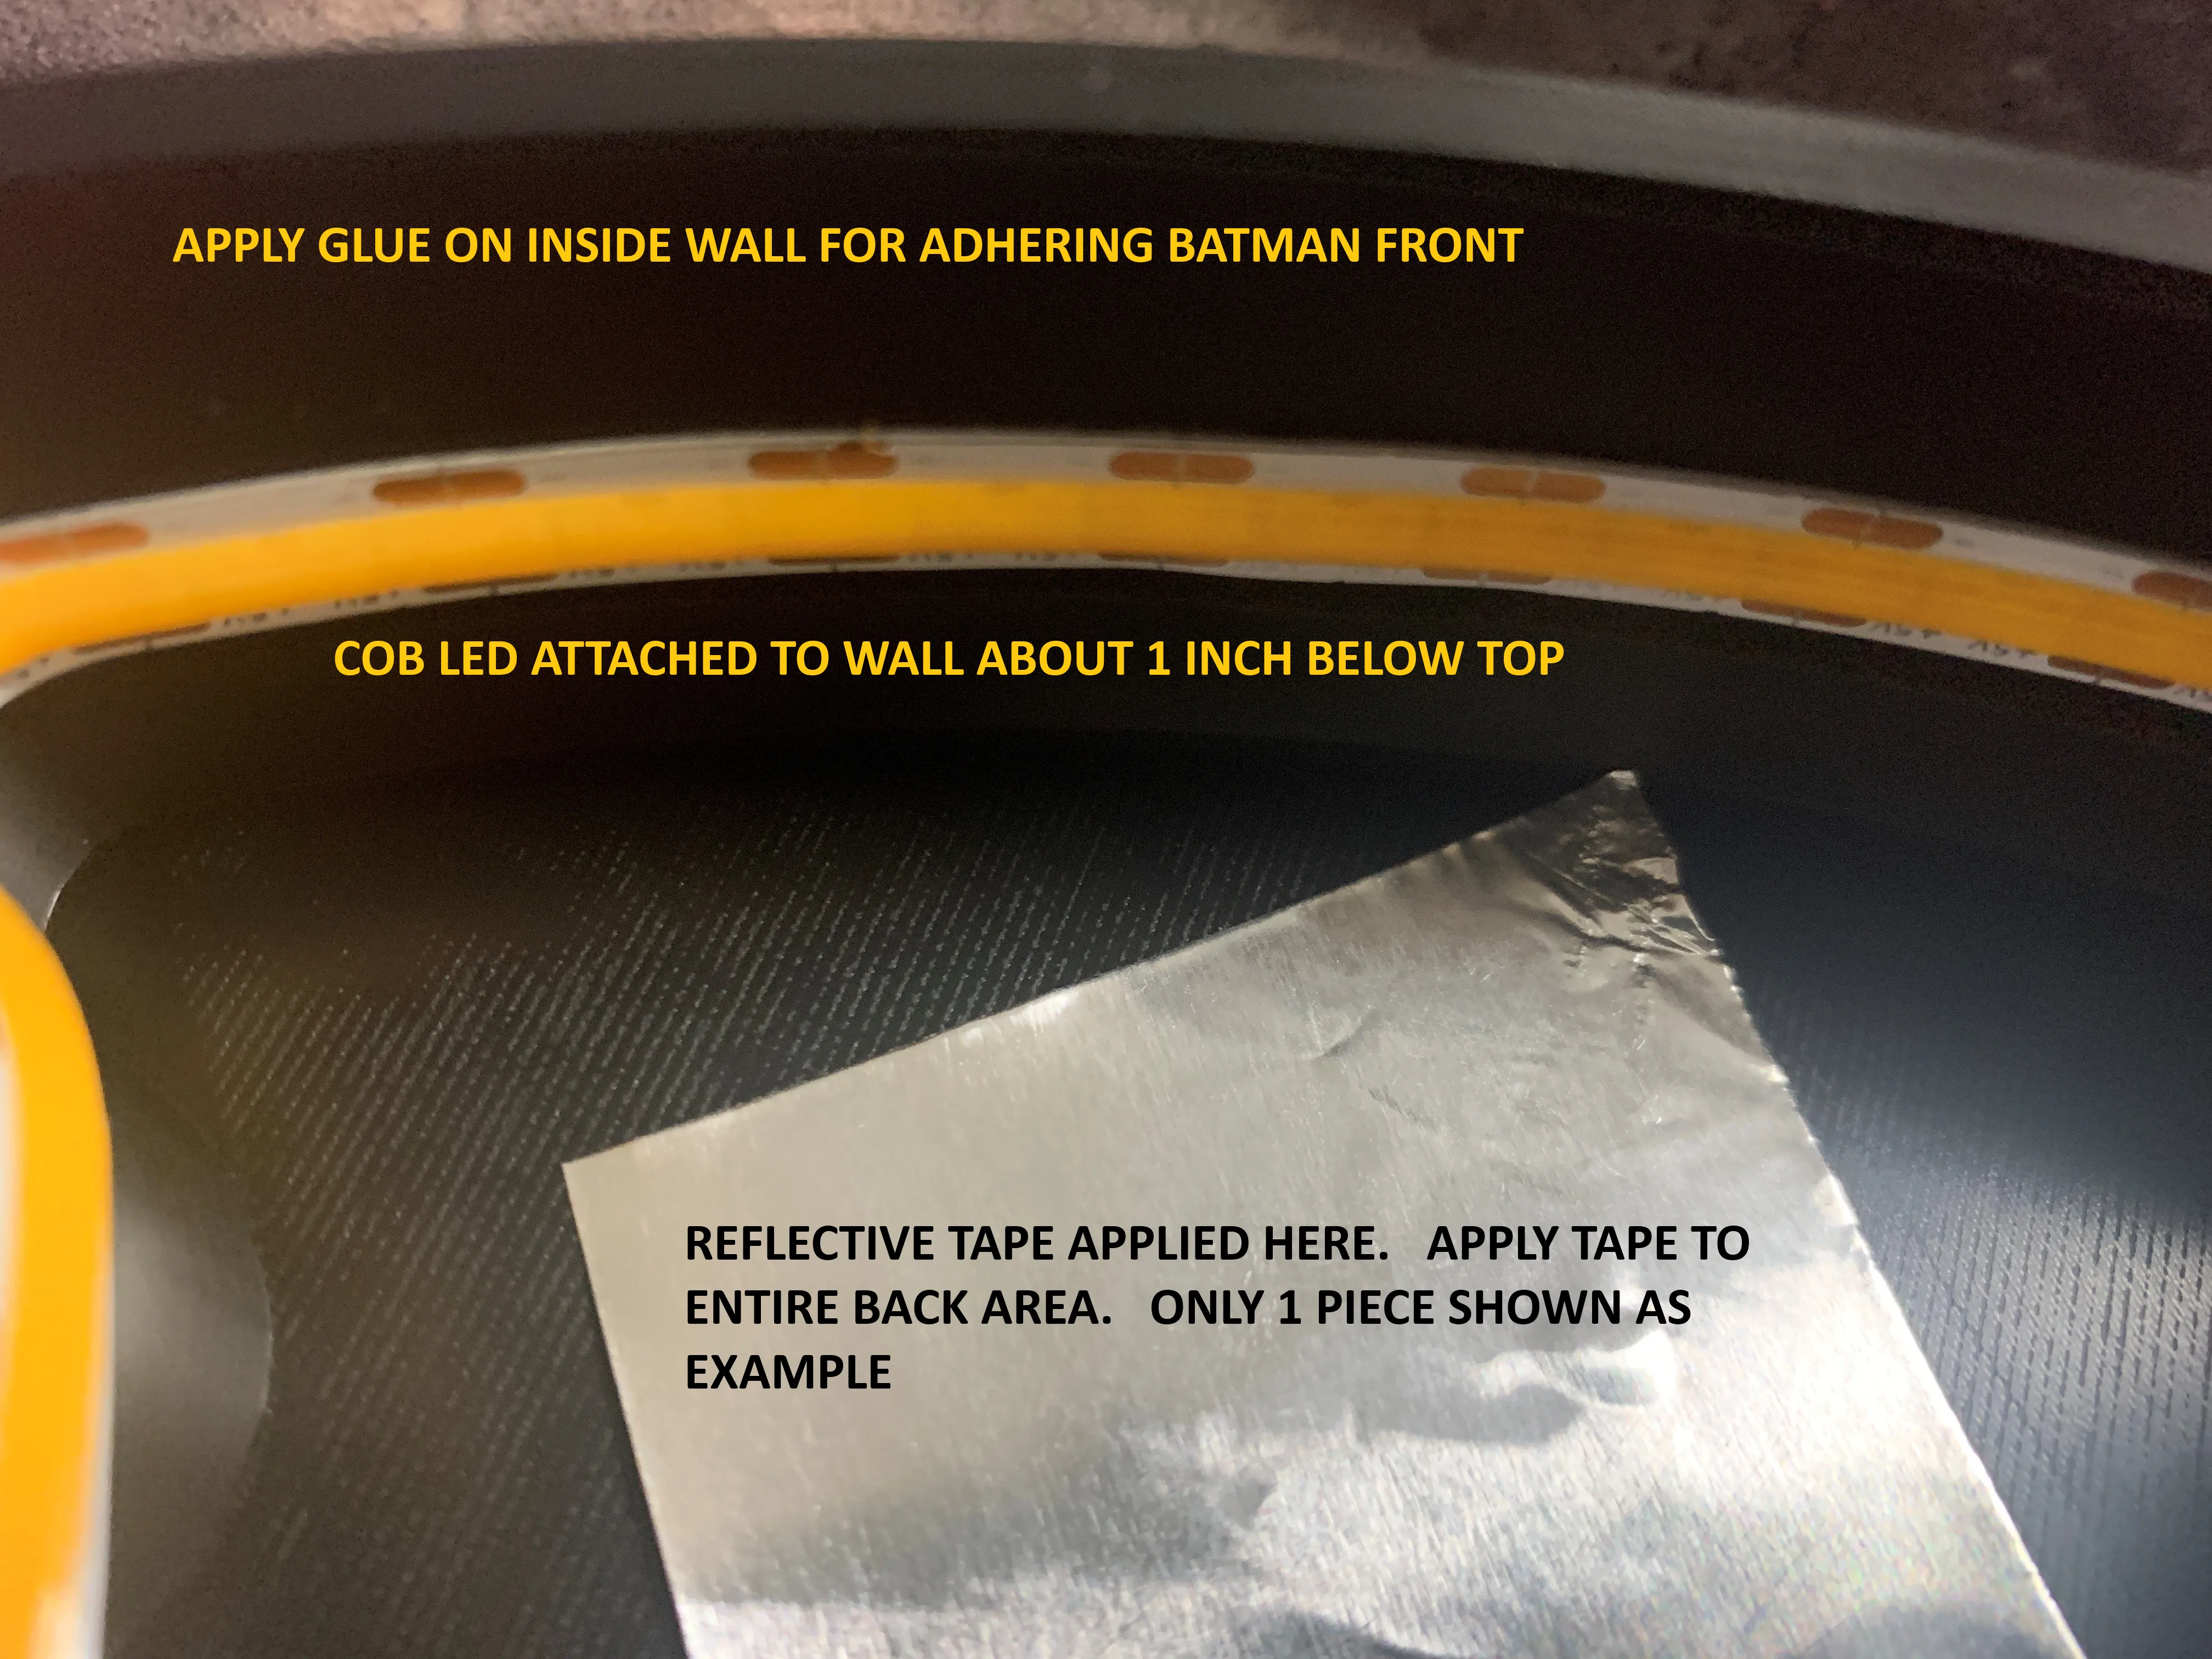
- Add reflective HVAC tape to the interior back of the light box
- Use Scigrip 16 glue to top edge of light box back
- Attach the front Batman lens to the lightbox back.
License

This user content is licensed under a
Creative Commons Attribution-Noncommercial-Share Alike


Comment & Rating (19)