
Compact Bit Box (pocket size driver bit storage)




Print Profile(6)


Description
| 😄 Welcome to GlennovitS3D. Join the Club on Printables.com to support creation of new models, get access to exclusive models, and get commercial rights, to sell prints of my models. Join today - GlennovitS3D - or check out my model collection 🗂️ |
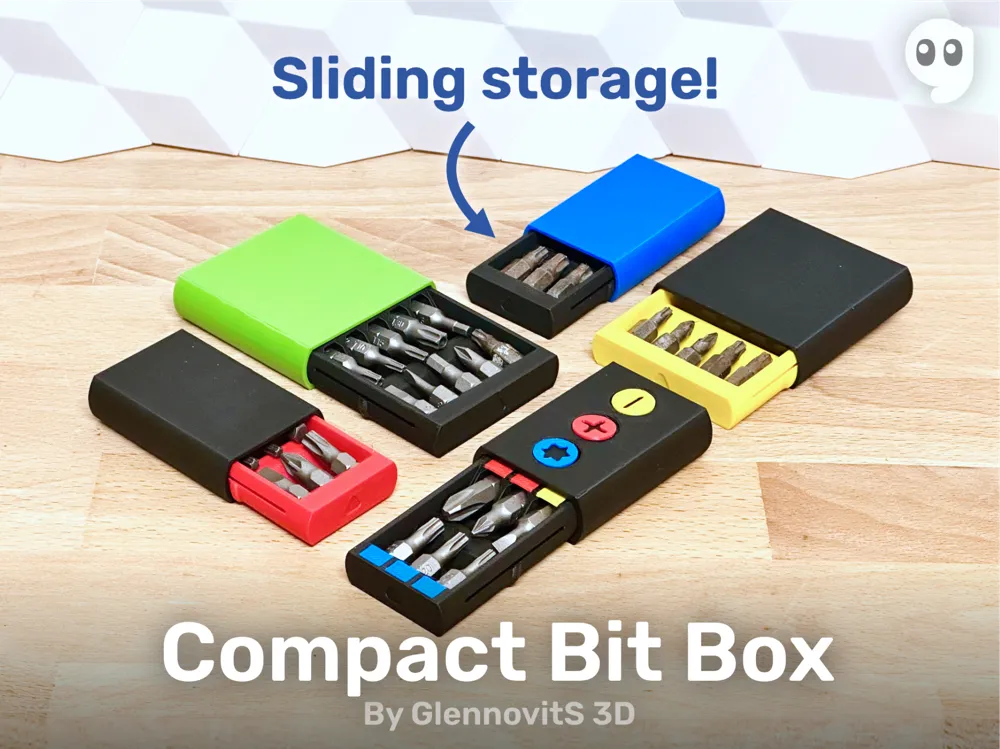
This is a small, compact and pocket-friendly storage case for driver bits. It comes in multiple sizes and styles.
Just bring the bits that you are actually using for your current project - and bring the bits in style! Print it in 1 or multiple colors.
There is even an option for you to costumize it with color coding for easy locating your favorite bit - enjoy!
Overview 🔍

The case is made to store 1/4" (6.35 mm) Hex driver bits in length of 25 mm.
The Insert (the part that holds the bits) and the Cover comes in 2 sizes for now:
- Small (6 bits)
- Big (10 bits)
The Cover comes in 2 versions:
- Simple (with a smooth surface)
- Icons (for different bit-types)
The version with space for bit-type icons, has 3 spaces for icons. You can choose from the following bit-types:
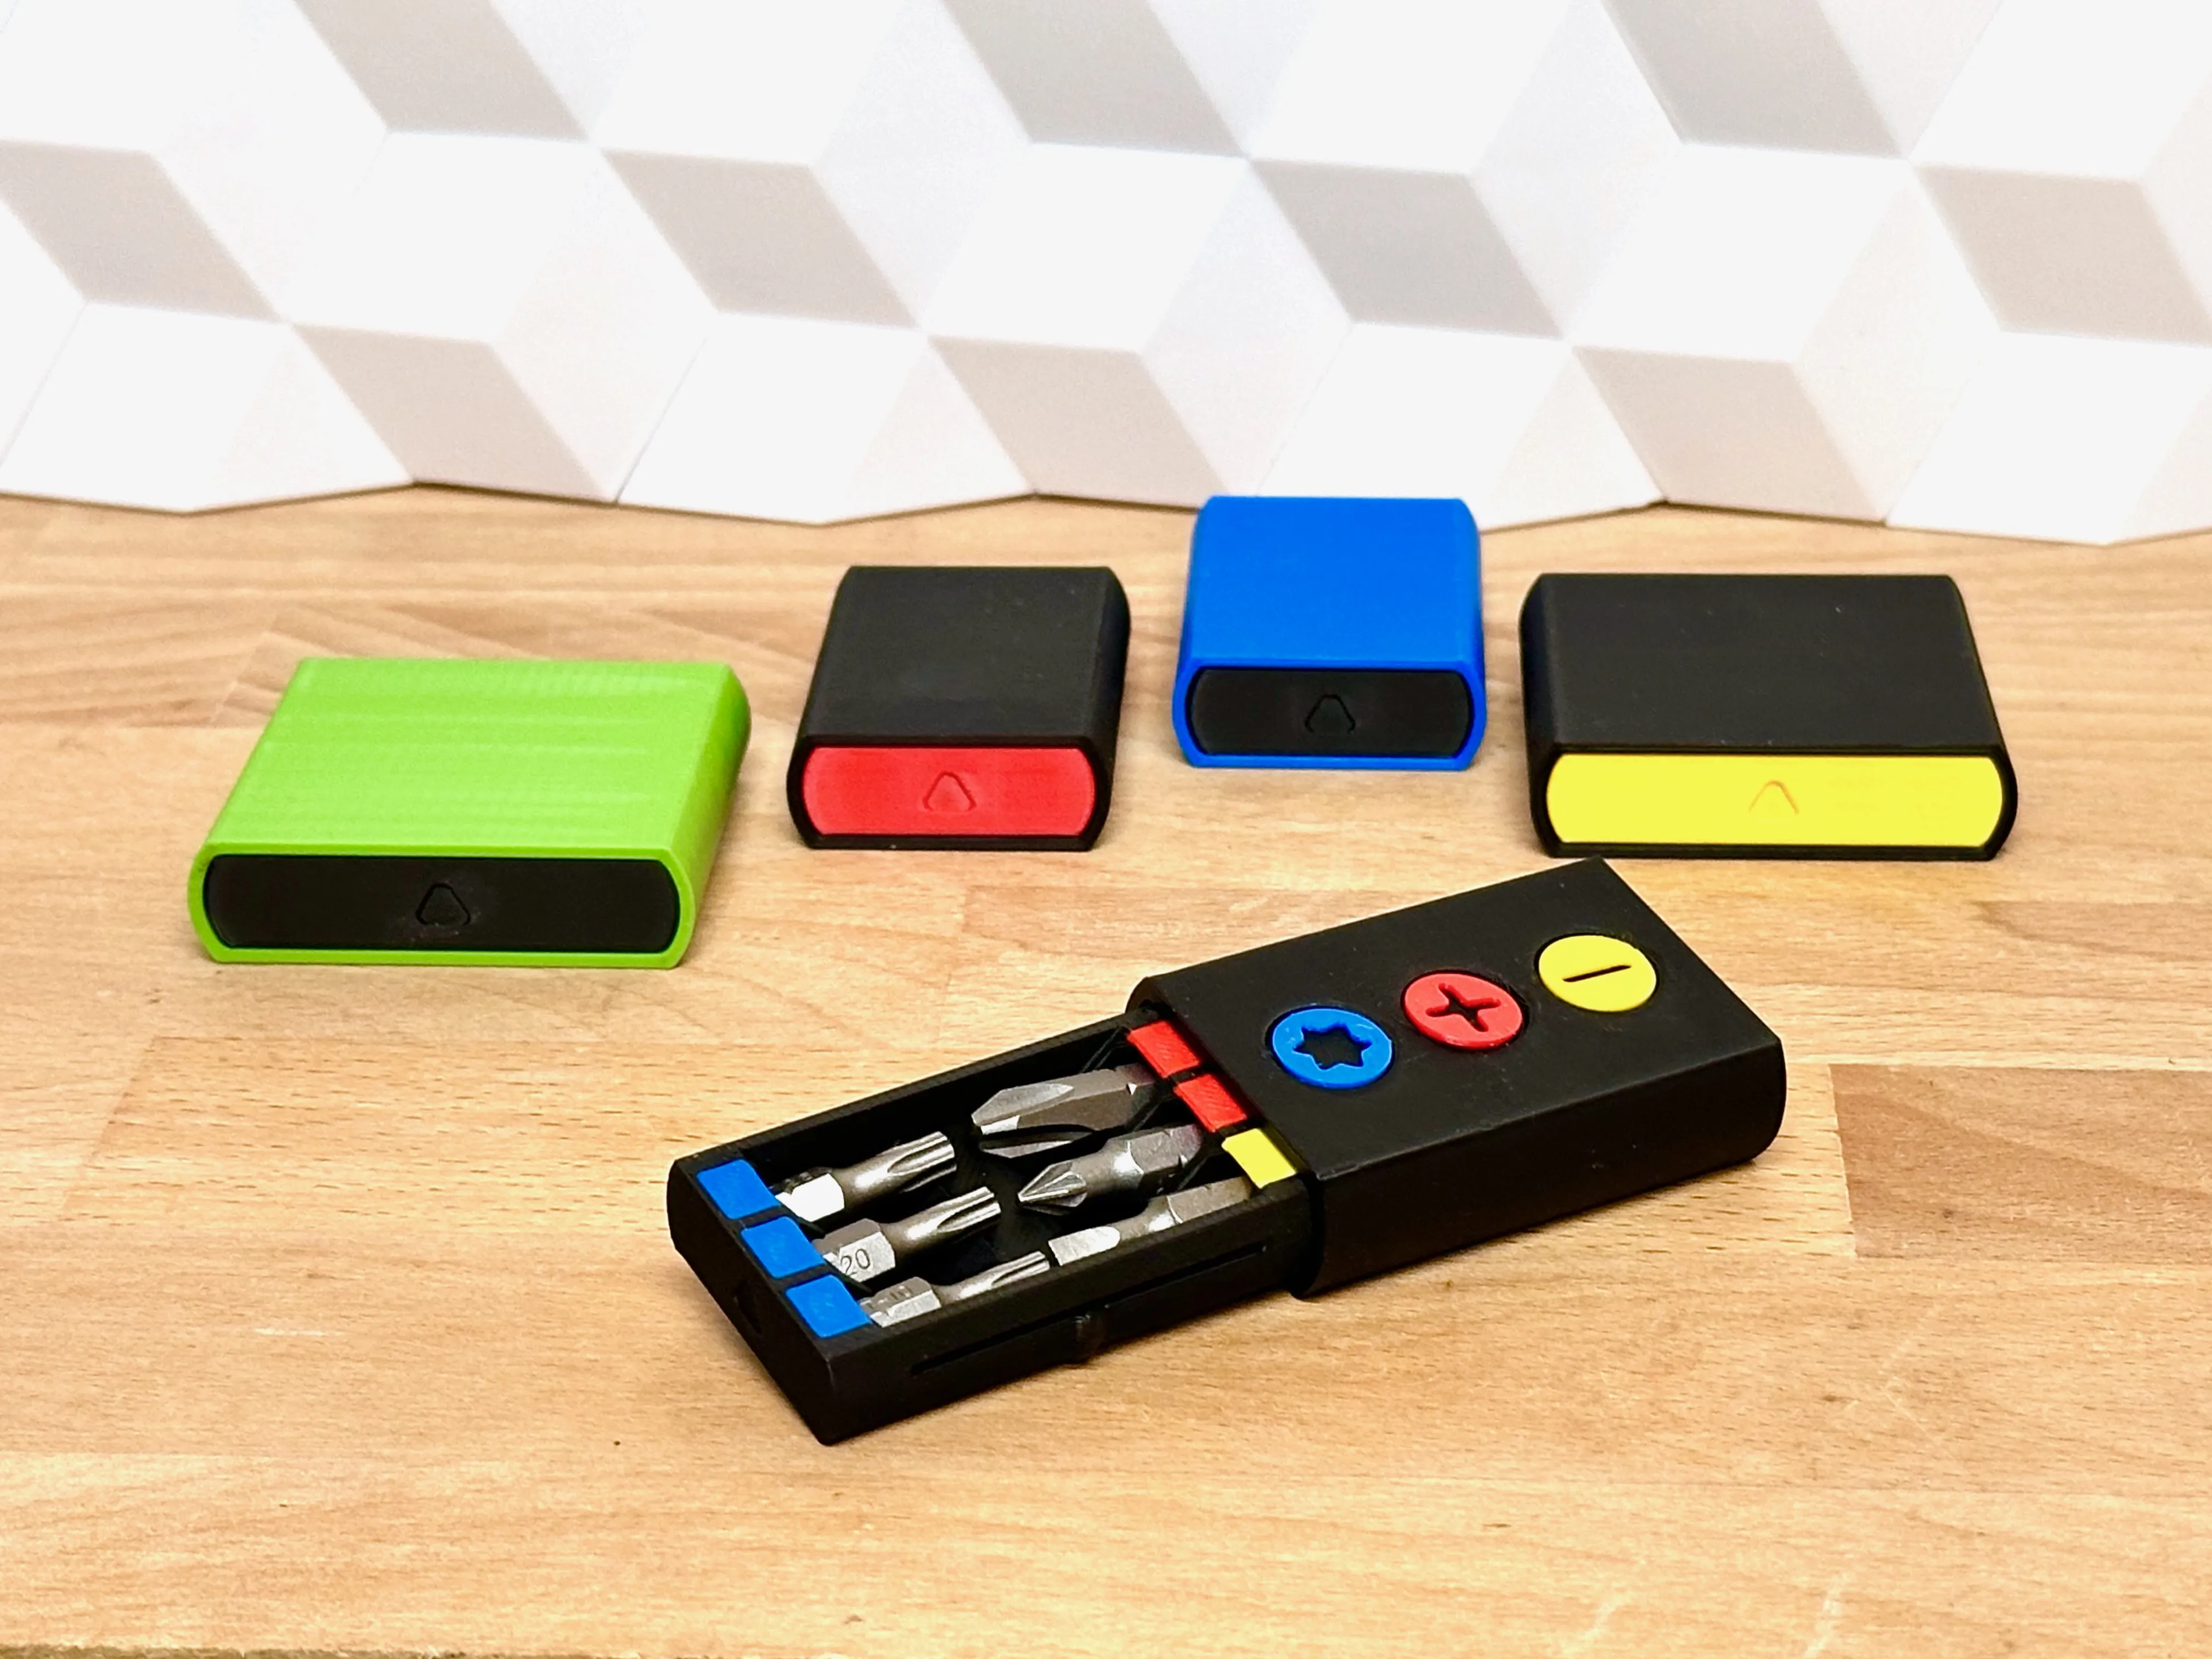
- Flathead
- Philips (PH)
- Pozidrive (PZ)
- Torx (TX)
- Hex
- Square
Multicolor prints 🎨
This is optional - but looks nice and help you take the right one in first try. You can do like this (in Bambu Studio):
- Import the Insert in the size you want
- Right click on the model and click on Split > To parts
- In the left pane Process click on Objects
- Select individual parts of the Insert and choose filament for each.
Assembly 🛠️
This is really simple! The Insert slides easily into the cover - done!
If you choose the cover with bit-type icons, you print those seperatly and glue them on the cover.
Print instructions 🖨️
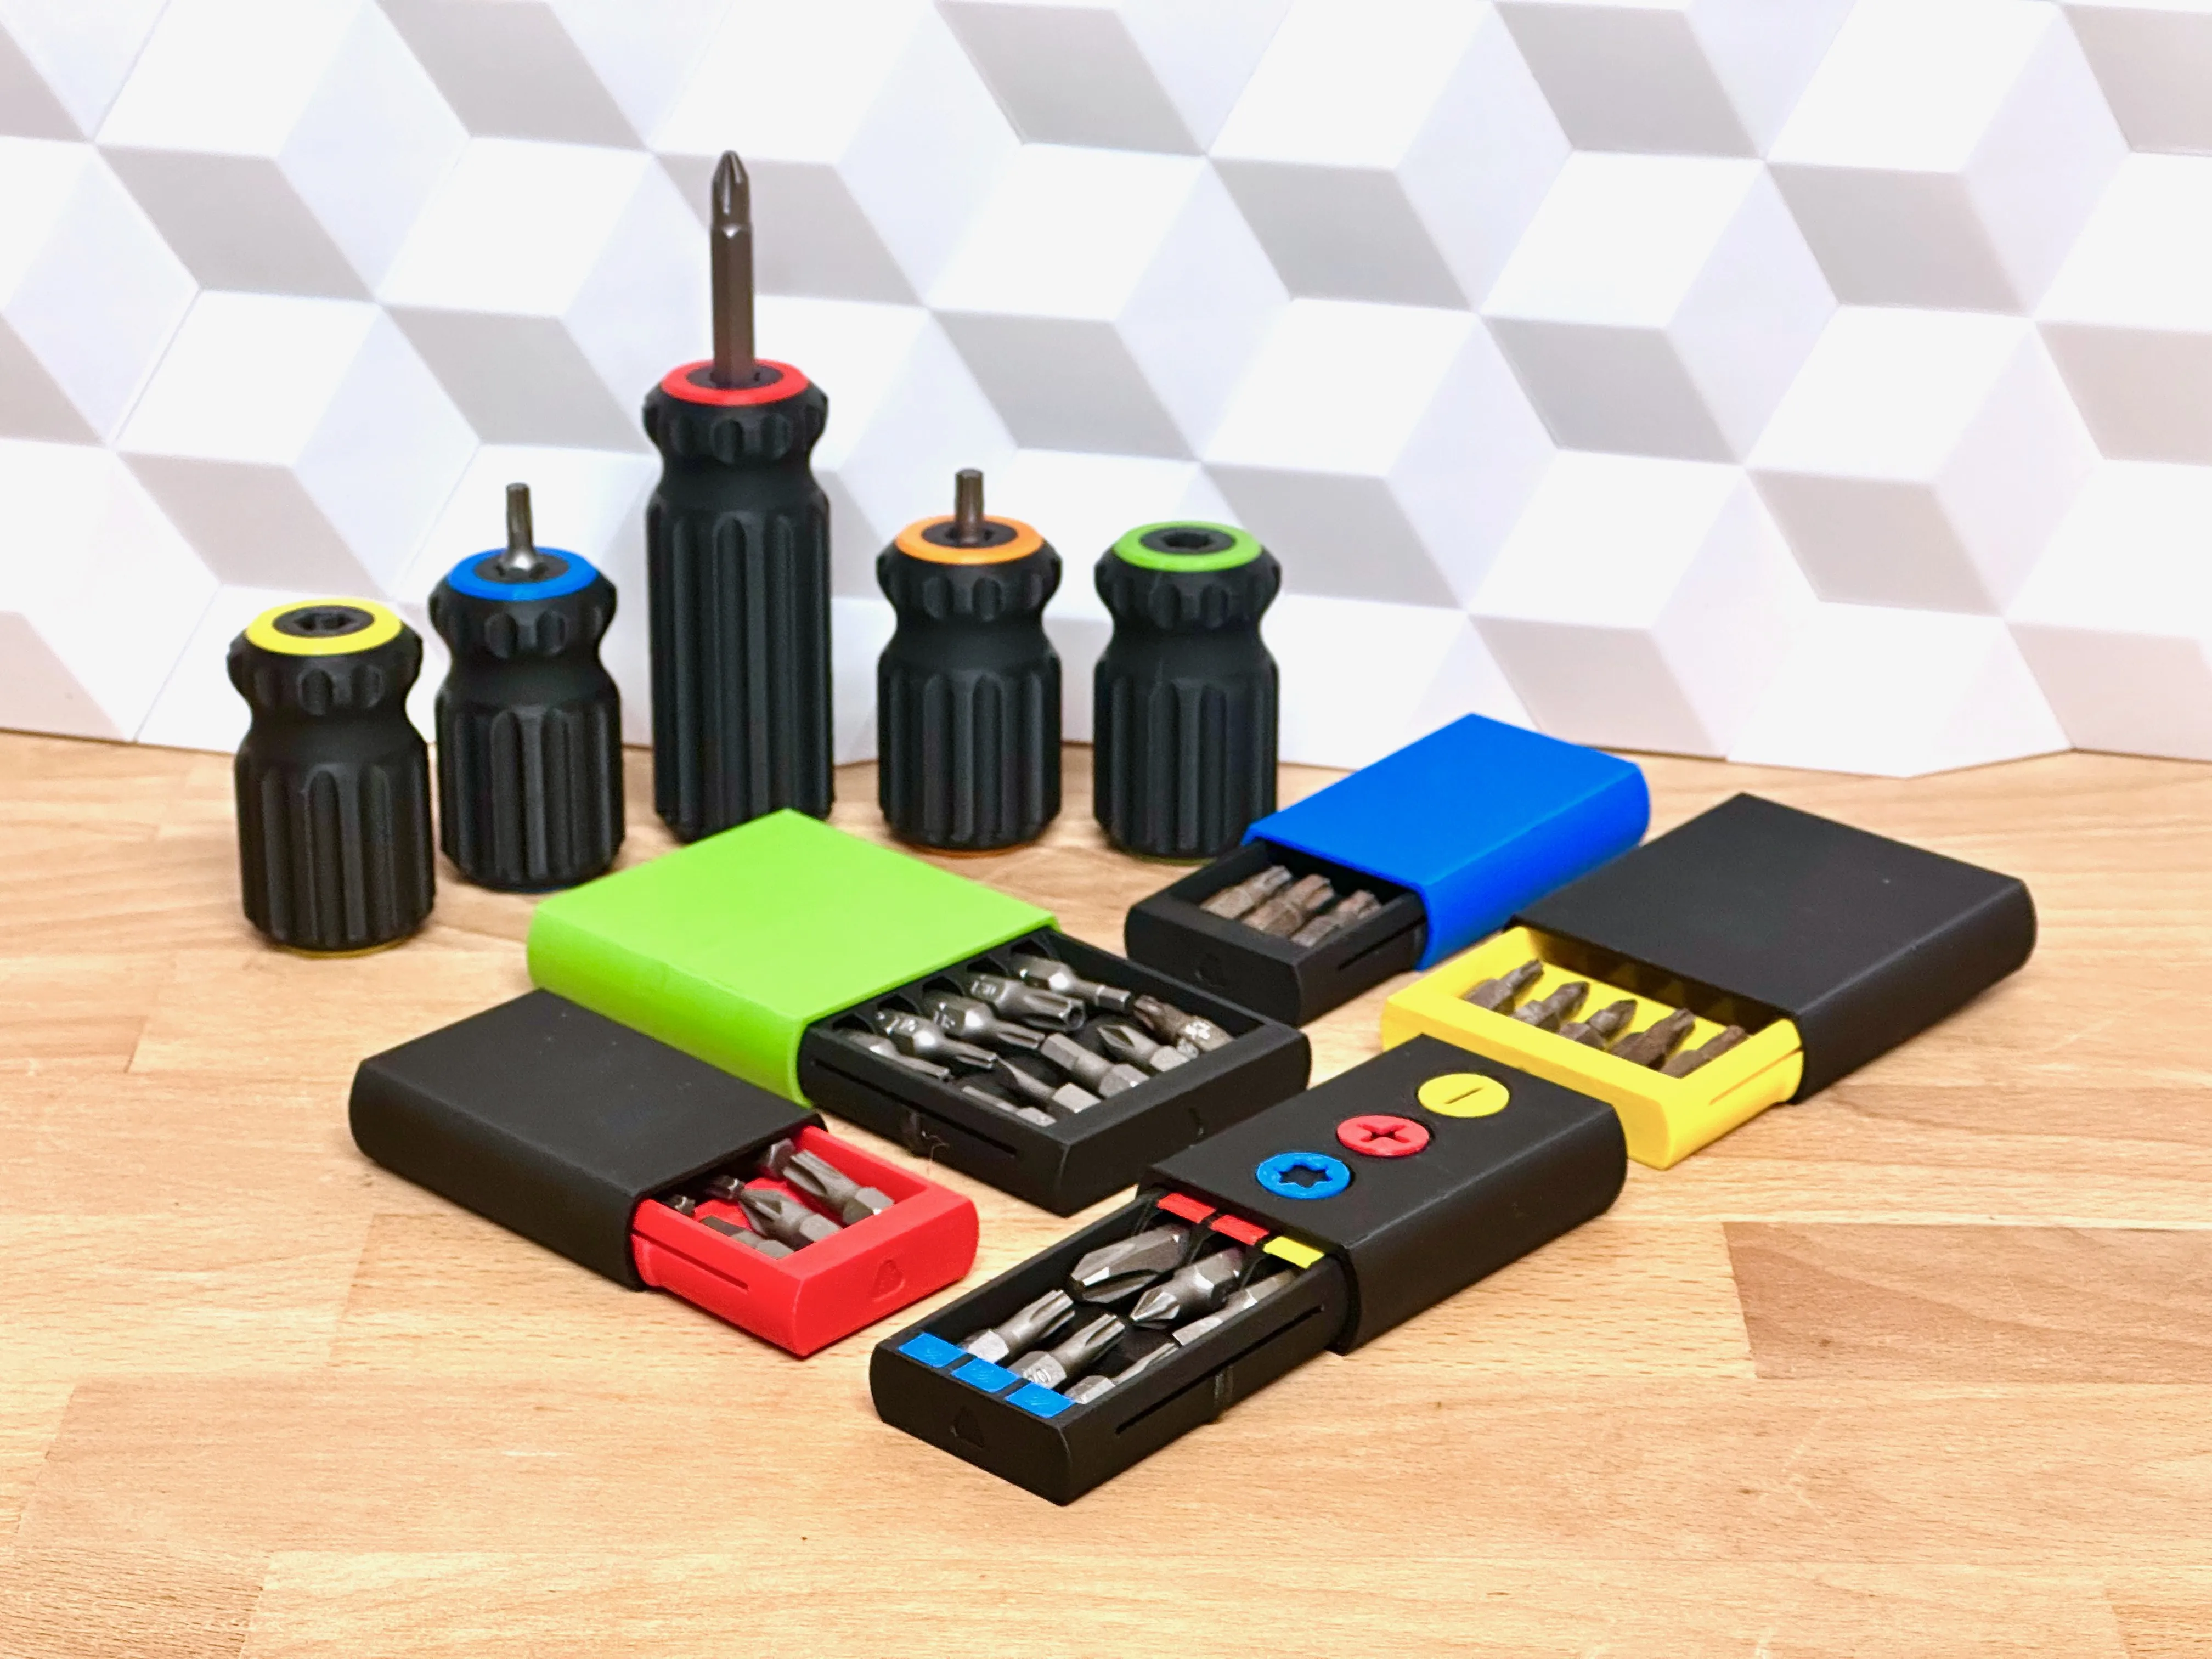
This is not too difficult. Here is a few tips:
- Brim: Yes for the Cover - that helps with bed-adhesion
- Orientation: The parts should be oriented correctly (the Insert flat on bed, and the Cover standing on one end)
- Supports: No - the print-in-place hinge prints without supports!
Need a driver/handle for the bits?
Also check out my Compact Bit Driver - to match your new DIY tool kit!
https://makerworld.com/en/models/417208#profileId-319582
Filament 🧵
I printed these in filament sponsored by FormFutura - and they work great! To be sturdy enough for practical use I used their Tough PLA mostly - and their Easyfill PLA for color organizing. If interested, check out their products here:
- Tough PLA (aff): https://formfutura.com/product/tough-pla/?aff=11
- Easyfil PLA (aff): https://formfutura.com/product/easyfil-pla/?aff=11
Happy printing!
License

You shall not share, sub-license, sell, rent, host, transfer, or distribute in any way the digital or 3D printed versions of this object, nor any other derivative work of this object in its digital or physical format (including - but not limited to - remixes of this object, and hosting on other digital platforms). The objects may not be used without permission in any way whatsoever in which you charge money, or collect fees.


Comment & Rating (142)