Sidewinder Fidget Knife
Sidewinder Fidget Knife


Print Profile(3)


Description
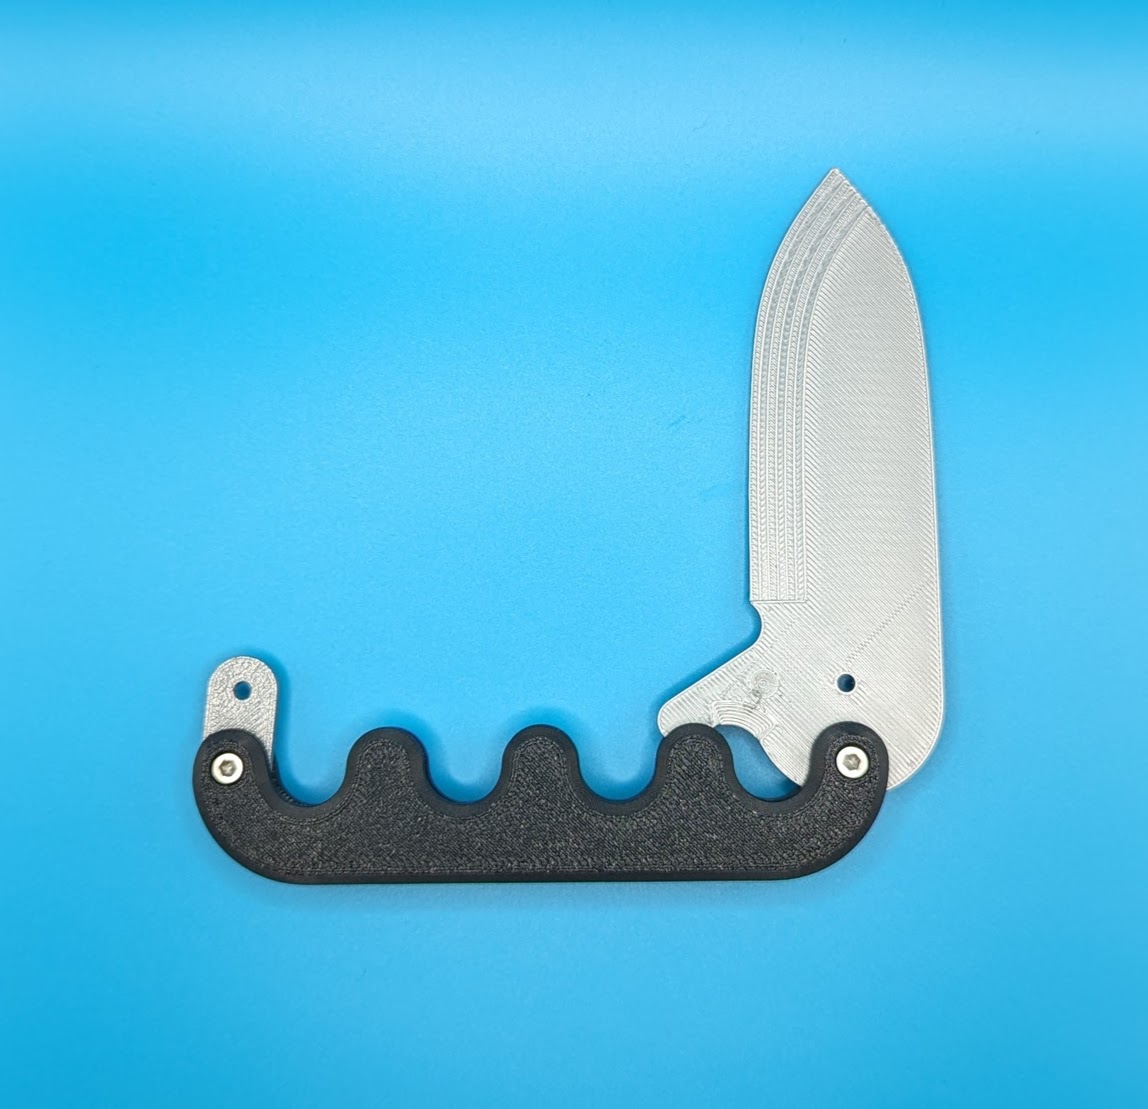
I was inspired by a cool new knife design introduced in the Sidewinder knife from Craighill. The knife has two sets of wave pattern scales that pivot past each other as the knife opens and closes. I’ve recreated the knife in two 3D printable version that I find to be a nice fidget toys. The two version are:
1) WITH a ball detent: This version has a printed ball detent to hold the blade while in the closed position and allows the flipper tab to deploy the blade with reasonable force. The mechanism and action are more true to the original design and a typical flipper tab knife.
2) WITHOUT a ball detent: This version easily flips in and out with the flick of your wrist (the flipper tab is not used to open this version).
I realized during the design phase that this version makes an even better fidget toy because of the quicker flipping action.
Printing
Print setting of 0.2mm layer and 15% infill with PLA work well.
I printed all my test versions without supports, but it does require pulling out a few pieces of loose filament from the four holes for the screw heads.
Assembly
You will need 4 - M3 x 10mm screws for assembly
The four scale pieces (handle pieces) look similar but each one is unique so they are labeled on the inside as 1, 2, 3, 4 to make assembly easier.

While not necessary, smoothing the eight pivot points slightly will help the mechanism run smoother. Because PLA has such a low melting point, you can do this by simply placing the pivot point face down on a smooth, durable surface (Formica, stone, metal etc.) and rub it back and forth 3-4 times.

Make sure the screws go through the holes in scale 1, scale 3, the spacer and the blade freely before assembling. If there is any binding, push the screw in and out a few times to abrade the edge of the hole and make it run free.
I recommend starting assembly by connecting scales 1 & 2 with the spacer and blade as shown below, then attach scales 3 & 4 to the remaining holes. The holes in scales 2 & 4 are size to allow the M3 screws to threaded into them. A drop of light oil on each pivot during assembly will also help improve action smoothness.
Adjust the tightness of the screws so the mechanism runs freely. For the version with the ball detent, adjust the tightness of the two screws in the blade end until the detent gives you the desired snap when you push the flipper tab. Pinching the handle just down from the flipper tab during deployment also helps the blade snap out more quickly.
Enjoy!
Comment & Rating (15)


