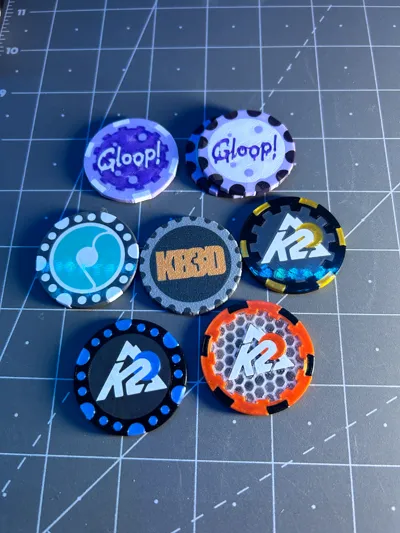
A MakerChip is a customizable token designed for 3D printing enthusiasts. It serves as a creative outlet for personalization and a practical tool for advertising and showcasing your 3D printing capabilities.
Customizable Design: You can personalize MakerChips with logos, QR codes, or other designs, making them suitable for various applications such as promotional items or collectibles. My templates can help you get started, but the only rules are size.
DIY Instructions:
First Rule of MakerChip, It's called a MakerChip, not a coin 😀
Size Matters!A MakerChip is 40mm dia.. x 3mm to 3.5mm thick.
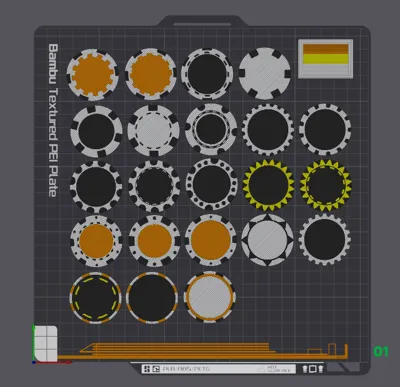
Open Bambu Studio
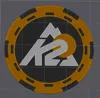
Drag/Drop the Base Circle into slicer - K2_MakerChip_v1-Back.stl.
Add the version of Chip Decoration you want to use.
Center the Chip decoration
Switch to Objects view (In the Process dialog box in the slicer - Photo Included)
Select objects, right click and Merge.
Slice to check your MakerChip Top and Bottom!
HINT: If you have issues with bed adhesion or printing fine details, VisionMiner - Nano Polymer works AMAZINGLY!
HINT: Smooth build plates will show higher definition/details on your face down chips (ALWAYS SET to Textured, even when using smooth plate for more squish on the first layer).
NOTE: “Trim the fat…” removing “http://” and using the shortest version of your URL will produce the easiest QRCode to print/read. (ie. k2designlab.com - NOT https://www.k2designlab.com/)
Create your QR code as STL
Size is 26mm for most chips (you can always scale in the slicer)
QR-Code z-height only need to be 0.6mm to 0.8mm.
Size your QR-Code to fit your Maker Chip. You can scale, but be sure to maintain your .8mm height.
Select the chip and flip it over, then center the QR-code from below like you did with your logo.
In the Objects view, select your QR-Code, then select the assembly (so both are selected), right click and merge/combine.
Dont forget to flip it back over once merged.
Slice to verify you completed this correctly, and Print!
(Internal NFC - Placed inside your MakerChip) Link to purchase NFC Chips below in Bill of Materials
Using sample profile I provided. (NFC MakerChip Sample)
You will notice I added a Generic-Cylinder. This is a negative space modifier that provides a 1mm x 25mm circle space in the center of the chip.
You will also notice a PAUSE (After you slice) at layer 10.
Send to printer…
When your Printer pauses, you insert your NFC TAG. I prefer to use the adhesive NFC tags, so the printer fans don't cause NFC Tags to move after placed.
After the Pause, you will noticed the printer will start the next layer which bridges over your NFC Tag, very little if any contact with your NFC Tag and the Hot Nozzle.
IMPORTANT NOTE: If you slice and you find an object is not being displayed. Adjust the objects order in the merged assembly. Simply drag up/down and slice to see the results. I have also seen strange/failed results when painting objects in the slicer. Paiting can cause issues with merged objects.
HINTS:
Rub the tops (QR-CODE sides together to smooth that face of the print).
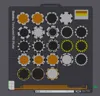
Hey MakerChip Collectors! Guess what? You're in for a treat! You can be one of the first to add your MakerChip to the brand-new/beta MakerChip Catalog.


Comment & Rating (774)