SCX10.3 JL Front Bumper
Remixed by
Copyright Claim
SCX10.3 JL Front Bumper
Remixed by
Boost
6
4
6


Print Profile(1)

PLA - 0.12mm layer, 2 walls, 15% infill
Designer
5 h
2 plates
Open in Bambu Studio
Boost
6
4
6
1
9
6
Released
Description
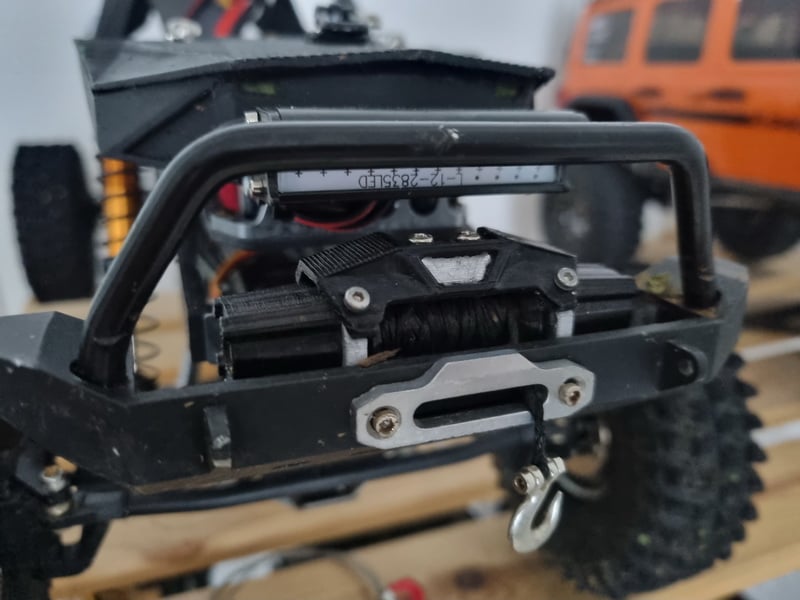
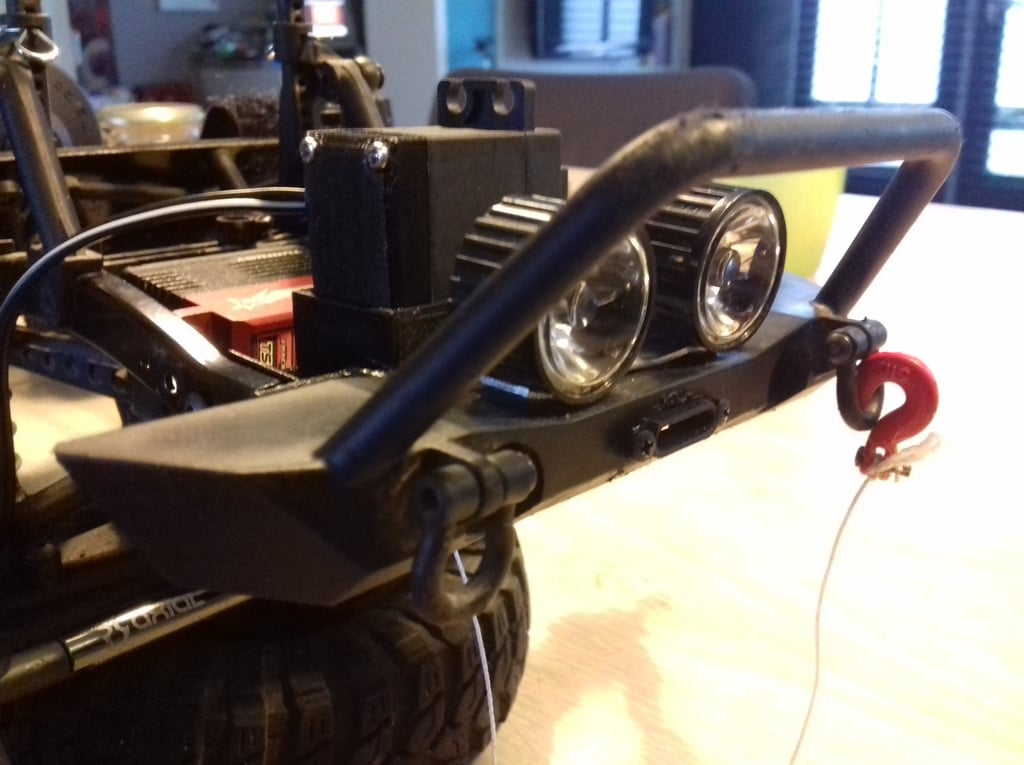
SCX10.3 JL Front Bumper
Features:
- Scale Accurate Front Bumper
- Low Profile Mopar Grill Guard
- Winch with detachable fairlead and spinning spool
- Fog lights that accept LEDs
I've ran this setup for about 15 wheeling hours and counting. My part is printed in PLA-CF. I have had multiple frontal impacts, nothing at high speeds but the part is holding up very nice so far. Its worth noting that my rear bumper has broke before so I'm expecting this front bumper to eventually break as well, I would recommend printing in ABS but PLA will work as well just be ready to reprint.
How to print:
- Bumper
- Use standard supports, it should be faster and bottom finish should look better
- Fairlead
- Use standard supports, the part is slightly curved
- Fog light housings
- Use Bambu's built in color tool to color the top portion of the fog light to which ever color you like.
- Its recommended to use filament with transparent properties for this part
- Top Winch Plate
- Place upside down, and use standard supports
- You may need to use a brim on the smaller parts if you have issues with bed adhesion
Assembly:
- You will need:
- Glue. I recommend Gorilla Glue (Affiliate link).
- M3 & M2 Bolts.
- Use 2 3M bolts to secure the fairlead to the bumper
- Use glue to secure the hooks to the bumper, I recommend using hot glue for this but Gorilla glue should be OK as well.
- Optional, if you want to actually have a winch lead, I recommend purchasing this kit (Affiliate link) and spooling it on the Winch Spool.
- Pull the winch cable through the fairlead and attach the hook & clamp it down
- Use 2 3M Bolts to secure the spool to the winch
- Use 2 2M Bolts to secure the Top Winch Plate to the Winch
- Insert LEDs into the Fog Light housing
- Mount the bumper to the vehicle
- Use glue to attach the fog light housings to the bumper
Comment & Rating (6)
All

Boosted
Hi Arthur, after printing the bumber in PETG i had big problems removing the support between the lower skitplate and bumper. Perhaps this was to be expected. Then I printed only the lower part in PLA+ to see if the problem persisted.
Perhaps it went a bit better but stil not really great. I found a bumper design without winch and plate on Cults. Thanks anyway.


The designer has replied
0
Reply

man that doesn’t look good. sorry to see that it printed like that. I believe I printed mine with PLA CF. I had to print it like 4-5 times while designing it and it came out consistently as decent as you can expect it to come out with so many supports. I used filament cutting pliers to remove supports and they did come off fairly easy. I’m curious what printer did you use to print it? I would play around with the support spacing for PETG. PETG bends so it’s harder to remove as support material while PLA just snaps off.
0
Reply
Boosted
I have a P1S and this is my first printer, so I’m learning every day something new. It’s a good idea to dig into tweaking support settings. Not a big deal that it didn’t work. Your scx10 is looking pretty neat! Thanks for your reply and advice.
0
Reply
Replying to @user_2673142760
I notice that on, I’m assuming your PLA print, the bottom skid plate has weird rings; as if support wrapped around the slots. do you see them when slicing? if you do, try to play around with support settings until in the slicer all blue/red areas aka overhangs are covered by support but they also do not wrap like that on the grill. you could try to rotate the part to see if you get better looking supports like try placing the front of the bumper on the build plate, front facing finish may not be that good doing it like that but it may be better than what you go previously. trust your slicer though, you will get what slicer shows.
0
Reply
Boosted
Thanks for sharing Arthur, coming weeks I will try to print it in ABS.
0
Reply

Print Profile
PLA - 0.12mm layer, 2 walls, 15% infill
0
Reply
No more
This remix is based on

License
This user content is licensed under a
Creative Commons Attribution-Noncommercial-Share Alike


© 2024 MakerWorld