
Darkstar Plane Kit Card


Print Profile(6)



Description

Boost Me (for free)
Like this model? Boost it! Boosts help the designer create new models.
Membership
Join the commercial membership to sell physical prints of this model
Overview
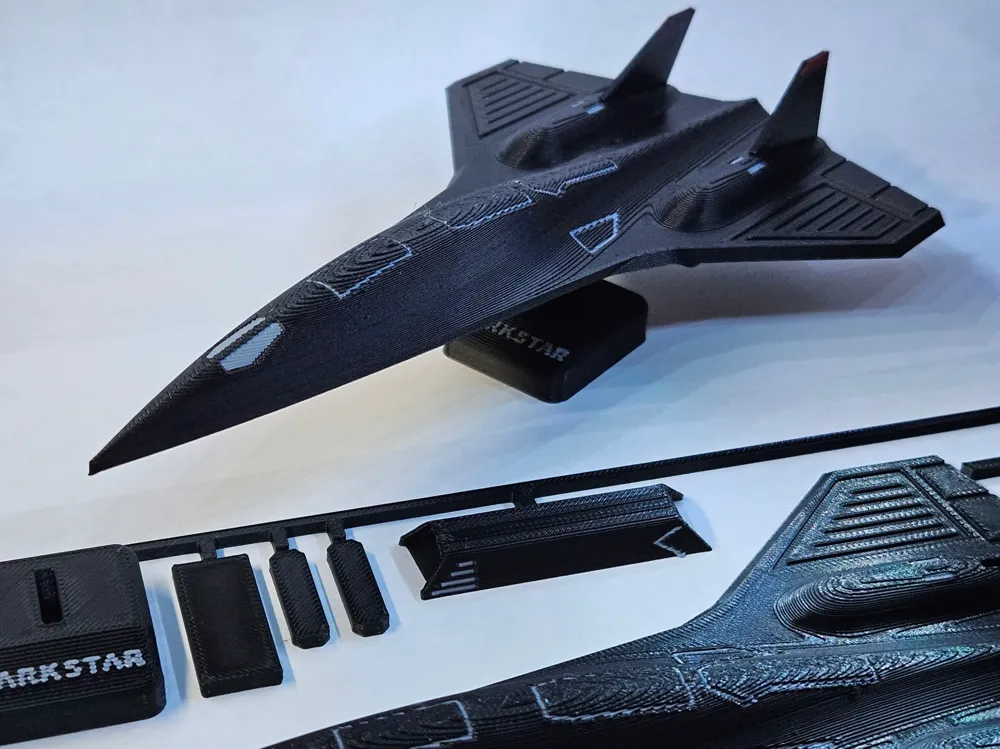
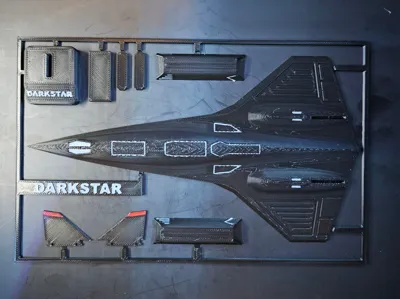
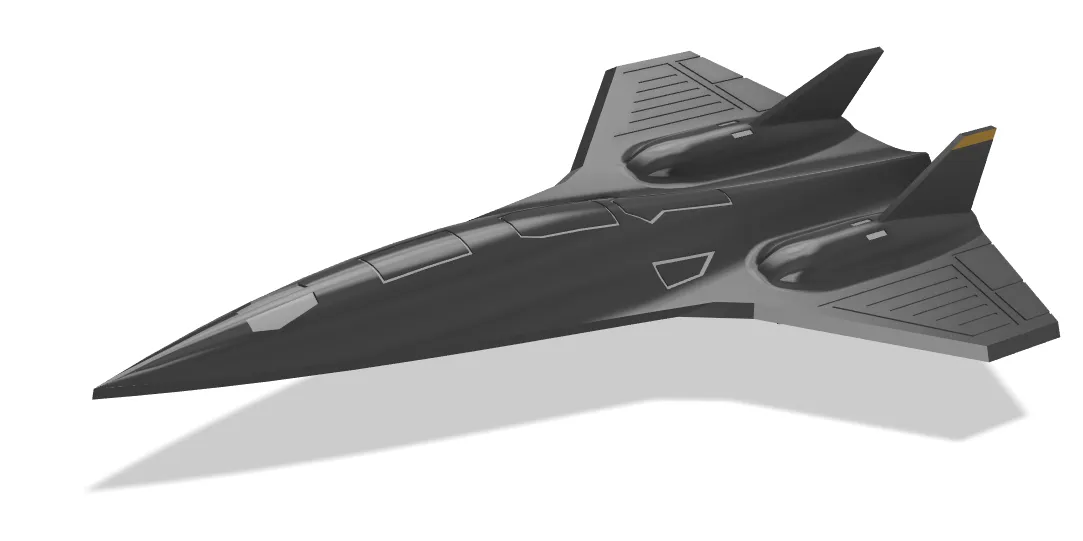
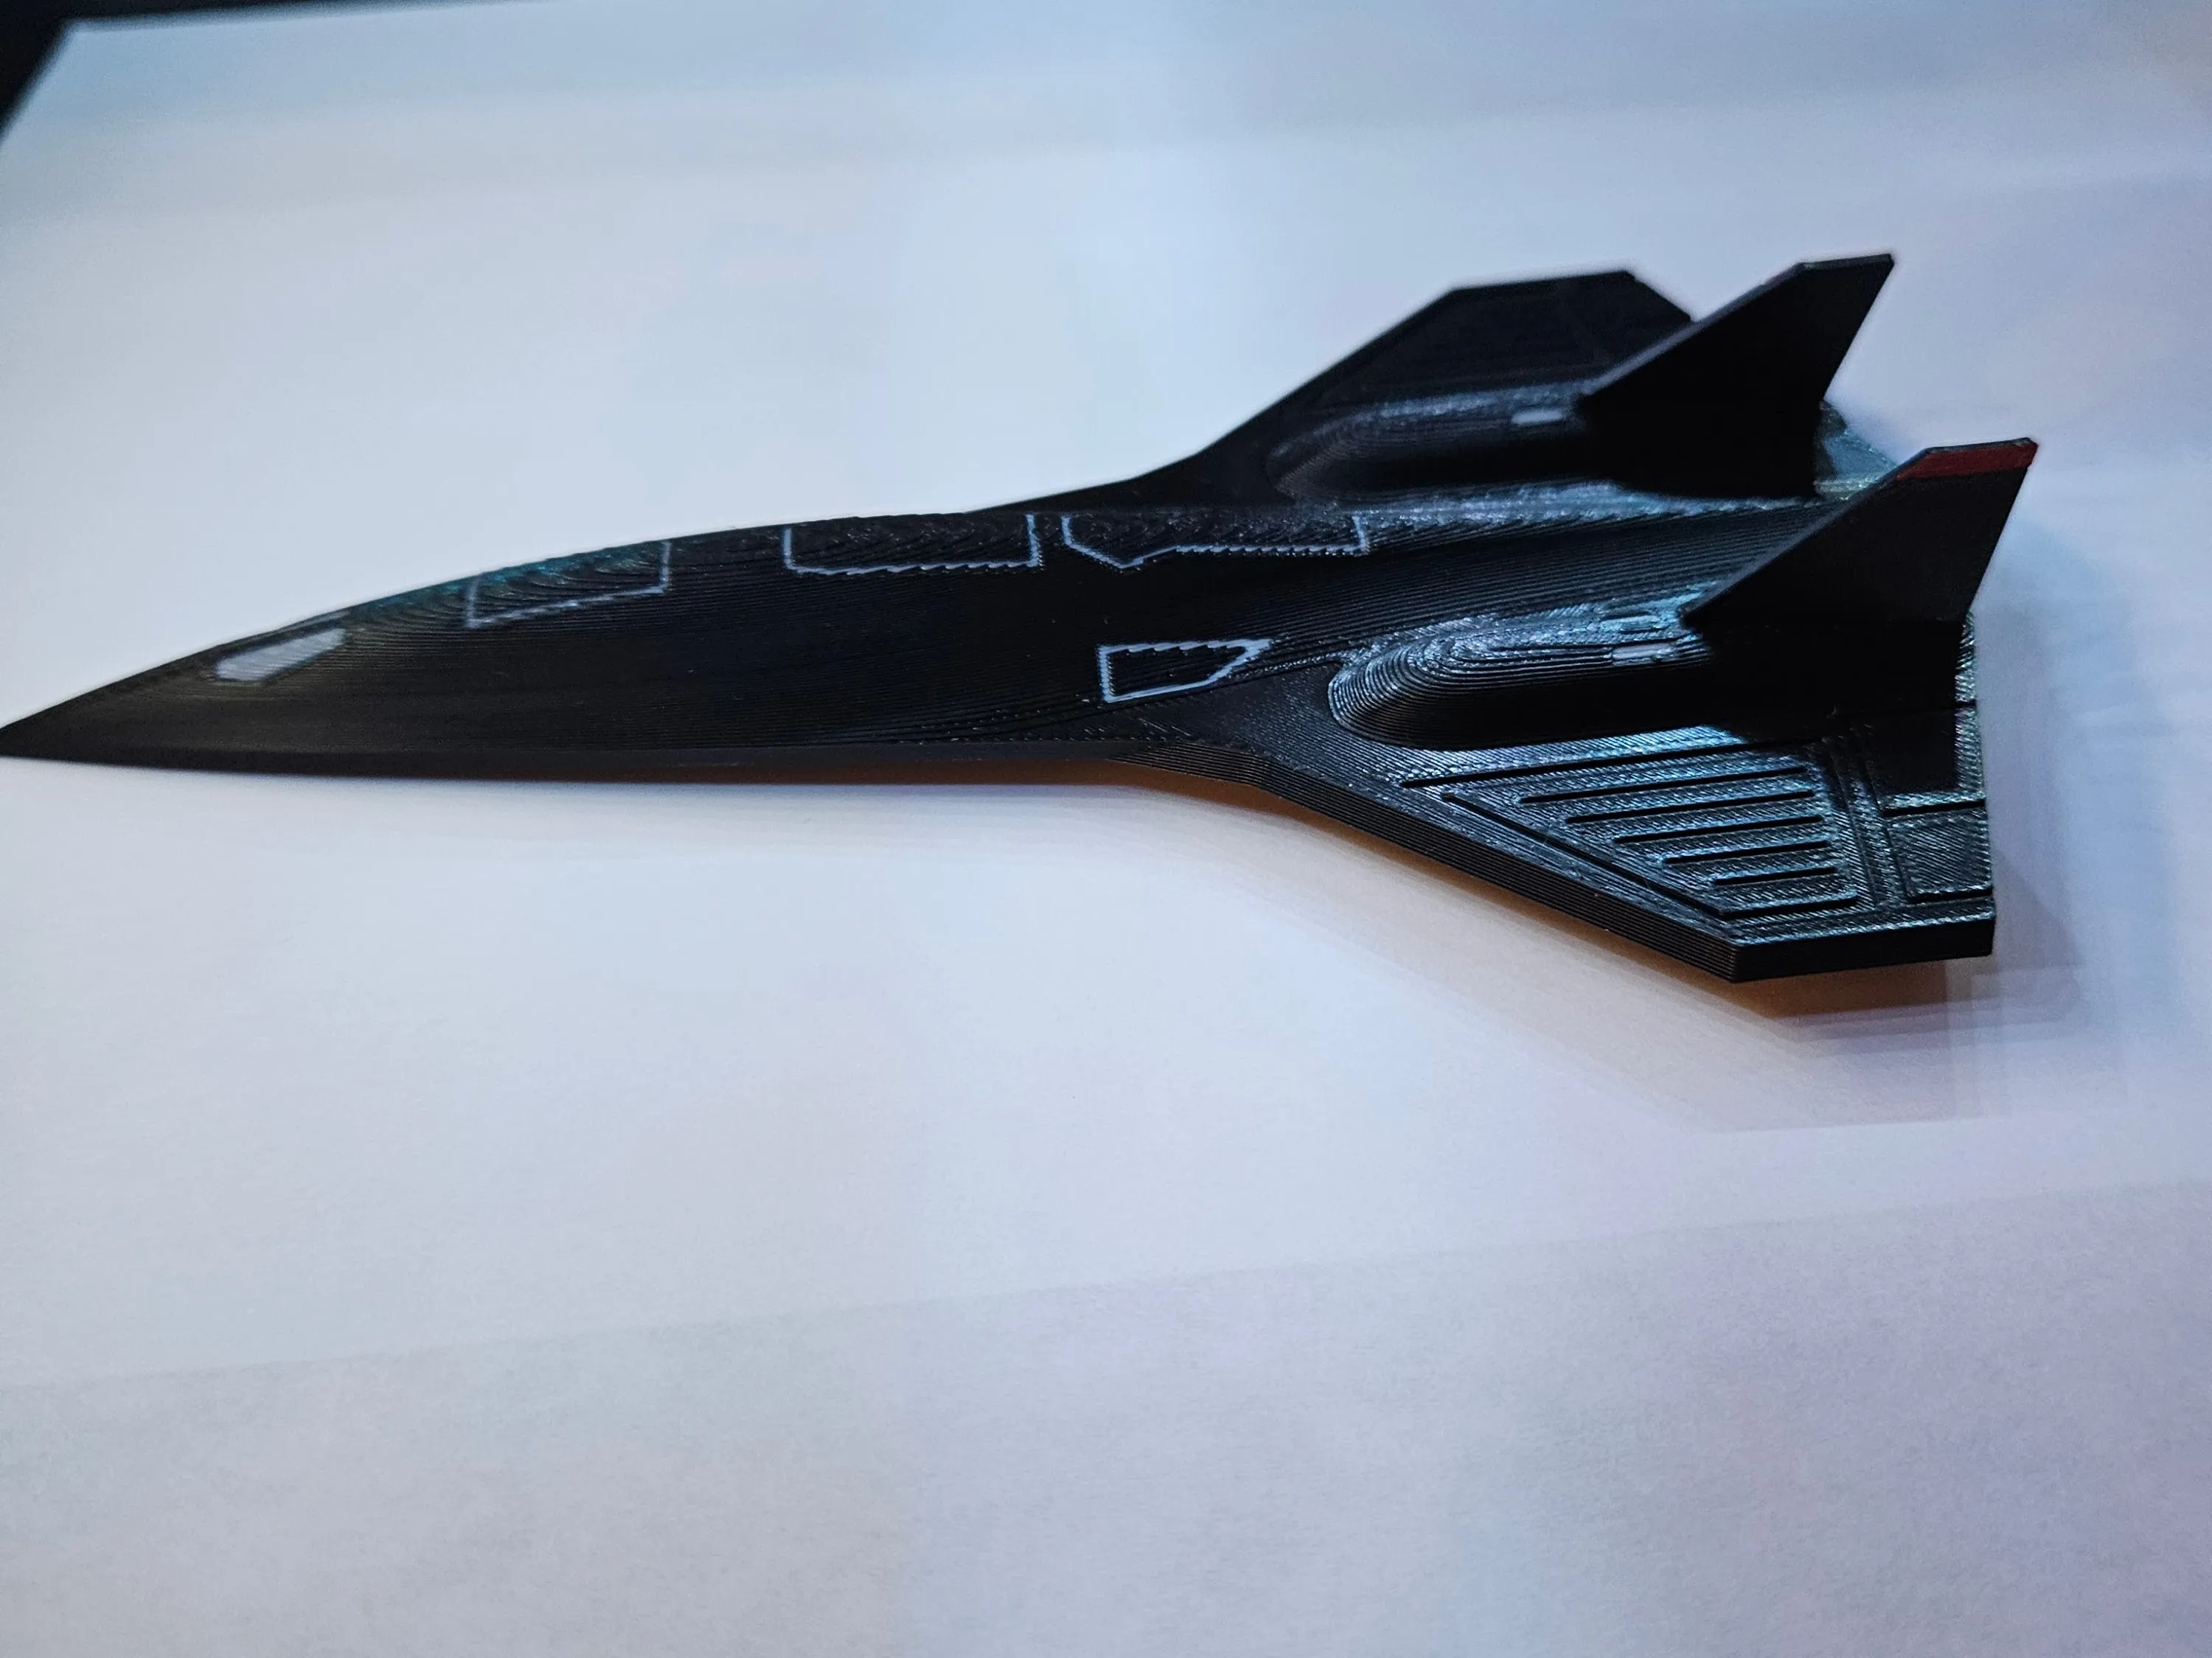
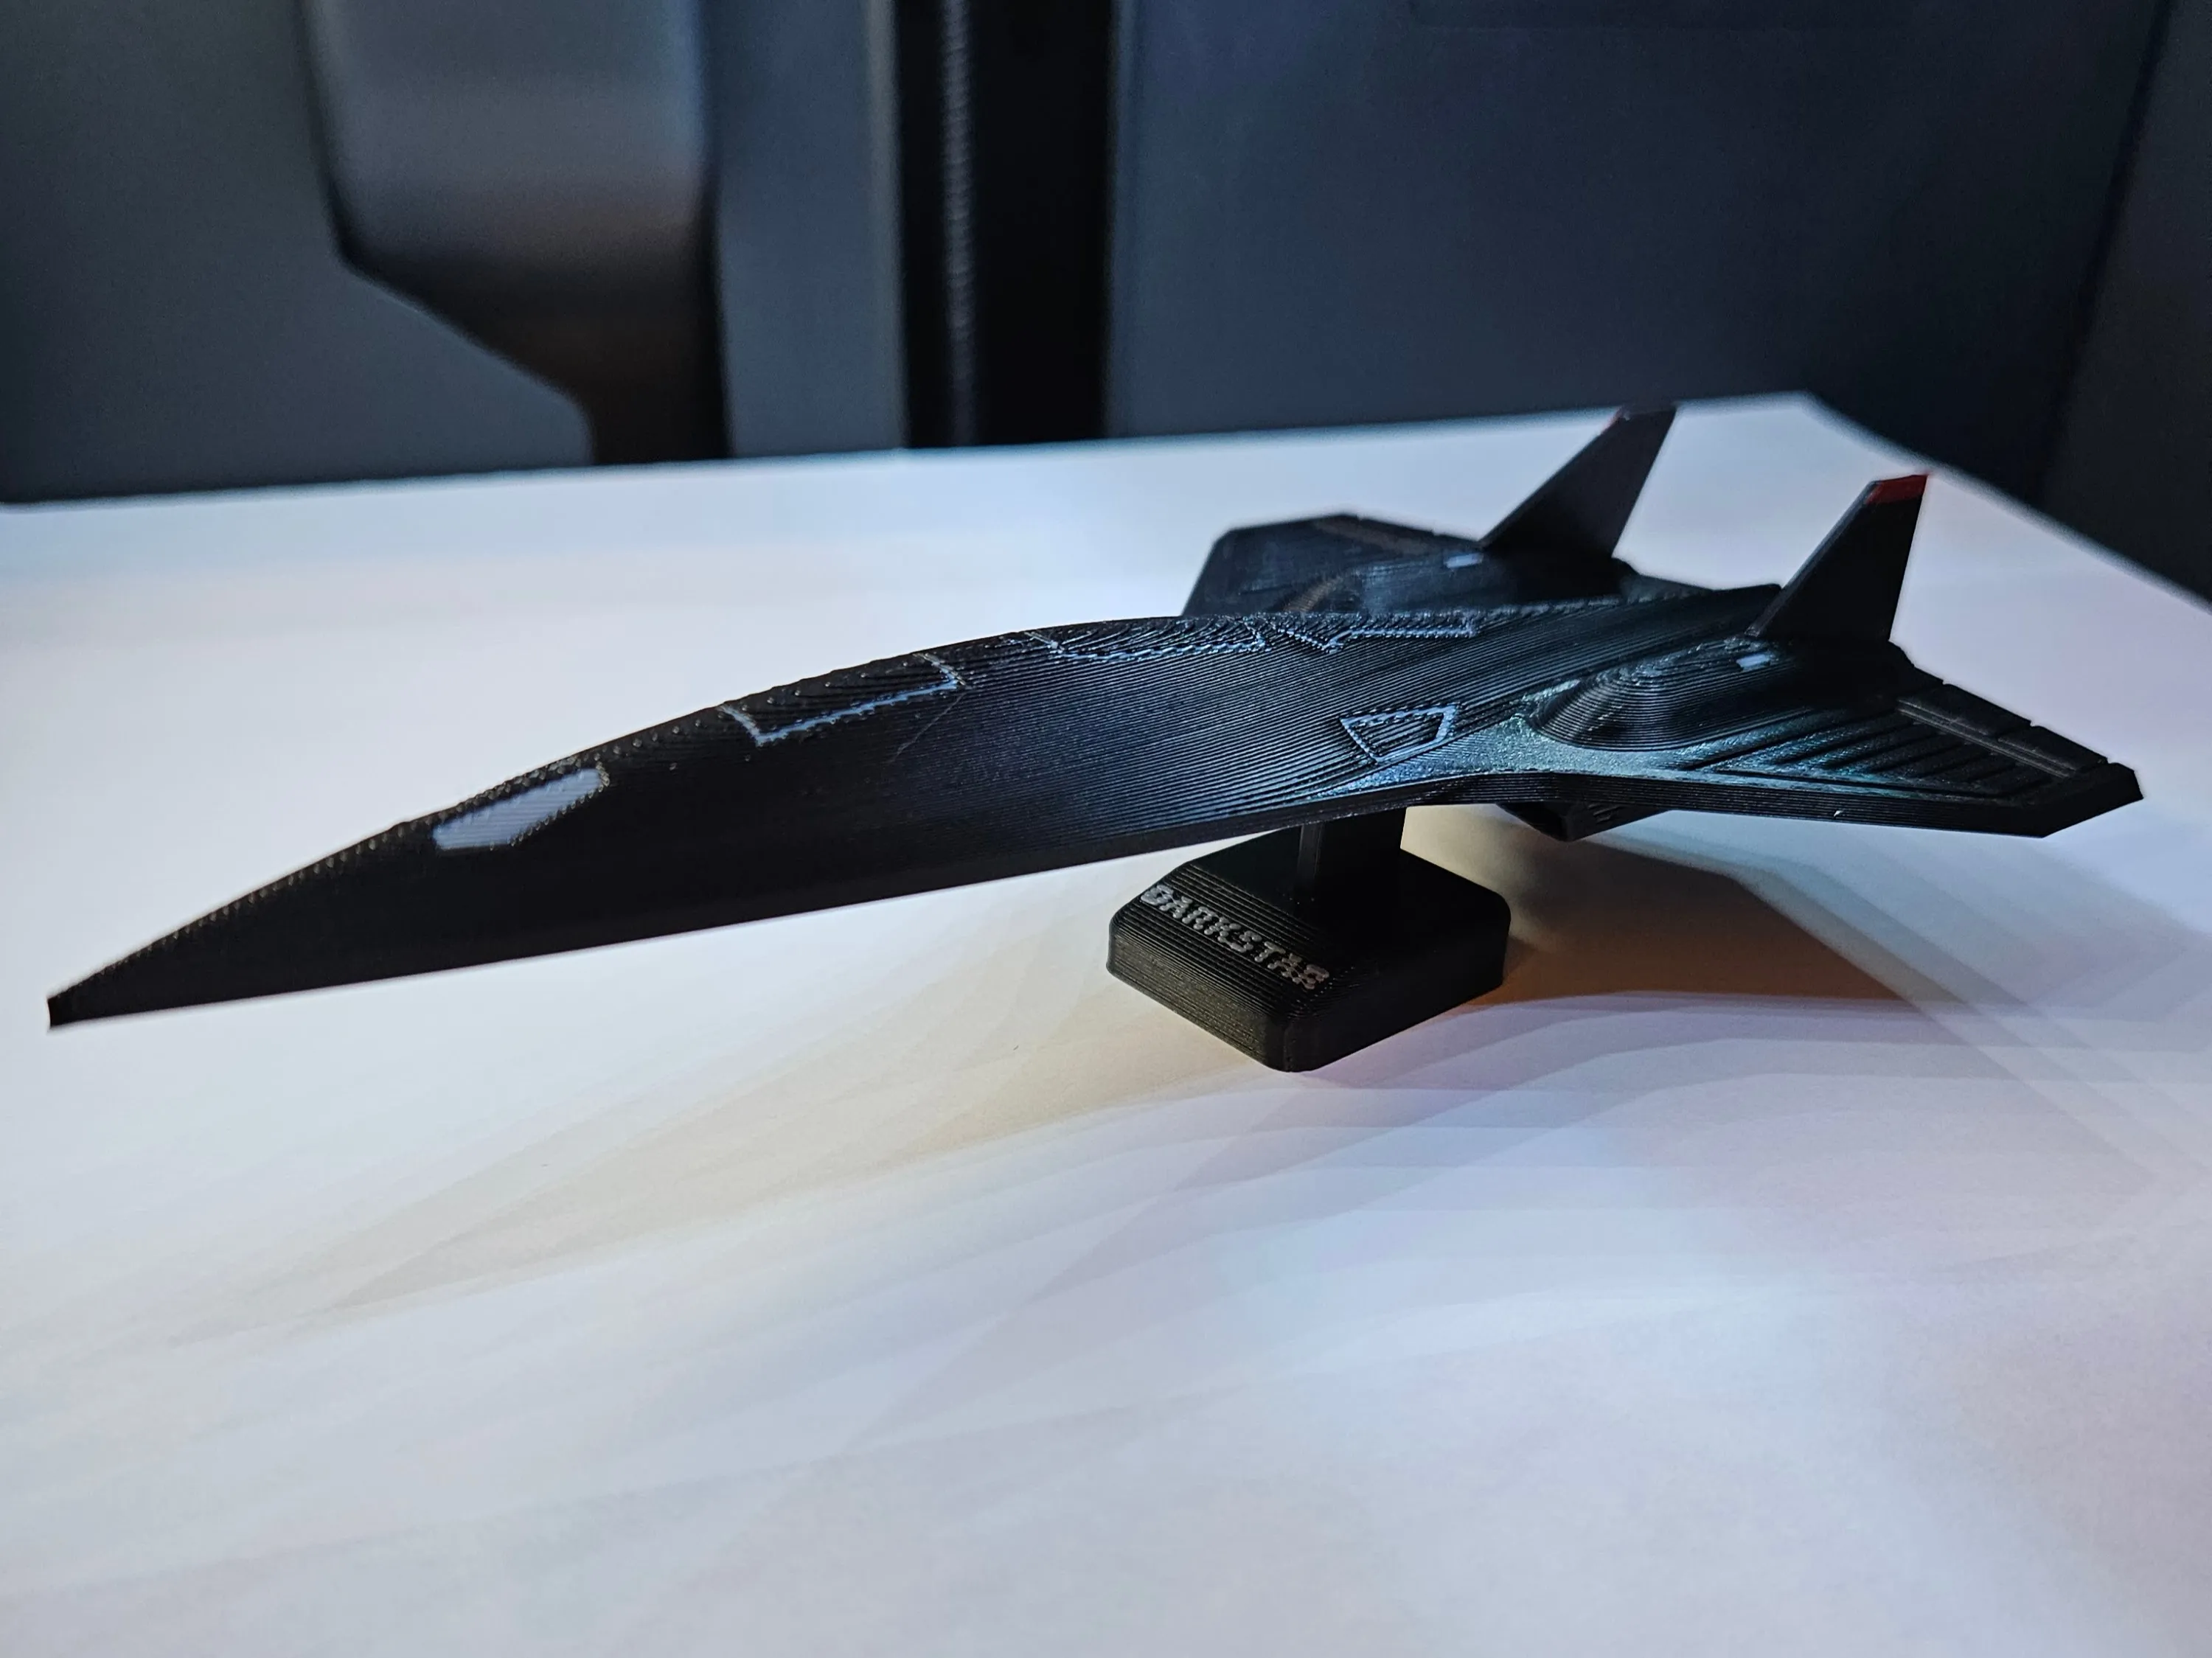
“Darkstar” airplane kit card. Perfect for aviation enthusiasts that want to build and showcase their planes!
Check out the full airplane kit card collection → linked here!
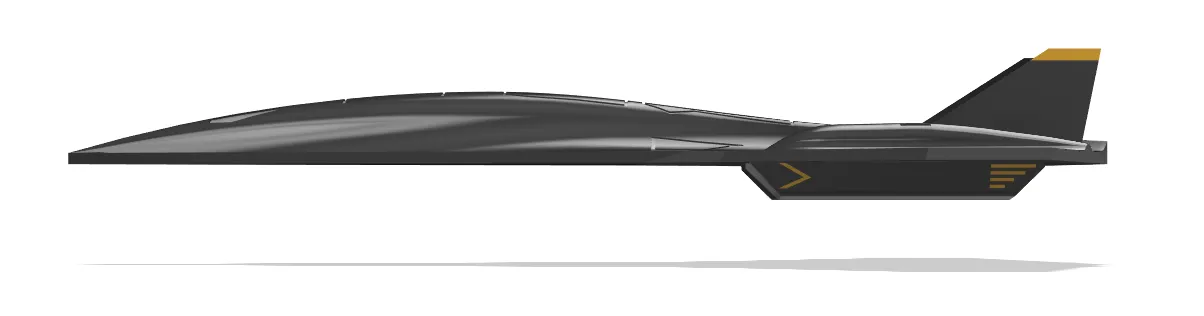
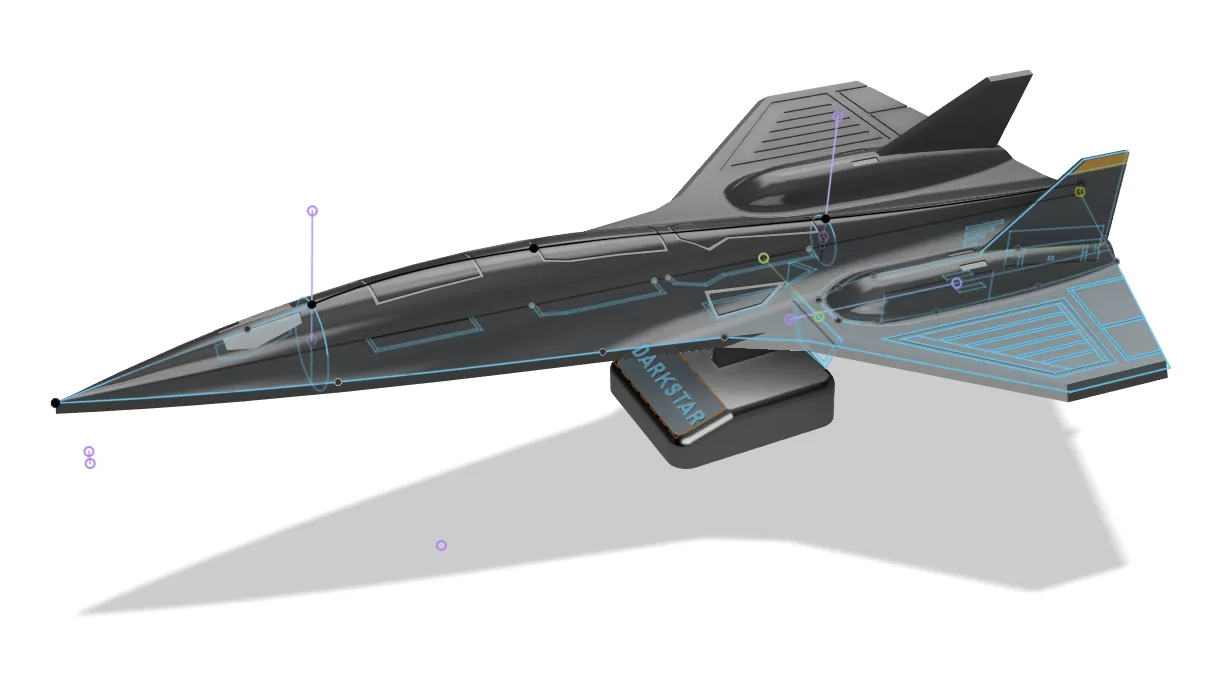
Profiles
- Kit With Frame
- plane in a kit card format ideal for gifting to others
- Kit No Frame
- plane without a kit frame ideal for assembly right off the printer
Filament
As shown in 3D print:
- Bambu Lab PLA Black
- Inland PLA Gray
- eSun PLA Fire Engine Red
Tips
- Model requires close tolerances to ensure snug but not tight or loose fit
- Make sure the model cools to room temperature before assembly
- Ensure filament is properly calibrated with no excessive over extrusion
- Ensure good bed adhesion
- Make sure printer is fully calibrated
- Make sure print bed is clean & dry (soapy water is my favorite for cleaning - simple & works)
- Make sure filament is dry (wet filament can generate non-continuous flow that can cause bed adhesion issues)
- Cooling & Temps - make sure they are correct for your printer, build plate, and filament
Assembly
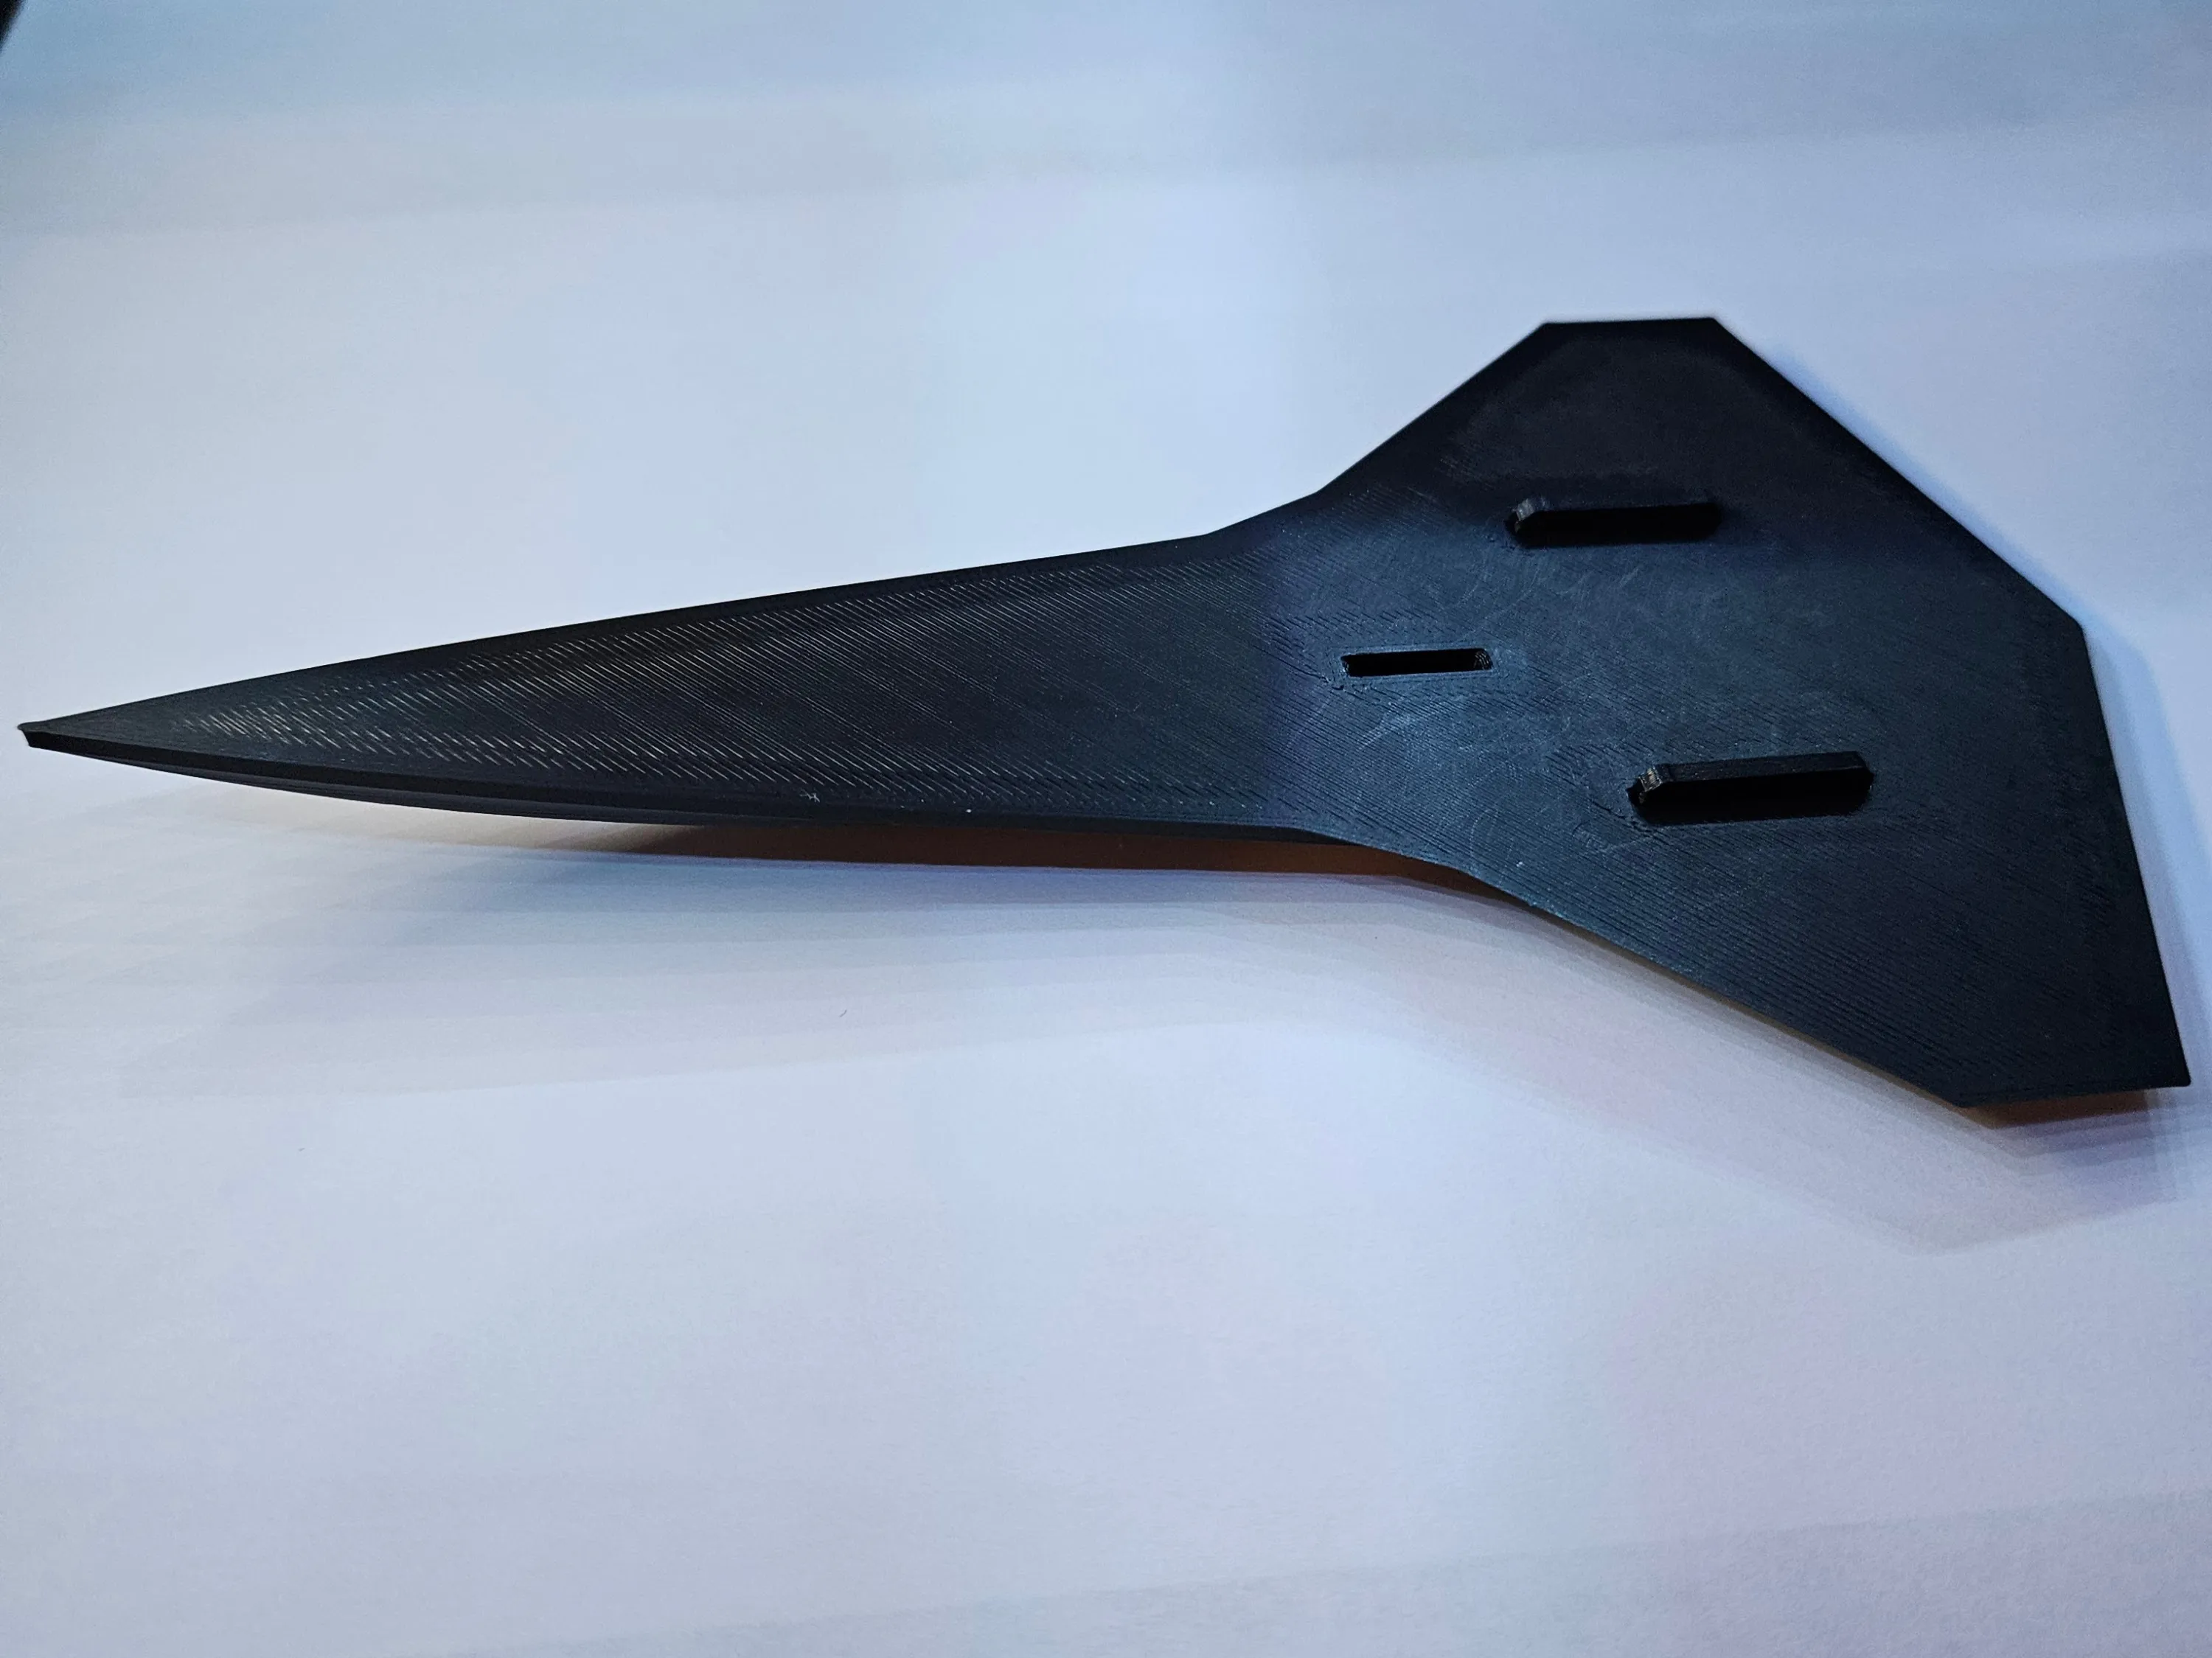
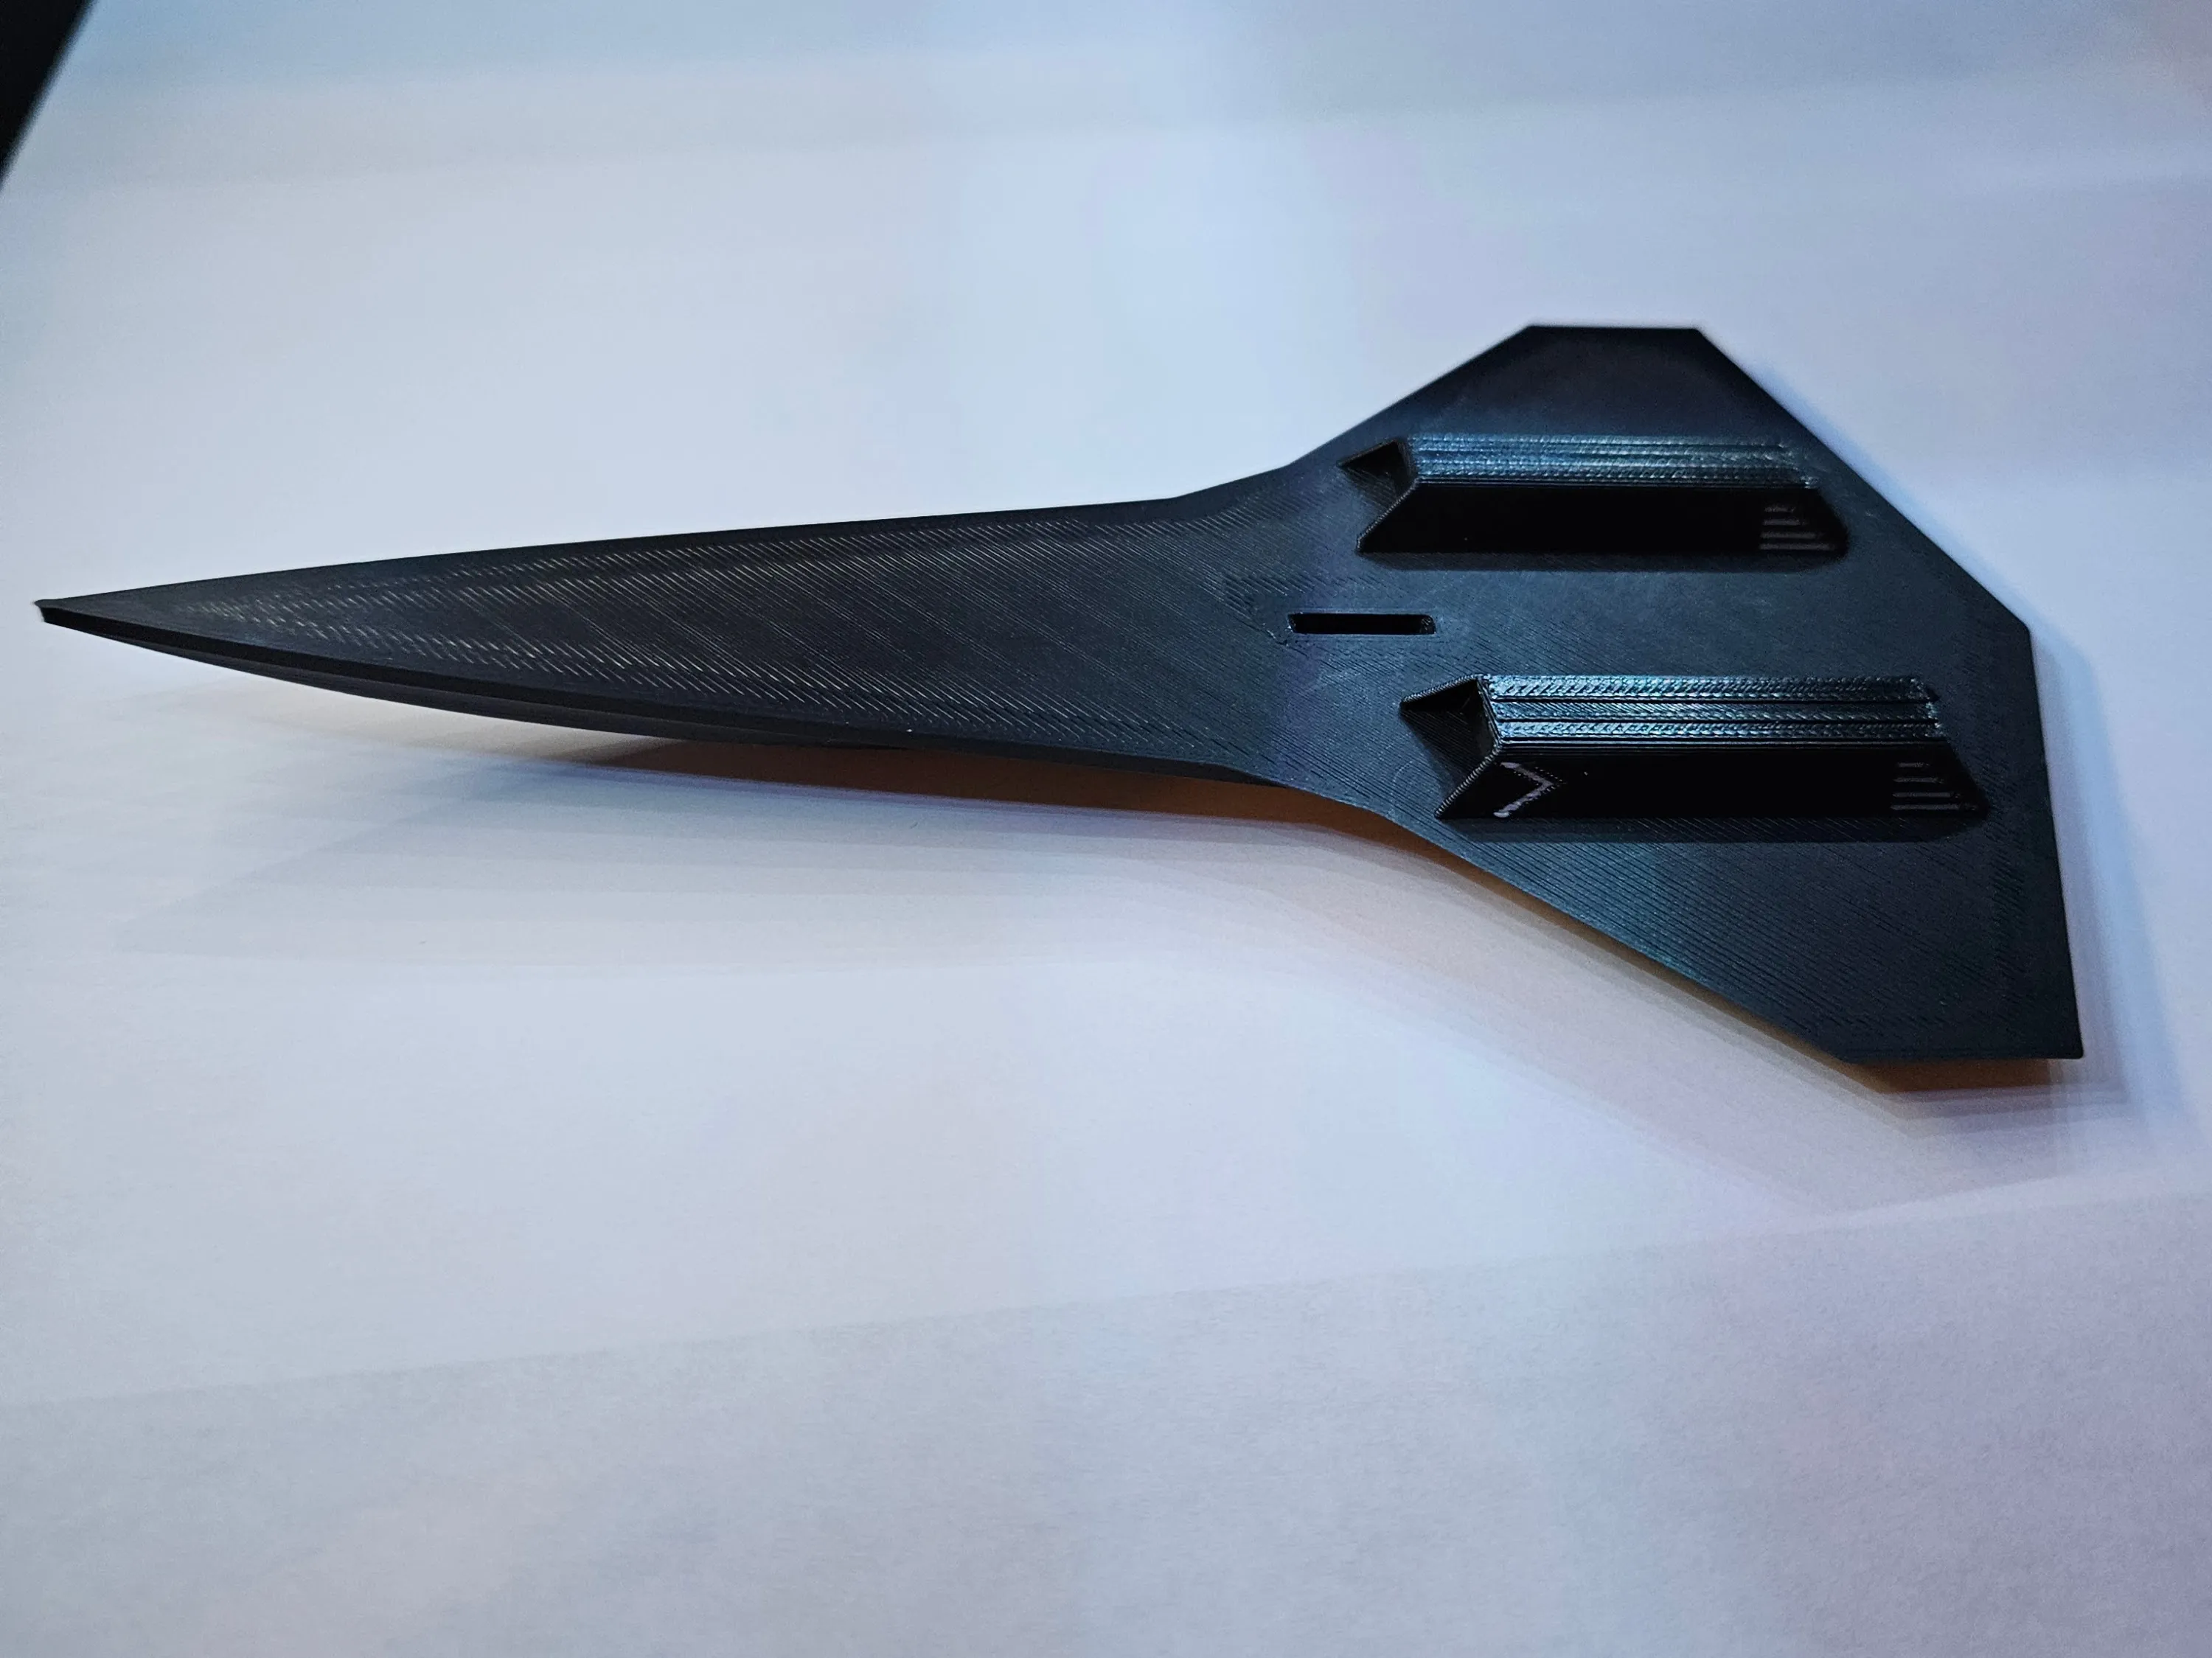
- Remove all pieces from the kit
- Debur as needed to smooth edges
- Insert connectors into fuselage
- Insert engines onto connectors
- Insert vertical tail onto fuselage
- Place airplane onto stand
- Enjoy!
License

You shall not share, sub-license, sell, rent, host, transfer, or distribute in any way the digital or 3D printed versions of this object, nor any other derivative work of this object in its digital or physical format (including - but not limited to - remixes of this object, and hosting on other digital platforms). The objects may not be used without permission in any way whatsoever in which you charge money, or collect fees.


Comment & Rating (647)