Rubber band paper plane launcher
Rubber band paper plane launcher


Print Profile(0)
Description
External parts/equipments:
Rope
(about 30 cm of rope - diameter 1-4 mm)
rubber-band
(you can add as much as you like but it would be so much hard to pull).
Tape(recommended)
(this would be to put in in the paper plane rear part for best launching).
Parts to print:
You have to print
1x ROPE_LOCK_CYLINDER
1x ROPE_LOCK
1x LAUNCHING_RAIL
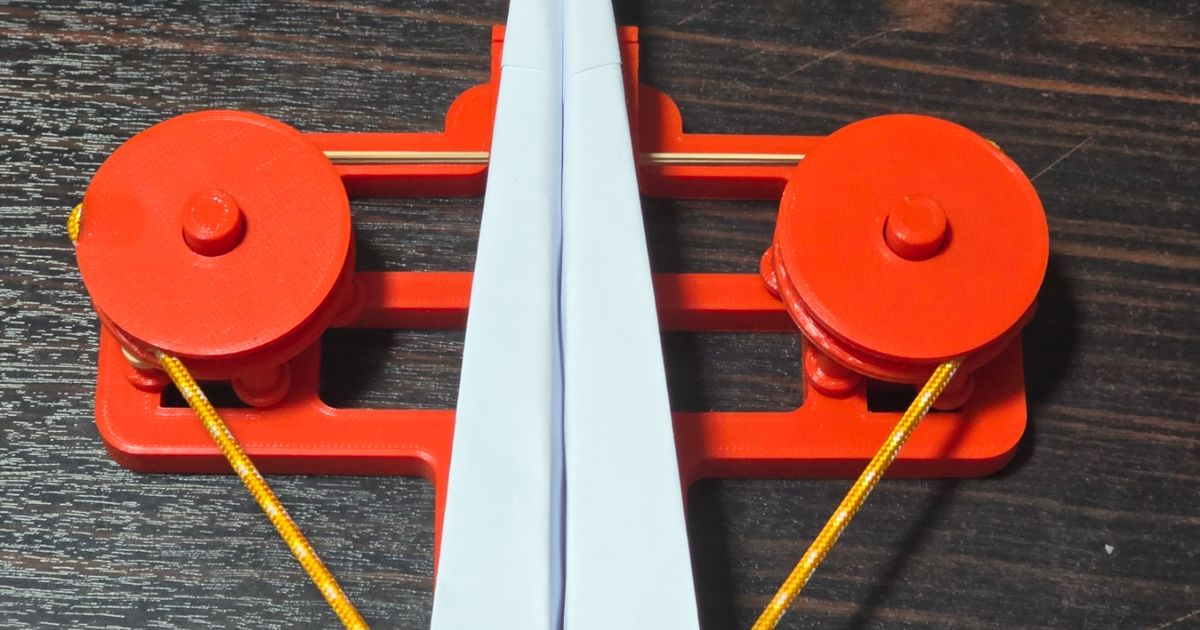
2x LAUNCHER_WHEEL
1x ROPE_LOCK_CYLINDER
1x LAUNCHER_BASE
Recommended settings:
Print speed : 80mm/s (max)
Infill: 20-30%
Support needed (Touching build plate recommended).
Wall thickness: 0.8 (min)
The assembly is so simple and easy.
1.you have to connect the rope from the two ends of the wheels.
2.after connecting the rope you will have to place the wheels in the base and roll the rope inside the wheels at the same amount on each side.
3.then choose the closest pins to each other and strap the rubber-band on both sides .
4.place the rail .
5.place the rail lock in the back of the rail using the small cylinder.
6.pull the rope.
7.make this popular type of paper plane
at the end of this tutorial I recommend to tuck the rear parts in and use tape instead of doing all the complicated folds.
Please share with us any other paper planes that you have tried on this launcher.
Enjoy launching paper planes.