Search models, users, collections, and posts

LED Easter Bunny
IP Report

GIF
Print Profile(1)

LED Easterbunny
Designer
18 min
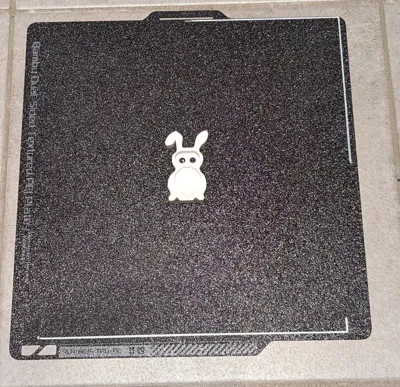
1 plate
Open in Bambu Studio
Boost
3
5
0
0
3
0
Released
Description
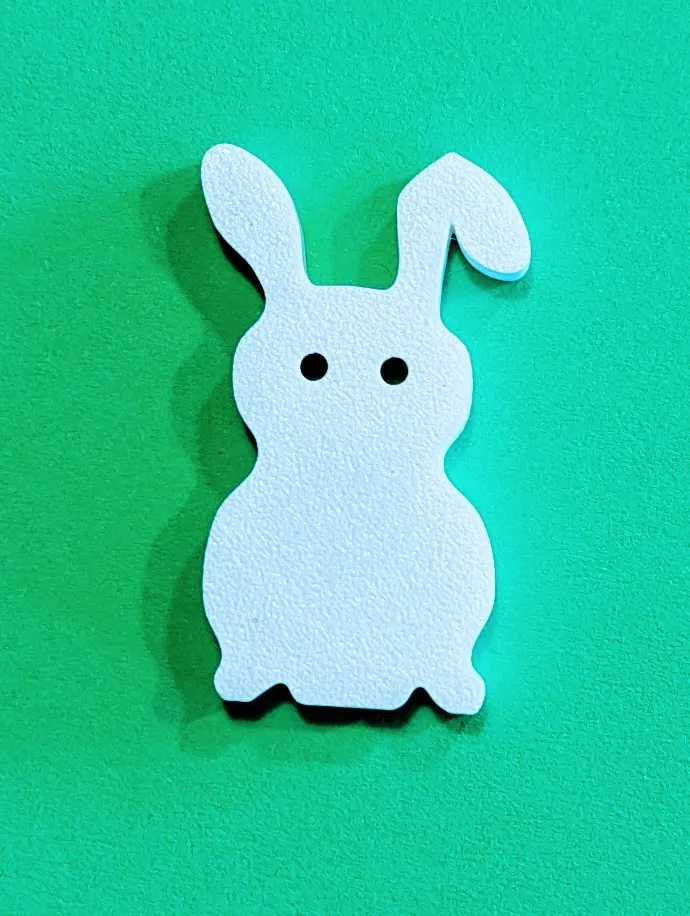
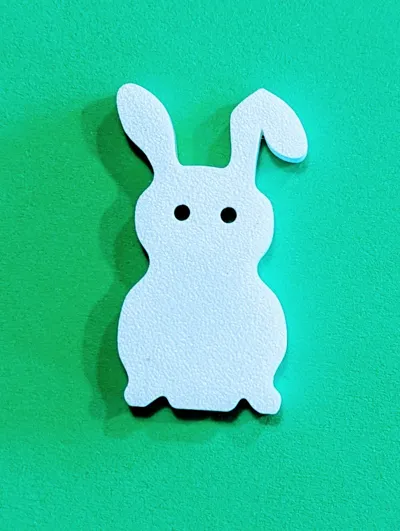
LED Easterbunny
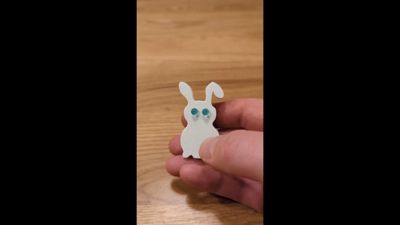
This is a simple electronics project that our kids loved.
It allows them to light up LEDs, learn about creating a circuit, polarity, etc.
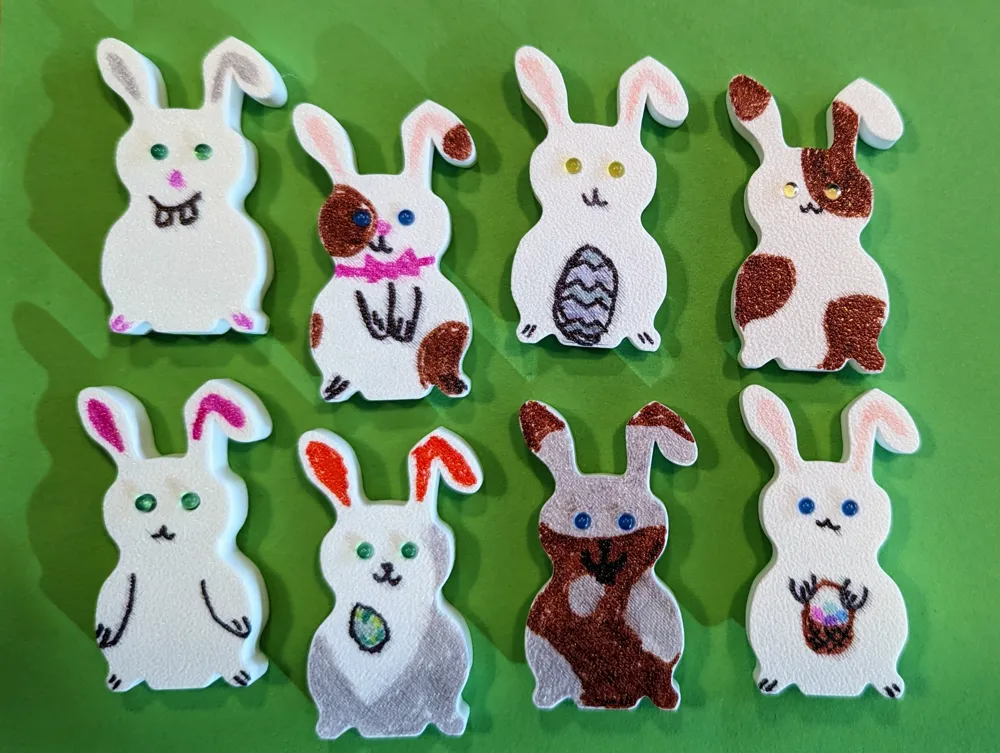
The Bunnies can be painted with permanent markers.
This is a Easter remix of my LED Animals with smaller LED eyes.
Materials
Assembly
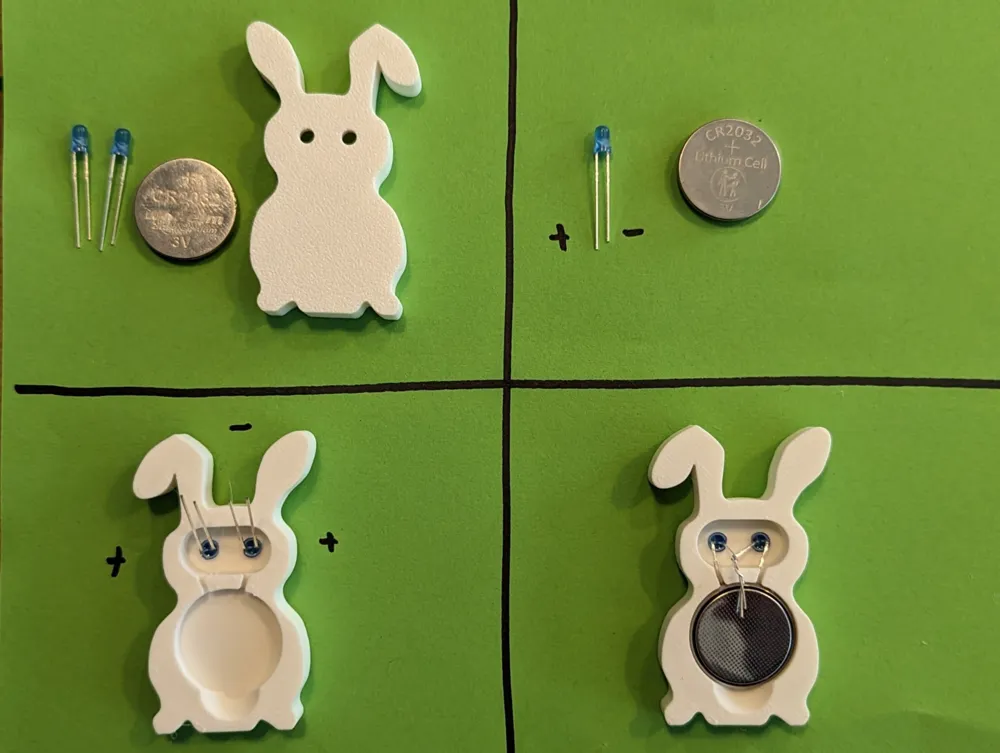
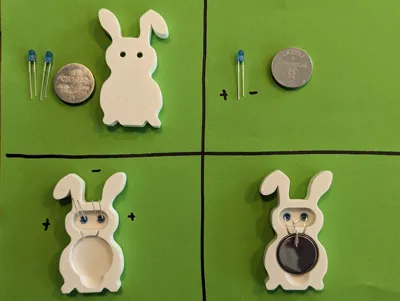
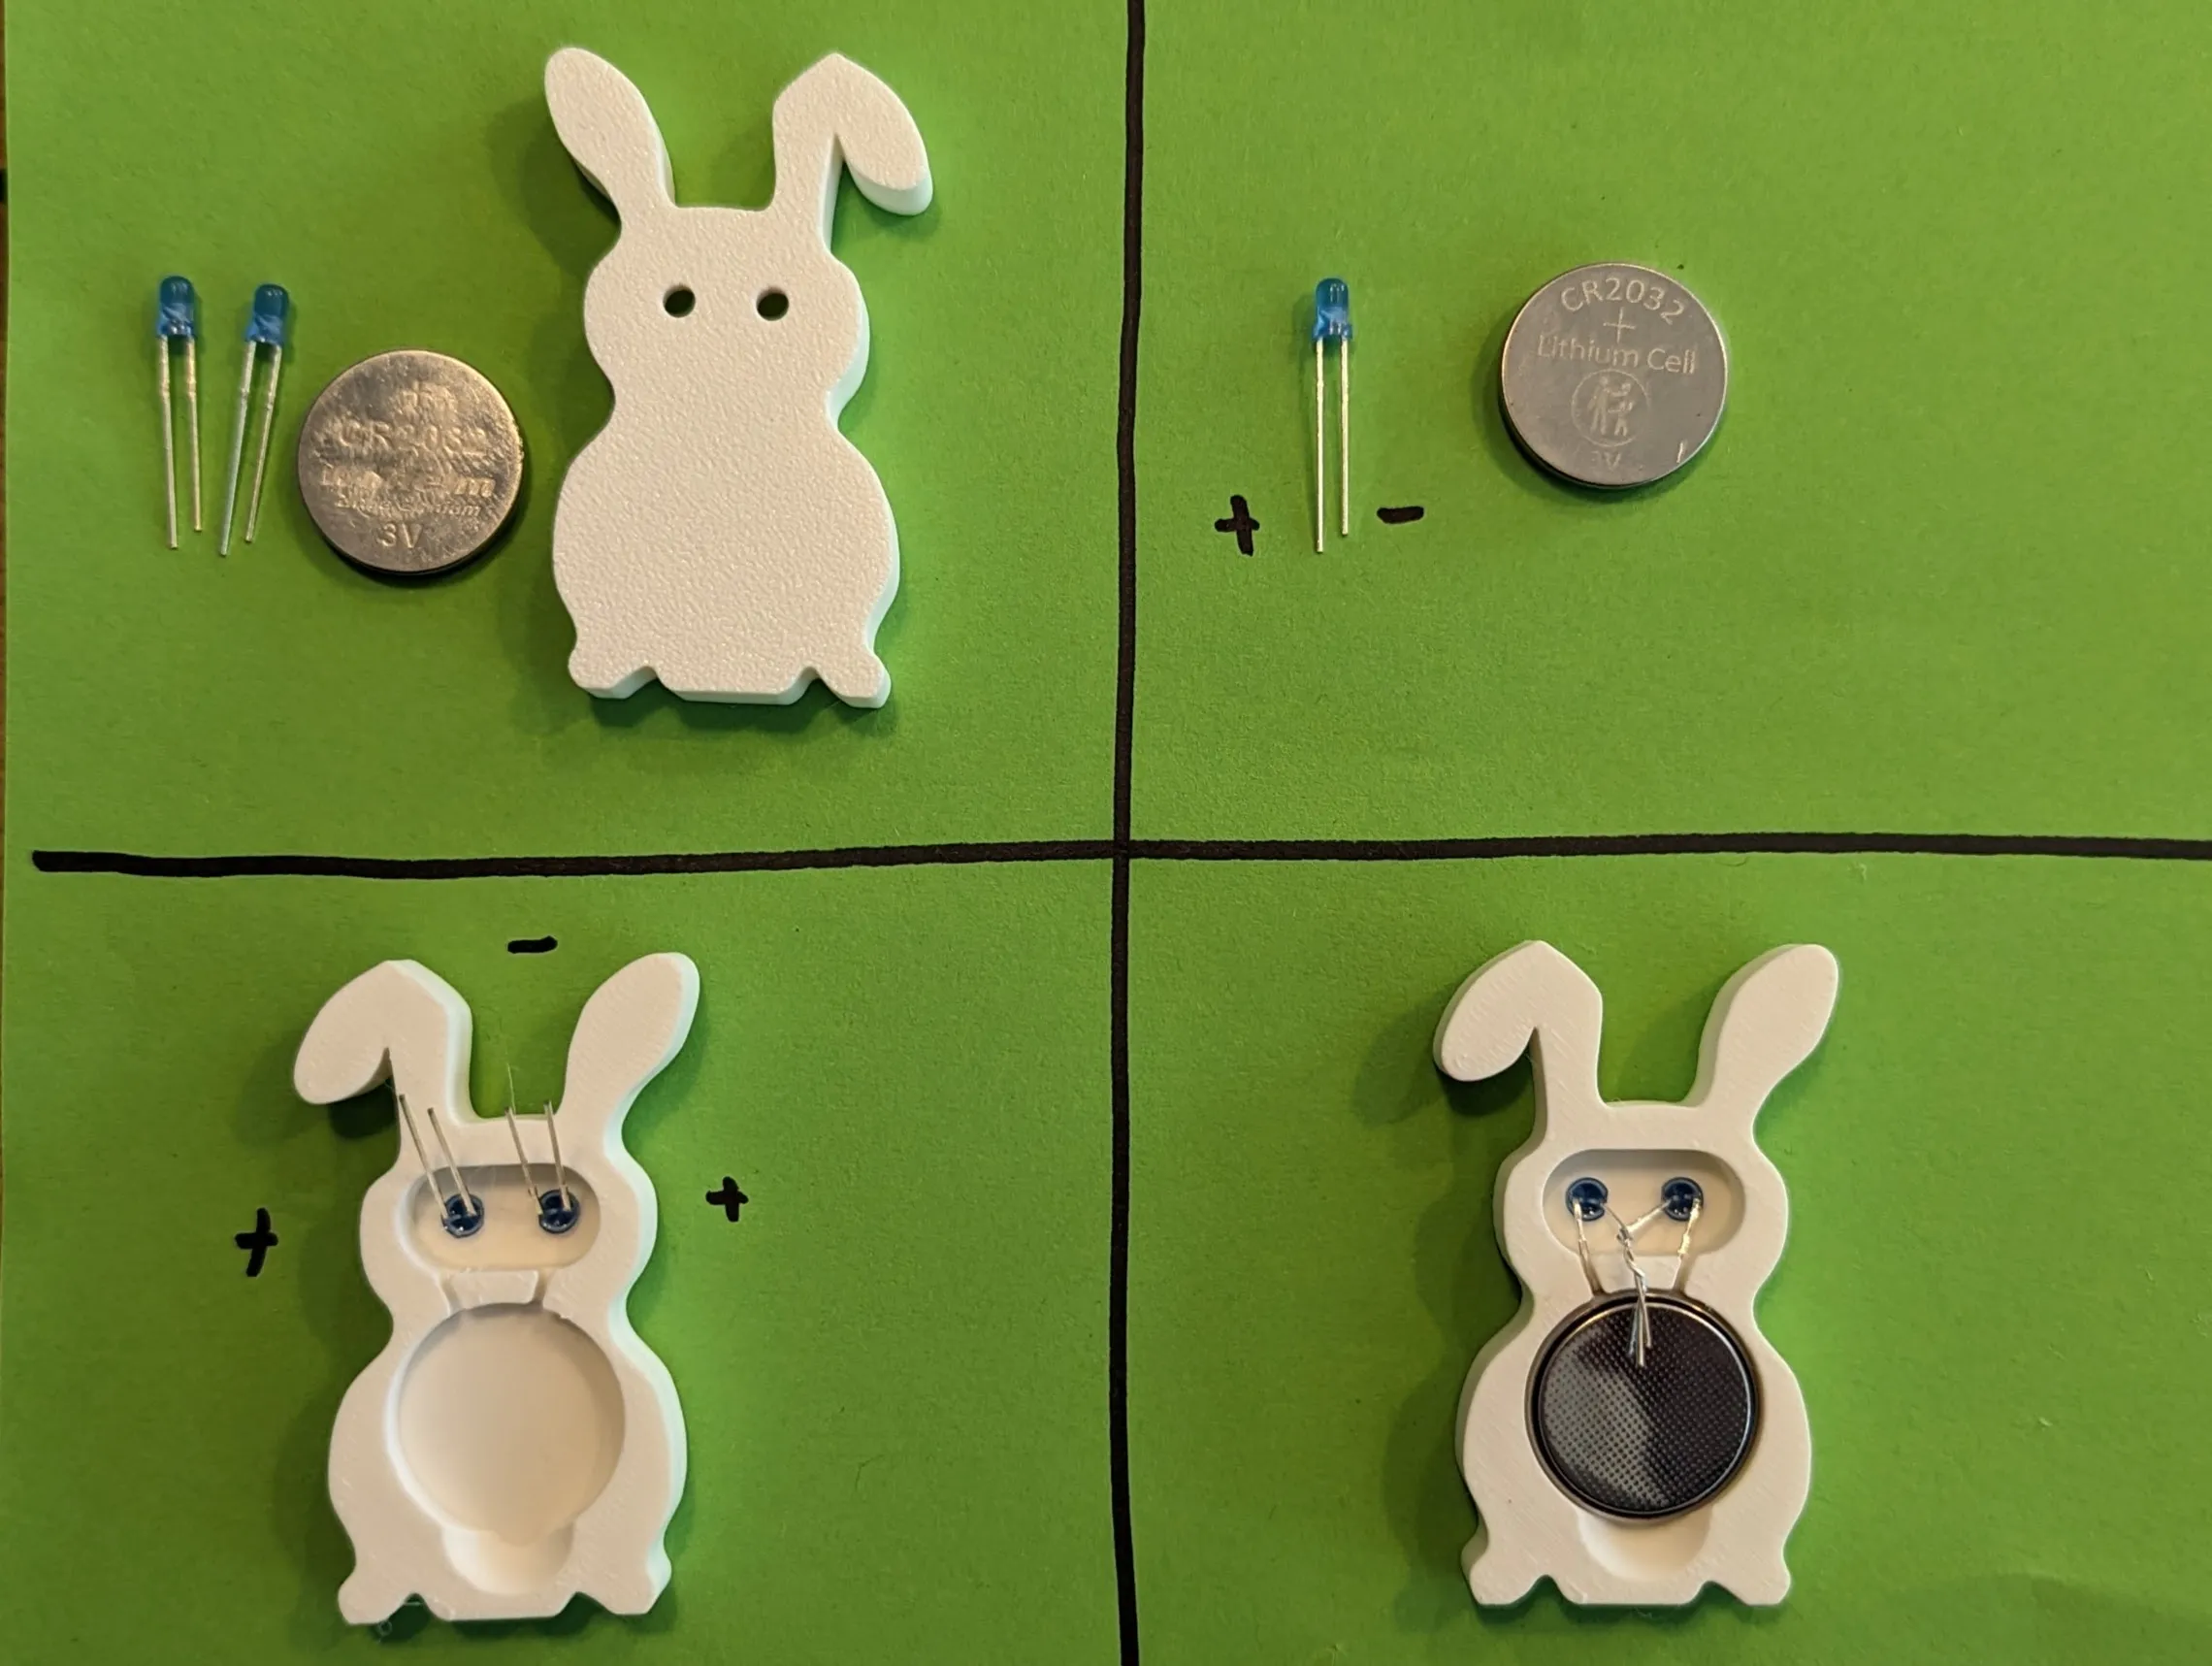
- Figure out which leads connect to the positive (+) side of the battery. Usually these are the longer ones (see picture below). Kids can have fun trying out the LEDs with the battery directly.
- Push the LEDs into the holes so that the positive leads are on the outside and the negative leads are next to each other in the center.
- Be cautious! Kids may need some help.
- If the holes are too small, use a screwdriver or knife to make them just a little larger.
- Bend the positive leads down through the channel into the bottom of the battery cutout.
- Push the battery into the cutout with the positive (+) side facing down.

- Twist the negative leads together and bend them down so they hover over the battery. When they are pushed onto the battery, the eyes should light up.
License

This user content is licensed under a
Creative Commons Attribution-Noncommercial


Comment & Rating (0)