Gaggiuino - Gaggia Classic/Pro Touchscreen Housing
Remixed by
Copyright Claim
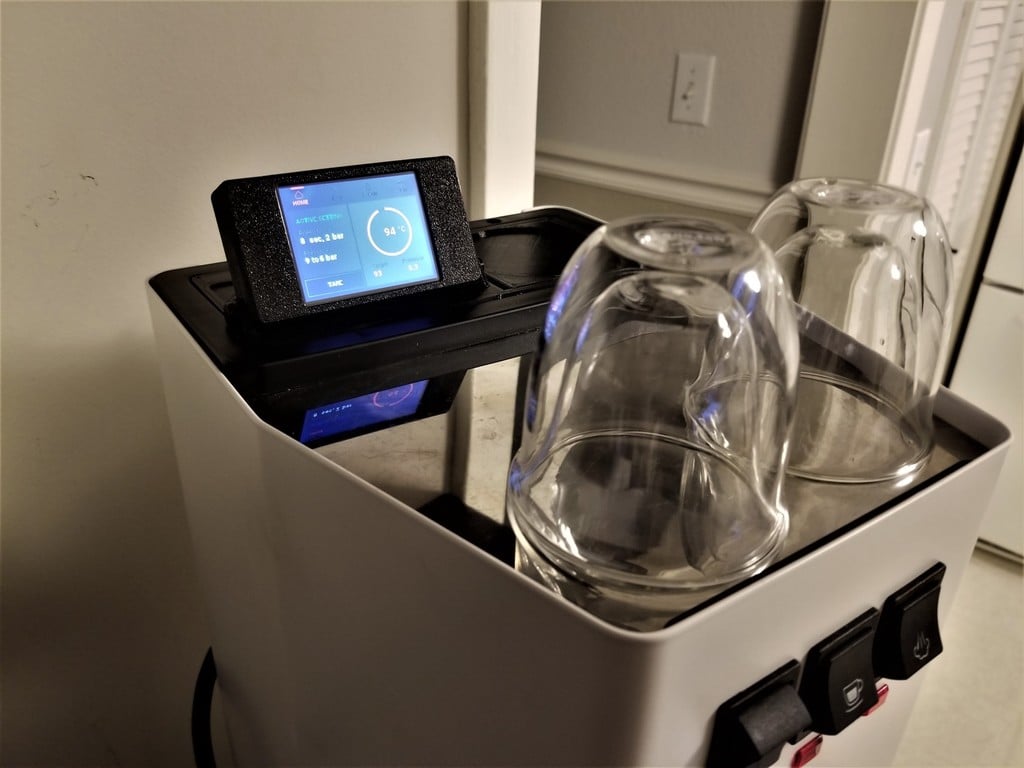
Gaggiuino - Gaggia Classic/Pro Touchscreen Housing
Remixed by
Boost
0
1
1


Print Profile(2)

Gaggia Classic Pro PETG 0.2mm layer, 3 walls, 20% infill
2.2 h
1 plate

Gaggia Classic 0.2mm layer, 3 walls, 20% gyroid infill
2.2 h
1 plate
Open in Bambu Studio
Boost
0
1
1
0
11
8
Released
Description
Make sure to choose the correct plate version for your funnel (plate_GC_revised or plate_GCP_revised)
Fasteners (to attach touchscreen housing):
- 2 M4x10 button-head screws
- 2 M4 nuts
- Loctite 242/243 or equivalent
Recommended Print Settings:
PETG or PLA, 0.4 mm nozzle, 0.2 mm layers, 20% infill, no supports needed
Attaching the lid:
- Cut a piece of 1.75 mm filament with 5-10 mm extra length and use a heat gun to straighten if necessary
- Thread filament through the plate and lid holes and check that the lid rotates freely
- Melt one end of the filament to the plate with a soldering iron
- Cut the other end of the filament so there's about 1 mm extra sticking out of the plate to melt
- Melt other end of the filament to the plate with a soldering iron.
- File melted areas flush if necessary.

Credit:
Credit to LikeableBump for the model designed for Gaggia Classic Pro (Gaggiuino - Arduino & Touchscreen Housing for Gaggia Classic & Classic Pro v2 by LikeableBump - Thingiverse). I wanted better fit, strength and printability as well as compatibility with the Gaggia Classic so made the following changes:
- Increased width and depth of drip tray plate for better fit in funnel top based on review of multiple machines and testing. Added strategic chamfers/fillets for printability improvement.
- Made passthrough cutouts in the plate the same size so JST connectors can pass through without wires needing to be removed, adjusted housingfront for ease of printability
- Changed and tested lid knob geometry so it stops breaking during use/shipping
- Plate_GCP_revised updated to improve clearance with lid
Comment & Rating (1)

This remix is based on
License
This user content is licensed under a
Creative Commons Attribution-Noncommercial-Share AlikeRelated Models


© 2024 MakerWorld