
Easter Egg Dipper


Print Profile(2)


Description
When you are done printing, you will notice that in the gap between the handle and egg-holding octagon, there are two divots. 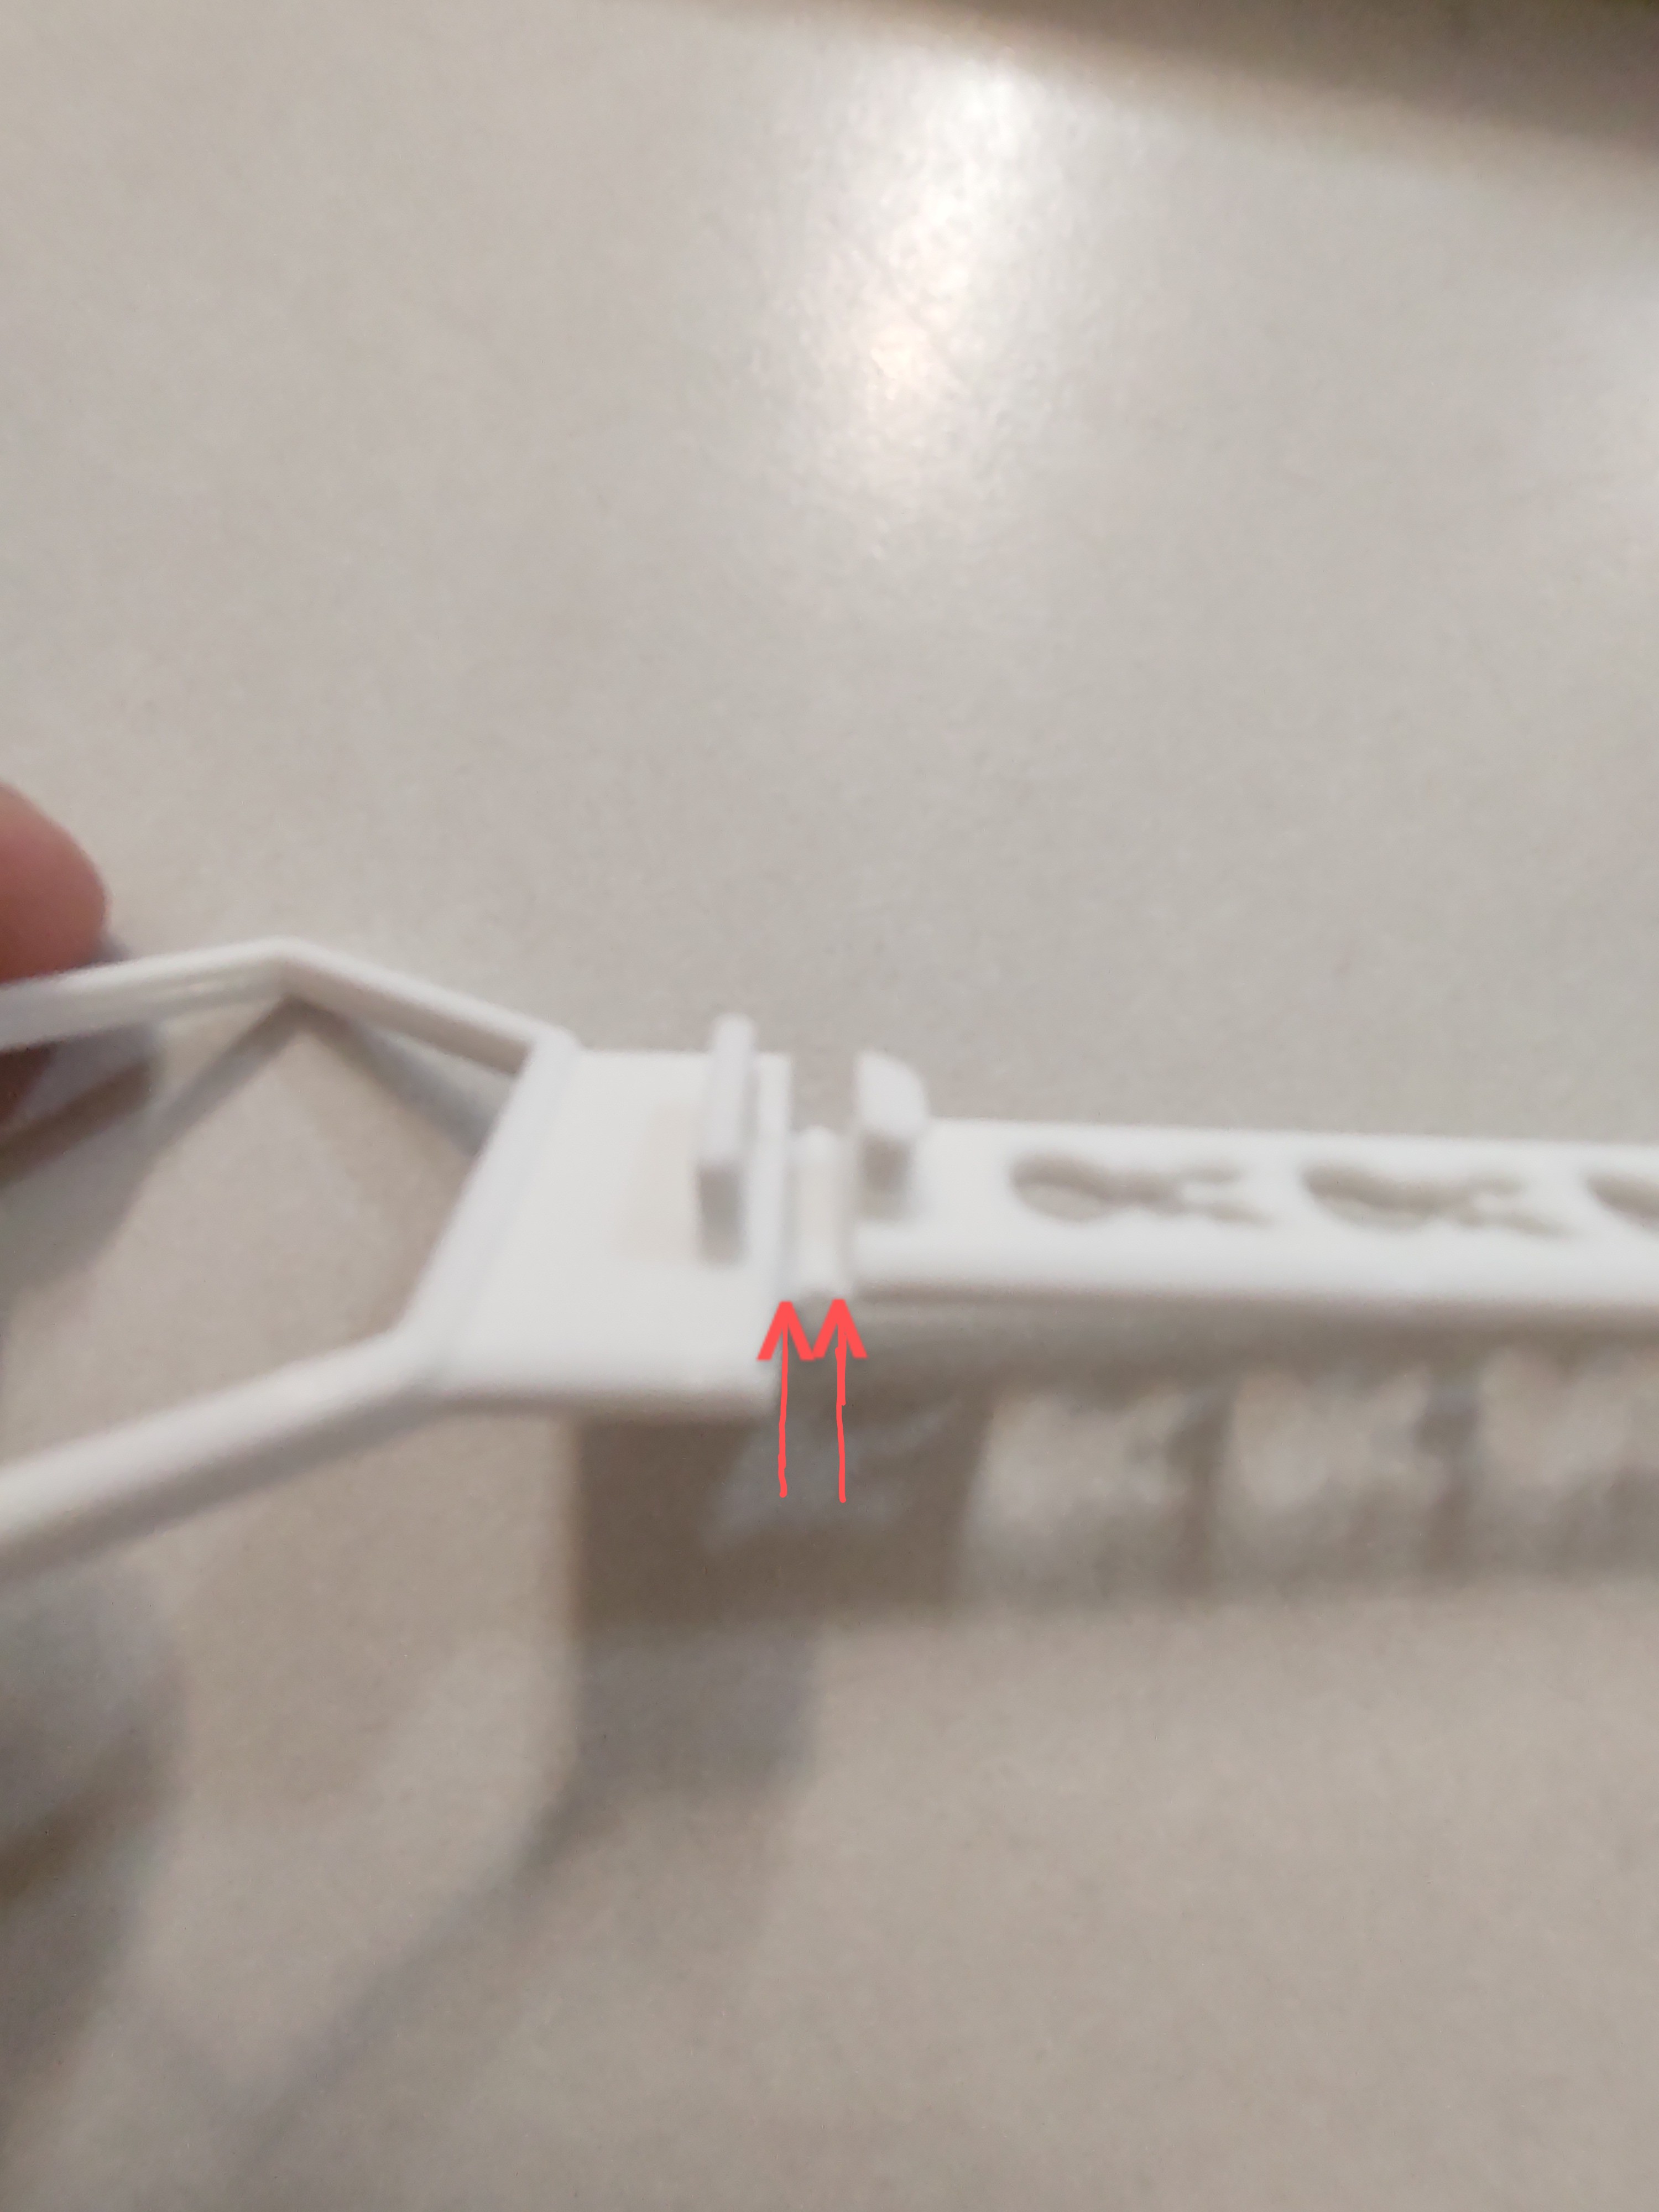 These will help get the latch together and help secure it. To get the dipper to latch you will fold the divot closest to the handle towards the latch.
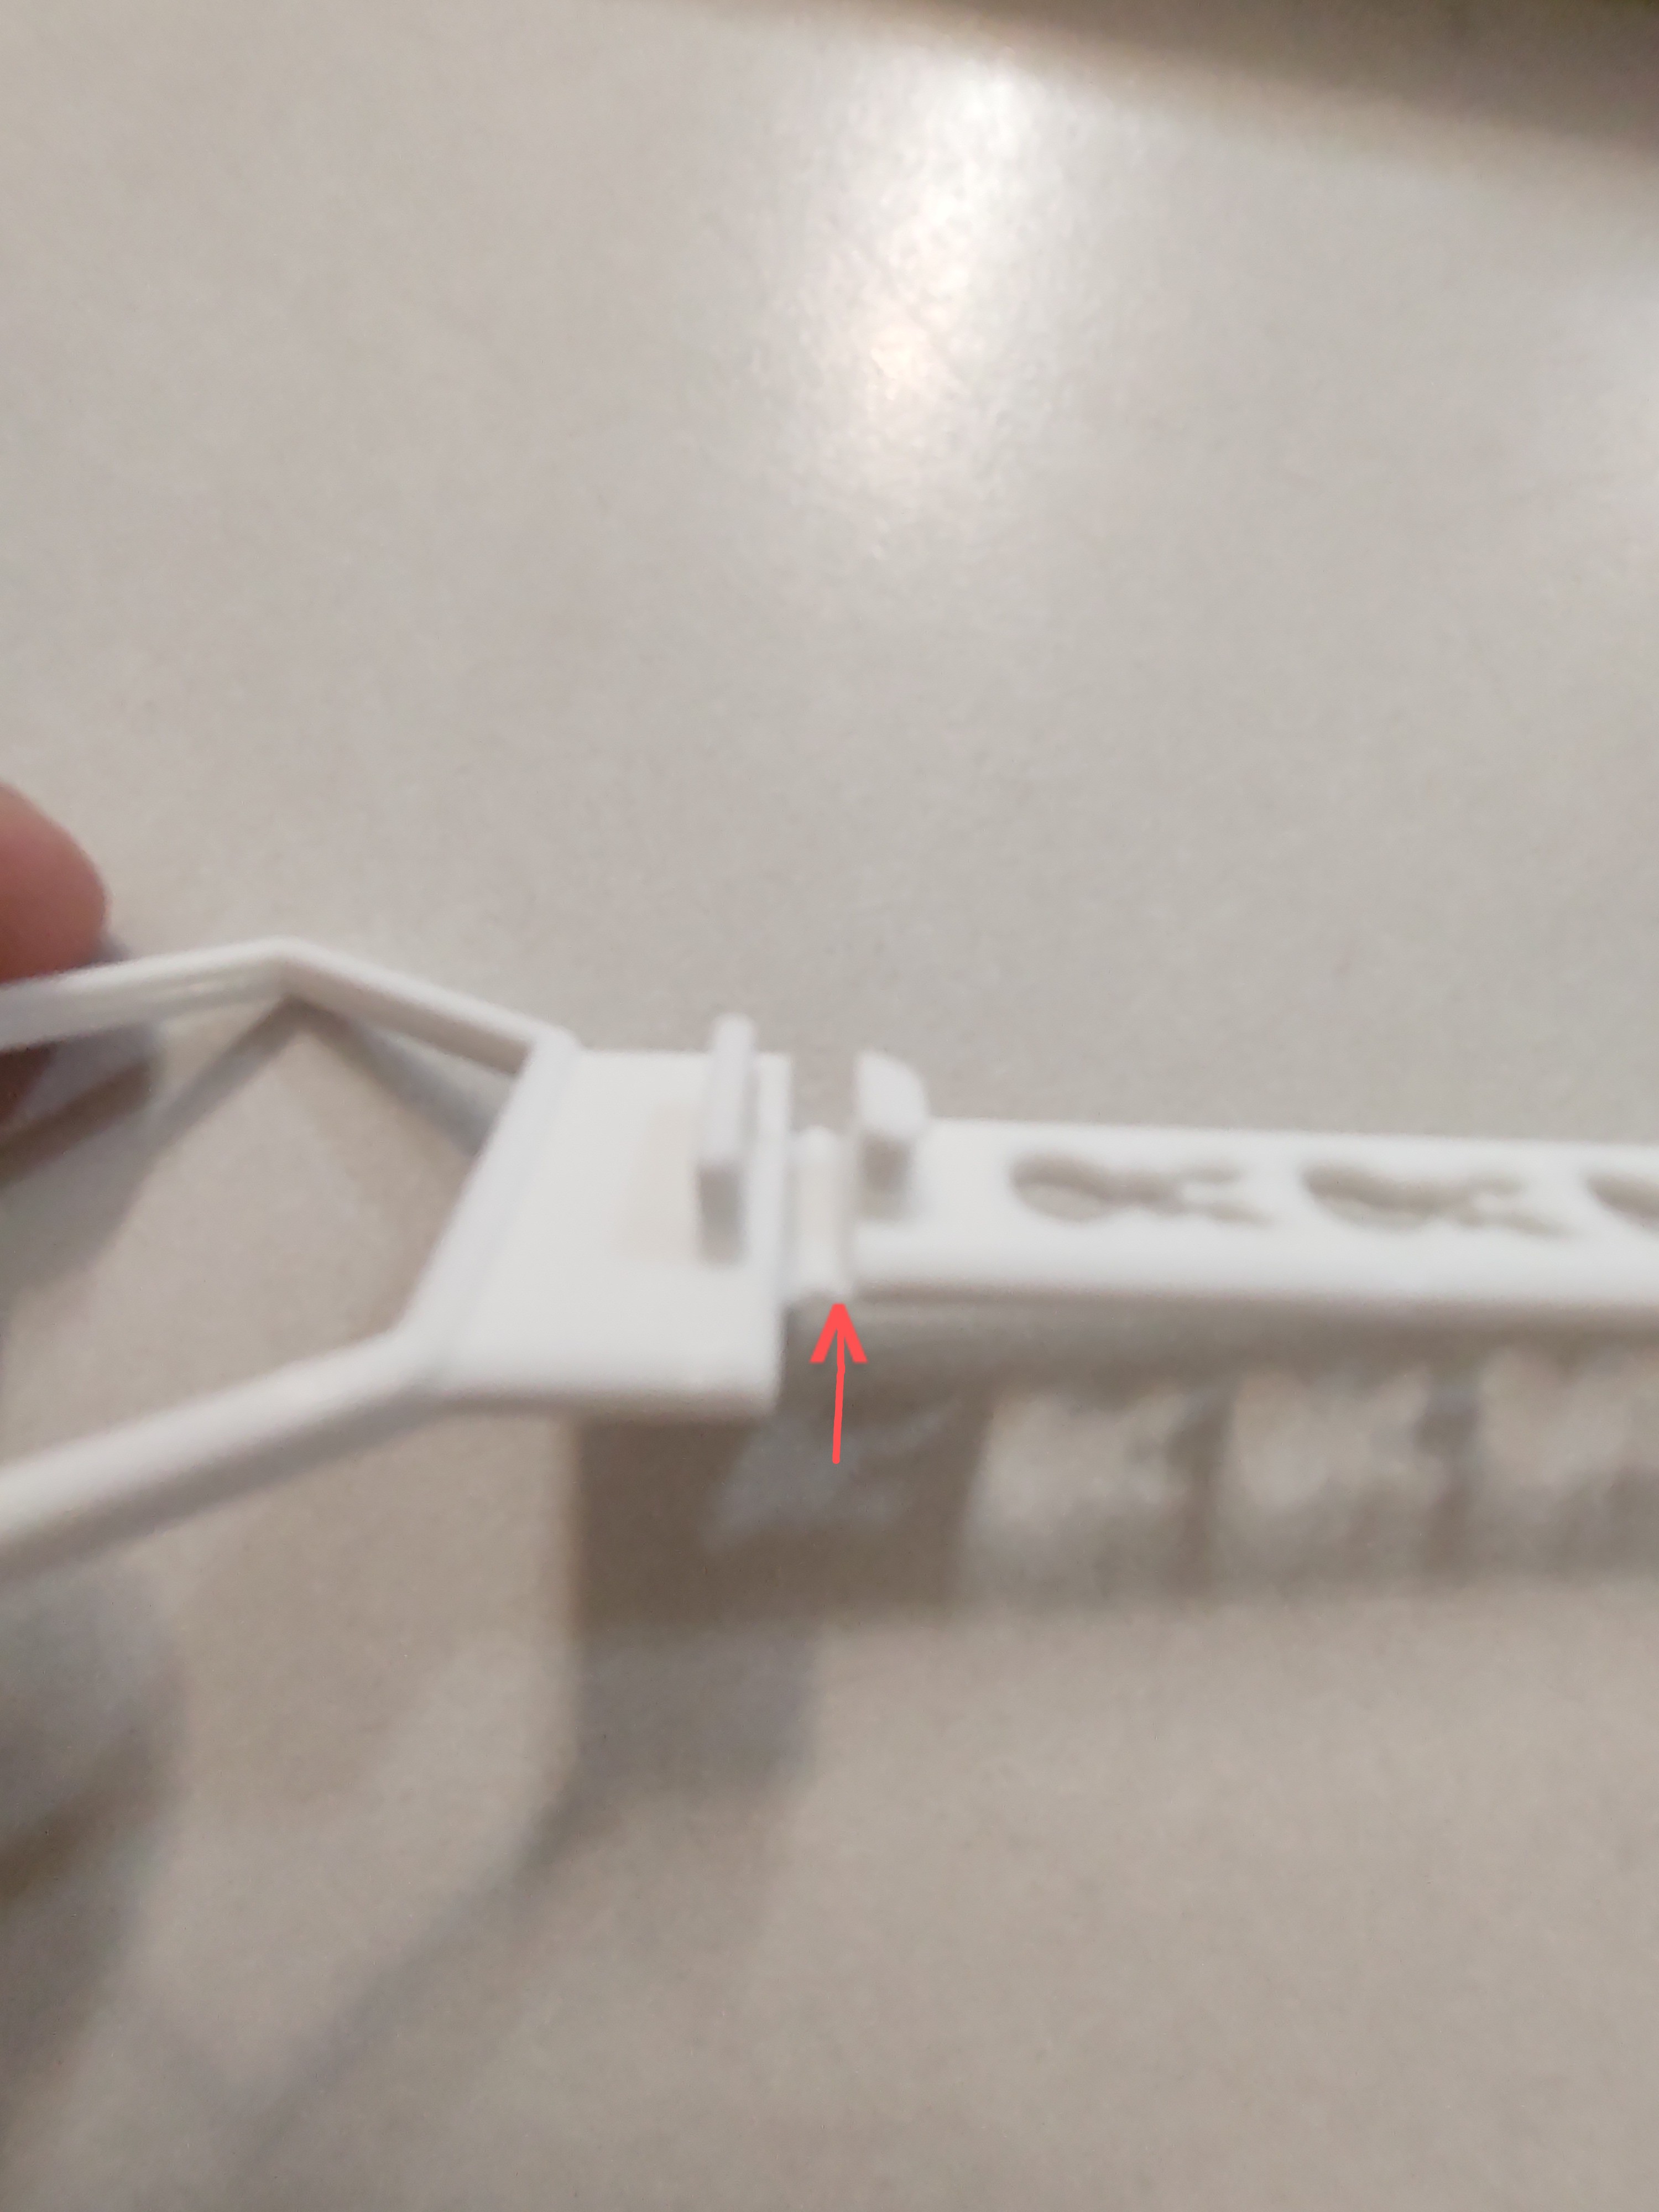 When bending this divot, you will notice that you won't be able to fit the hook into the hole.
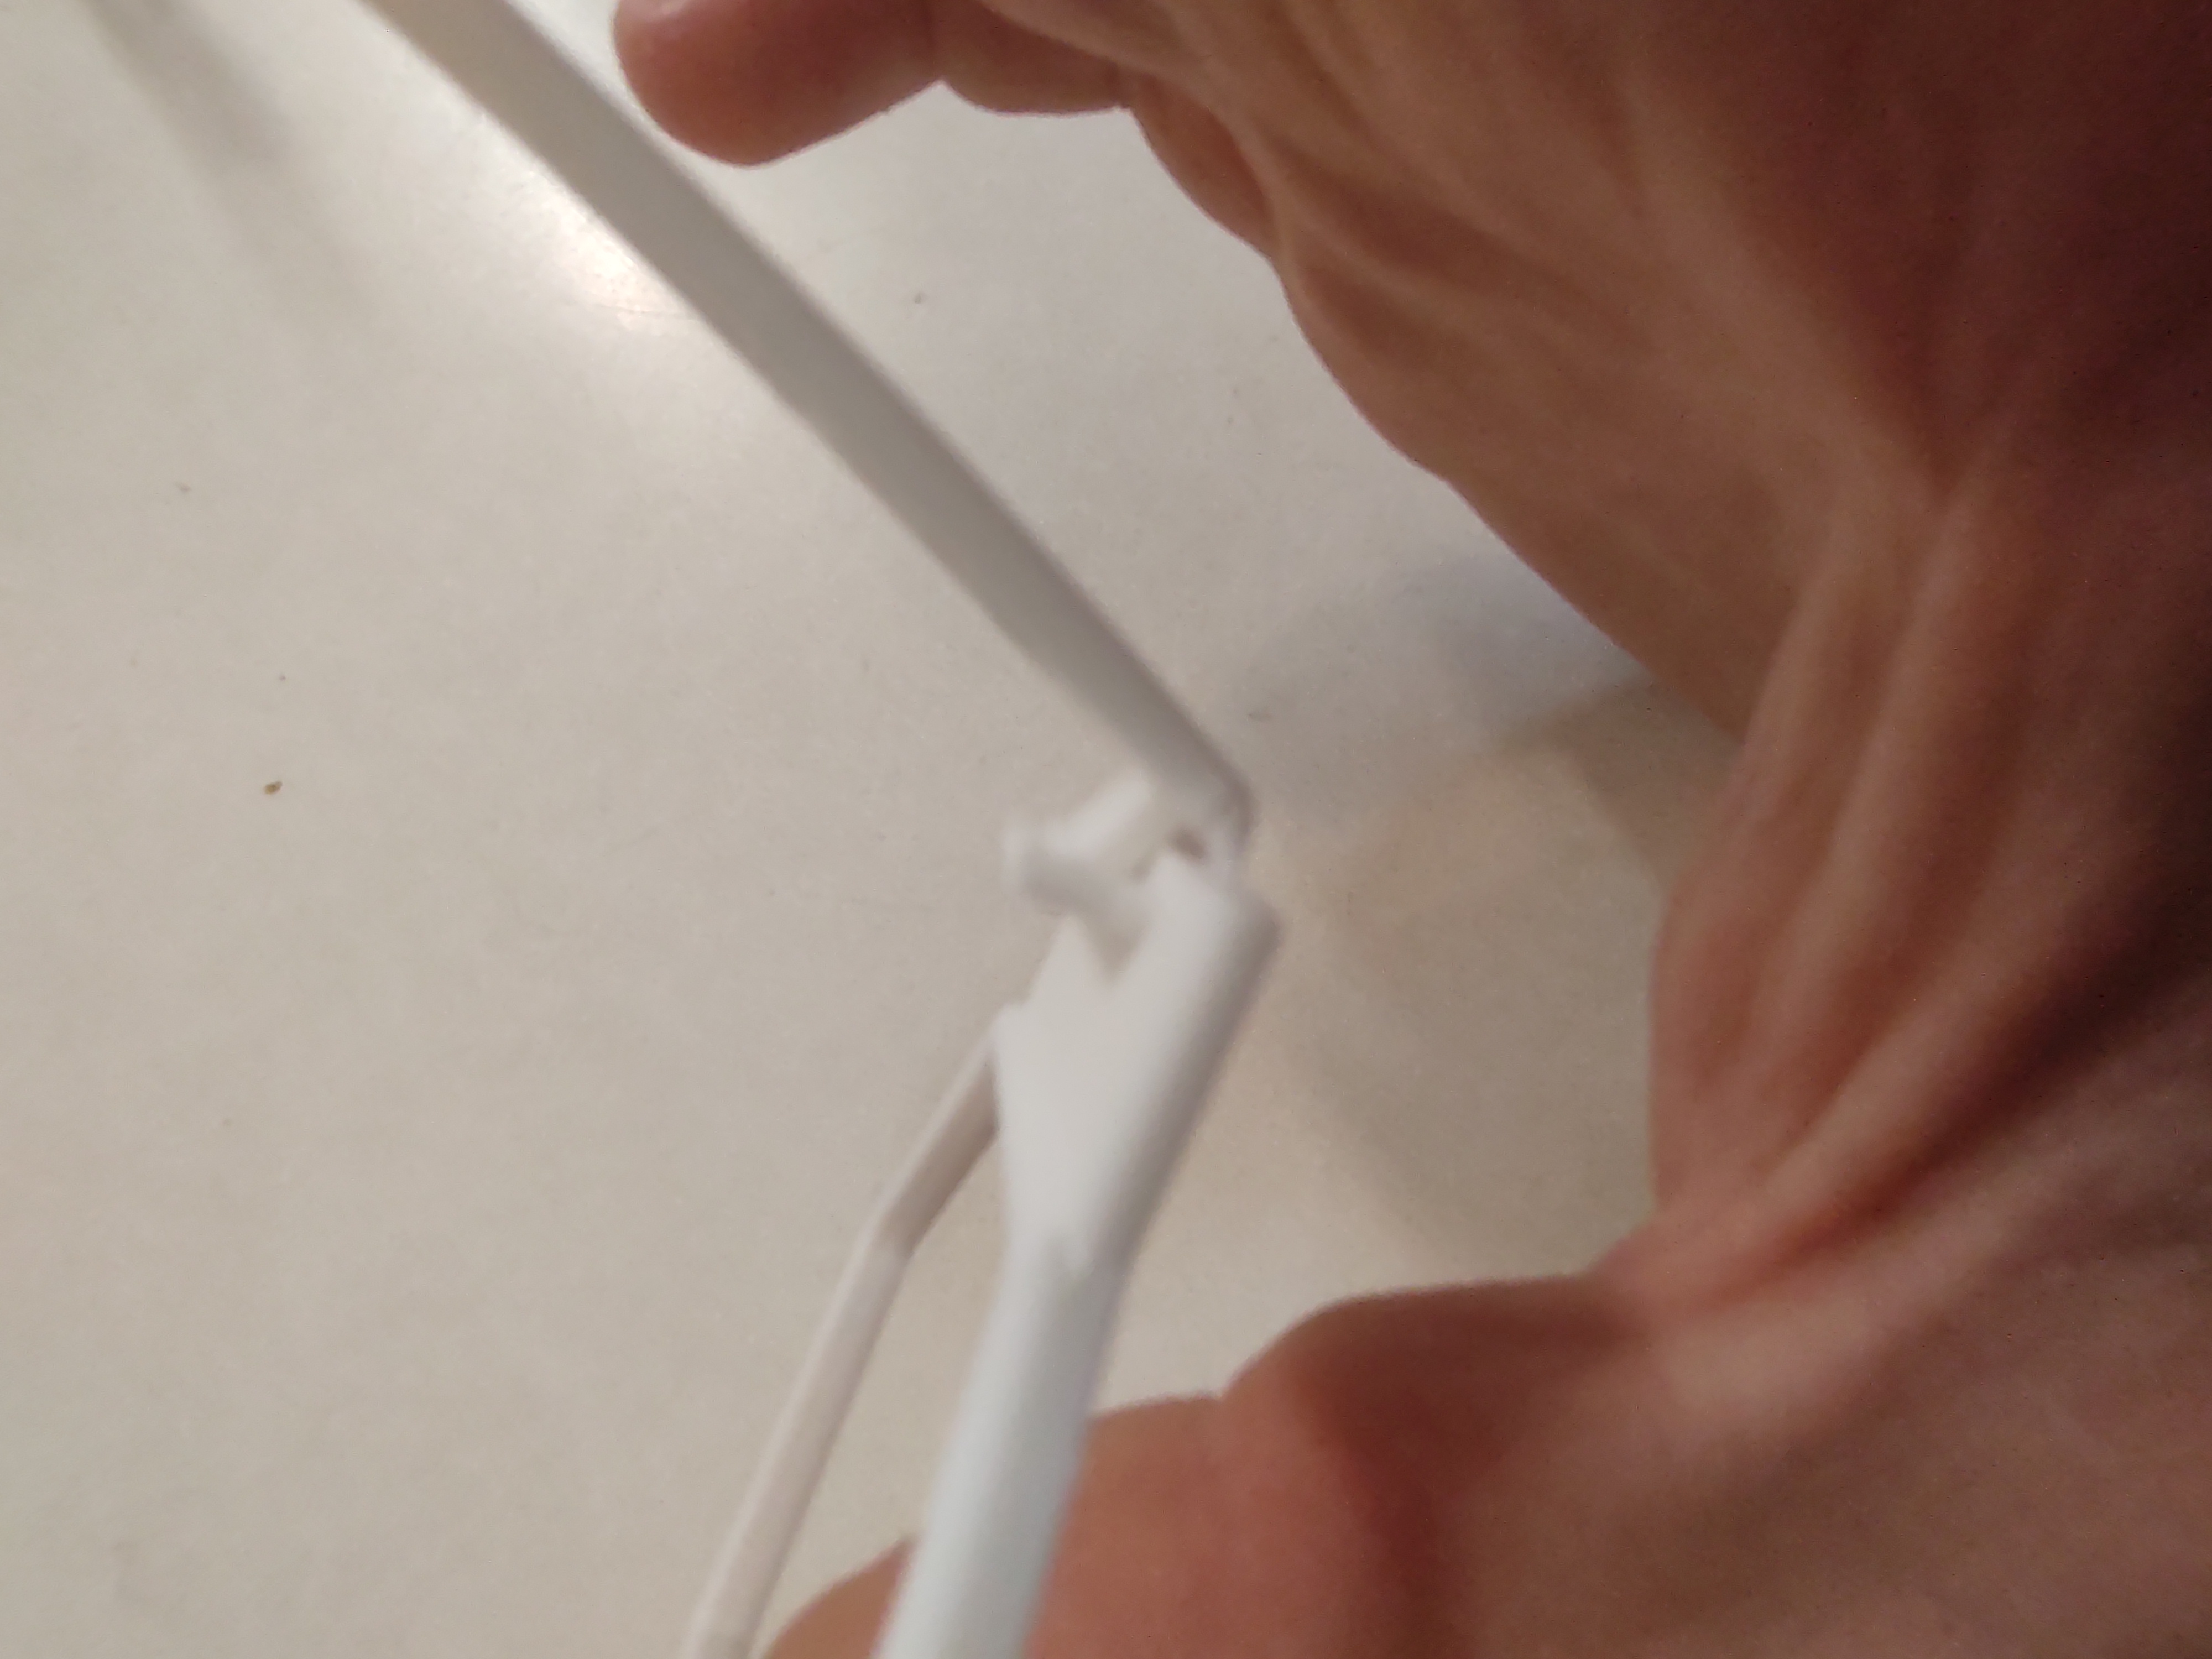 That's where the second ridge comes in.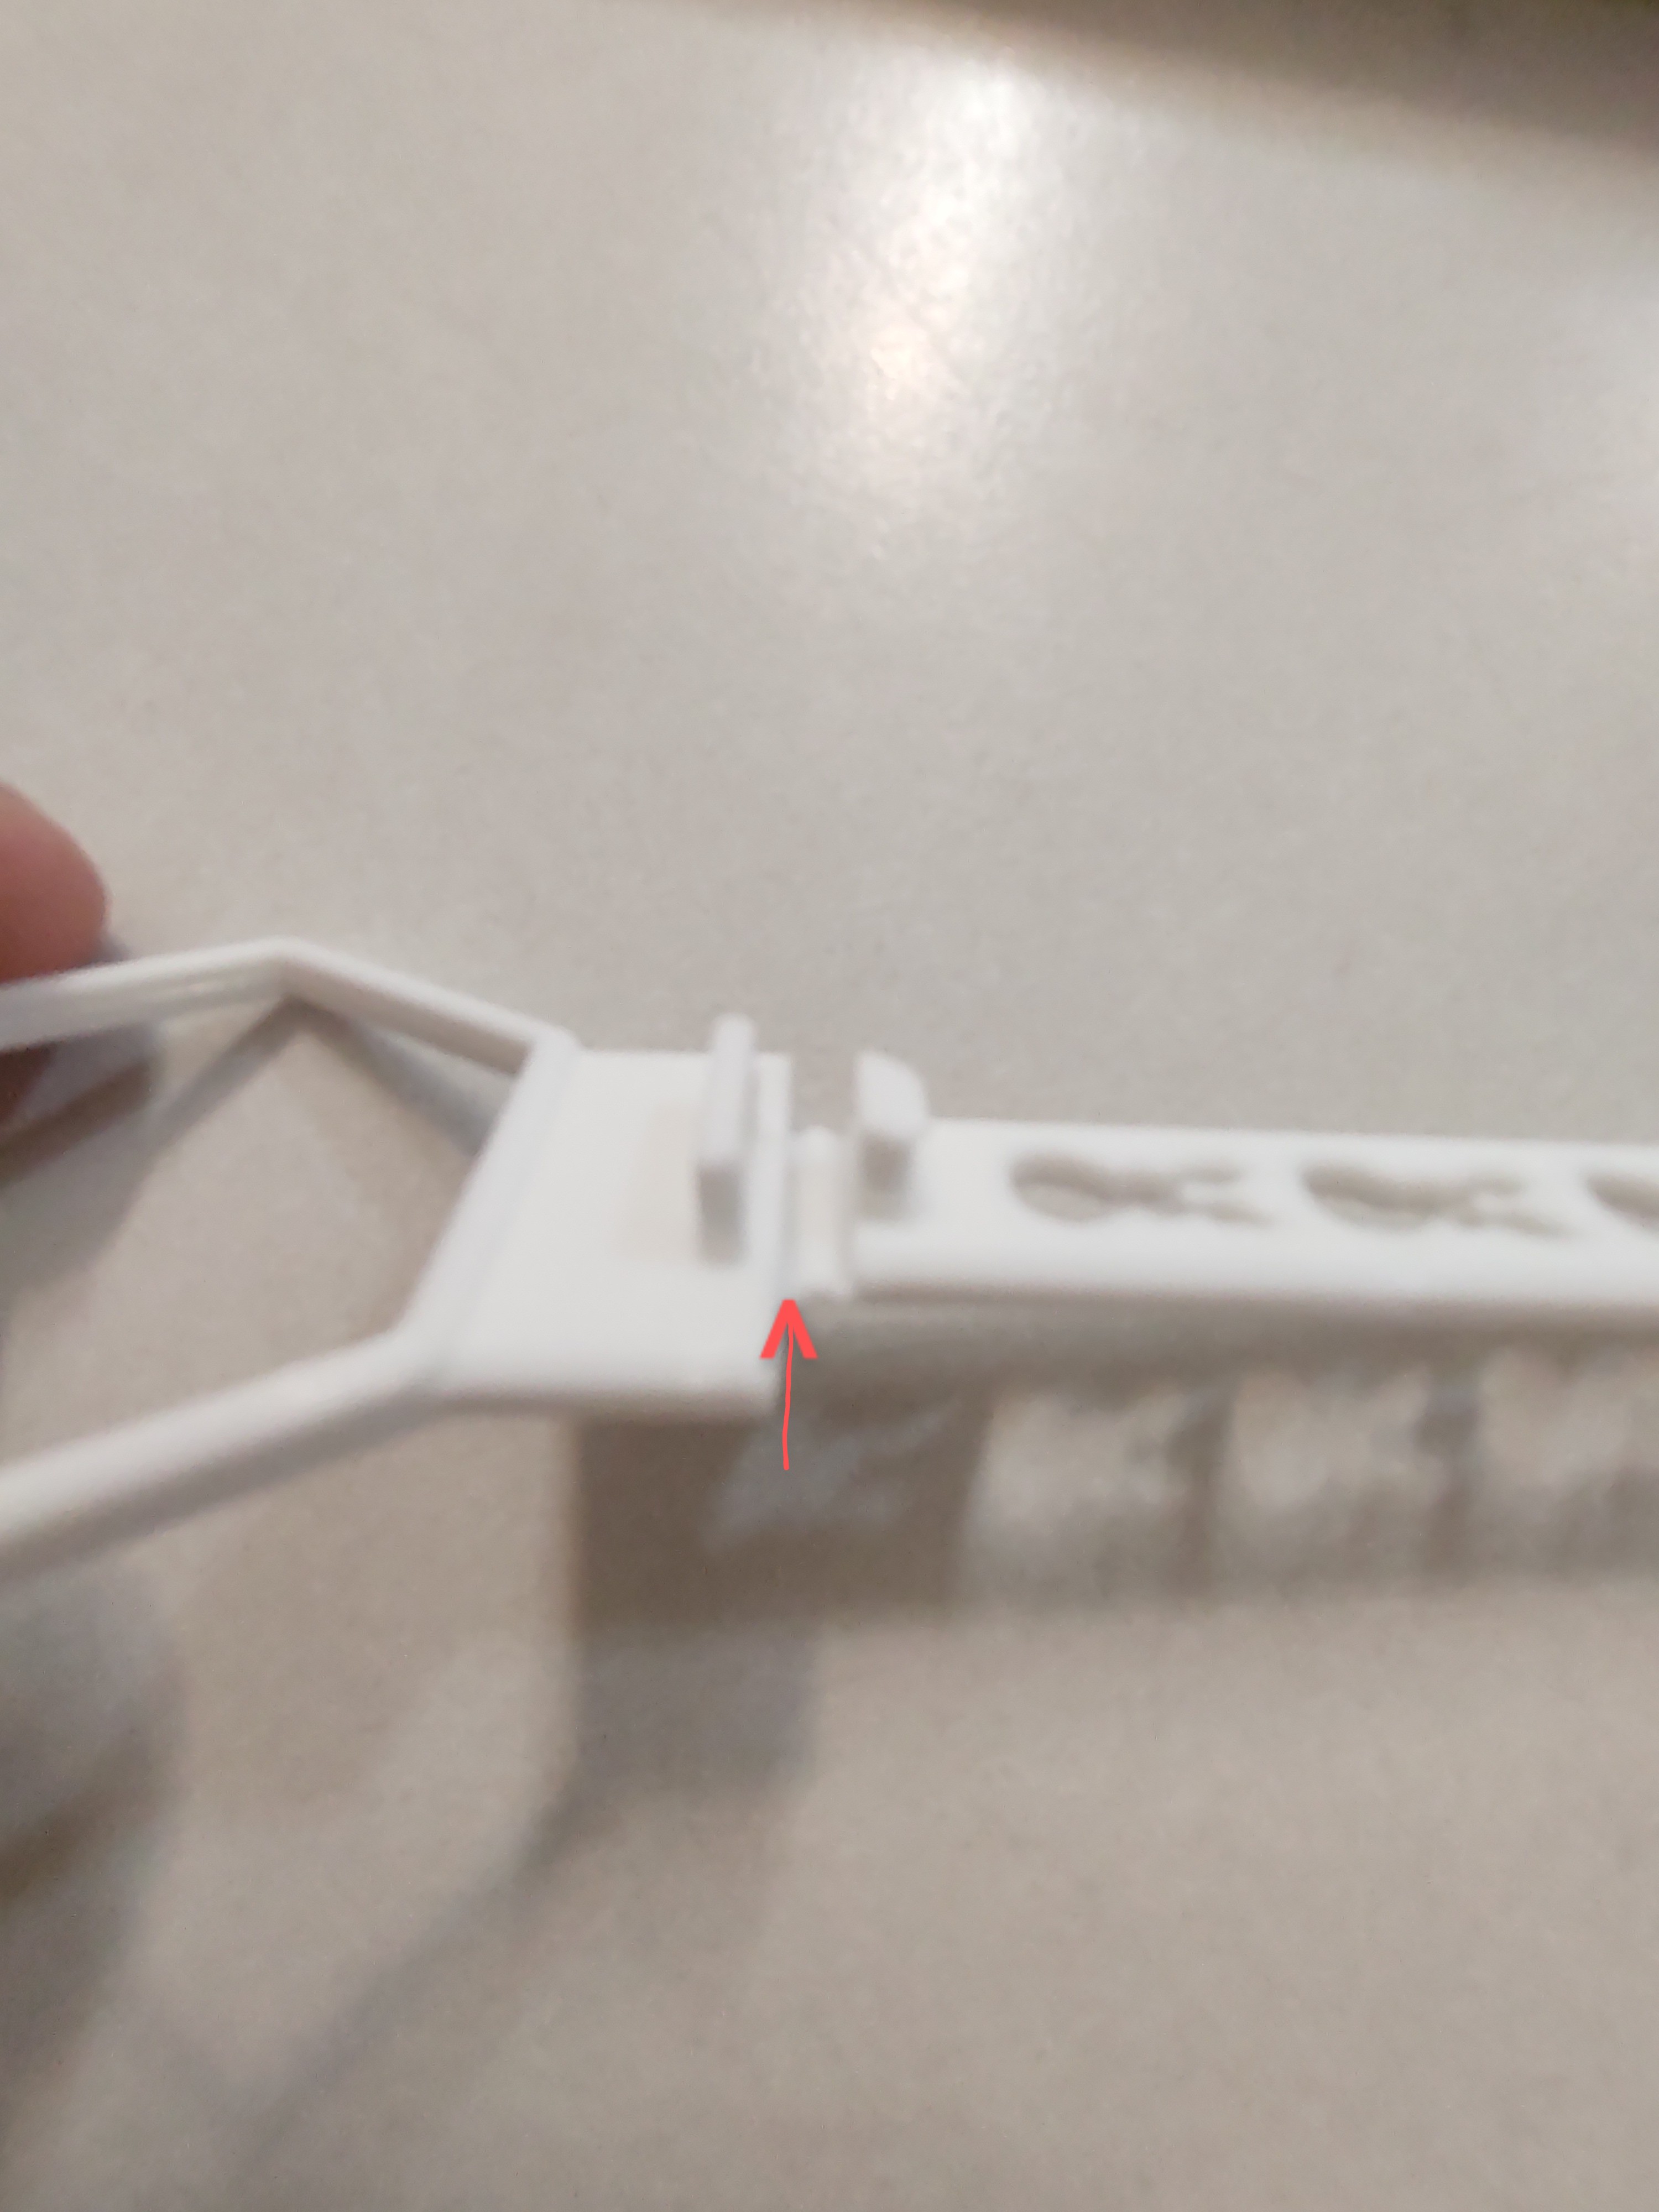
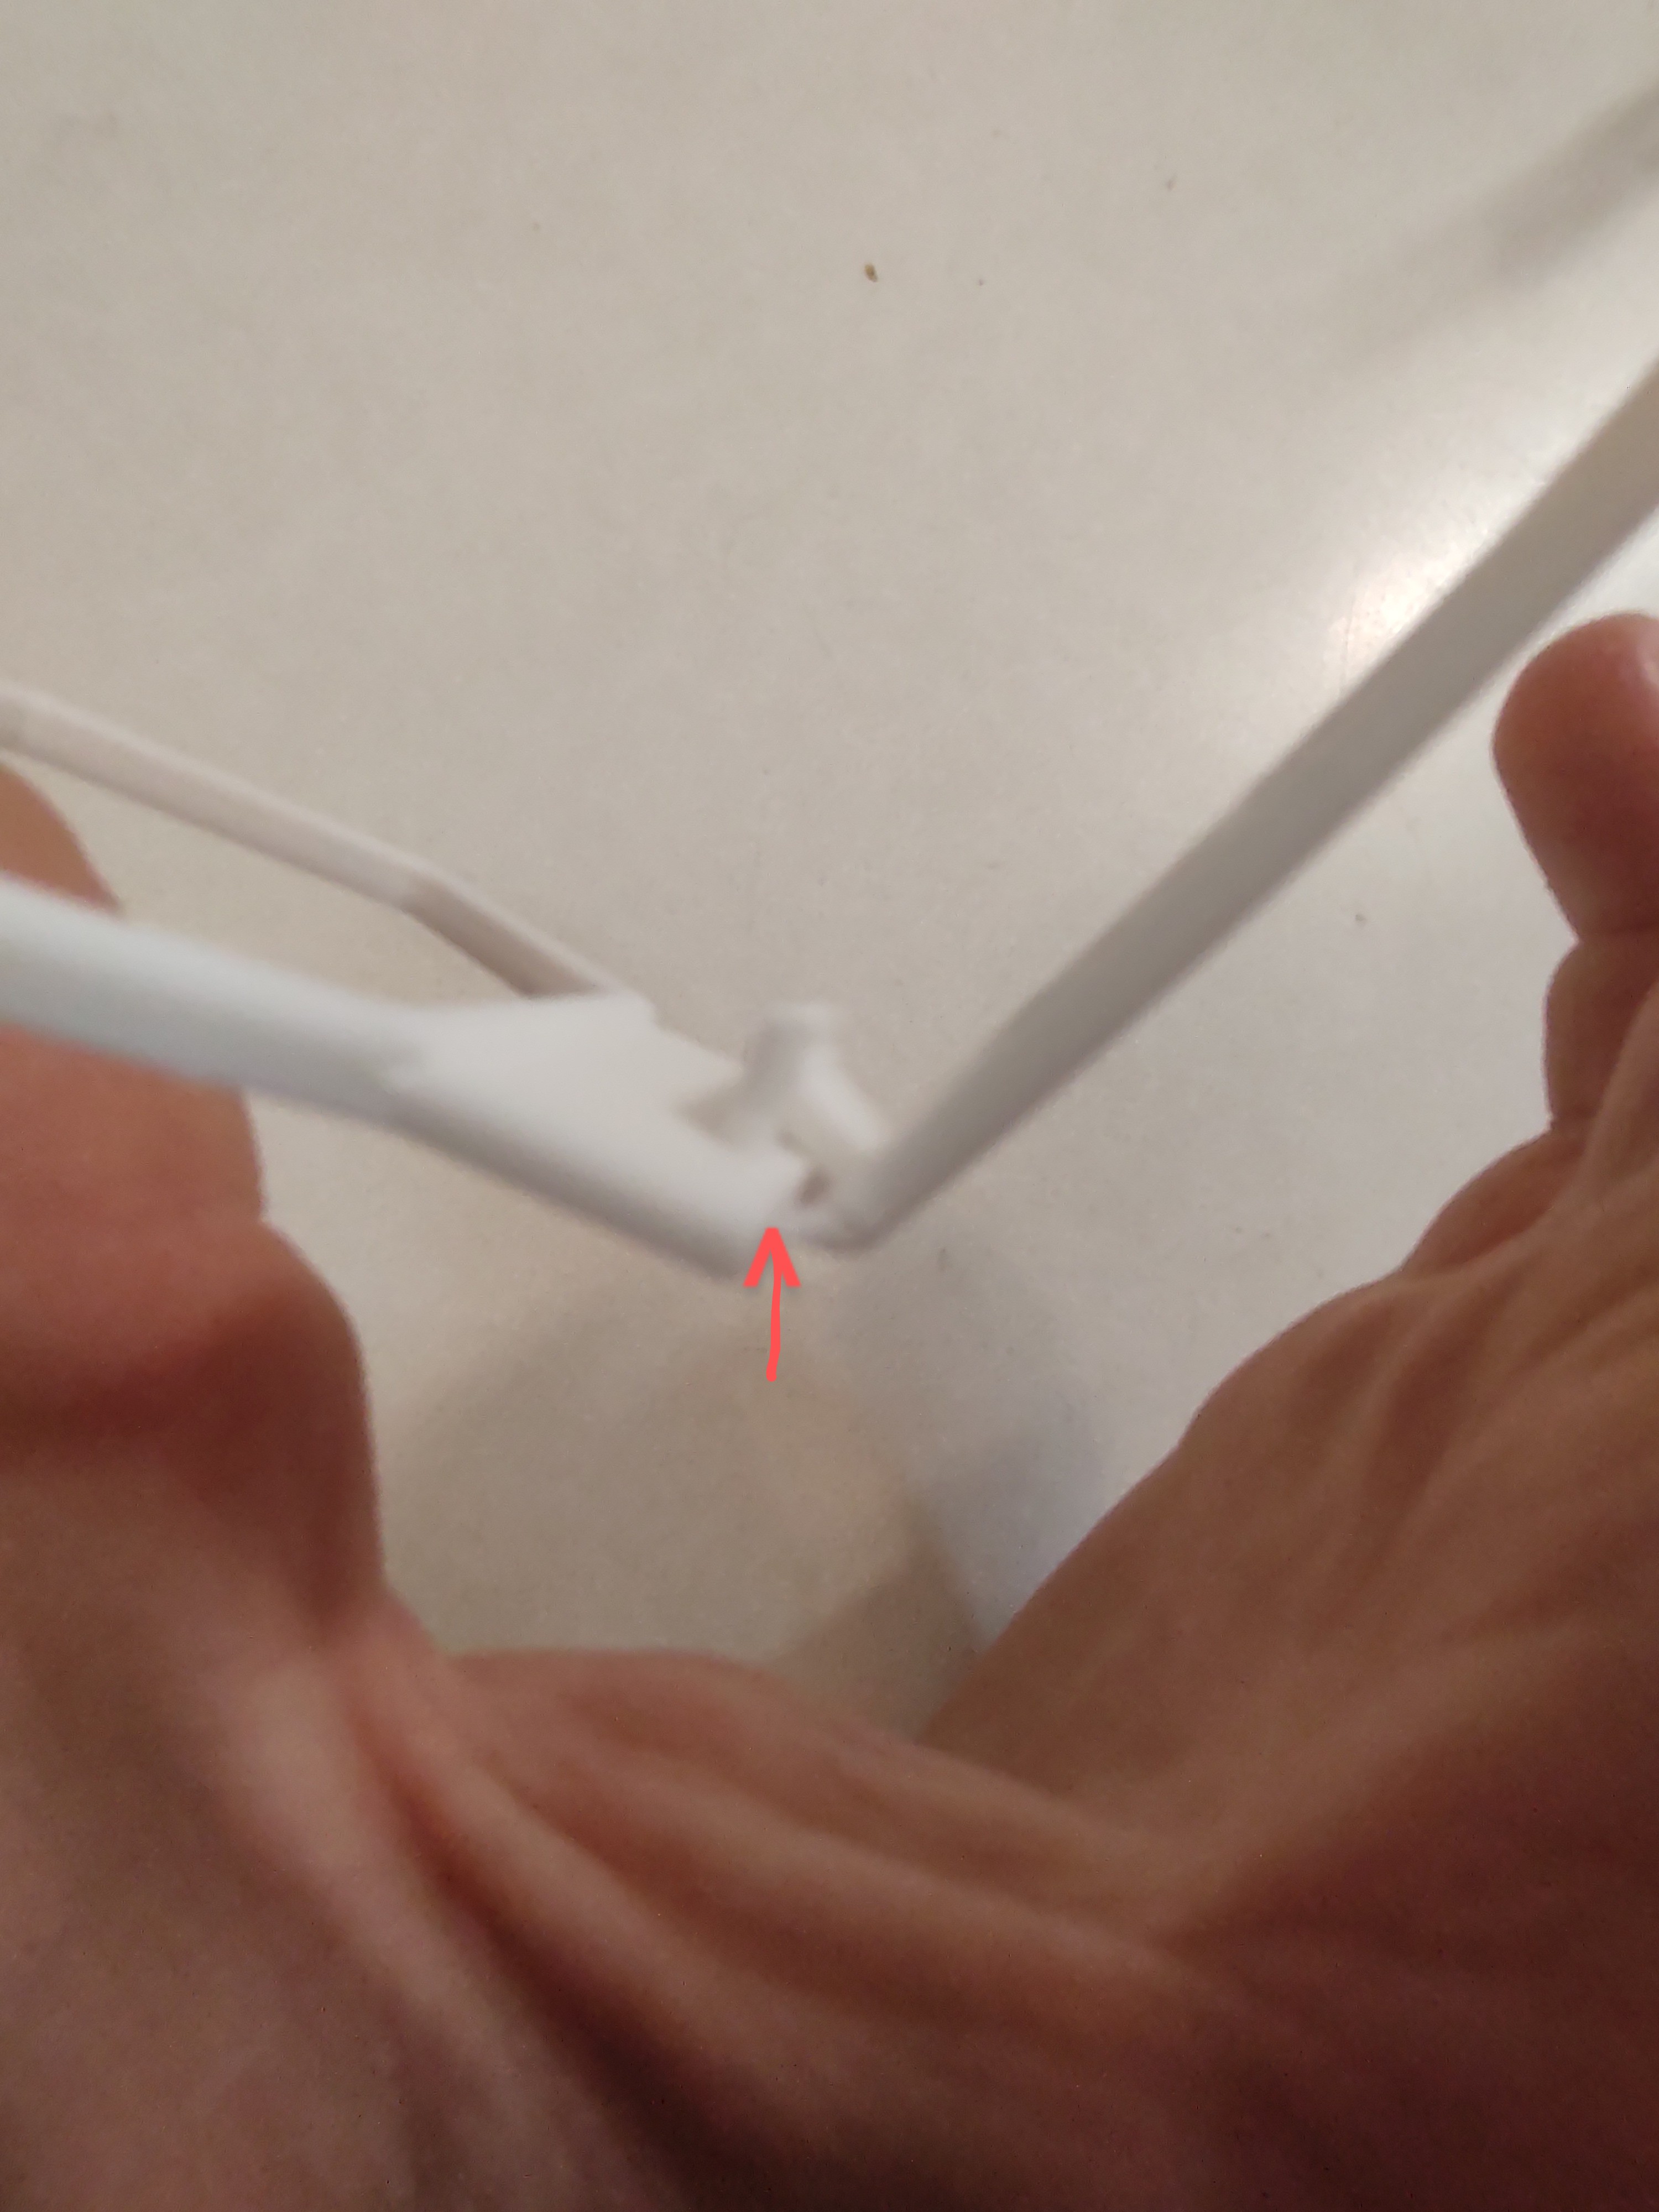 You will fold this divot to secure the hook to the latch hole. When doing this BE CAREFUL! Especially with the normal latch (which is thin), if you put too much pressure, it will snap. I recommend putting a finger like so when snapping it all in place to give it more support and avoid damage.
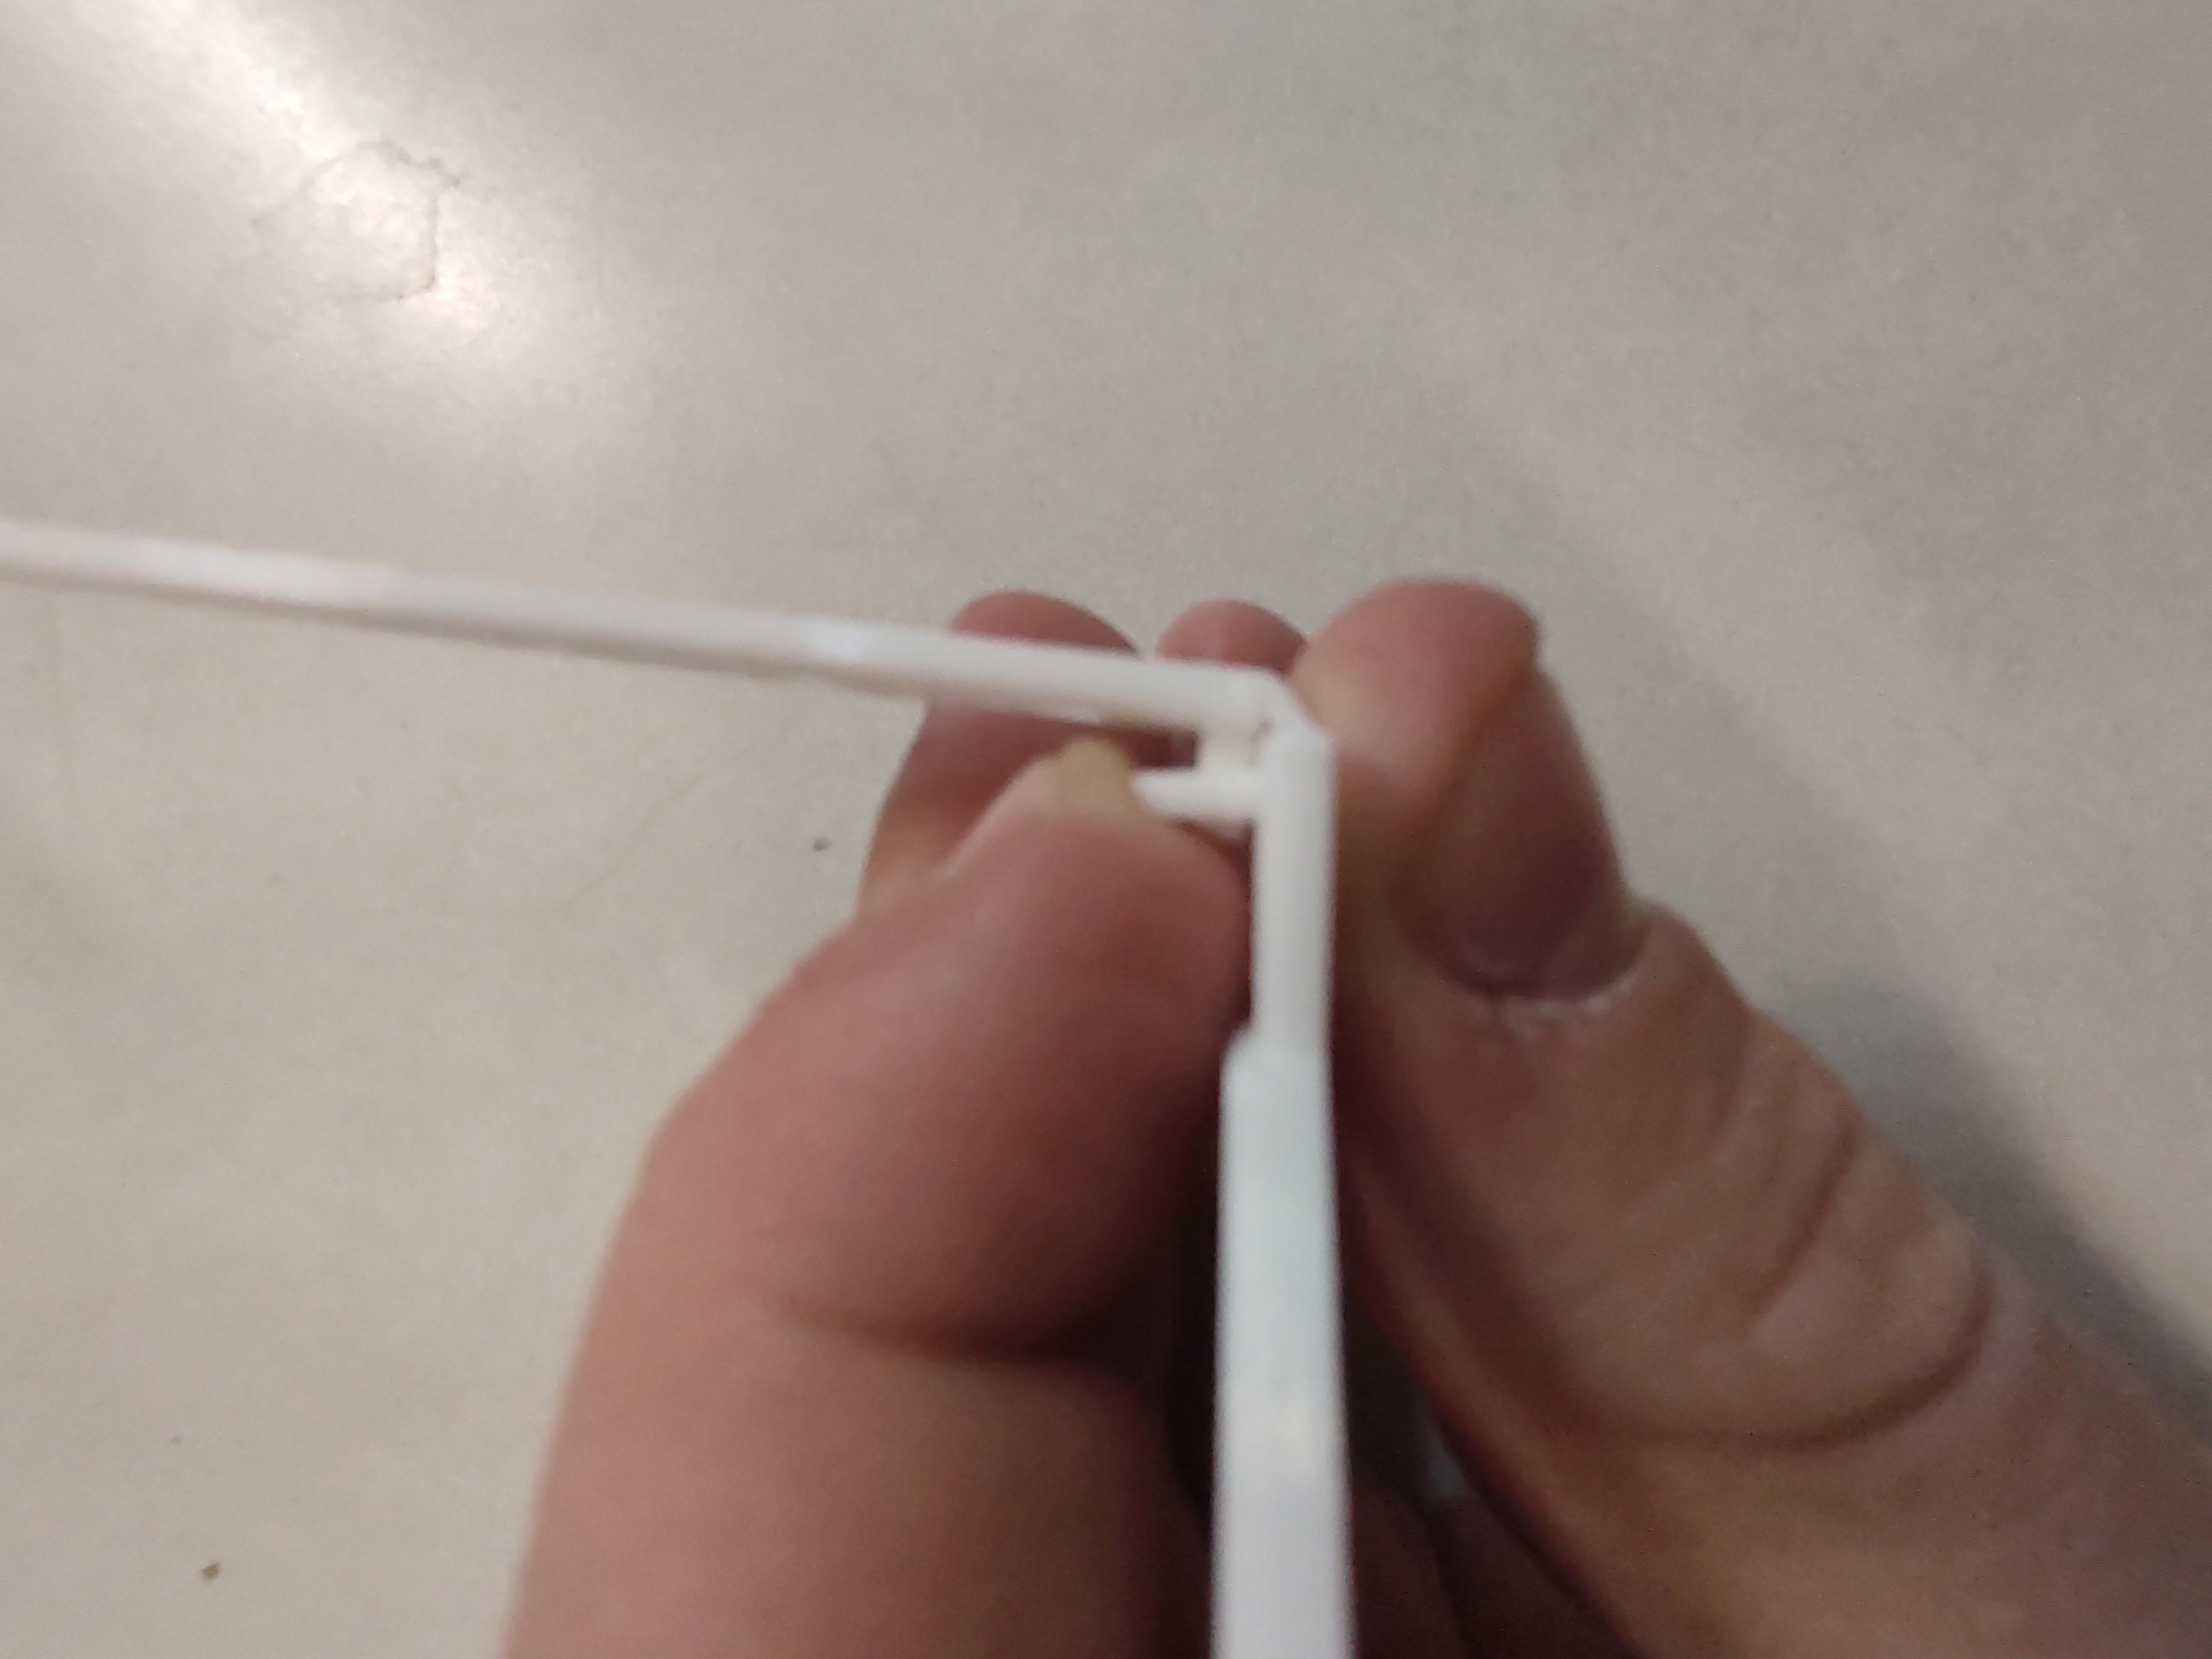 When the hook is snapped in the latch, it shouldn't be able to be unhooked without re-bending the divots or breaking it.
Printed with 0.2mm layer height with a 0.4mm nozzle. Be careful when printing with bigger diameter nozzles as the bunny imprint might distort. I used PLA, but for temperature resistance I would recommend PETG or ABS. Use supports at your own discretion. My old Ender 3 pro could handle every overhang, so I don't think other machines should have much trouble.
If you have any questions, ideas, or improvements for this design, please leave a comment.
License



Comment & Rating (6)