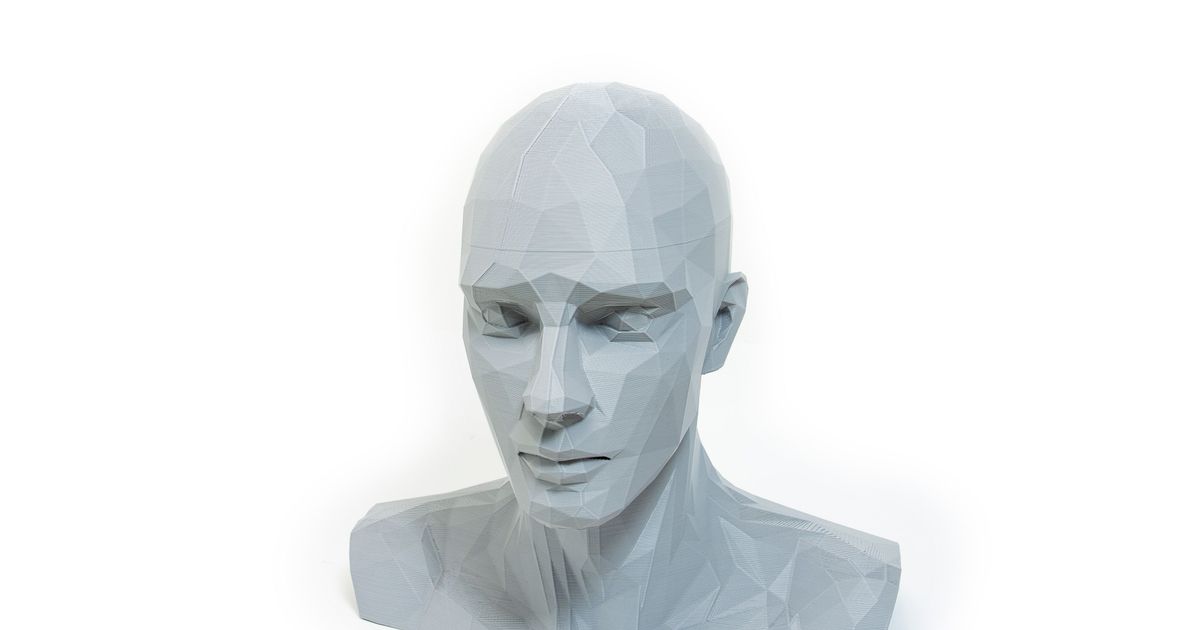
Two part low poly mannequin model
Remixed by
Copyright Claim
Two part low poly mannequin model
Remixed by
Boost
14
26
3


Print Profile(2)

0.2mm layer, 3 walls, 50% infill
Designer
14.3 h
2 plates

0.08mm layer, 3 walls, 50% infill
Designer
21.5 h
2 plates
Open in Bambu Studio
Boost
14
26
3
0
32
27
Released
Description
I used Prusa Slice 2.6 to split the original one piece model at the neck such that the head piece needs minimal support (ears and a little bit of the neck very close to the build plate.
This is scaled up from the original (20% IIRC) to be a more realistic size as the original was a little on the small side.
I added connectors as I was doing it to help join them accurately after. But I'm not sure how well those really helped in practice as I had some silk-related quality issues as I printed this for myself.
Even with lightning infill this print will use most of a roll (800g-ish from memory). Other infill bump up print time and filament usage considerably.
Things I found printing it:
- 0.28mm layer height meant a lot of the lower angle poly surfaces looked awful and felt even worse (like sandpaper).
- Dropping to 0.08mm layer height helped a lot with only the nearest horizontal poly surfaces still being somewhat poor.
- Turning off the ‘single wall on top surface’ setting made a huge difference to both how it looked and felt even at 0.28mm layer heights - it subjectively improved it more than dropping to 0.08mm layer heights.
- I ended up doing both and not using adaptive layers since I’ve found that creates more obvious z banding with dual and tri color filaments.
- Silk, especially the tricolor I was printing with, is low tolerance and picky. My initial prints used the cylinder connectors but they wouldn’t remotely fit the holes. The final print had severe quality issues neat the top of the body. Think under extrusion. Slowing the print down fixed that. Increasing the temperature might also have worked. Sadly I had to live with it as theres no guarantee a new roll would have the same color angle.
Comment & Rating (3)
All

Print Profile
0.2mm layer, 3 walls, 50% infill
First print failed with it facing out. The nozzle broke thru the back and took it off the plate at about the top of the ear level. I did another one and did auto arrange and it turned it to facing left, added large brim. I also changed it to 1% gyroid. The nozzle hit the infill at every layer but not enough to knock it off the plate. The finished product looks great. There are some imperfections but I could print slower or lower mm than .2 or maybe dry the filament. Thanks for making.


0
Reply

I have a collection of VR headsets and would love to use this model to display them. I read that you scaled it up a bit. Is it actual human head size, now?
0
Reply

Print Profile
0.08mm layer, 3 walls, 50% infill
0
Reply
No more
This remix is based on
License
This user content is licensed under a
Creative Commons Attribution-Noncommercial-Share AlikeRelated Models


© 2024 MakerWorld