Thinner Wall Mounted Drybox
Thinner Wall Mounted Drybox


Print Profile(1)

Description
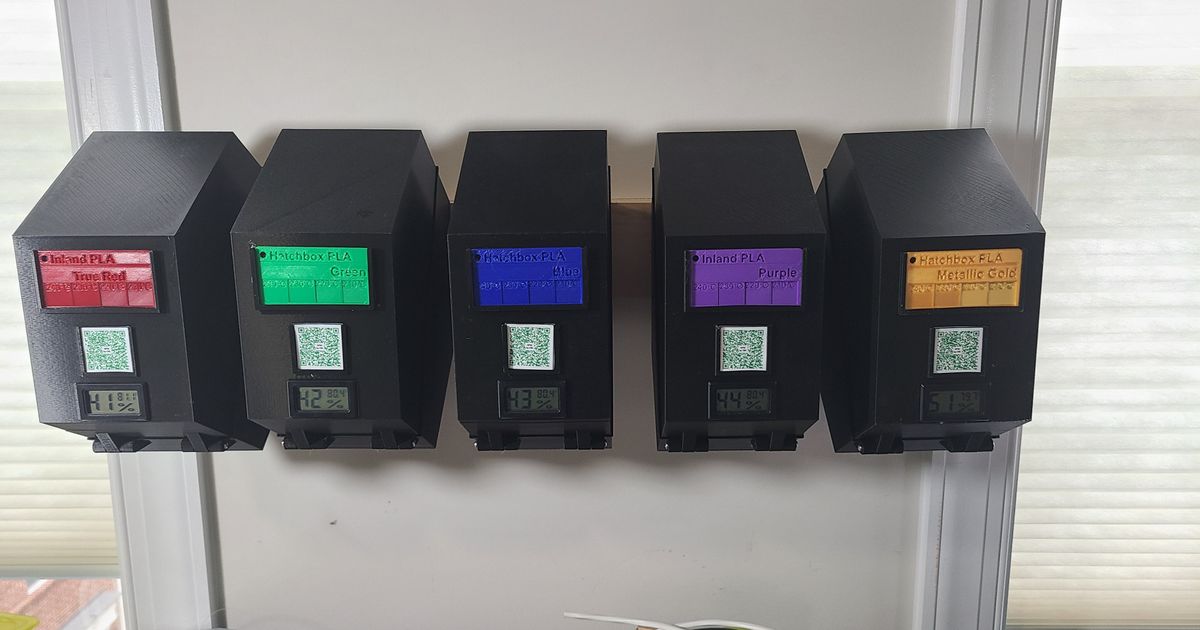
I wanted a thinner drybox to store filament in when not being used and didn't need holes or rollers for the bearing.
Much simpler build AND Uses about 70% of the filament as the original drybox!!!
Update 3/10/23 - I got tired of fighting with supports for the little latch alignment knob on the bottom half so I cut off a bit of it so now SUPPORTS ARE NO LONGER NEEDED!!! WOOT WOOT!!! also I uploaded a couple test files.
Update 3/5/23 - I had endless problems with extrusion issues on the rims of the bottom sections. also, the latch never aligned properly. I tried numerous settings and never got it completely fixed until i went back to basics. I scrapped everything and downloaded the original files from the original Prusa drybox.
What I did:
- Sliced them up, squeezed the edges together until they were 80mm apart (the width of the swatch card holder).
- Added a couple little bits under some ledges to remove the need for supports.
- Cut out the saddles for the bearings. Use This if you want the spool to spin.
- Also, covered up the slot for the filament. I would just drill a hole to screw in a bowden tube attachment if desired.
NOW it truly seals! the humidity inside drops down to 10% compared to 20-30% in my previous design!!! I just throw in a handful of silica packets.
I'd love your feedback!
Hardware needed:
- 2x M3x30 screw - for the hinge
- 1x M3x8 screw - to attach the latch to the bottom
- 1x M3x6 screw - for the latch to latch onto
- Humidity sensor
- silica desiccant