
Moon Globe for LED Lamp 001


Print Profile(6)


Bill of Materials
Description
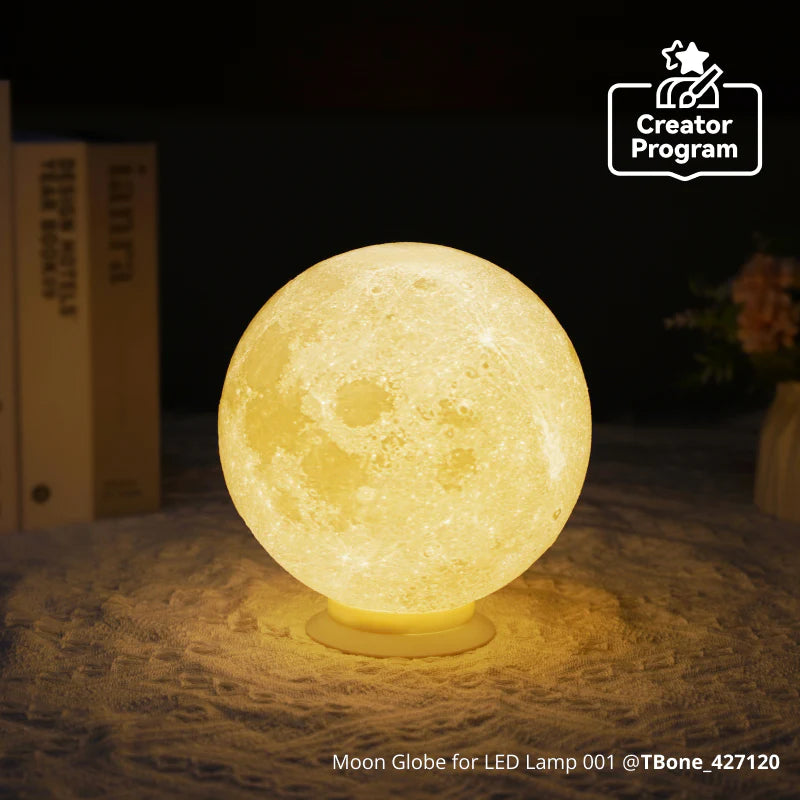
This lampshade is designed for the Bambu Led Lamp 001 kit ←- Follow this link to get the model for the base that holds the electronics and that this globe shade locks into.
This is a moon lithophane model for the LED Lamp kit base built using NASA SVS data.
Before printing, it is highly recommended to test and calibrate the filaments. Test Prints are provided in a profile to test the trickier parts of the print, in particular the top of the moon. Printing the sliced off moon top will give an idea if the flow rates need to be calibrated or if the layer heights need refining.
Both of these are eSun PLA, and both were printed using the same eSun PLA+ profile. 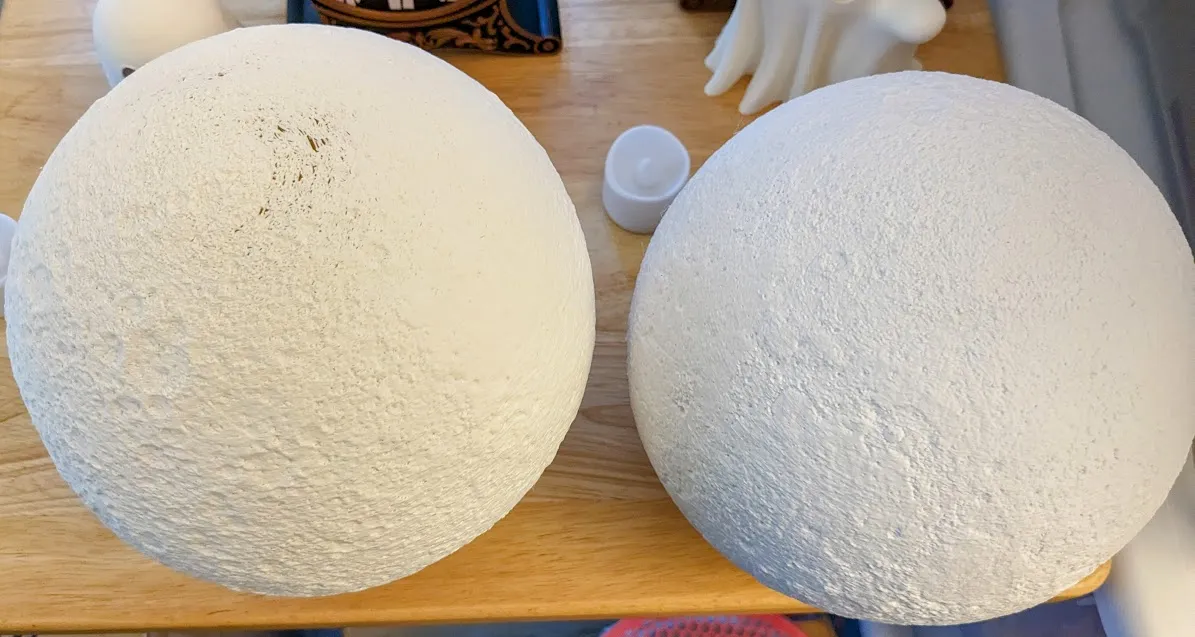
The one on the left ("creamy") needed different flow rate settings to avoid the gaps in the thin walls. Moral of the story: spend the extra 20 minutes to at least run the Auto Calibration for a new filament (and Manual isn't so bad to do either particularly if you print on the textured plate).
The extra big brim is out of an abundance of caution. There is nothing worse than being ten minutes from the end of a 17 hour print and hearing *CRACK* followed by a spaghetti detected notification. If the test print indicates your filament needs a small center support for the top of the moon, “Normal/Snug” supports will work best. Use Manual supports (Auto will result in a ton of exterior supports for the base of the moon) and paint a small dot in the underside of the top of the Moon. The latest version of the model has been made a little thicker and is more forgiving for printing with most filaments.
Note on glow-in-the-dark filaments:
NOT recommended for this print. This is a lithophane. The effect relies on being backlit while glow-in-the-dark filament is self-illuminating, so the shadows created by the variable wall thicknesses won't appear. Also, glow-in-the-dark filament is very abrasive and doing such a long print using with in the AMS is highly discouraged by Bambu Labs (it can wear away at parts).
The part that interfaces with the lamp kit base can easily be made a different filament to match the LED holder material or just for variety. Just set the base filament for the “ModifyBaseSettings” modifier. Doing will require only one filament purge, no prime tower is necessary.
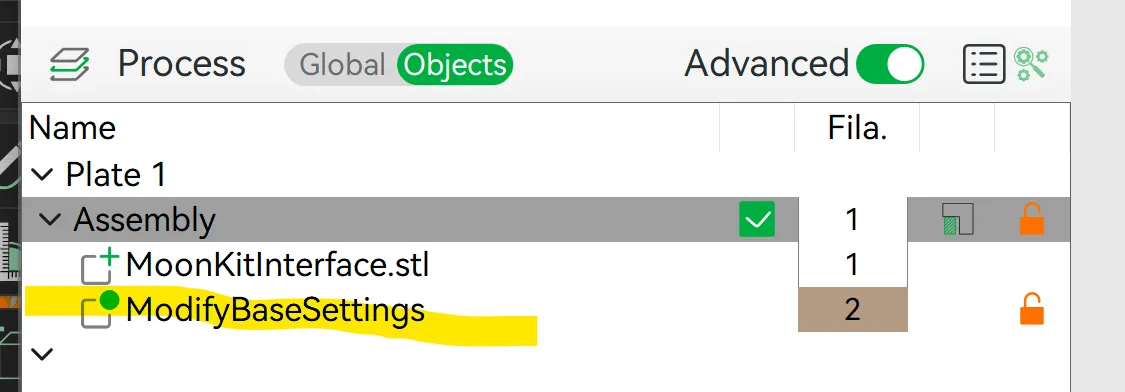
If using the modifier to make a material change at the base, make sure to pick two filaments that have good adhesion to each other.
Because the print requires supports in the base and cleanly removing those supports is important for a snug fit to the lamp kit base, a test print is provided to make sure the filament and support settings will release cleanly. Normal snug supports provided the best results (tree supports required much more effort).

If you do use the center support, when removing don't pull at individual folds from the bottom. Use something to grab on multiple folds as far up as possible (a pair of kitchen tongs works well) and twist.
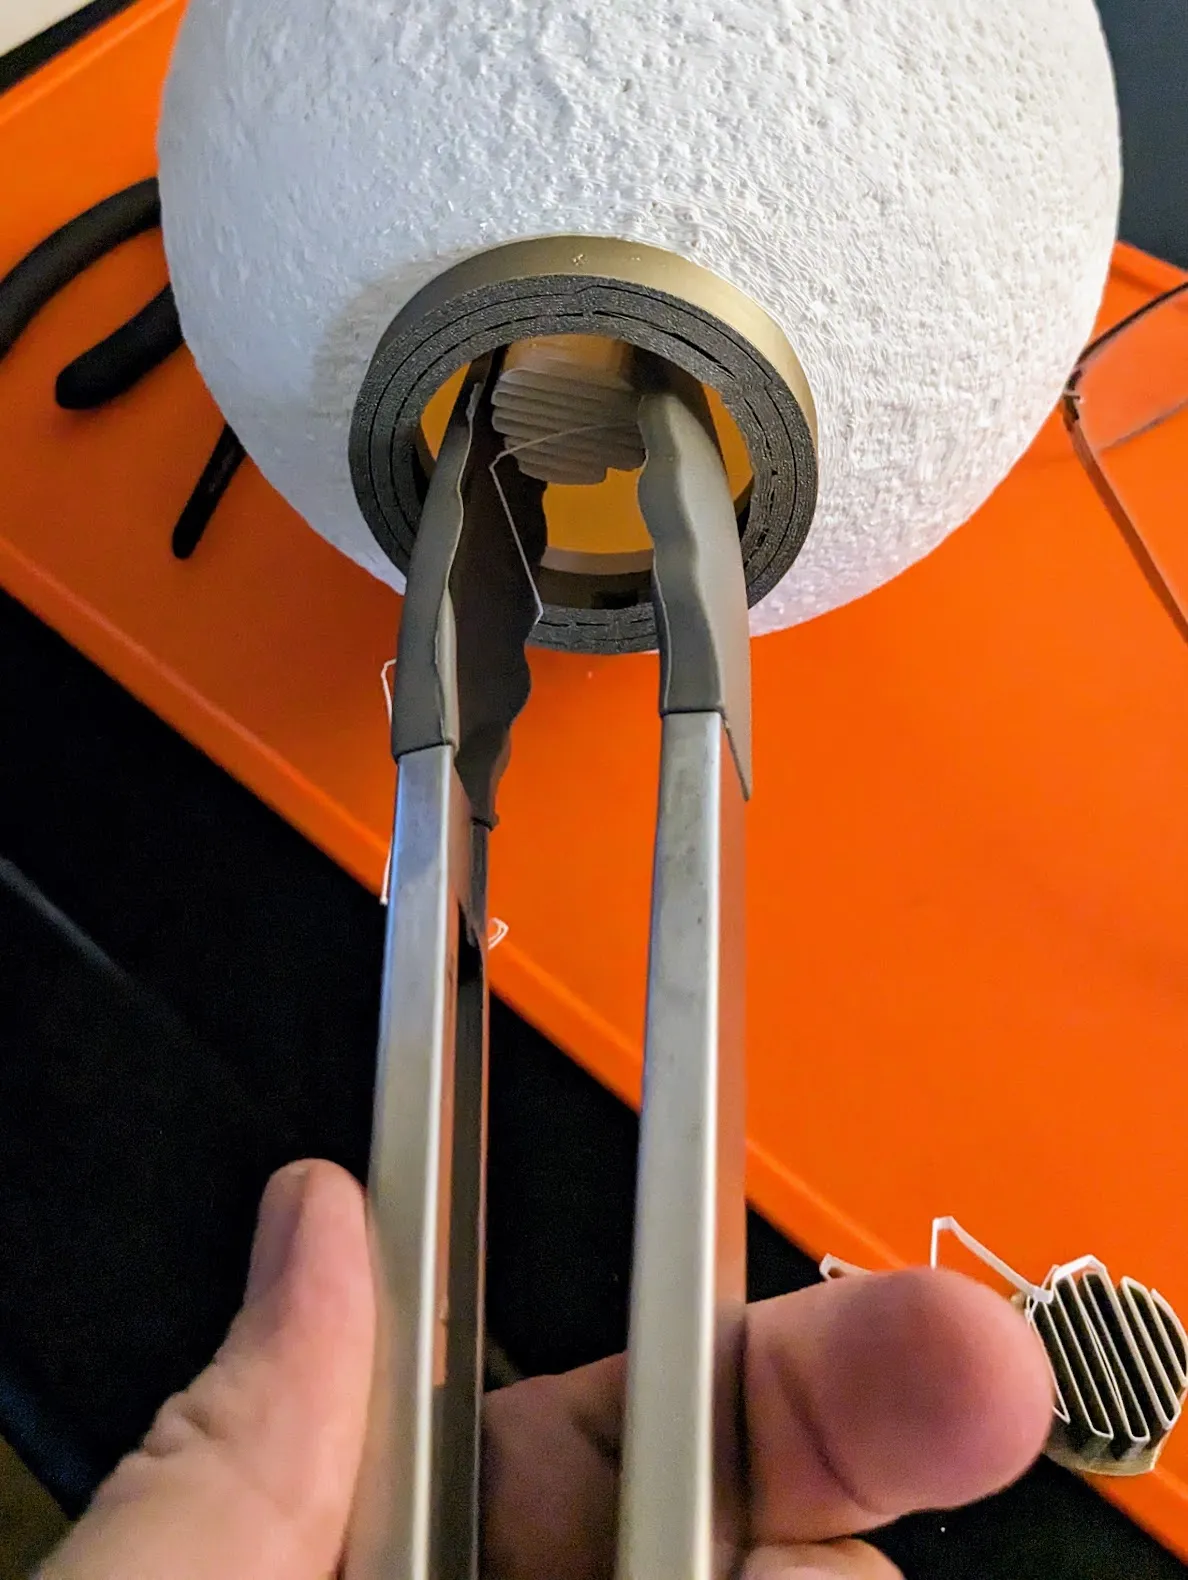
Twisting will put less stress on the top of the sphere and less risk of pulling away the moon surface.
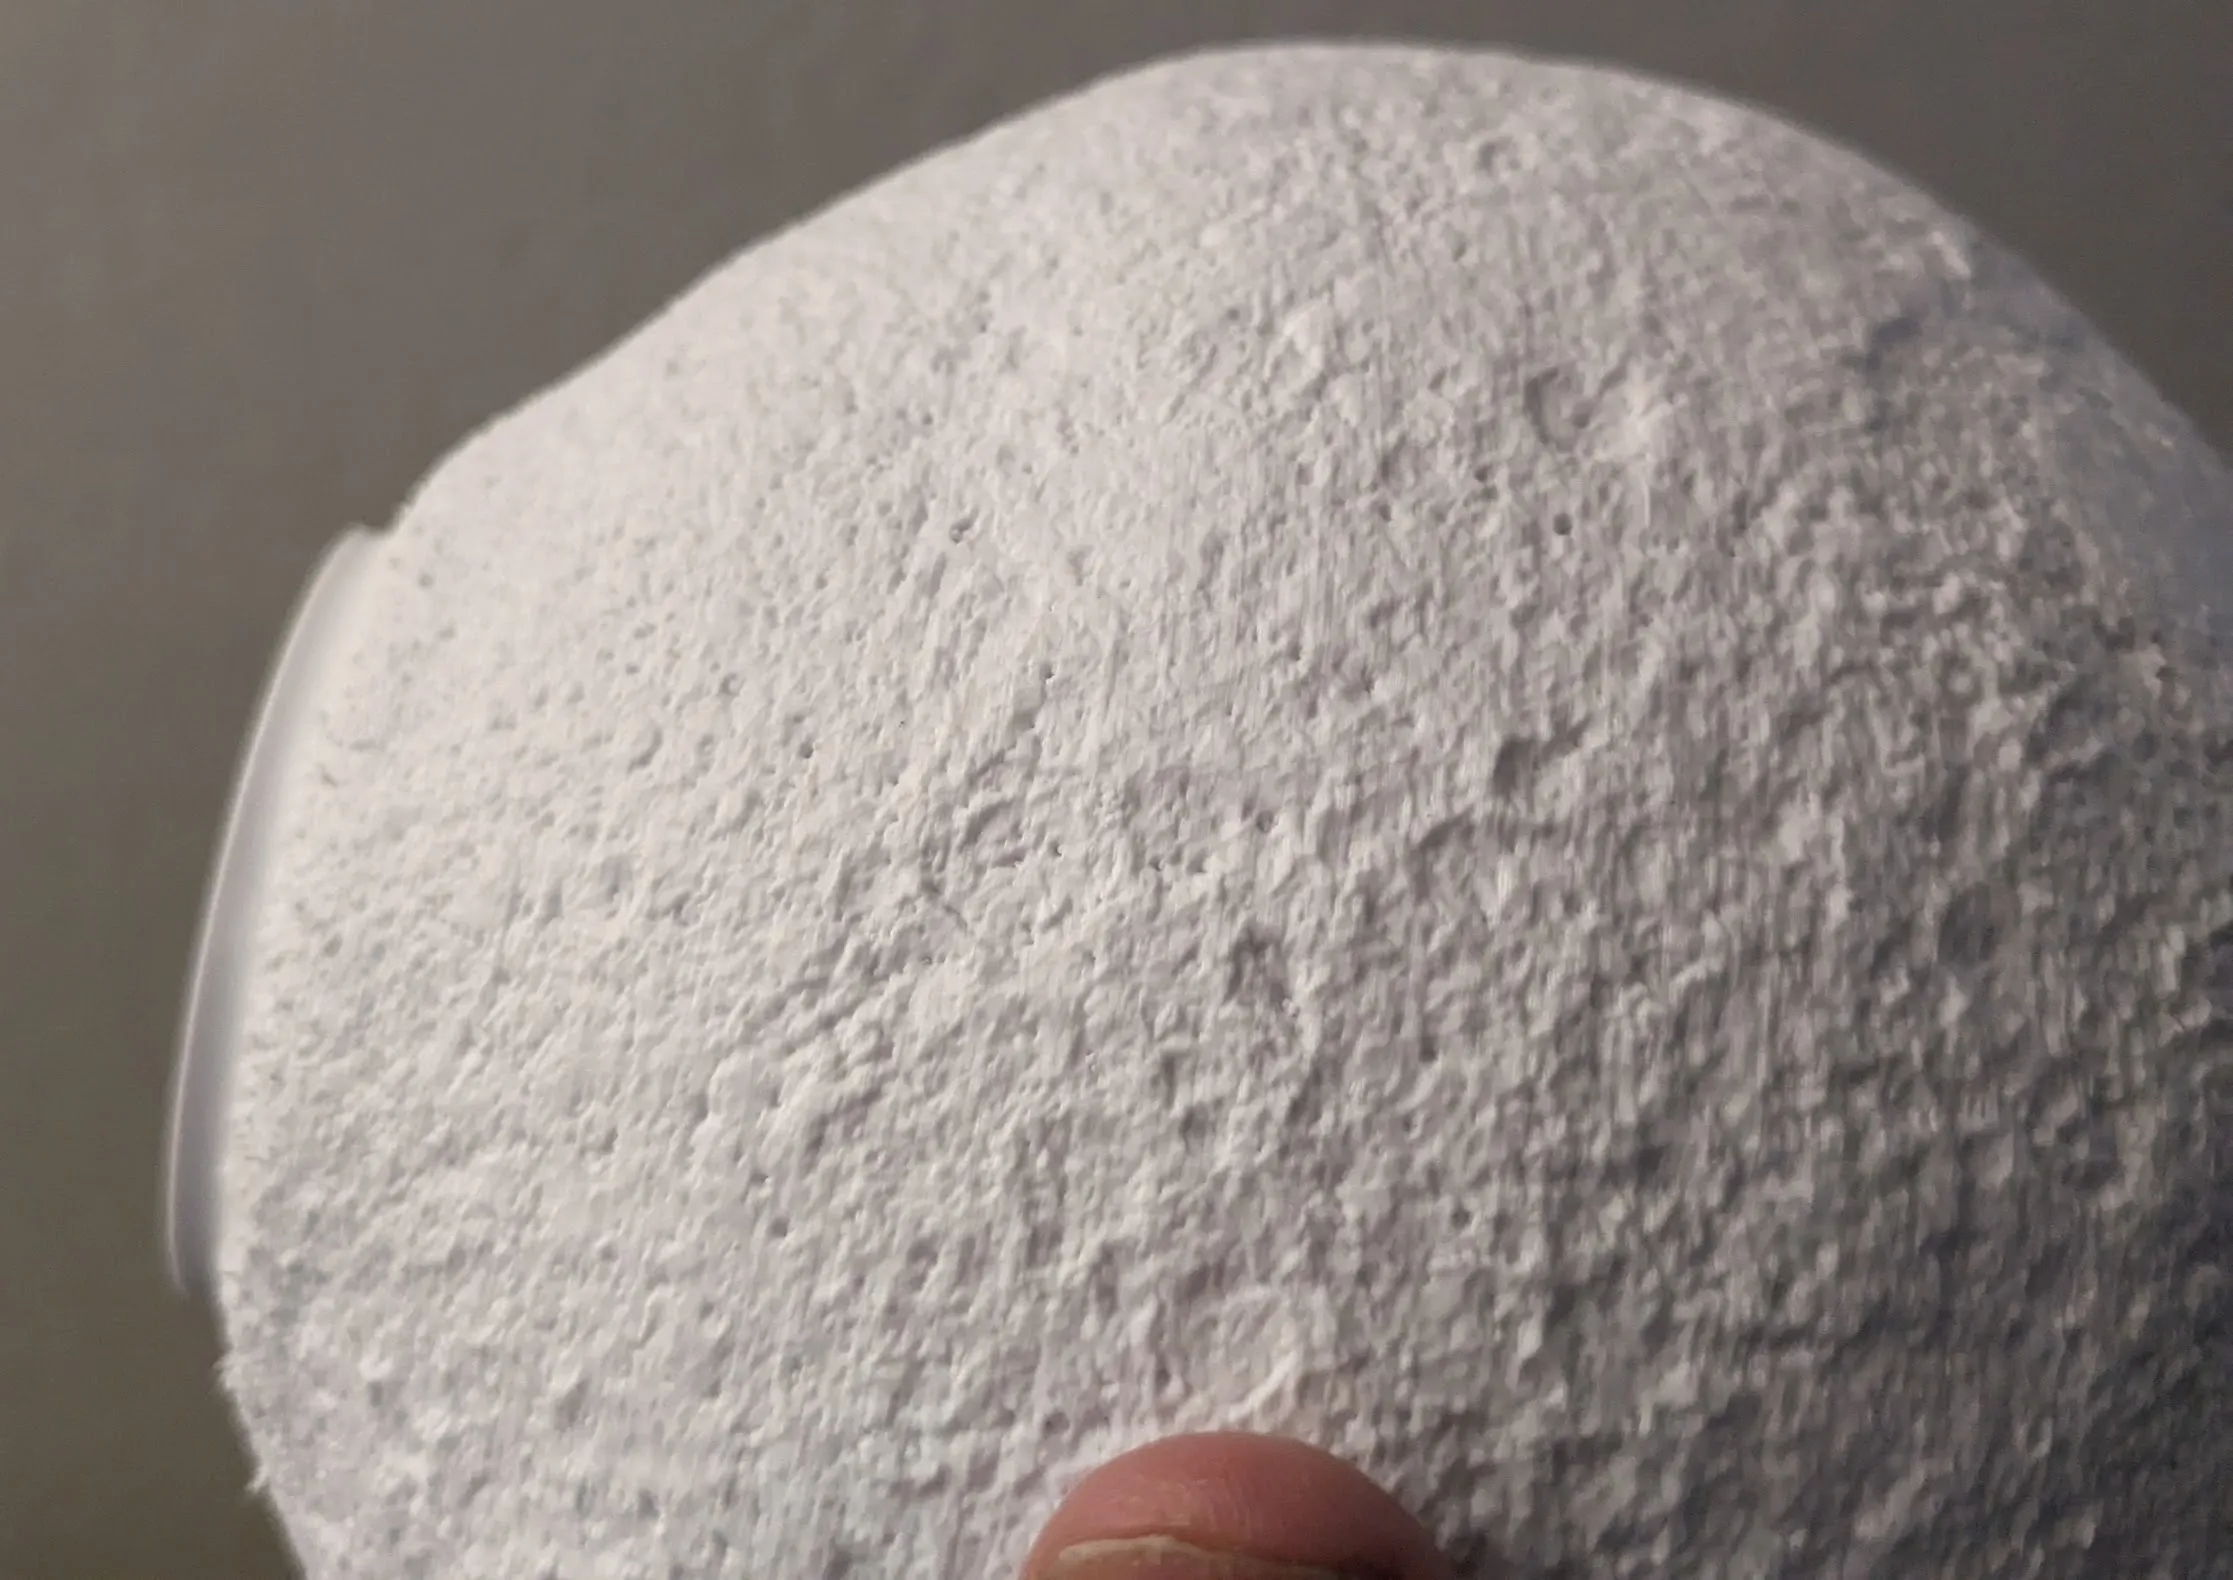
If you have wisps of filaments, resist the urge to use a heat gun because the variable thickness of the shell will contract non-uniformly under the heat. This is the result using a heat gun on a lithophane:
License



Comment & Rating (5501)