
Car Tissue Box
Print Profile(1)
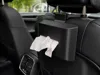
Description
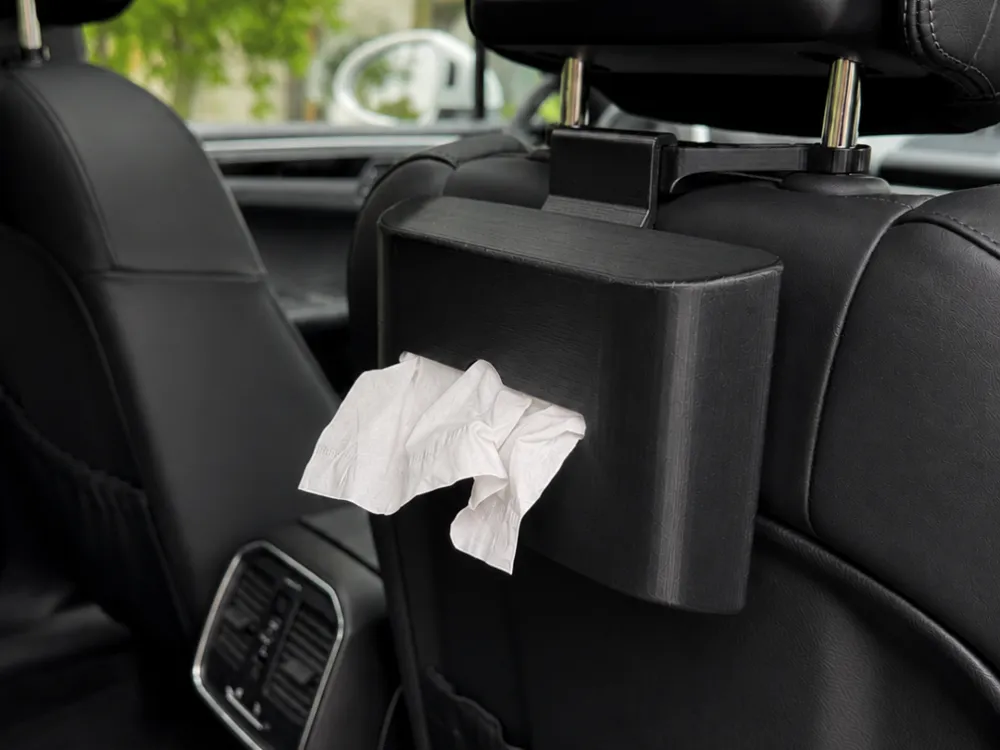
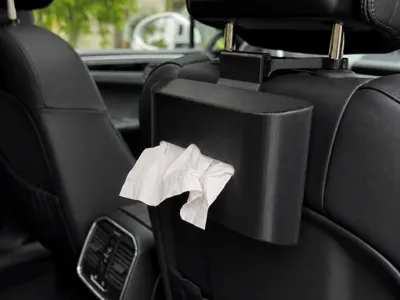
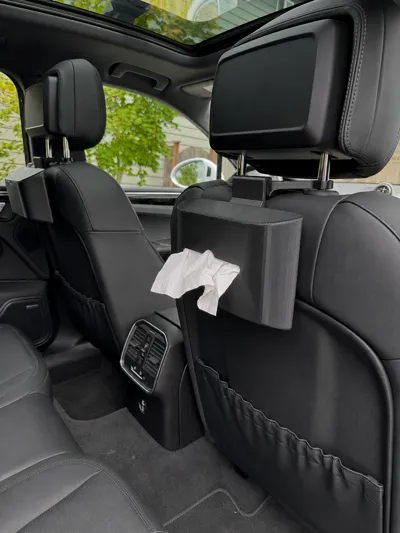
Car Headrest Tissue Box
Description
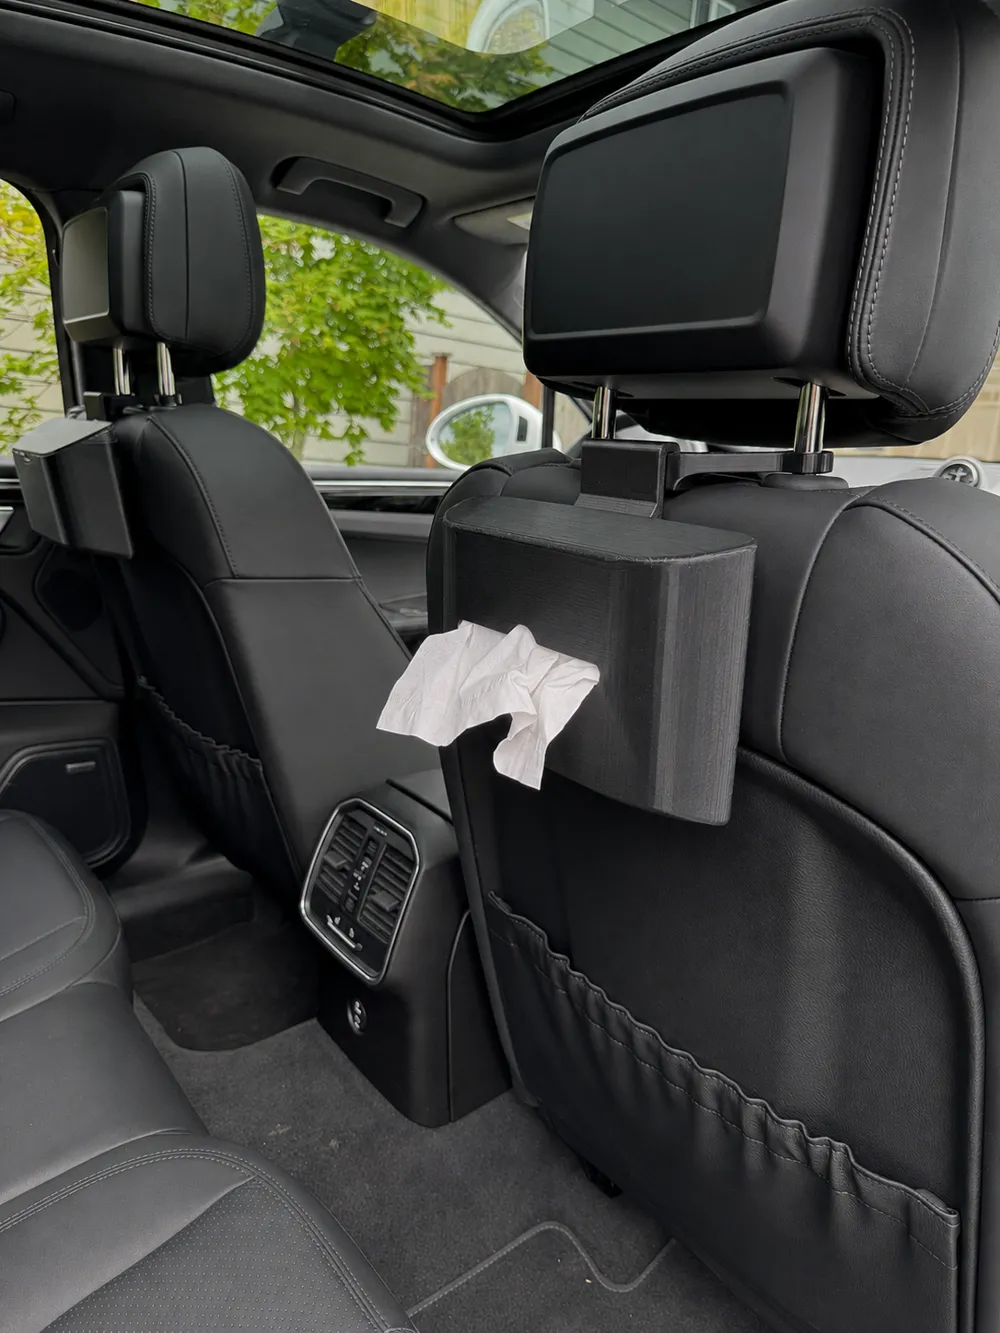
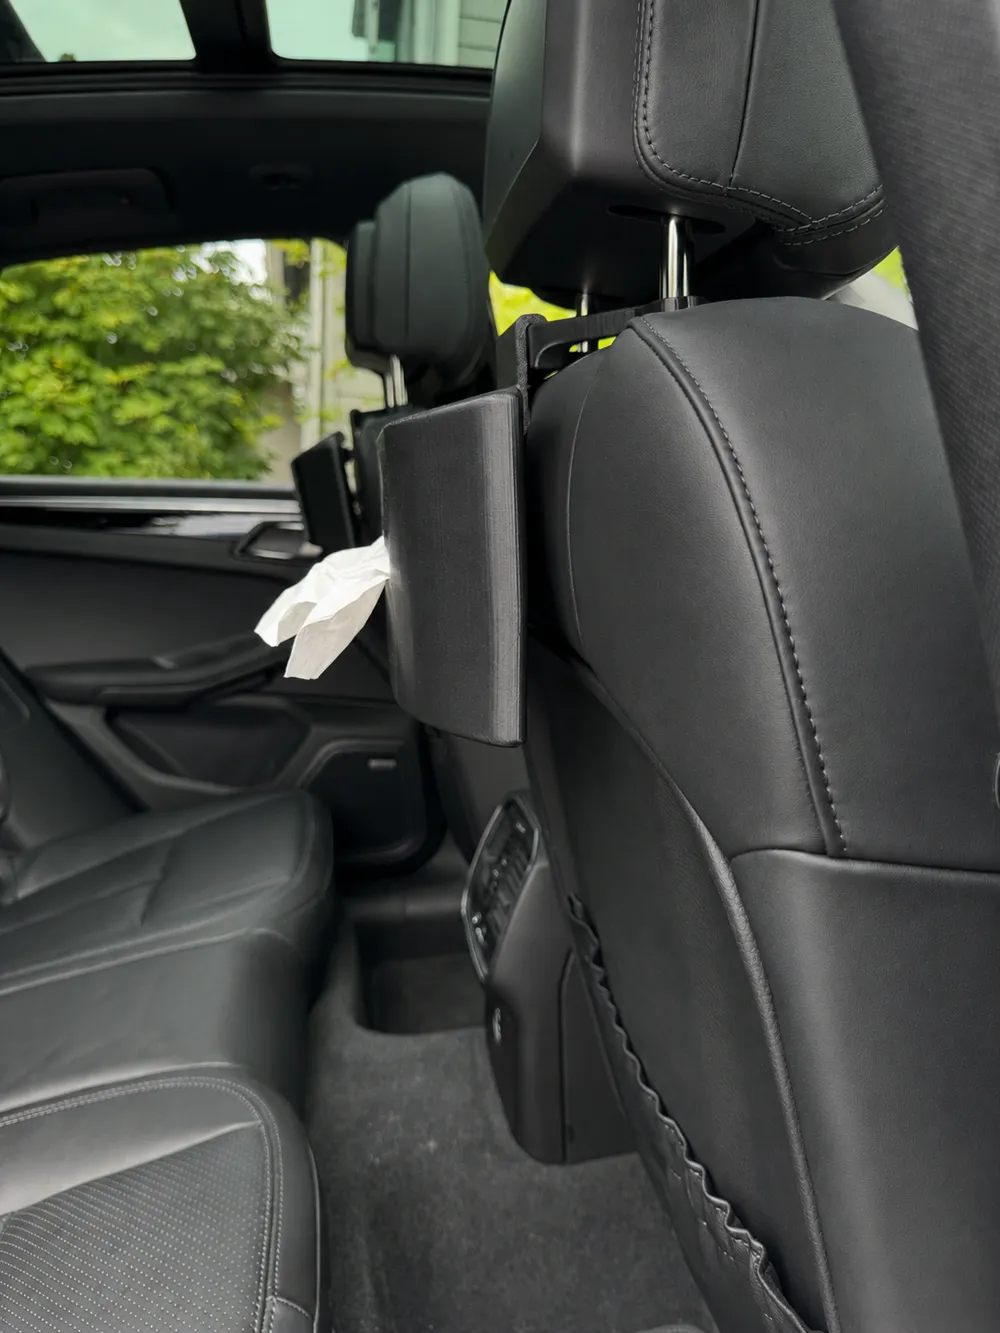
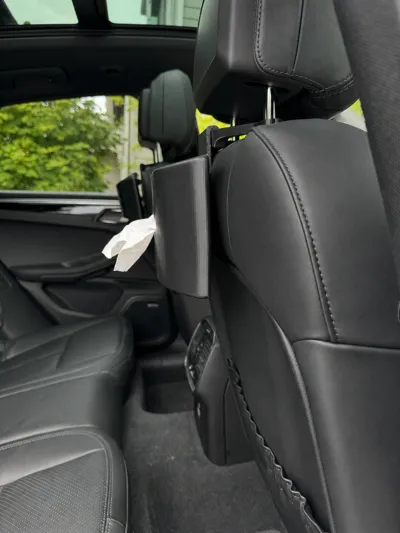
Ultra-thin car headrest tissue box designed to keep tissues within easy reach without taking up valuable back seat space.
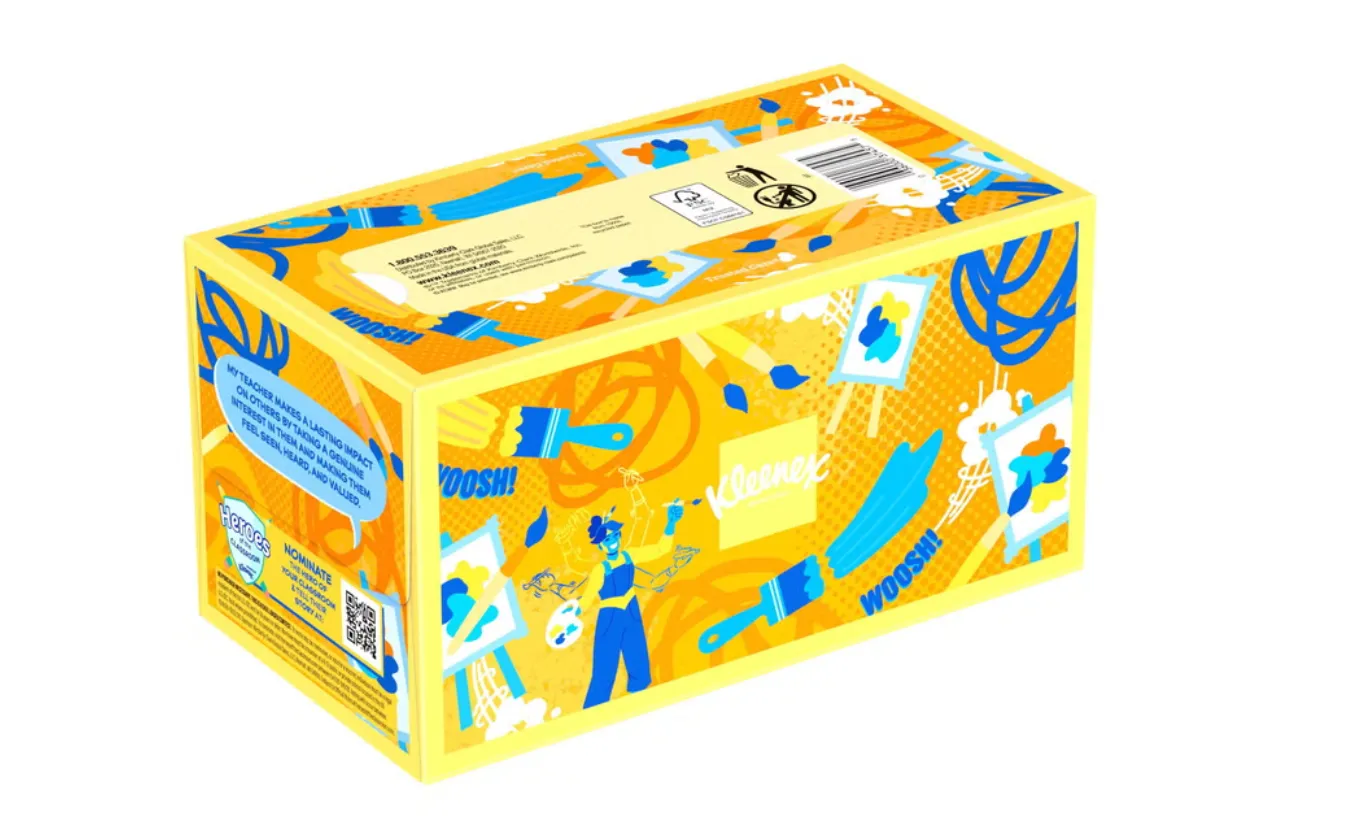
Despite its slim design, the tissue box can still hold approximately half of a 230-count Kleenex tissue pack with an unfolded size of 8.2 × 8.4 inches.
The model consists of 3 separate parts:
- Tissue box main body
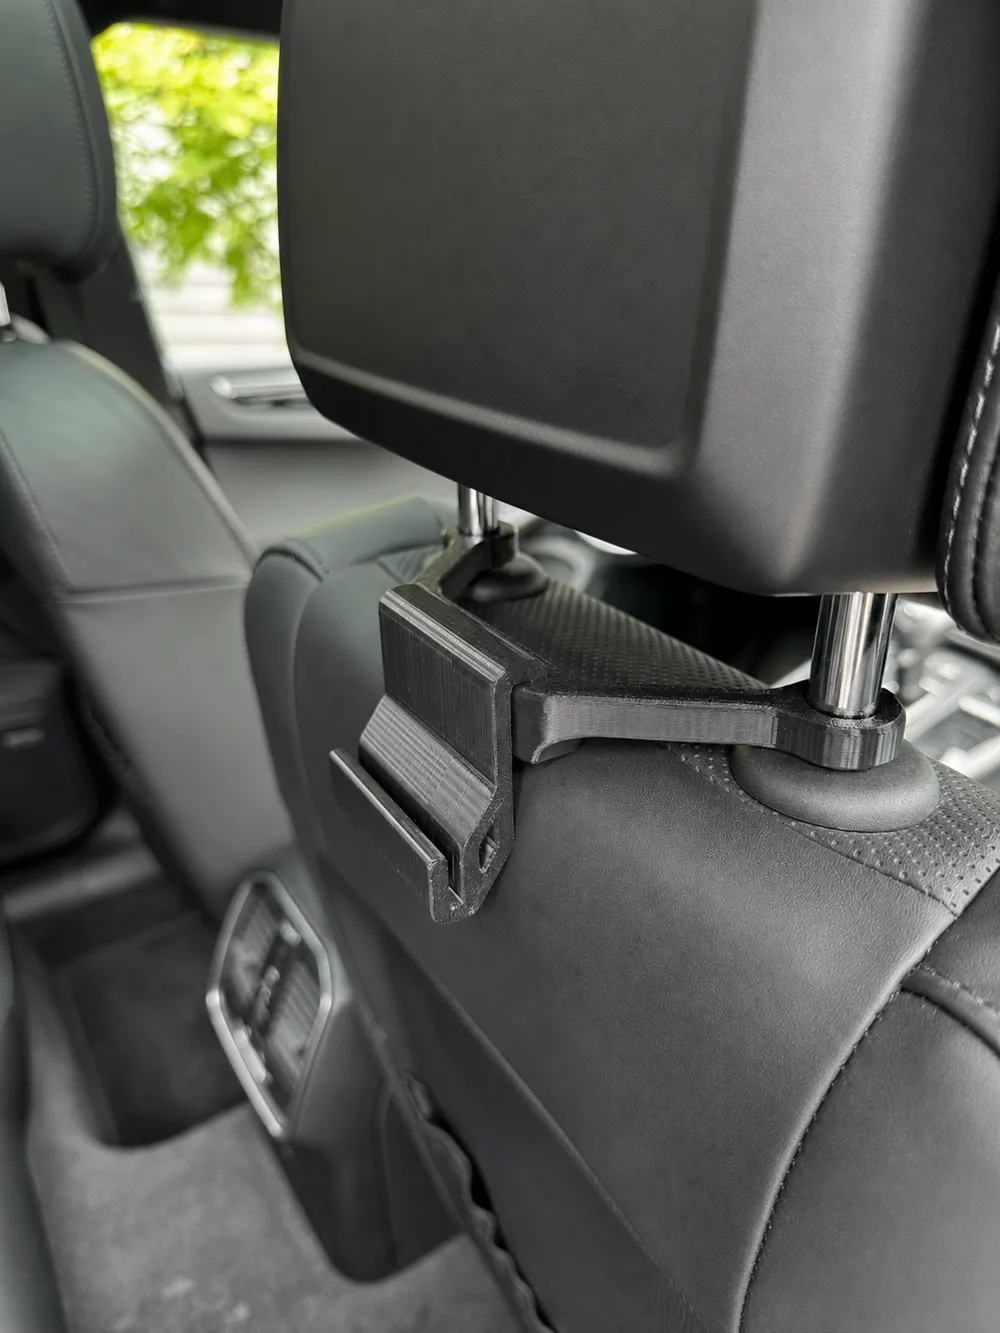
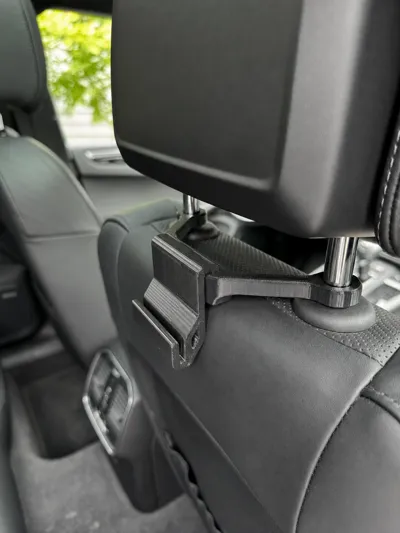
- Headrest Connector
- A Hook to connect the tissue box and Headrest Connector
The Headrest Connector and Hook are compatible with my Car Trash Can model, so the same mounting parts can be reused between the two accessories.
Features
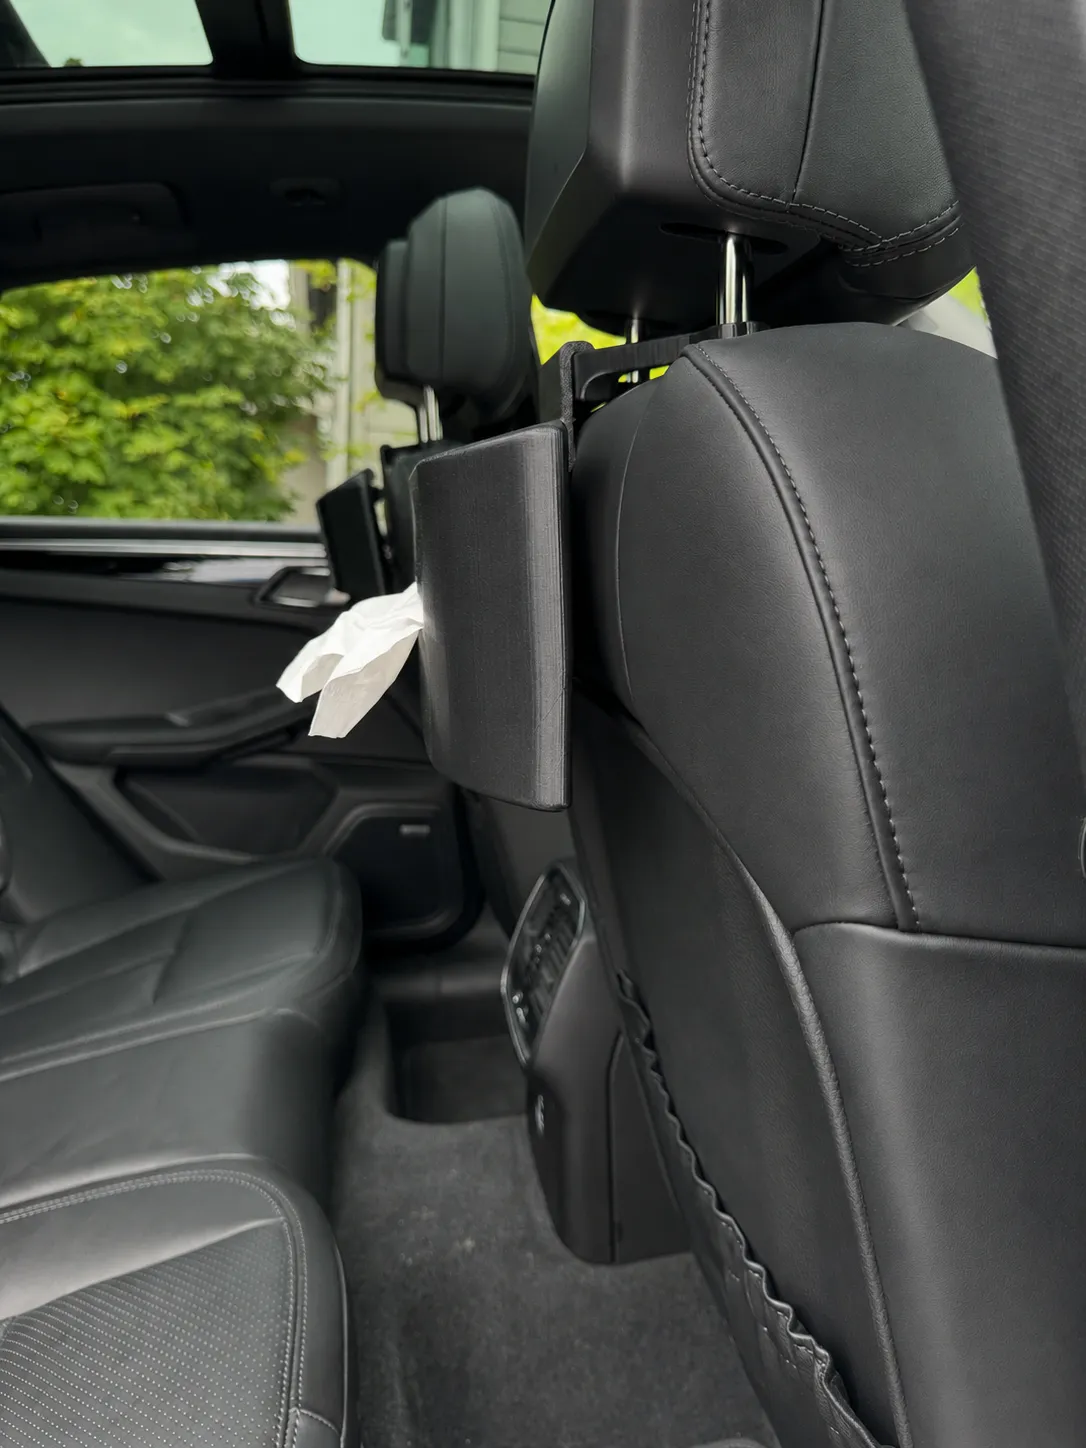
Ultra-thin design
The slim profile does not take up valuable back seat space, while still providing enough capacity for approximately half of a 230-count Kleenex tissue pack.
Tested Kleenex tissue pack:
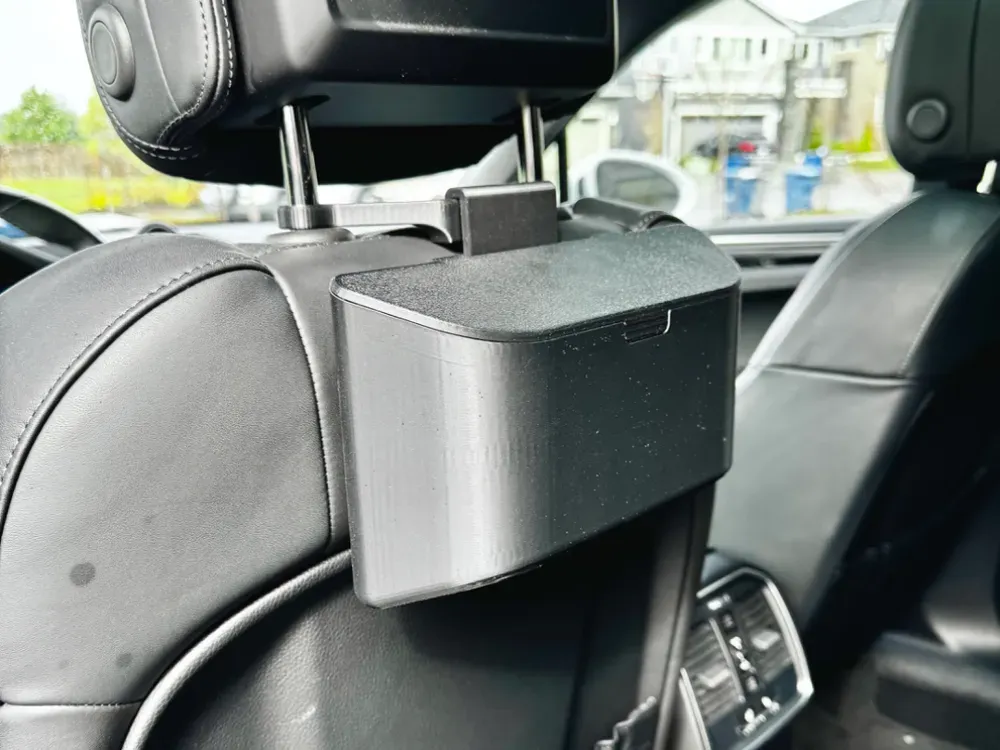
Shared mounting system
The Headrest Connector and Hook are compatible with my Car Trash Can, allowing both models to use the same mounting system.
Easy to mount and remove
The tissue box is mounted through a hook, making it easy to install, remove, or switch with the Car Trash Can.
Convenient rear-seat access
Keeps tissues securely mounted behind the headrest and within easy reach of rear-seat passengers.
How to Load Tissues
- Remove the tissues from the original Kleenex box while keeping the stack together.
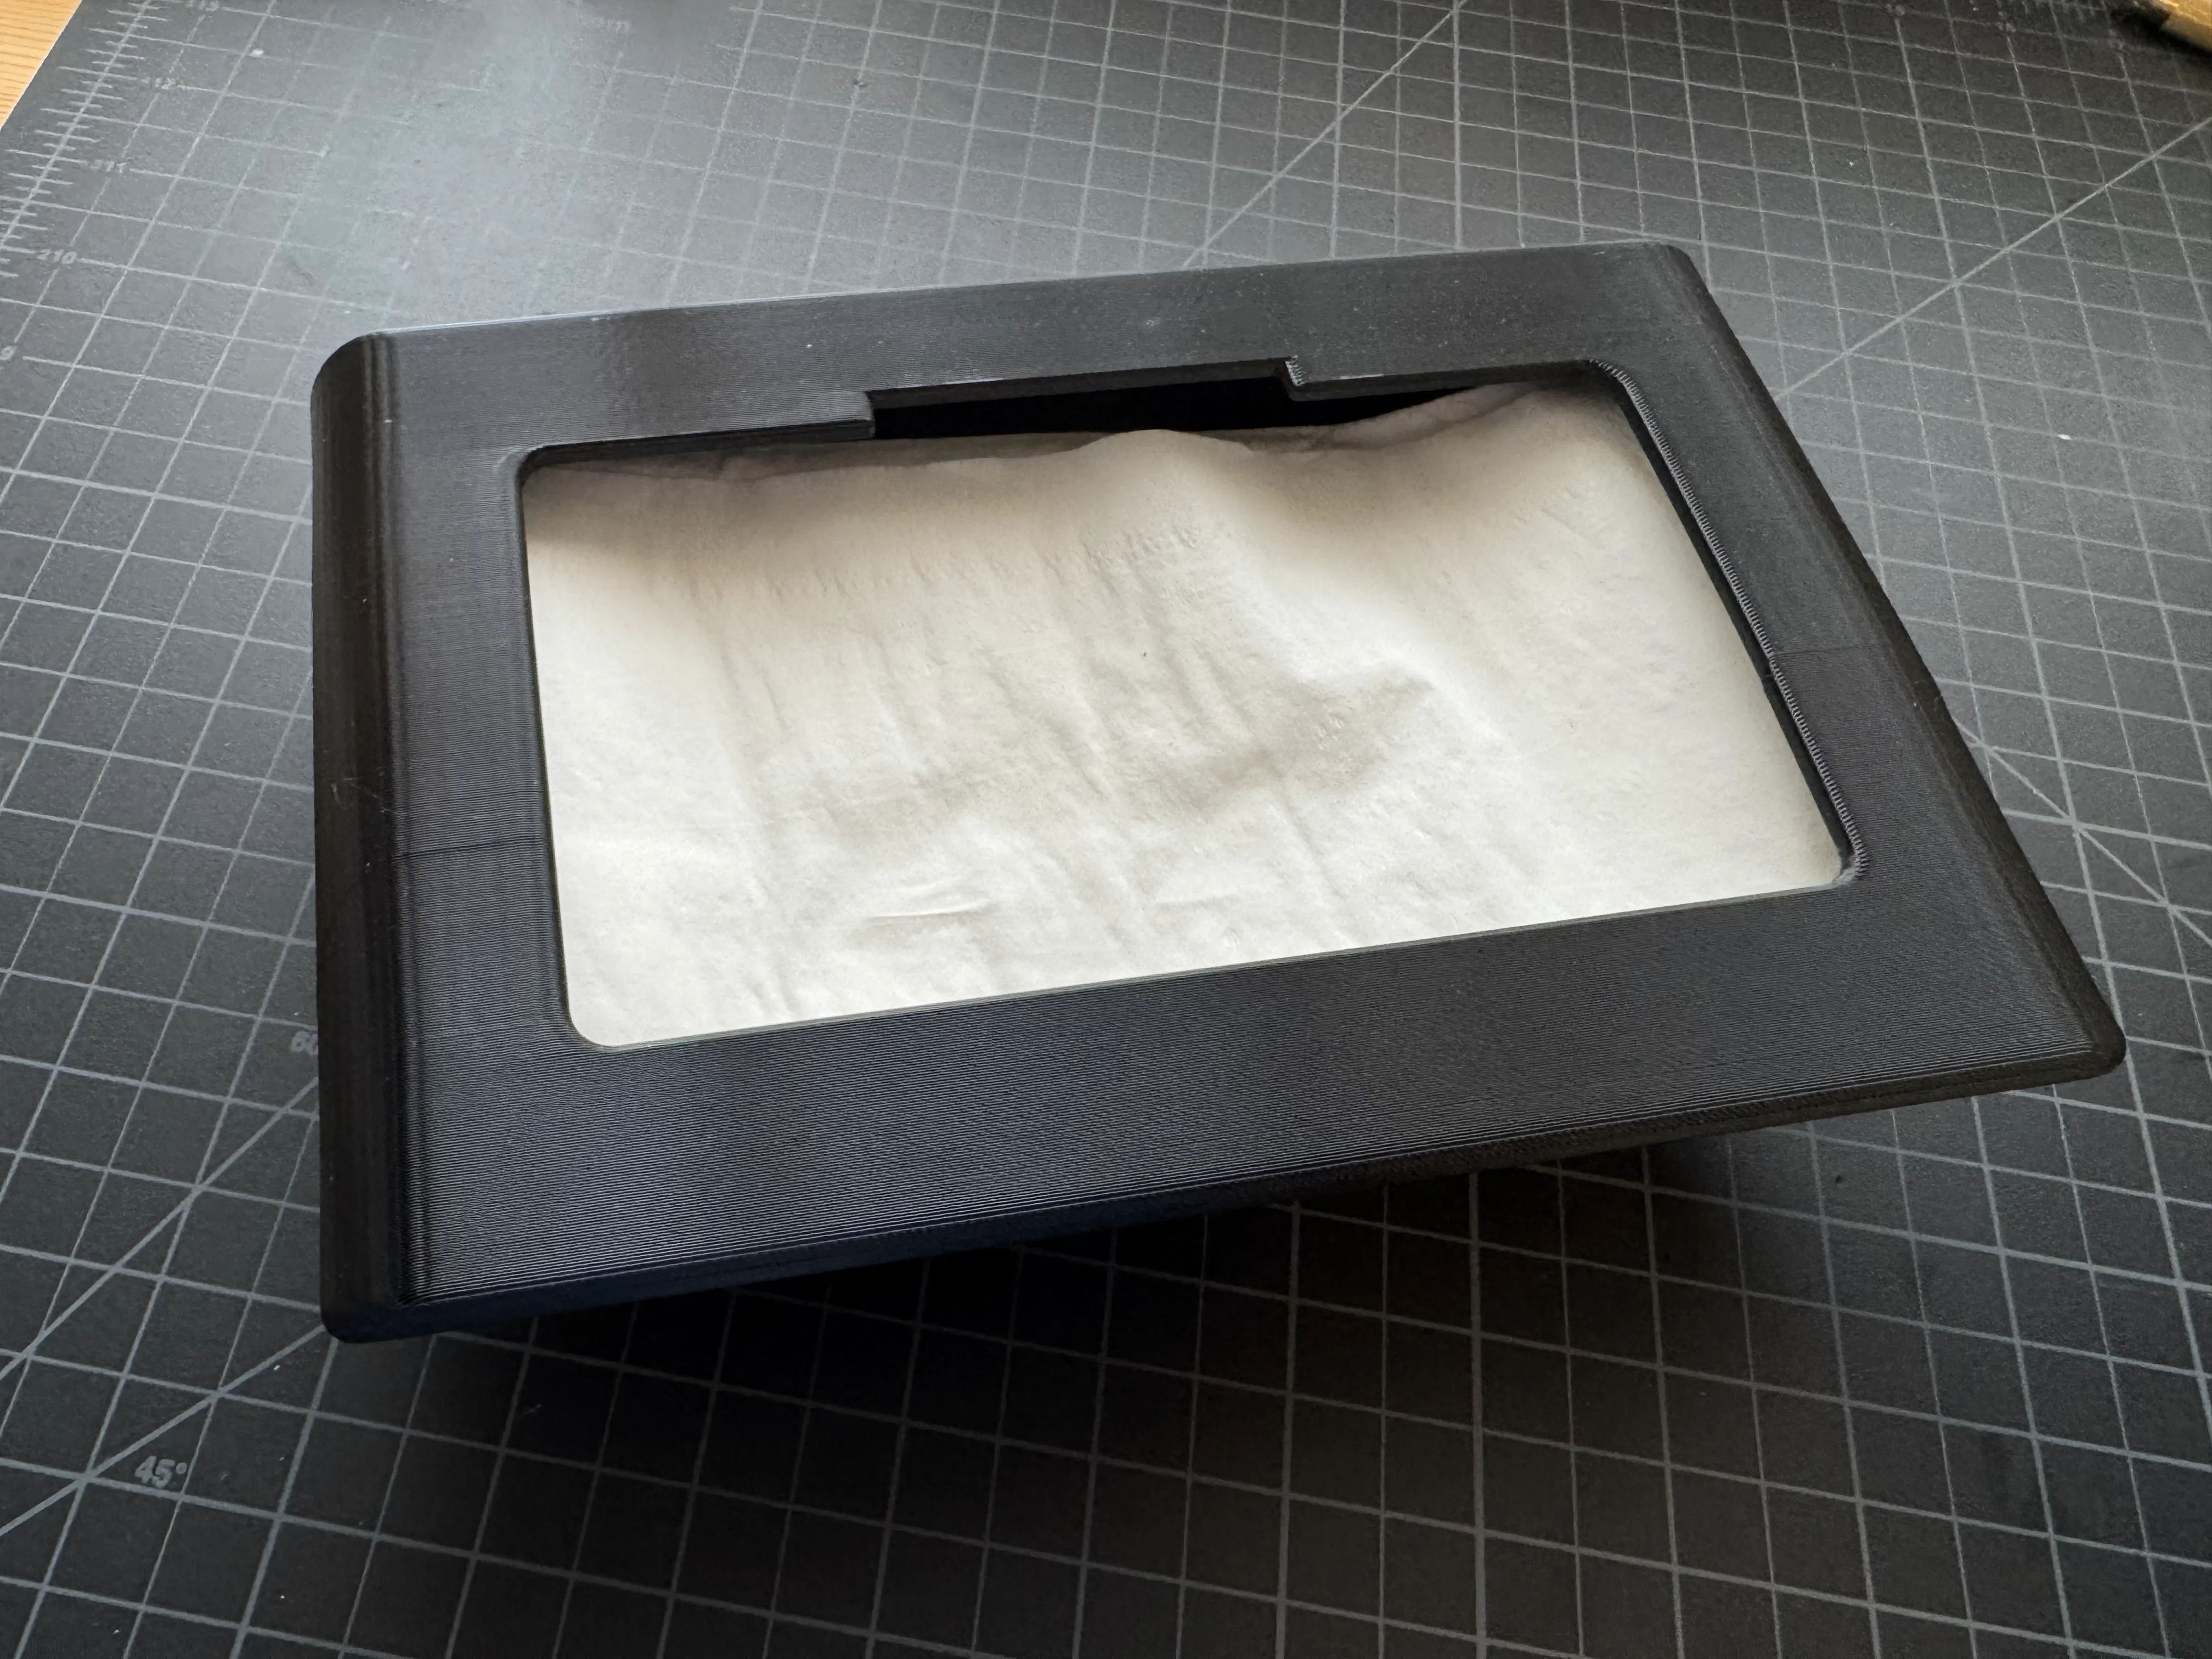
- Insert the tissue stack through the large opening on the back of the tissue box, as shown in the photo.
- Pull the first tissue through the dispensing slot before mounting the tissue box in the car.
How to Mount the Tissue Box
- Attach the Headrest Connector to the two headrest rods.
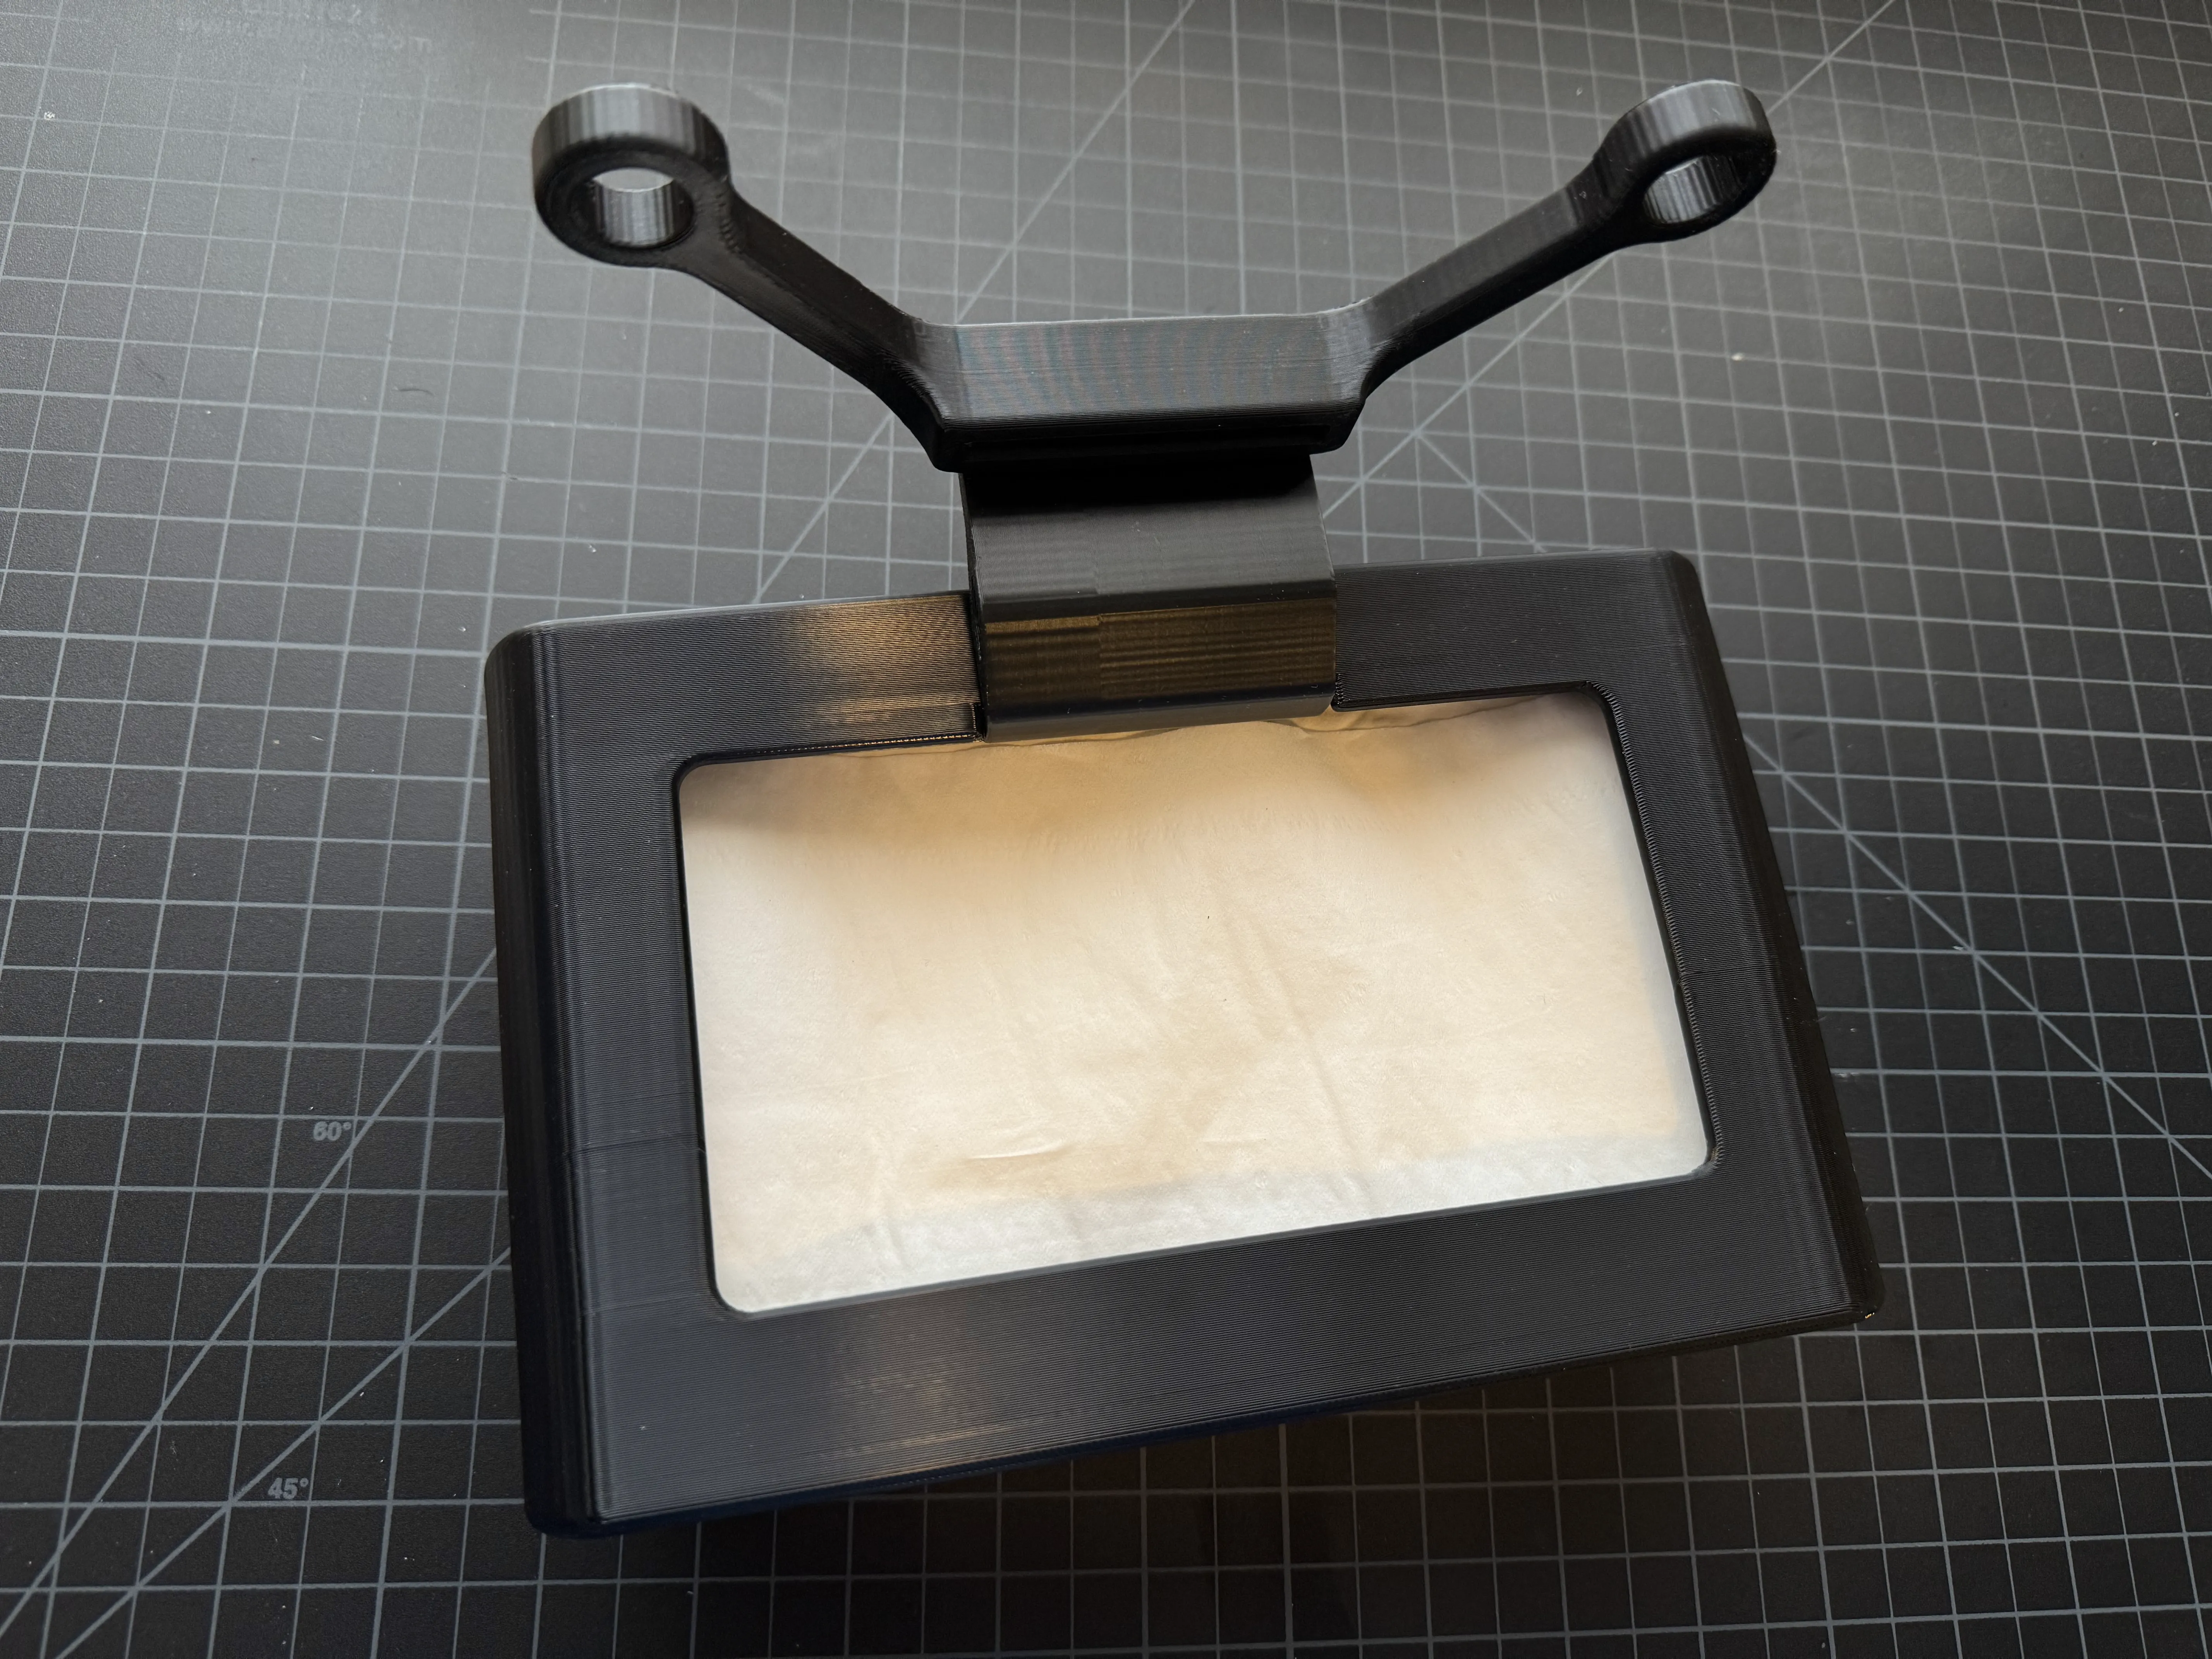
- Slide the Hook onto the Headrest Connector. The connection is intentionally designed with a very tight fit. This prevents the Hook from lifting together with the tissue box when you remove the box from the Hook.
- Align the lower hook section with the recessed notch along the upper edge of the tissue box’s rear opening, as shown in the photo.
- Slide the tissue box onto the Hook until it is fully seated and secure.
Print Guide
- Use the print setting in given print profile. No support required except the tissue box main body.
If you like this design…
Take a look at my other designs :)
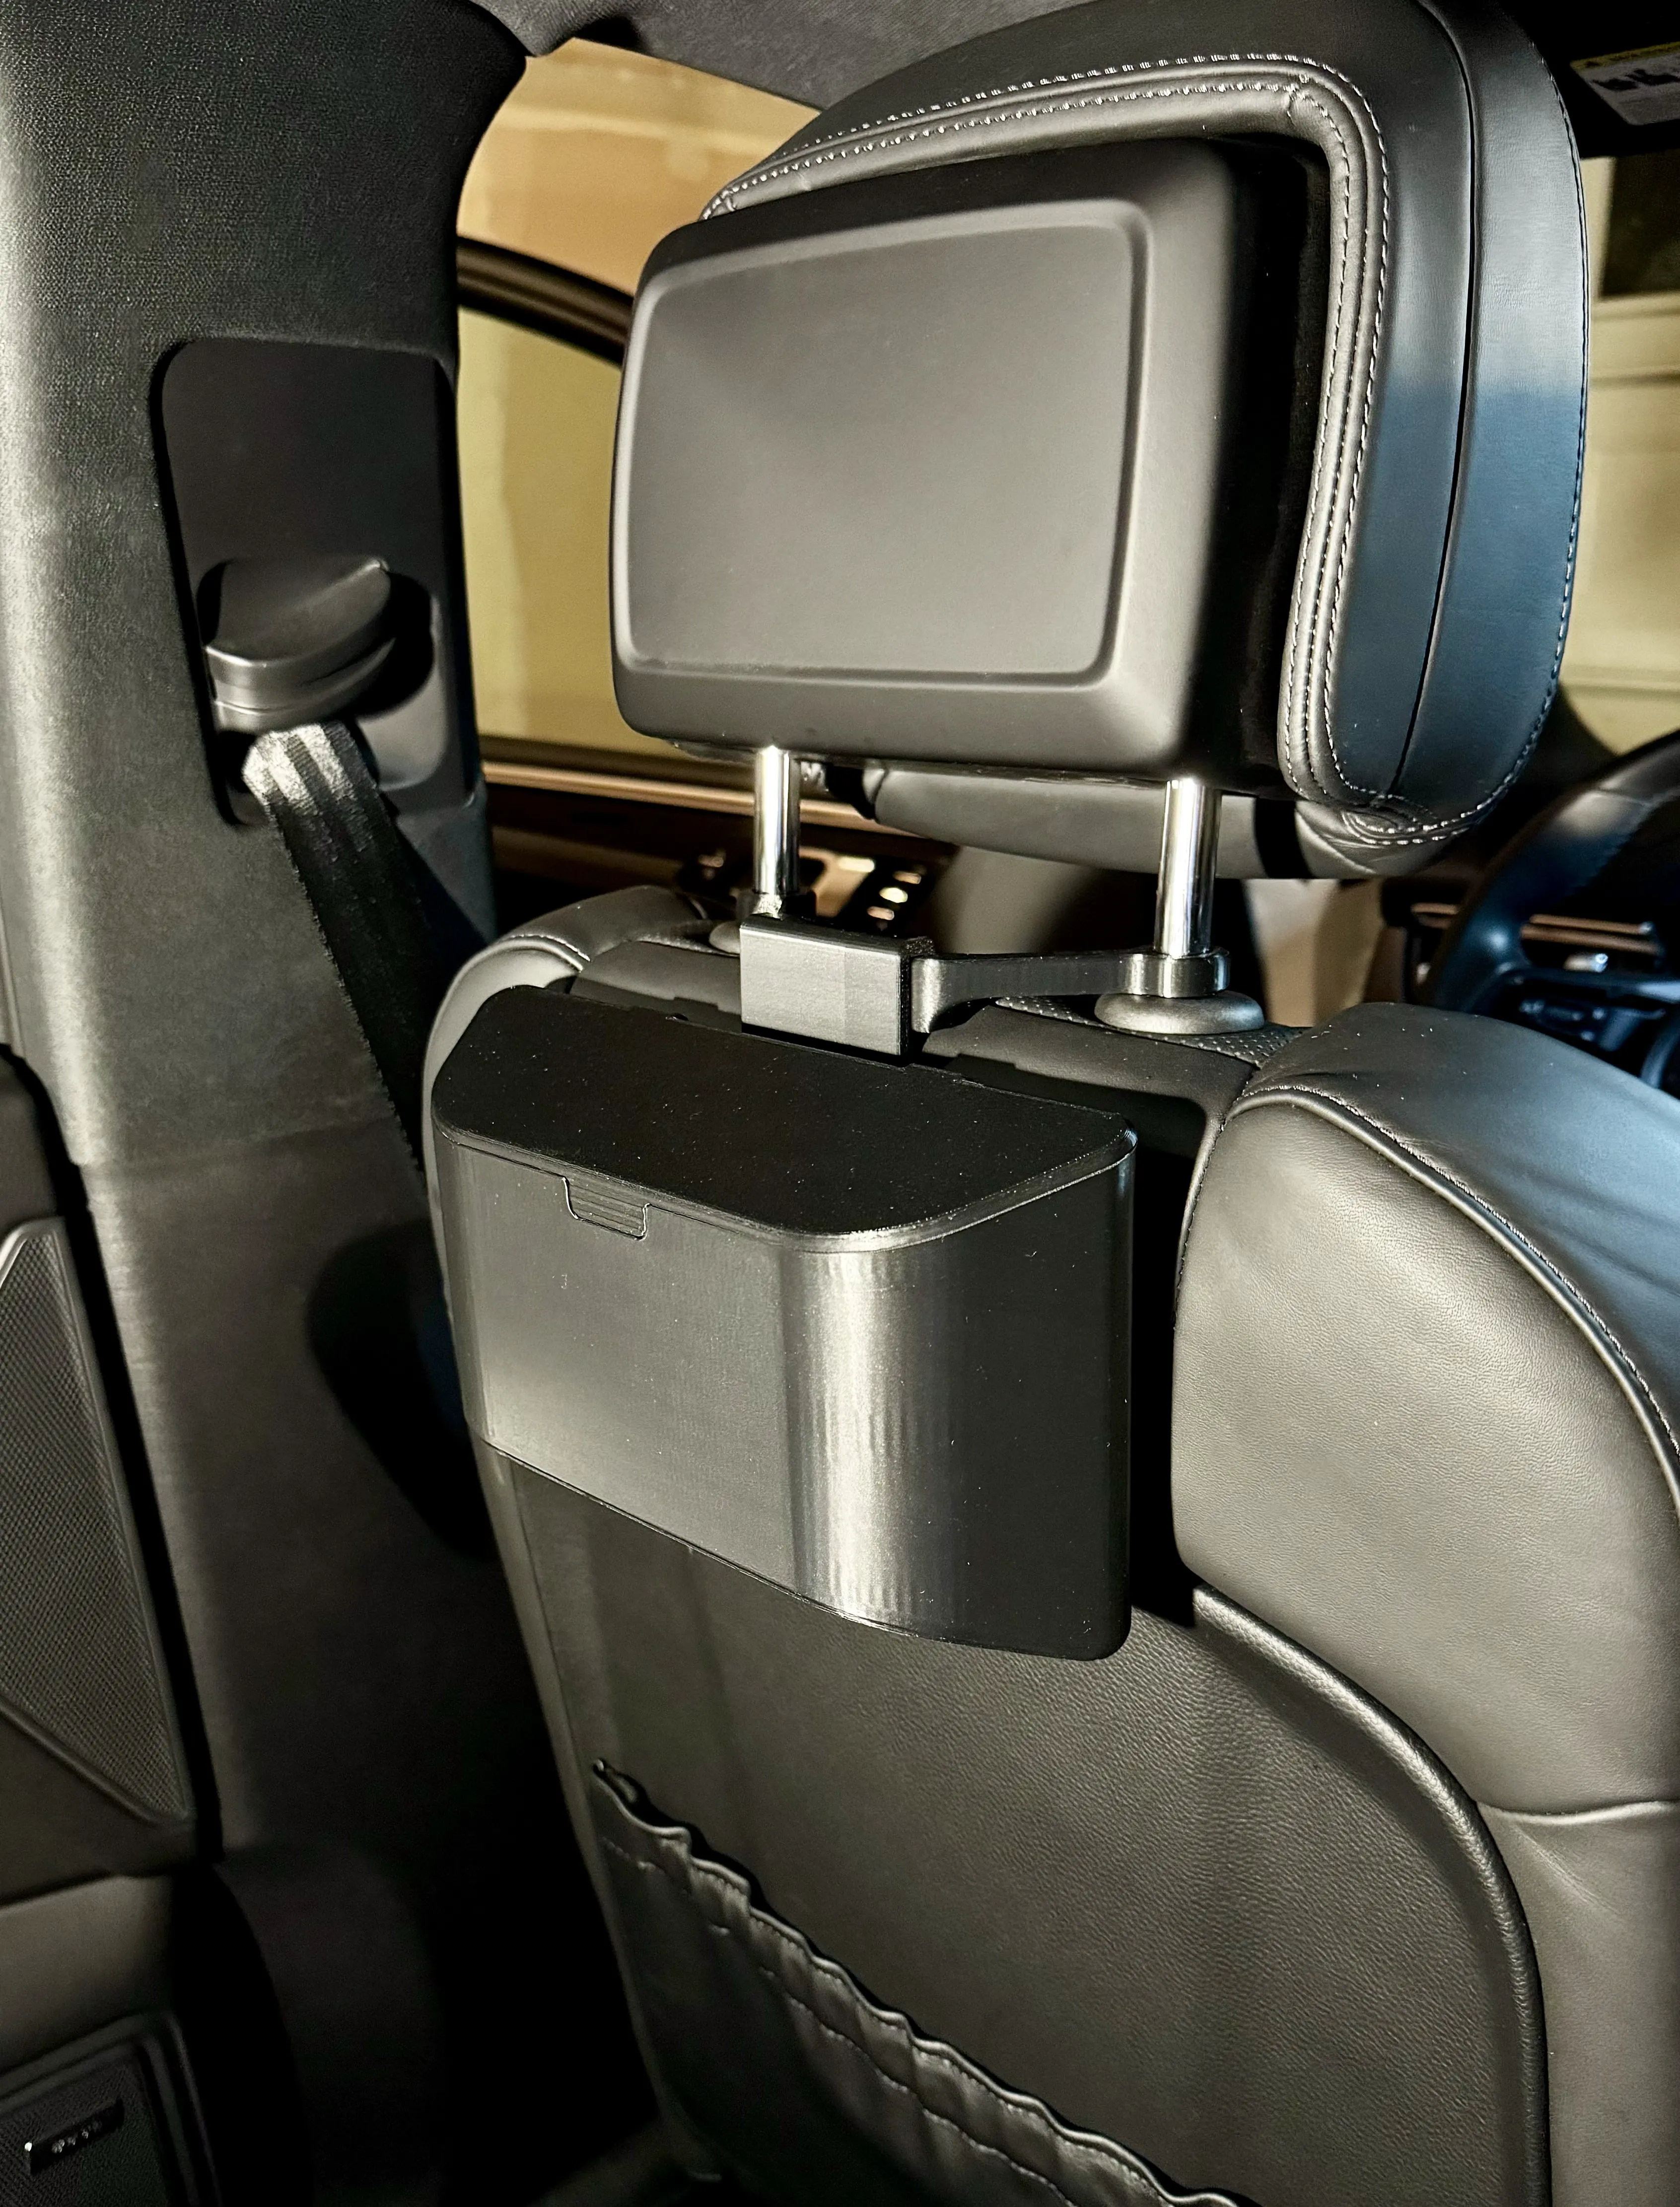
Car Trash Can
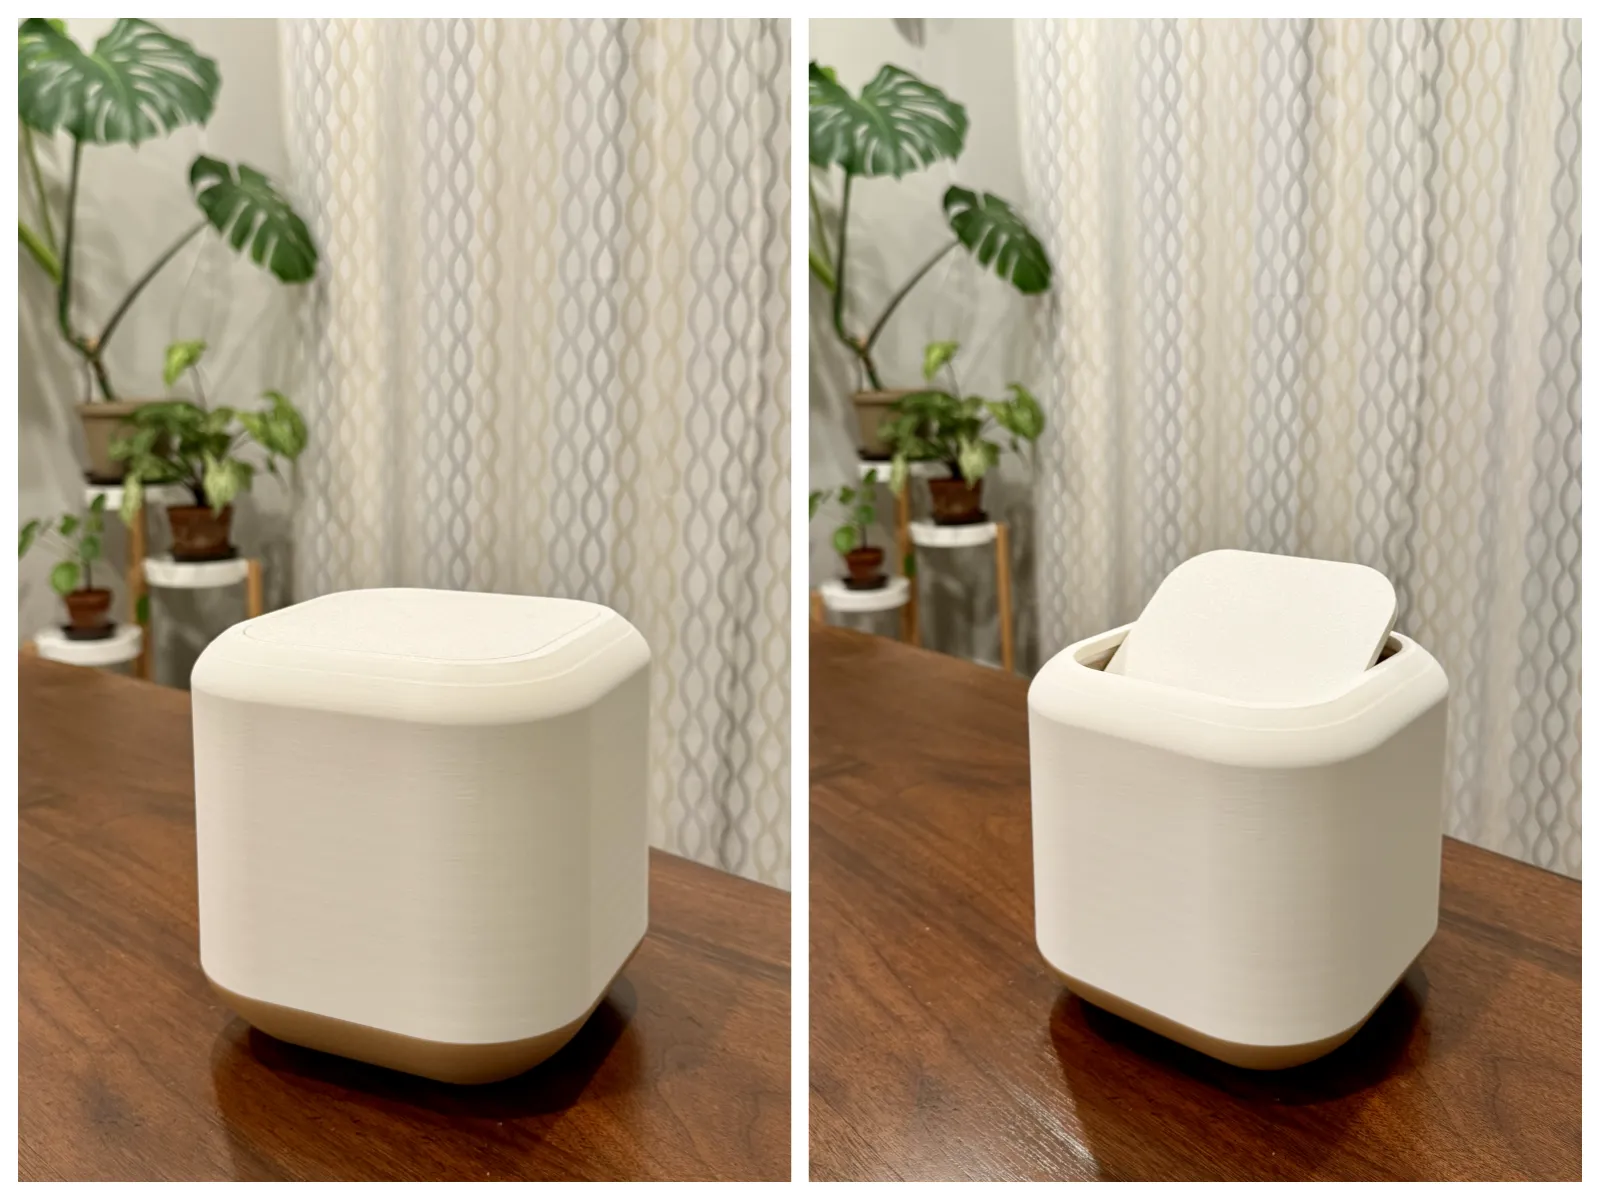
Desktop Trash Can
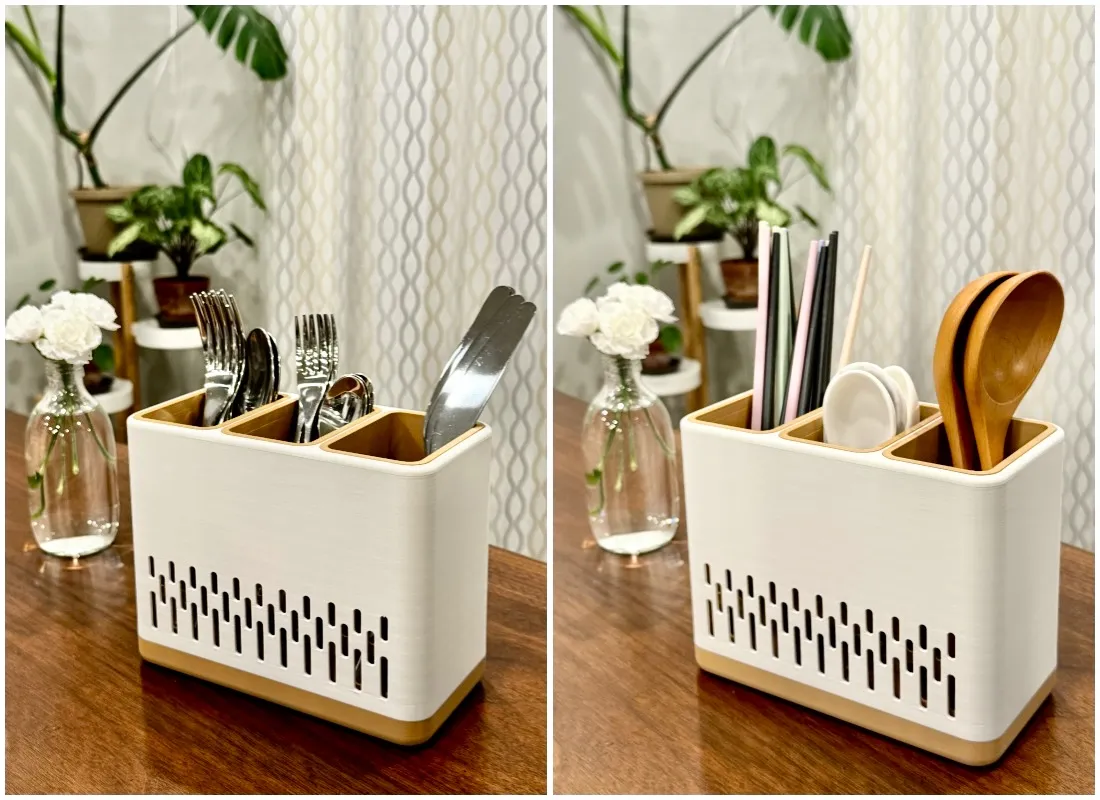
Modular Utensil Holder/Chopsticks Holder
License

You shall not share, sub-license, sell, rent, host, transfer, or distribute in any way the digital or 3D printed versions of this object, nor any other derivative work of this object in its digital or physical format (including - but not limited to - remixes of this object, and hosting on other digital platforms). The objects may not be used without permission in any way whatsoever in which you charge money, or collect fees.


Comment & Rating (0)