
Impossible Cone Fidget (print in place)
Print Profile(1)

Description
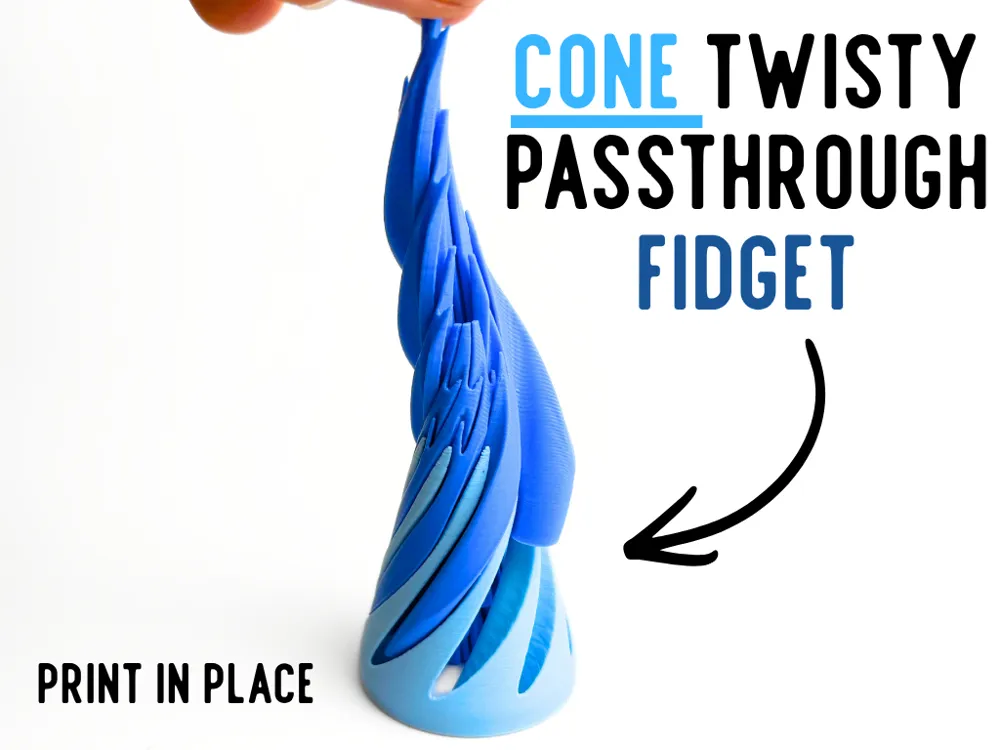
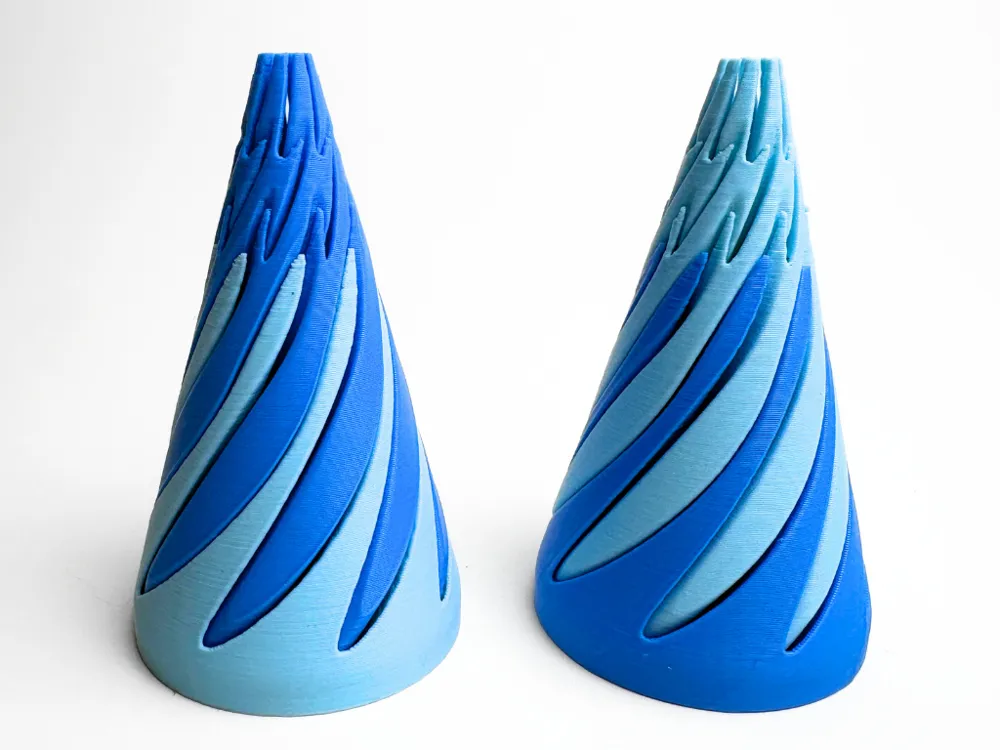
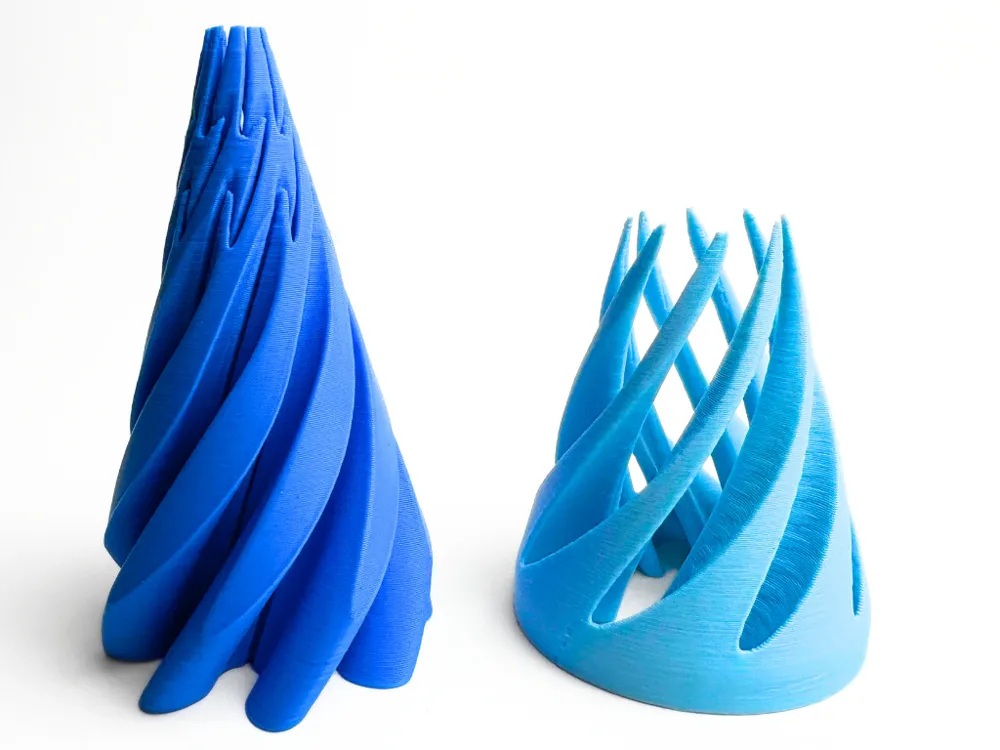
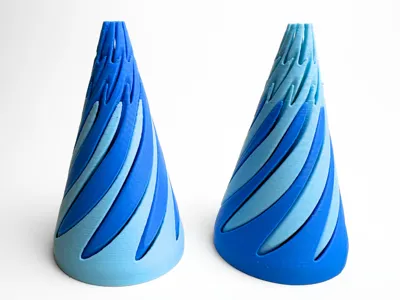
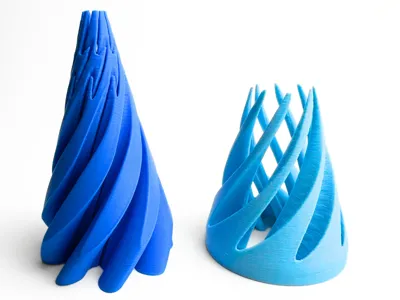
The Cone Twisty Passthrough Fidget combines a clean cone shape with a mesmerizing twisting mechanism. Pull the inner section upward and watch as the flowing spiral openings guide both pieces smoothly through each other, creating the illusion that one solid cone is passing directly through the other. The curved cutouts make the movement satisfying to watch from every angle, while the wide base and tapered shape provide a comfortable grip as you repeatedly twist the sections together. Every clearance was carefully tuned to create smooth, reliable movement without the pieces feeling too loose or easily separating. The entire mechanism is fully print-in-place, coming off the build plate already connected with no assembly or supports required. Taking approximately 2 hours and 5 minutes to print and using just 24.03 grams of filament, the Cone Twisty Passthrough Fidget is a quick, low-cost print for anyone who enjoys optical illusions, satisfying movement, or unique mechanical fidgets.
Boost Me (for free)
If you like this model, please consider boosting it! It helps out a ton :)
Printing Instructions
- Open the Print Profile
Download and open the included print profile in Bambu Studio, or send it directly to your printer through the Bambu Handy app. Prepare and Check Everything
Select the correct printer, build plate, filament type, and colours. Clean the plate before printing:- Textured PEI Plate: Wash it with warm water and dish soap, rinse thoroughly, and dry it with a clean, lint-free cloth.
- Cool Plate: Wipe it with isopropyl alcohol and a clean, lint-free cloth. Let it dry completely before printing.
Avoid touching the printing surface after cleaning it.
- Start Printing
Review the settings, slice the model if needed, and send it to your printer. For the best results, use the provided print profile without changing the recommended settings.
License

You shall not share, sub-license, sell, rent, host, transfer, or distribute in any way the digital or 3D printed versions of this object, nor any other derivative work of this object in its digital or physical format (including - but not limited to - remixes of this object, and hosting on other digital platforms). The objects may not be used without permission in any way whatsoever in which you charge money, or collect fees.


Comment & Rating (11)