Perfect first layer mesh editing made easy
Perfect first layer mesh editing made easy


Print Profile(1)

Description
This works for any printer where you the UBL mesh editor in Octoprint works. By way of background I have one of the Ender 3S1 machines where the ABL result is always incorrect to the true result of the bed. The only way I get a great first layer is via a manual edit of the automatically created mesh. I edit and then don't need to update for months.
If you are creating a manual mesh or you don't get consistent probe measurements for your bed then you can typically create a manual mesh which solves the problem. But this can be tedious to create and then edit the points. If you are using a firmware like MRISCOC you can edit point by point via the printers display but a far more efficient method is available for any Octoprint users.
Prerequisites:
- Octoprint installed and working
- Firmware that is supported by the UBL mesh editor addon (suggest you use trial and error, try the addon if you can't edit your mesh with it then you need different firmware)
- Ideally a flow test is already done so you are not over extruding (optional)
Steps:
- Open Octoprint
- Install the addon “UBL Mesh Editor” found here
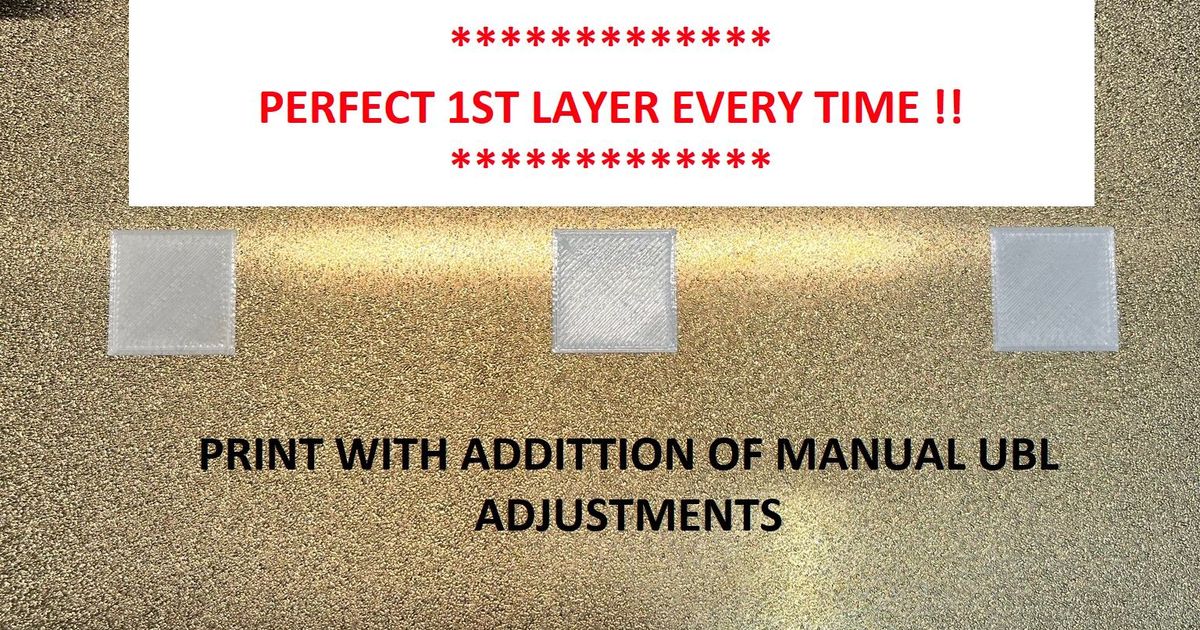
- Print the test print STL from this model (its a giant 1 layer square)
- Wait till plate is cold then carefully remove the entire square
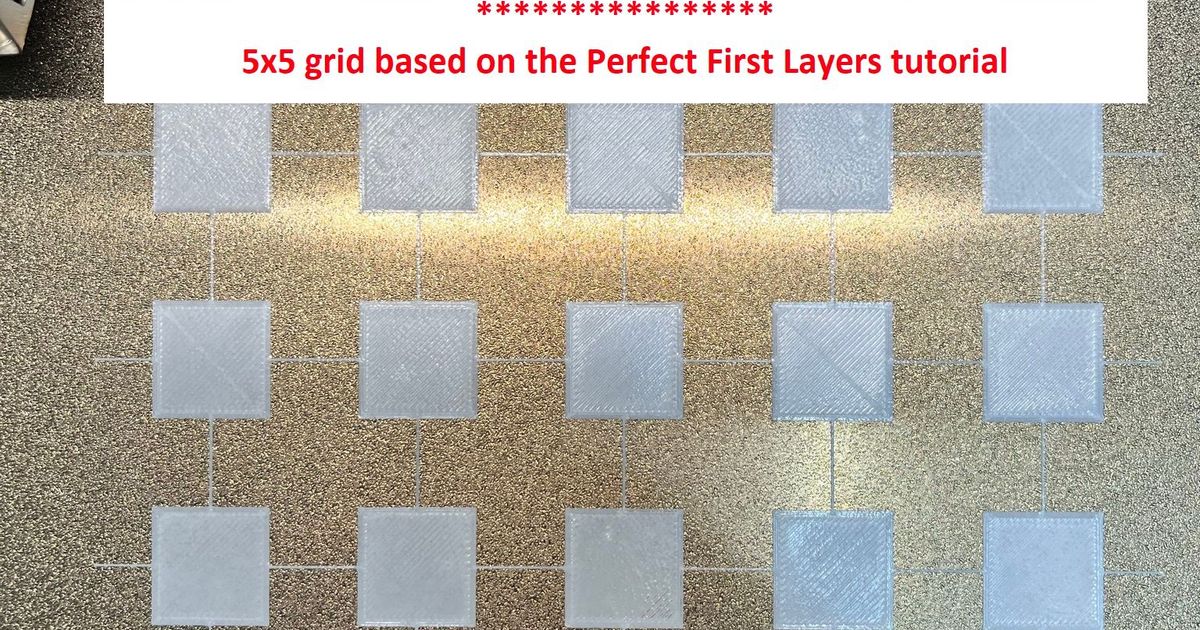
- When print is done measure and mark out a grid (in black marker) that matches your chosen mesh grid (3x3, 5x5 etc) on top of your print (you can use the marks on the print as a guide - its set for a 5x5 grid)
- Review the square
- If the surface is rough its typically because you are to low
- If the surface lines are not connected its because you are to high
- Hold up to the light to see where you have variation in the surface
- Take note of where you need to raise and lower the z offset each point and write it on the print (see photo)
- Open the Octoprint mesh editor and make the changes all at once (this is the magic part as its very easy to make the changes and iterate which will help you learn quickly the impact of a certain z change on a specific probe point
- Reprint, Adjust and Edit until its perfect
- When its all done you can print this model or its remixes to check the level with a standard first layer calibration.
Print settings:
- I prefer PLA for calibration prints (pick a color which isn't to dark or translucent)
- 0.2mm layer height
Guide to perfect first layers with Mriscoc firmware: Supports UBL
https://www.printables.com/model/213992-perfect-1st-layers-ender-3-v2-ender-3s1-ender-3s1-