
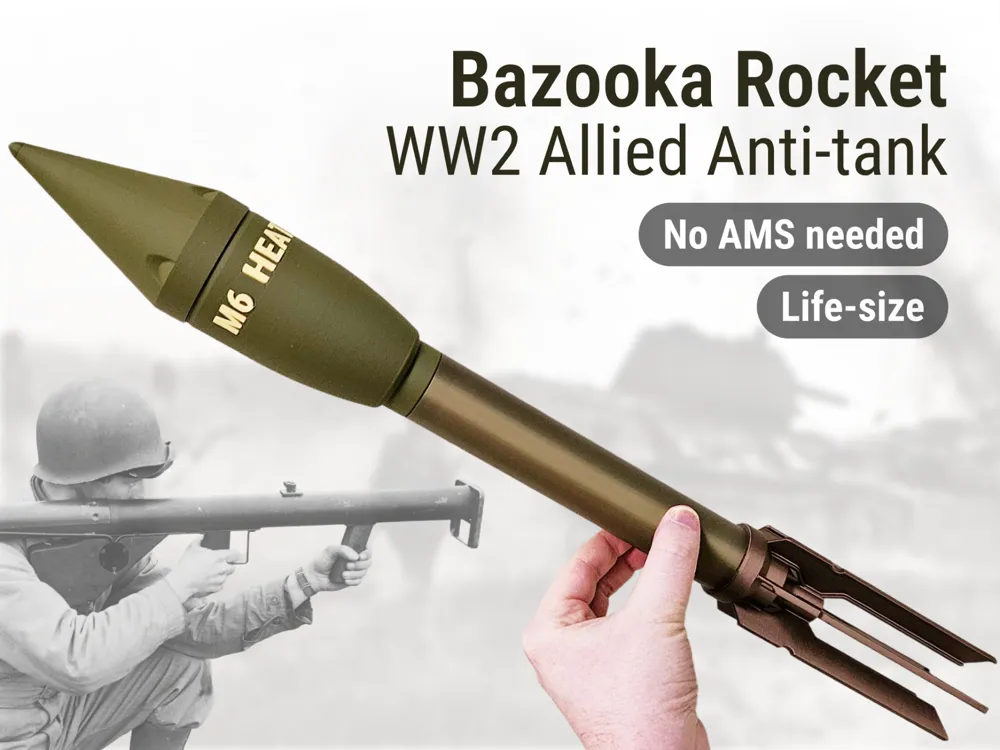
Bazooka Rocket | WW2 Anti-tank Round
Print Profile(2)


Description
Want more like this model? Check out these collections: Grenades | Artillery & Ammo | Life-size Weapons | Missiles & Bombs | and more (3)… |
Summary
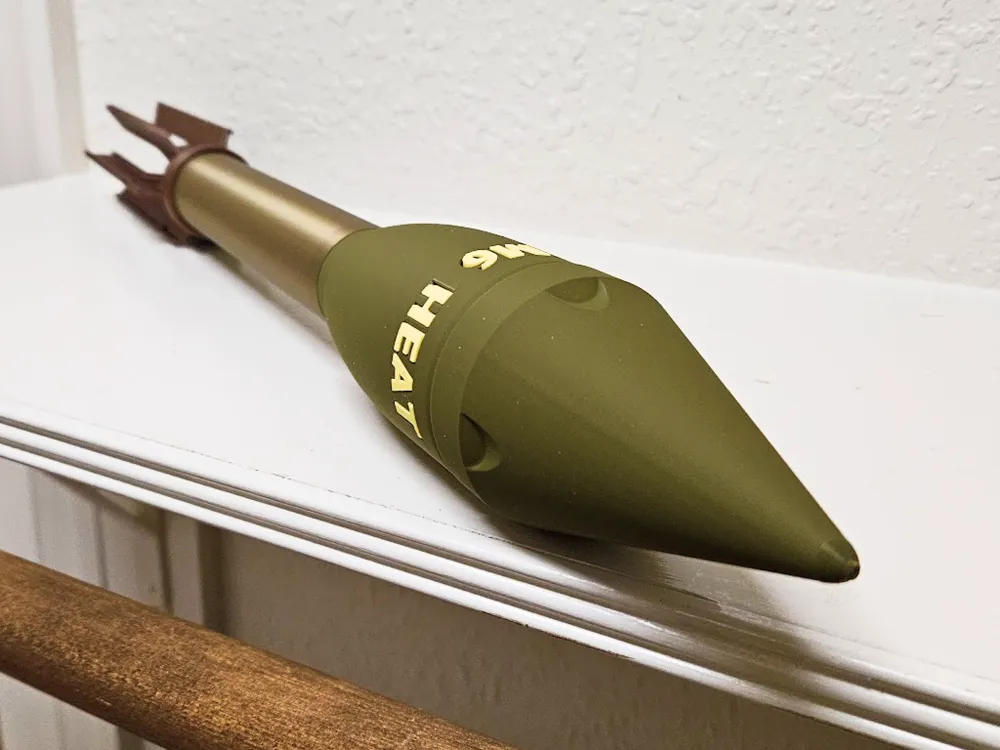
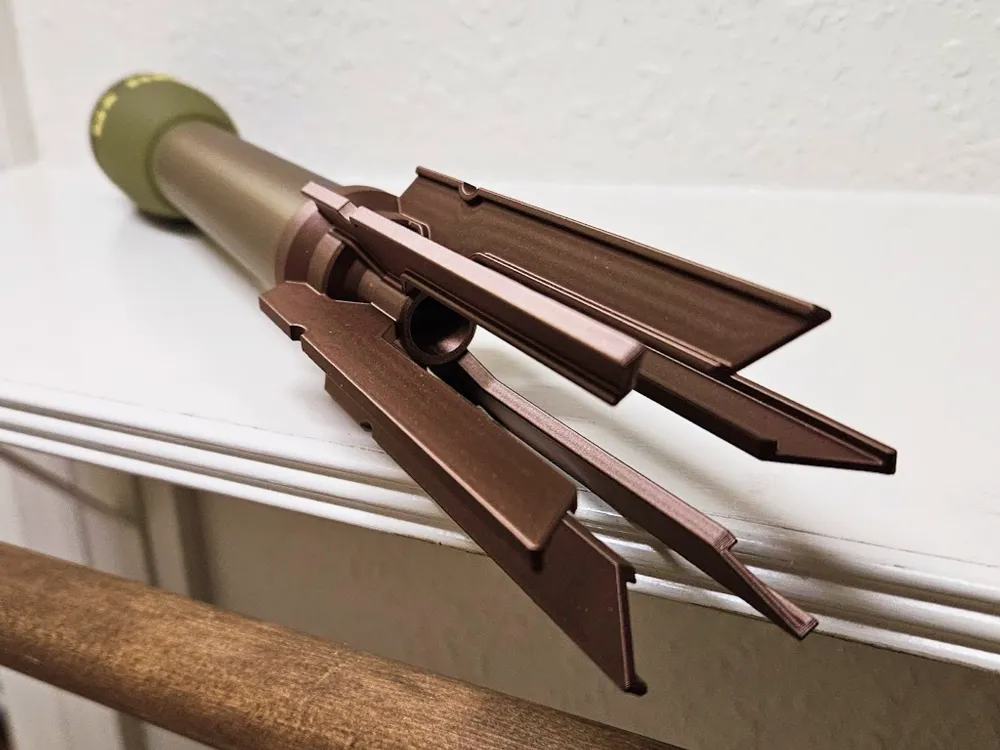
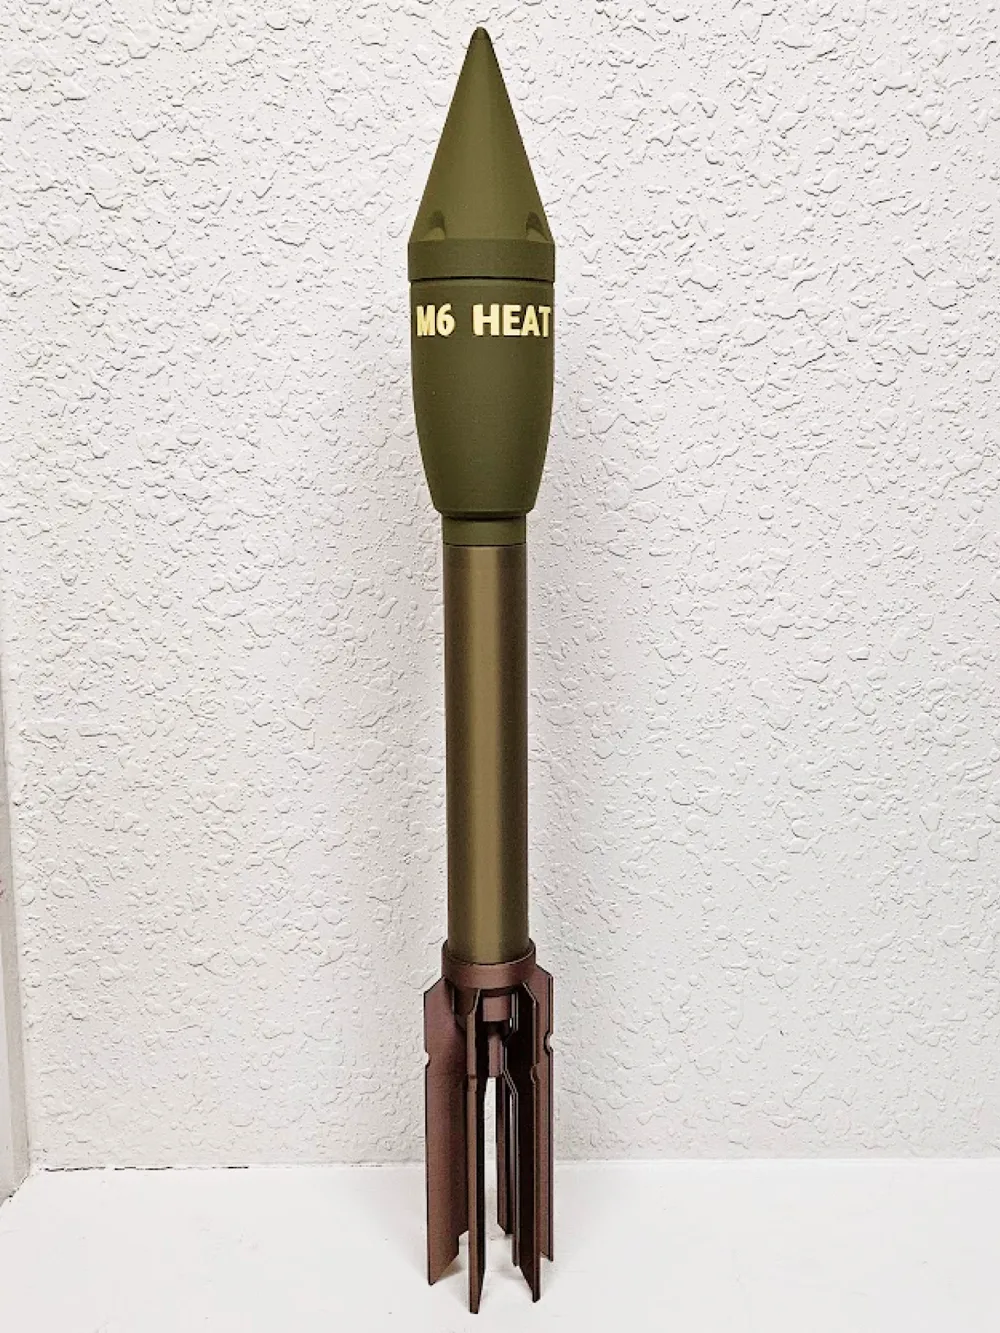
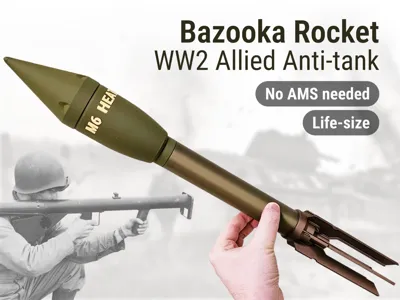
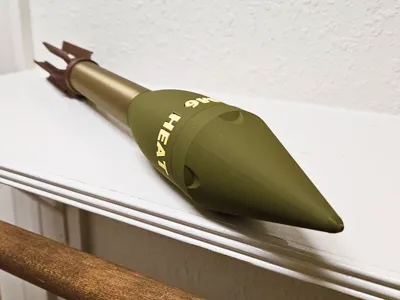
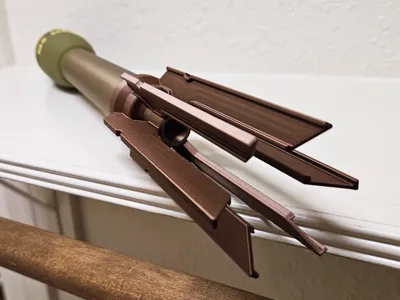
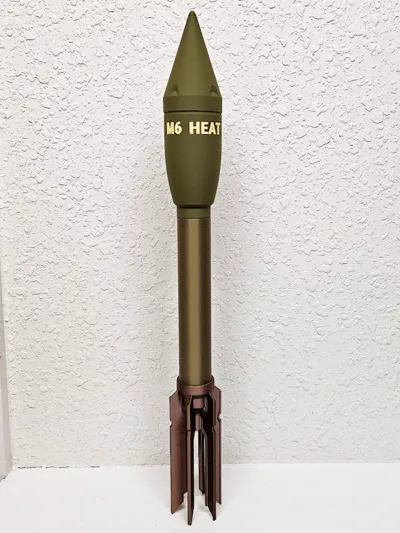
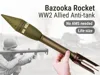
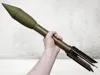
Want a life-size replica of the iconic Bazooka Rocket from WW2? The Bazooka was the US and allied anti-tank rocket launcher used during world war 2. The name is so famous that now the term "bazooka" is used interchangably in popular culture to mean any rocket launcher. This model requires no AMS, even for the text. It screws together in seconds, no glue is required.
What is a Bazooka? The WW2 Bazooka was a shoulder-fired, rocket-propelled anti-tank weapon that gave infantry soldiers the unprecedented ability to destroy armored vehicles. It fired a high-explosive, shaped-charge warhead from a reusable steel tube, relying on venting gases out the back to eliminate dangerous recoil. Named after a novelty musical instrument due to its odd tubular shape, it became one of the most iconic "tools of victory" for the Allied forces.
Bambu filaments used
- Metal Copper
- Basic Bronze
- Matte Yellow
- Polymaker Army Green (Amazon link)
- Matte Dark Green would work too
Assembly takes seconds
Simply screw together the 4 body sections like you see below:

Lastly, if you print the version with the embedded text, insert the letters into the appropriate holes. Make sure you shine a light into the holes and make sure all the support material is removed before inserting the text. Its also a good idea to keep track of the order of the text and insert right after removing the letters from the plate. Ensure that the curved side is facing out.
Boost Me (for free)
If you enjoy my work and would like to help support my ability to share more (and even better) models in the future, please consider boosting or buying me a coffee at the link below. Your support is what helps me have enough filament and supplies to do all the print testing required for my models to be high quality and easy to assemble. It takes a mountain of test prints for each model. Thanks :-)
| Here's a link to my Buy Me a Coffee page, thanks for the support! |
( ! ) Do not sell my prints — I have not authorized selling prints. If you sell my prints on Etsy, Amazon, eBay, etc, I will find out.
This 3D print is intended for decorative purposes only and is not suitable for children. Small parts may present a choking hazard and edges may be sharp. By printing this 3D print, you assume all liability for any harm to yourself or others resulting from its use.
License

You shall not share, sub-license, sell, rent, host, transfer, or distribute in any way the digital or 3D printed versions of this object, nor any other derivative work of this object in its digital or physical format (including - but not limited to - remixes of this object, and hosting on other digital platforms). The objects may not be used without permission in any way whatsoever in which you charge money, or collect fees.


Comment & Rating (24)