
Labrax Panel Generator Blank
Print Profile(1)
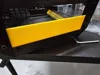
Description
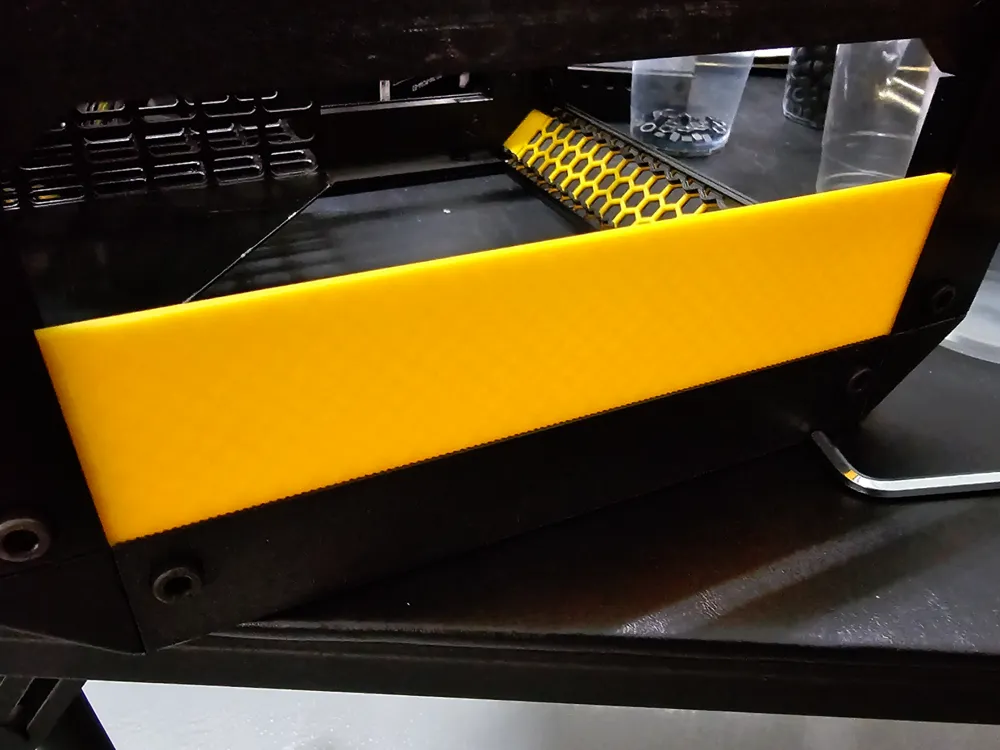
Quick panel generator for the labrax 10" server
- Customizable to fit any size rack height with multiple panels. Depth only limited by your printer
- Optional top and bottom lips for servers over 5U
- Tolerances to adjust the fit to your material
- Custom thickness to create flush side panels
- Options center strip setting to make room for a seam cover
Please double check your tolerances and dimensions before printing. This is my first customizable model so please check my work.
I recommend printing a test panel in 1u to make sure your tolerances are correct.
Instructions Side panel:
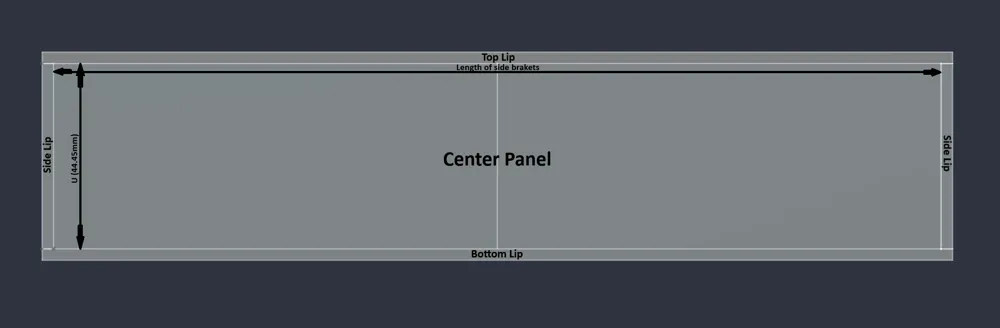
- Measure the length of your side brackets. These are the ones the handles attach to. This will be your depth.
- Set the number of U you want the panel to be.
If you want more than one panel remove the proper lips
Optional
-set the tolerance of the lips. This will remove material from the lips to create a tighter or looser fit.
-set the lip size. This will make the lip thicker or thinner, to create a tighter or looser fit.
-set the center panel thickness. Use this to match the lip thickness or to make a side that sits flush. Set to 1.2 for a flush panel.
-Remove a strip for a center bracket. This will shorten the over all panel height to make room for a small strip to cover the seam. (Seam cover is a work in progress)
Instructions Tops/Bottom Panels:
- Measure the length of your side brackets. These are the ones the handles attach to. This will be your depth.
Set "Rack U mm" to 222.05 - U must be set to 1
Optional
-set the tolerance of the lips. This will remove material from the lips to create a tighter or looser fit.
-set the lip size. This will make the lip thicker or thinner, to create a tighter or looser fit.
-set the center panel thickness. Use this to match the lip thickness or to make a side that sits flush. Set to 1.2 for a flush panel.
License

You may create derivative works based on this object, provided that all such derivative works are published exclusively on the MakerWorld platform and include proper attribution to the original creator. You may not share, upload, host, distribute, or publish this object—or any derivative work of this object—on any other digital platform, marketplace, or distribution channel. Commercial use of this object and any derivative works is strictly prohibited. This includes, but is not limited to, selling, renting, sublicensing, or using the object in any context in which you receive monetary compensation or other financial benefits.


Comment & Rating (0)