
Print Profile(4)
Bill of Materials


Description
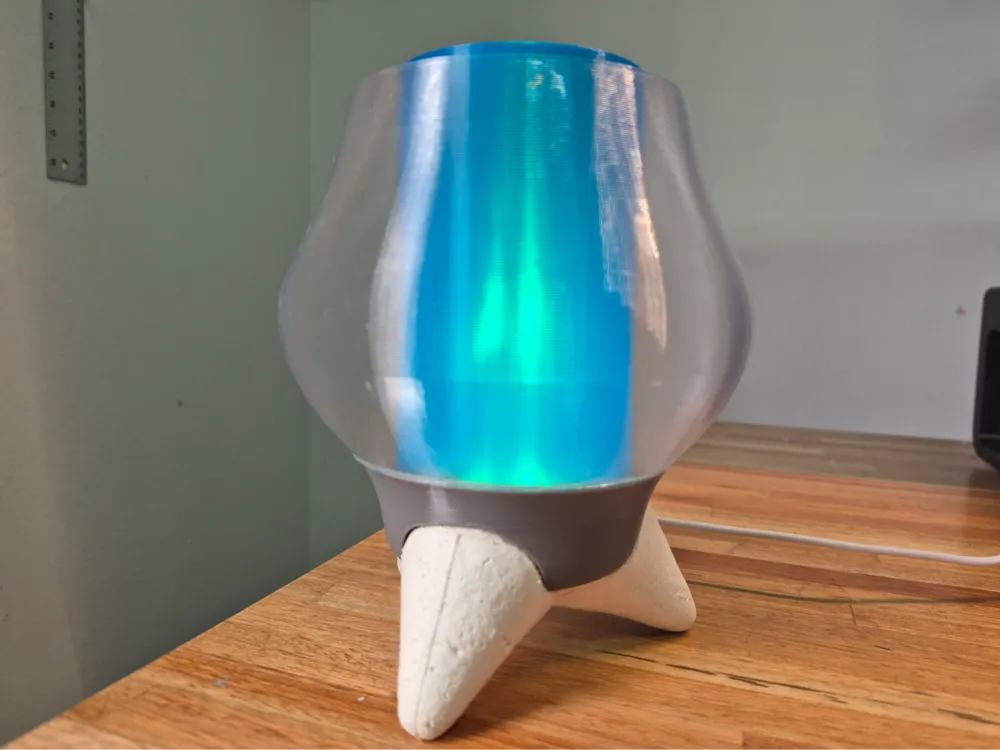
LOBULAMP - Tri-lobular Lamp and Paper Pulp Molding System
Description
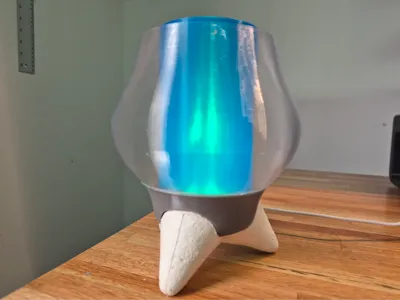
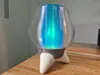
LOBULAMP is a lighting project that integrates digital fabrication with materials. Its tri-lobular morphology is based on three curved lobes with smooth radii, creating an organic, ergonomic, and resistant piece
An innovation of this project is its materiality combining paper pulp, PLA, and PET-G. The napkin pulp base serves as a bed for 3D printing. The upper section includes a rotating lampshade locking system, allowing for easy installation and maintenance
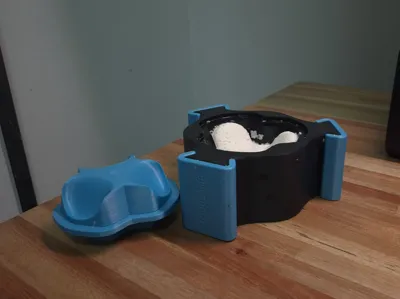
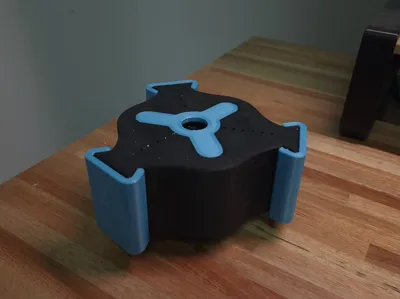
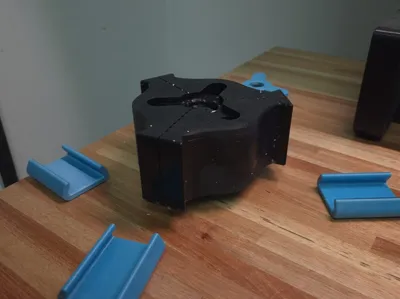
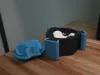
This project includes the design and development of a modular digital fabrication mold for the production of tri-lobular paper pulp parts
Mold Technical Specifications
Components:
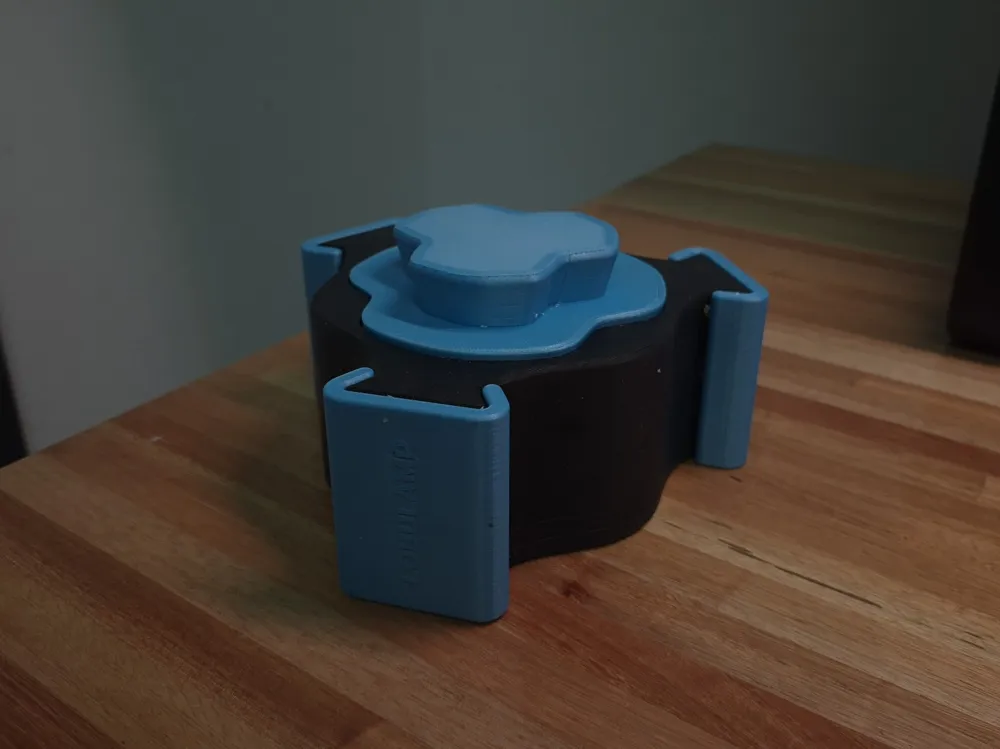
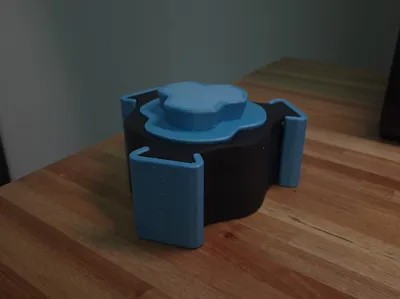
- 3 mold modules
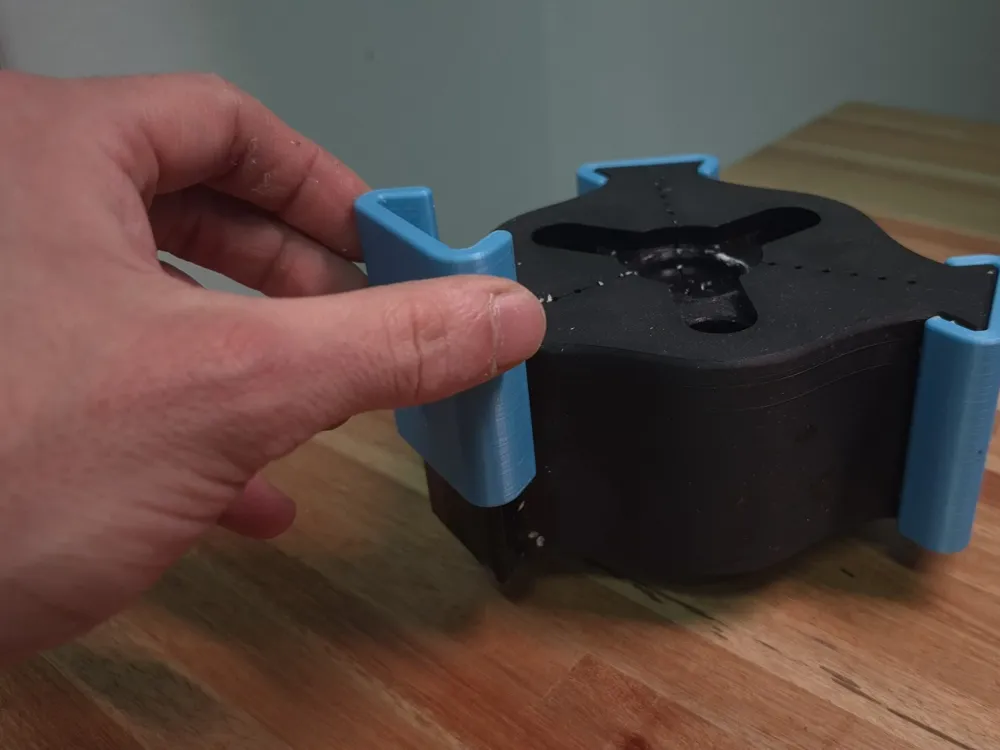
- 3 side clamps
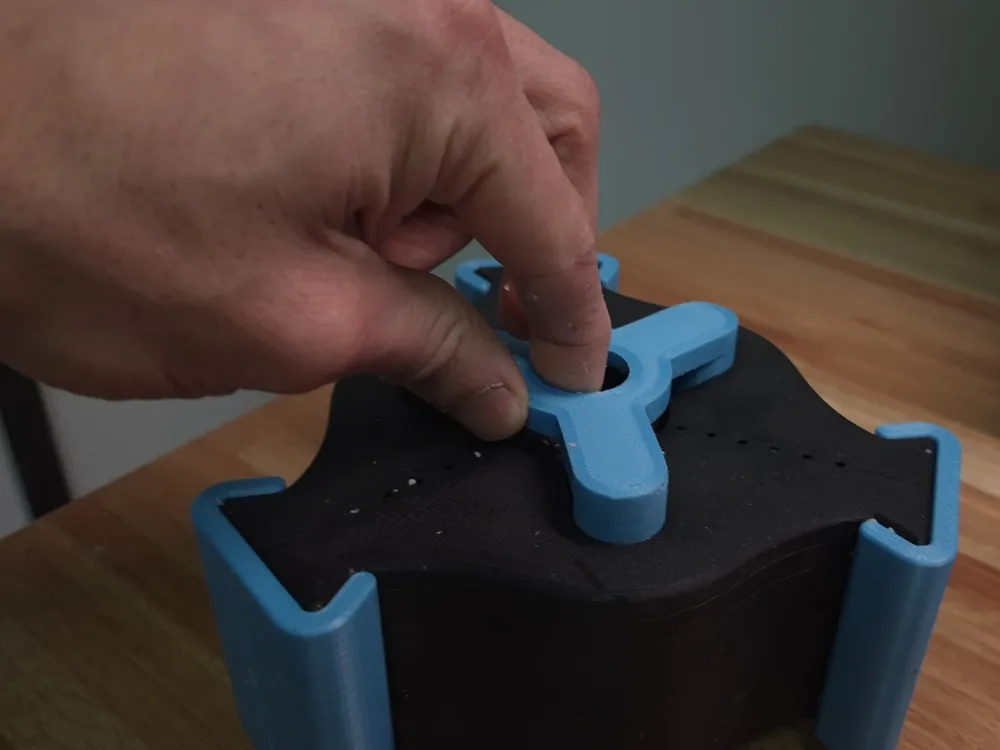
- 1 presser
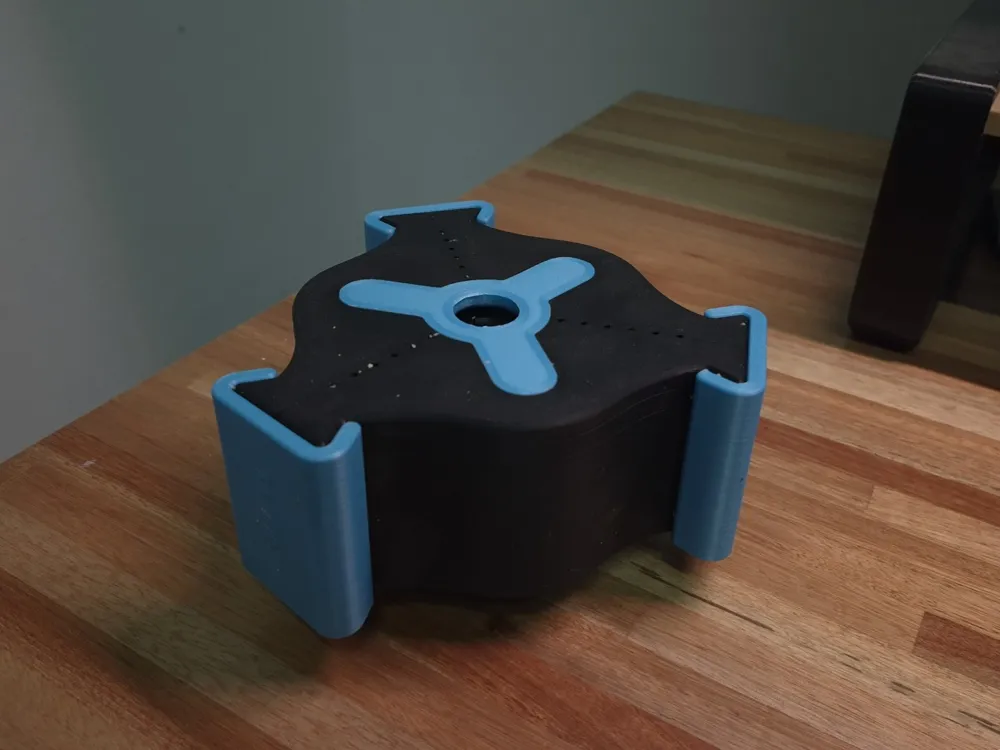
- 1 bottom guide
Modular Design: Its modular system allows for easy, repeatable, and efficient demolding
Tolerances: The side edges are reinforced to ensure a firm fit and prevent material leakage. The design was optimized for 3D printing using appropriate fit tolerances for smooth and repeatable demolding
Dimensions: 115 mm x 115 mm x 80mm
Print Parameters:
- Raft: No
- Supports: Only on presser, normal support, with interface
- Top interface distance: 0.16mm (For a more uniform surface)
- Resolution: 0.16 mm (Suggested layer height)
- Infill: Gyroid 30% for the mold body and central presser (necessary to withstand manual compression forces)
- Wall loops: 5
- Bottom and top layers: 4
- Filament Material: PLA
Interface and Lampshade Technical Specifications:
Components:
- Interface: 3D Printed (PLA)
- Lampshade: printed in PET Clear
- Diffuser: Printed in colored translucent PET
Print Parameters:
- Raft: No
- Supports: On interface, tree support, with support interface
- Top interface distance: 0.16mm (For a more uniform surface)
- Resolution: 0.16 mm (Suggested layer height)
- Infill: 15% for the lamp interface
- Wall loops:
- Interface: 3
- Lampshade and diffuser: 1, Spiral mode (vase mode)
Lampshade printing recommendations:
- Nozzle 0.8mm
- Dry clear PET-G filament to less than 15% humidity for more translucency and a clear surface
- Reduce printing speed between 60mm/s and 80mm/s on outer wall
- Concentric bottom surface pattern
- Bottom layers: 4
Filament Material:
- Interface: PLA
- Lampshade: PET-G Clear
- Diffuser: PLA or colored translucent PET-G to tint the light
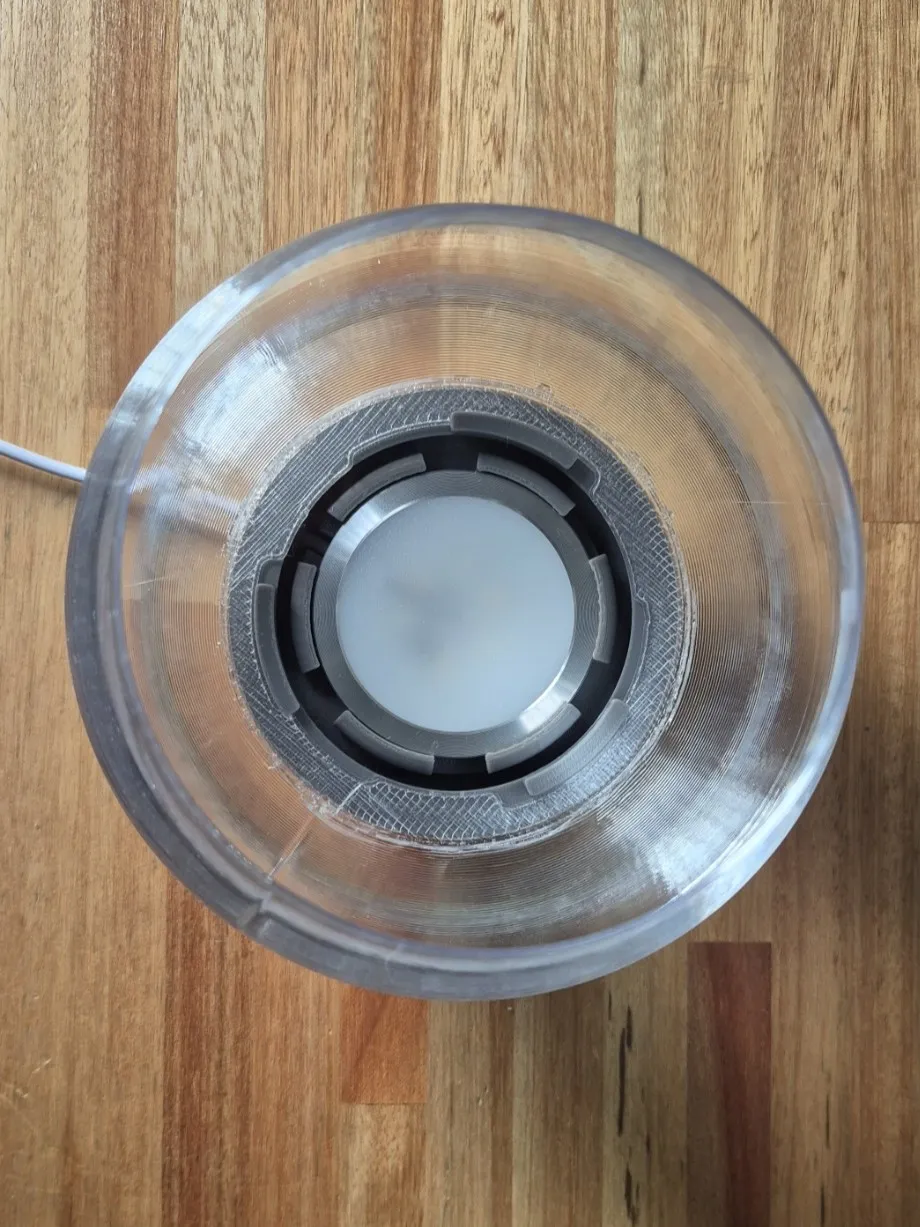
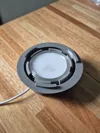
- Electronic Integration: The interface is designed to house a low-power 5V LED light (powered by a 5V USB source)
- Estimated total weight of the assembly: 0.620 Kg
Molding and Assembly Procedure
Phase 1: Paper pulp preparation
Materials:
- Napkin paper: Preferably white without inks, but you can also use dyes like aniline to give it a color tone
- Hot water
- Vinyl adhesive
- Binder: Corn starch
Tools:
- Container
- Hand blender or blender
- Vise or C-clamp
Procedure:
1. Paper processing: In the container, tear the napkins and add hot water. Use the hand blender or blender to break down the paper until a homogeneous mixture is obtained
2. Moisture extraction: Filter the mixture using a fine mesh or cloth to expel as much free water as possible. The pulp should feel just damp to the touch
3. Adhesive integration: Crumble the pressed pulp into a container. First, incorporate the vinyl adhesive, integrating it by manual kneading until a paste is formed
4. Starch addition: Gradually incorporate the mineral or starch filler until an earthy texture is achieved
Phase 2: Paper Pulp Base Molding
1. Mold: The mold is completely closed with its clamps and bottom guide, ready to be filled with the pulp
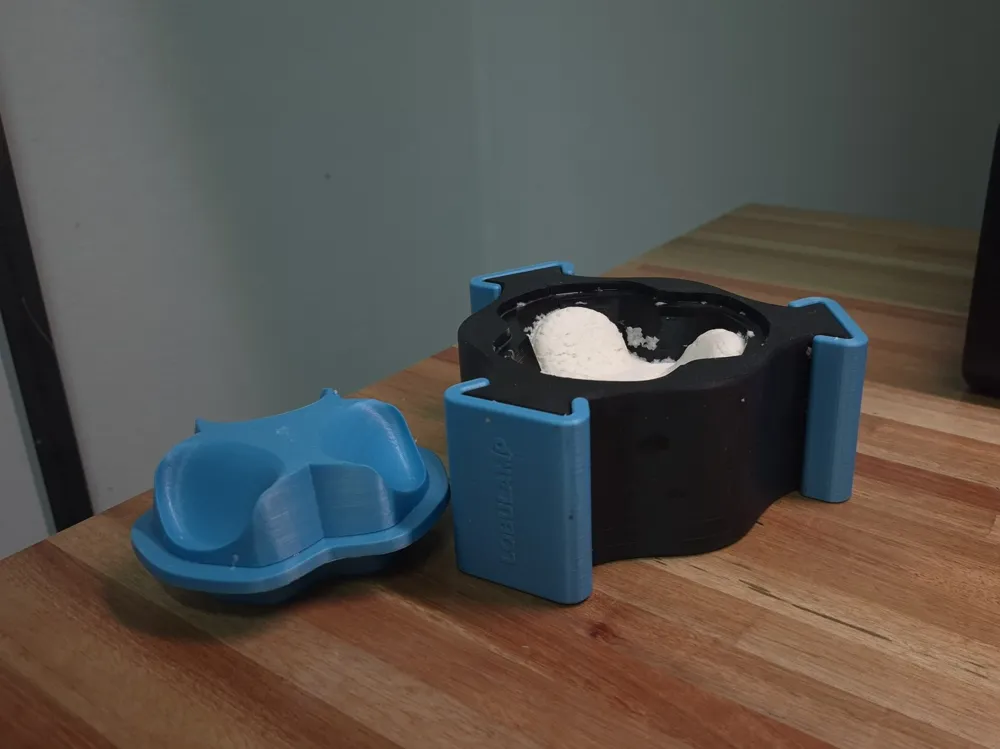
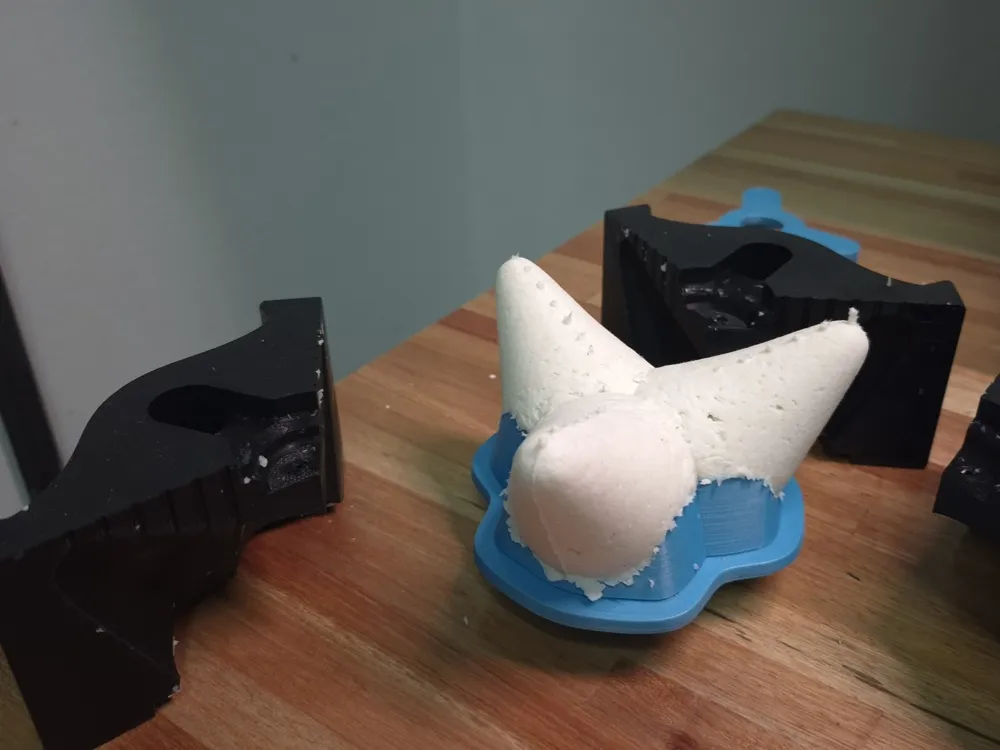
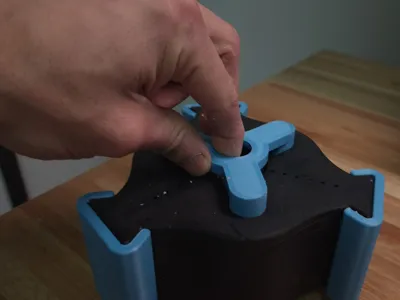
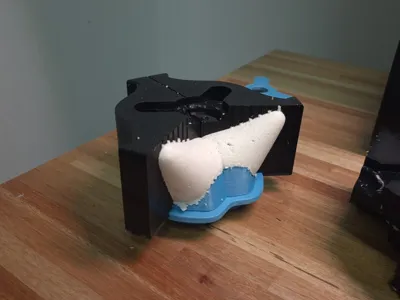
2. Filling and Pressing: Add pulp inside each lobe, ensuring it enters well into the tips. Once the mold is full, use the presser to compact the material. Add more material if necessary after pressing. It is recommended to use a vise or add weight on the mold to achieve better material compaction
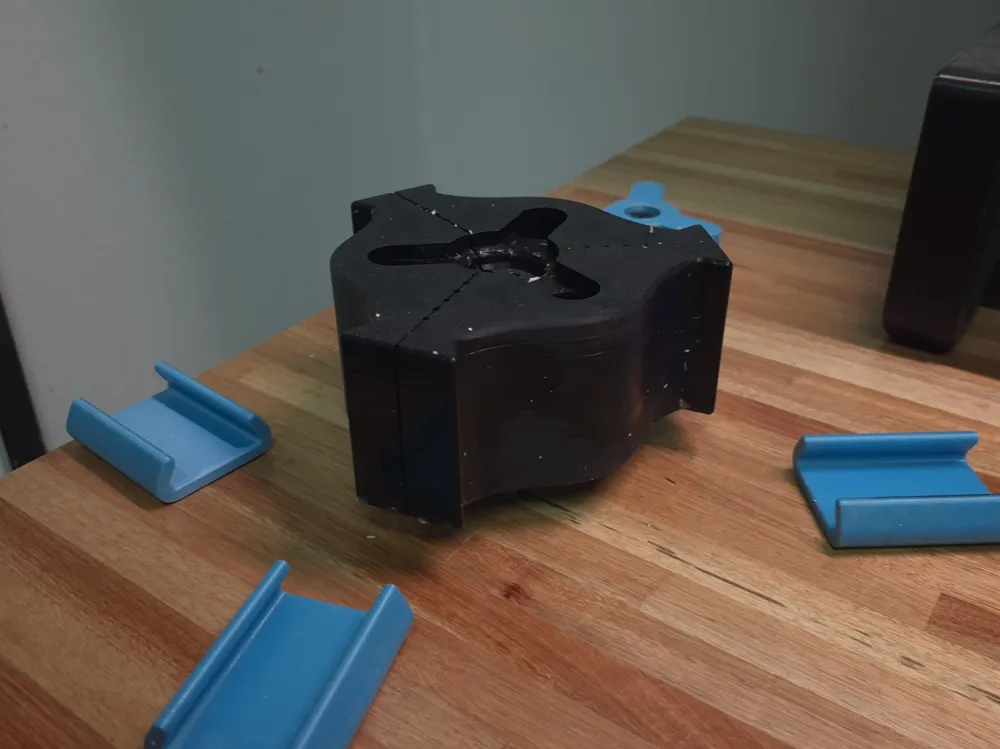
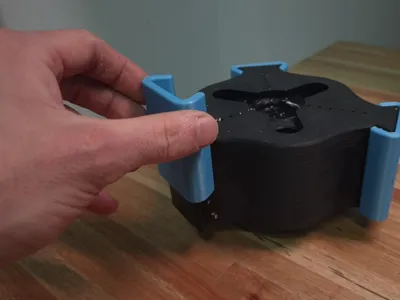
3. Mold opening: with the mold turned over (presser facing down) First, remove the bottom guide and then the three side clamps by sliding them upwards
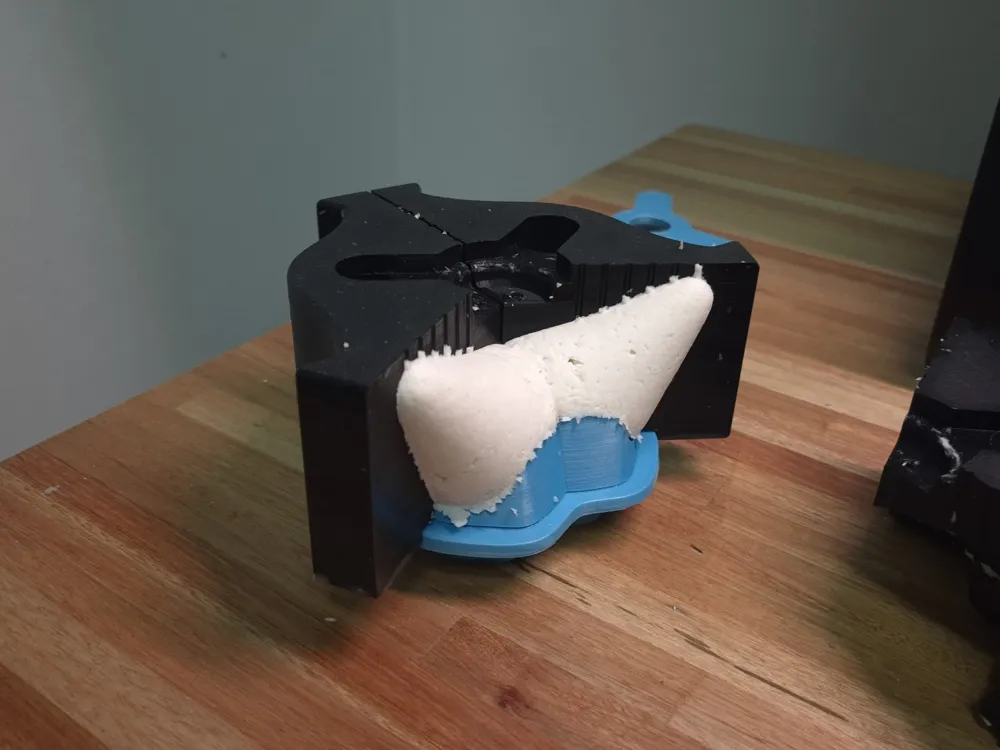
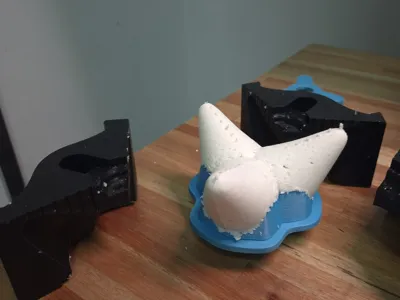
4. Demolding: Without removing the presser, remove each mold module one by one upwards to release the pulp piece. It is recommended to keep the presser as a base for drying the pulp
5. Presser removal: once the piece is completely dry, the presser is removed
6. Obtained piece: Tri-lobular piece ready for finishing
Phase 3: Post-processing and Assembly
1. Finishing: Once the base is completely dry, use 100-grit sandpaper to remove excess material
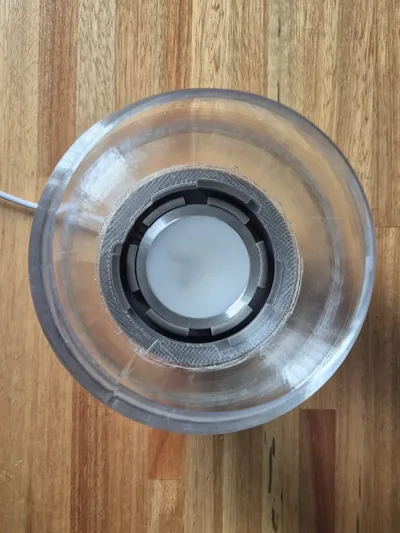
2. LED Assembly: Pass the power cable through the cable outlet of the interface. Install the 5V LED light
3. Interface Assembly: The pulp base serves as a bed for the 3D Printed interface. Double-sided tape or glue can be used to join the parts
4. Lampshade and Diffuser Assembly: Mount the lampshade using the rotating locking system and the diffuser to add color
5. Power On: Connect it to a USB power source and turn it on to light up in style
Process Demonstration Video: https://drive.google.com/file/d/1KzPEtTZGN_h9RkOYimJ0LUV5YoCxRkaO/view?usp=drive_link
Project Credits
This project was designed by Industrial Design students from the National University of Hurlingham for the Digital Fabrication Workshop 1 course
Team Members:
- Bolondi Agustina
- Guigon Braian
- Wagner Santiago
License

Comment & Rating (0)