
Print Profile(1)

Description
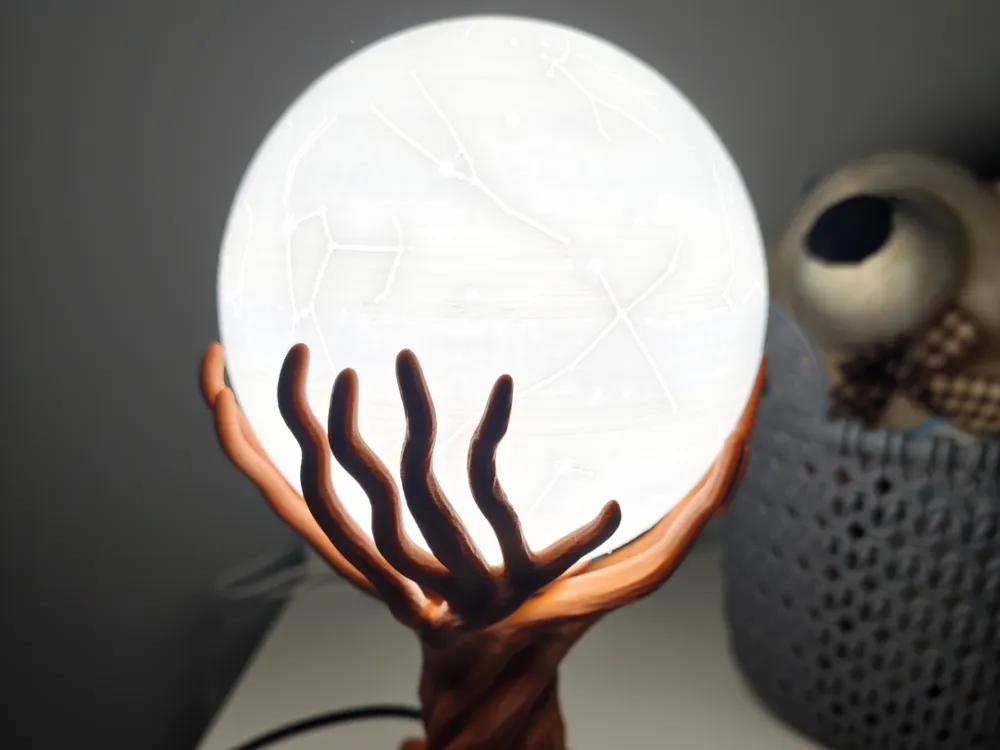
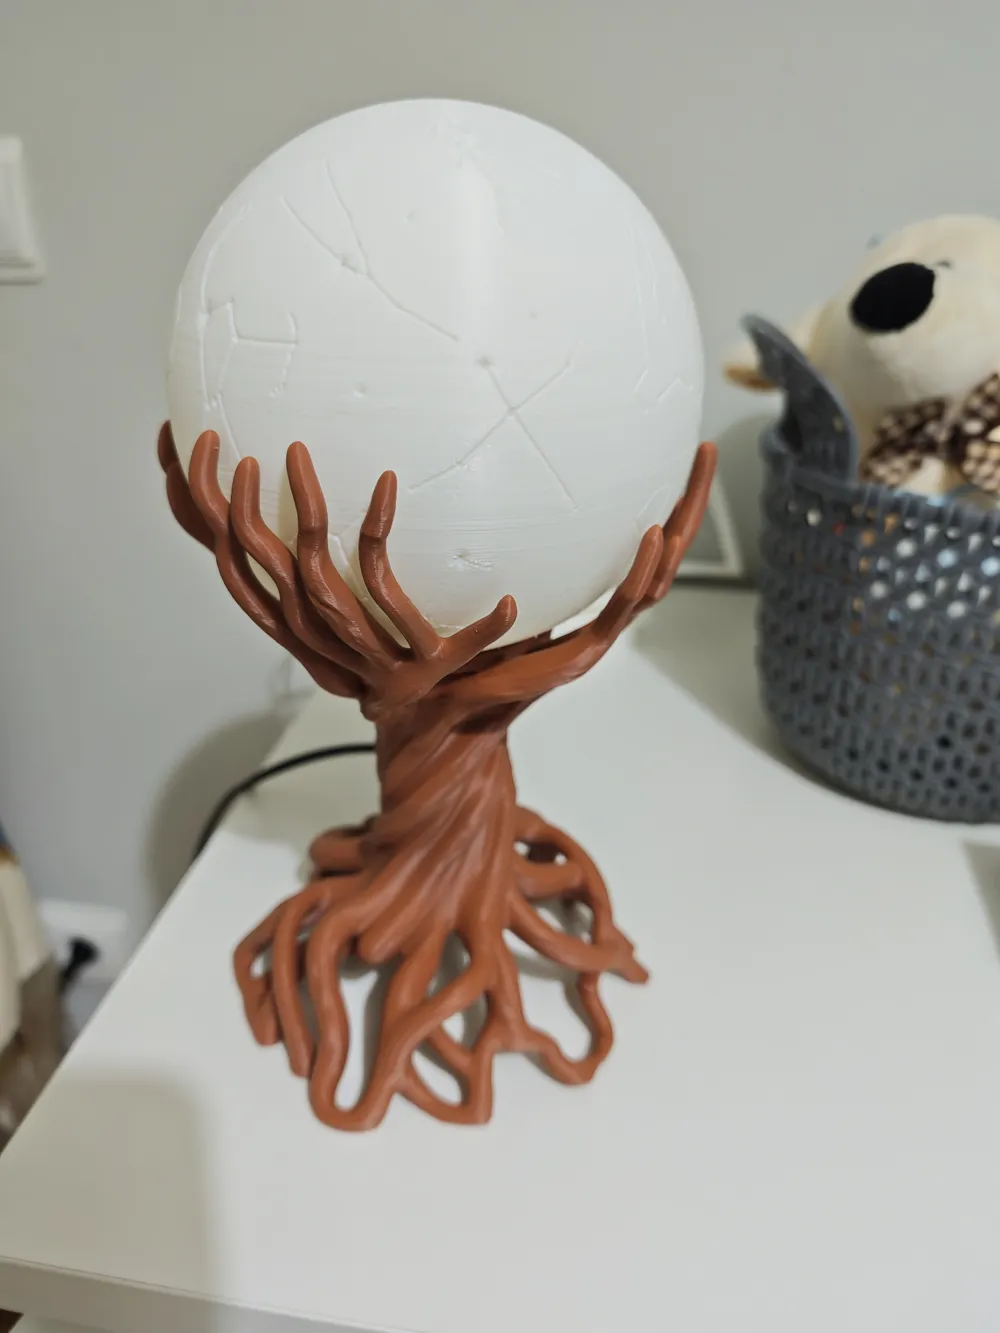
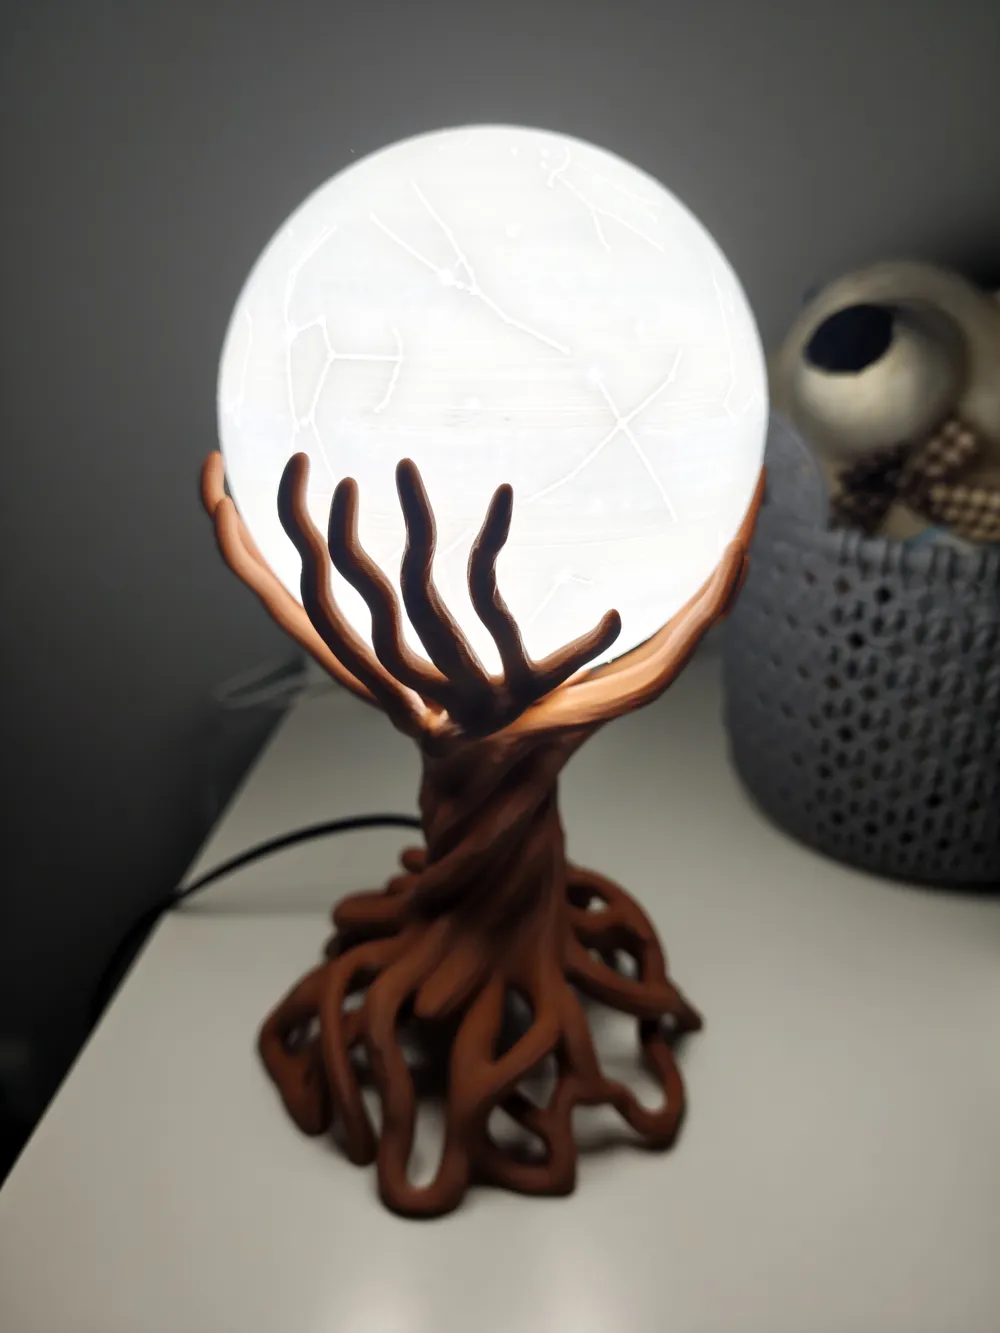
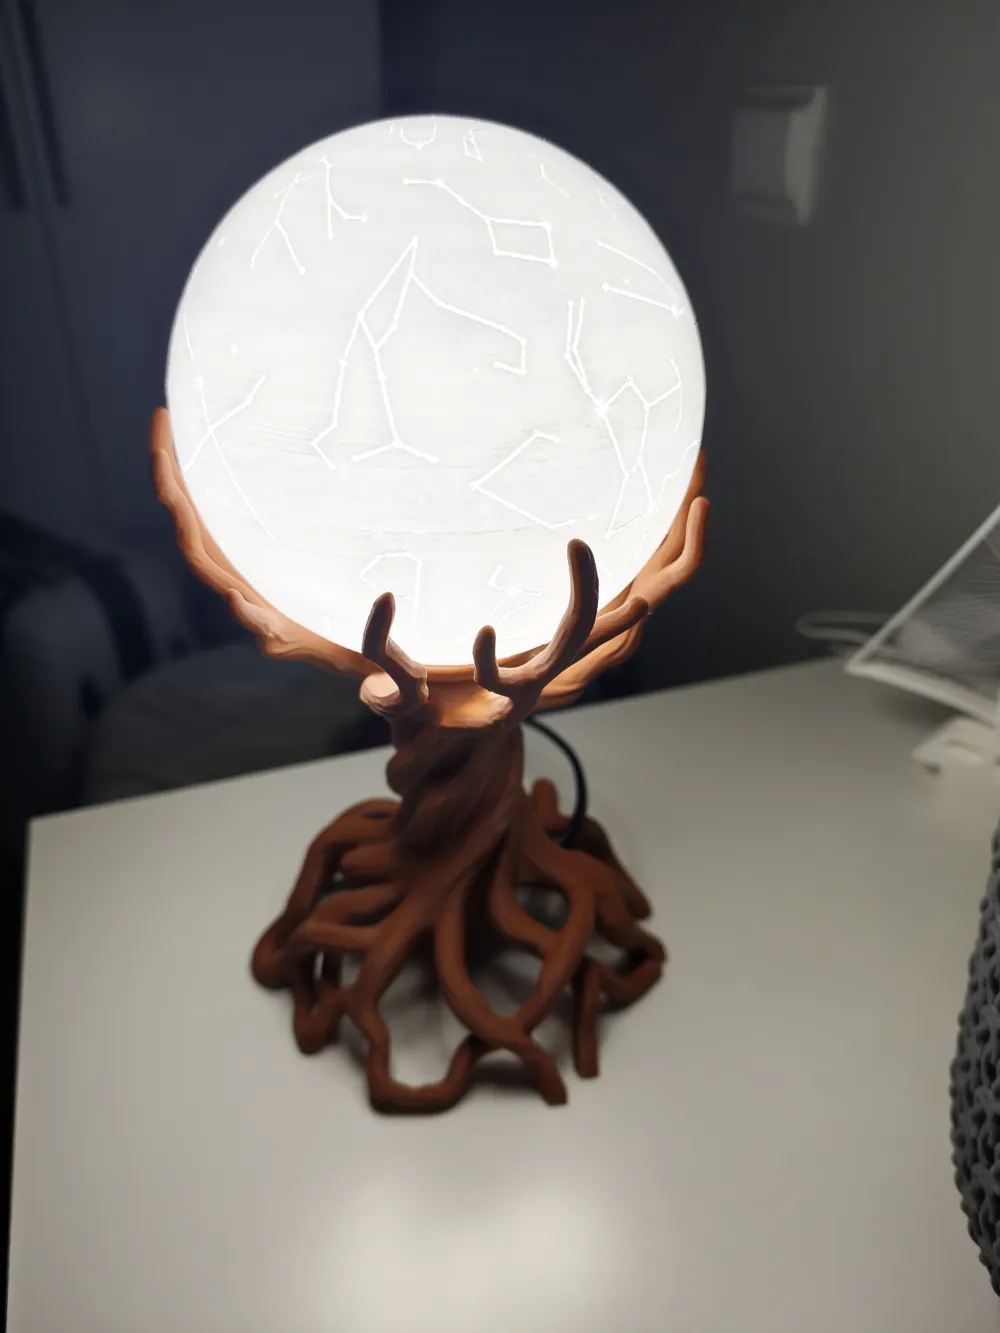
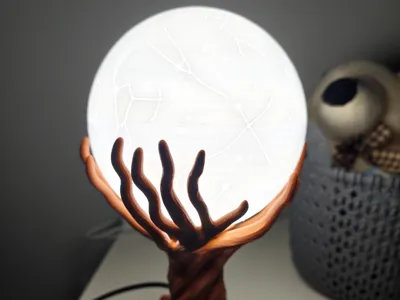
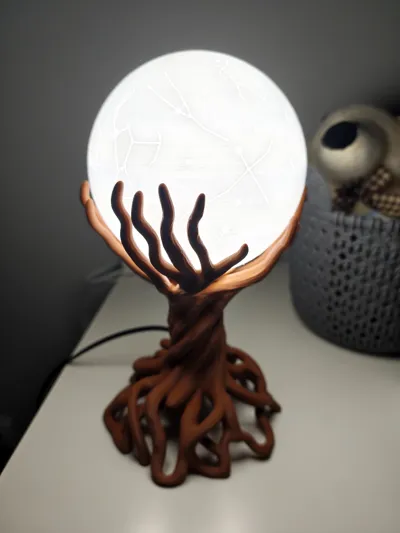
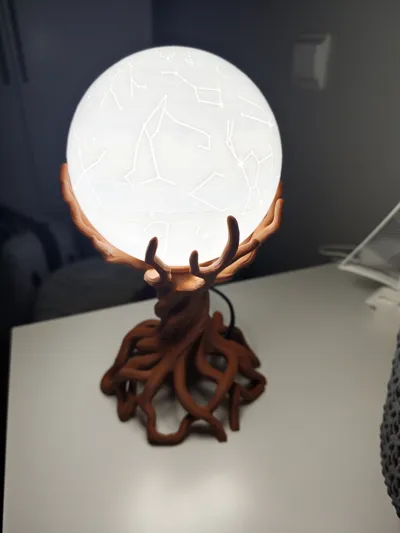
Roots & Constellations is a decorative table lamp inspired by the connection between the roots of the earth and the constellations of the sky
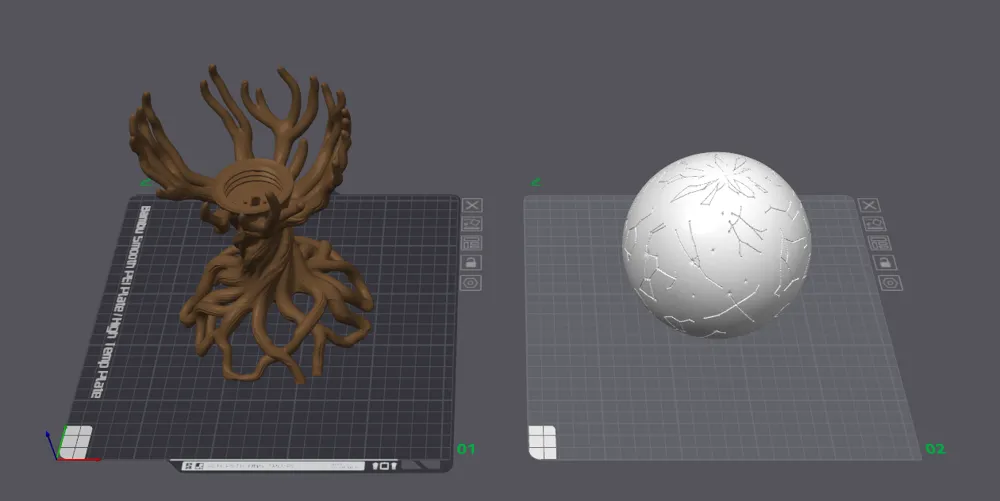
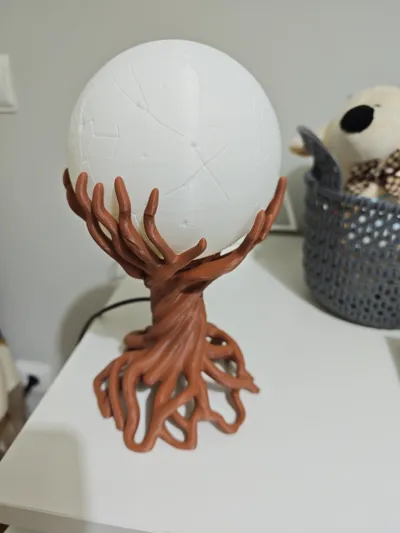
The base features an organic shape composed of intertwined roots and branches, growing around a luminous sphere engraved with various constellations. When off, it functions as a decorative and sculptural piece. When turned on, the constellation designs become more visible and create a soft, celestial ambiance
Model Structure
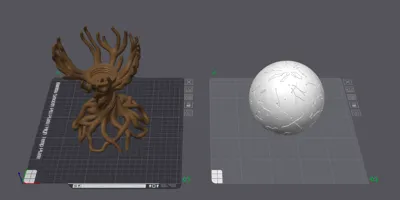
The model is divided into two main parts:
- Root-shaped base, which supports the sphere and houses the electrical components
- Sphere with constellations, designed to diffuse light and highlight the engraved patterns
The sphere has a threaded protrusion at the bottom, which screws into the central trunk of the base. This way, it is correctly aligned and firmly secured, without relying solely on the support of the branches
Hardware Used
For my assembly, I used the following components:
- G9 ceramic lamp holder with wires
https://www.amazon.es/dp/B0G5XZ1MF1 - G9 LED bulb
https://www.amazon.es/dp/B0DQ7VWV87 - Power cable with plug and switch
https://www.amazon.es/dp/B0G5Y5Q4RR
Equivalent components can be used, but it is important to confirm the dimensions of the lamp holder and bulb beforehand
Printing
The model was prepared for FDM printing and separated into two parts, allowing each element to be printed in a different color or material
For the version shown, I used:
- Base: brown filament
- Sphere: white filament
For softer and more uniform lighting, it is recommended to use white, natural, or translucent filament for the sphere
Due to the organic shapes, branches, and overhangs of the base, supports may be necessary depending on the chosen orientation and settings
Assembly
- Install the G9 lamp holder in the central opening of the base
- Connect the lamp holder wires to the power cable with a switch
- Properly insulate and secure all electrical connections
- Insert the G9 LED bulb
- Align the threaded protrusion of the sphere with the existing thread in the central trunk
- Carefully screw the sphere until it is firm and correctly positioned
- Do not overtighten to avoid damaging the thread or the printed part
The sphere can be unscrewed whenever it is necessary to access or replace the bulb
Safety Information
This project uses mains electricity
Electrical connections should only be made by someone with adequate knowledge. All connections must be properly insulated and protected inside the base
Only use LED bulbs, as they produce much less heat than halogen bulbs. Do not use bulbs with a wattage higher than recommended and always ensure that the bulb does not directly touch the sphere or other printed parts
A piece where nature meets the cosmos: with roots in the earth and branches reaching for the stars
License



Comment & Rating (0)