
Piston Trophy
Print Profile(1)
Bill of Materials


.jpg)
.jpg)

Description
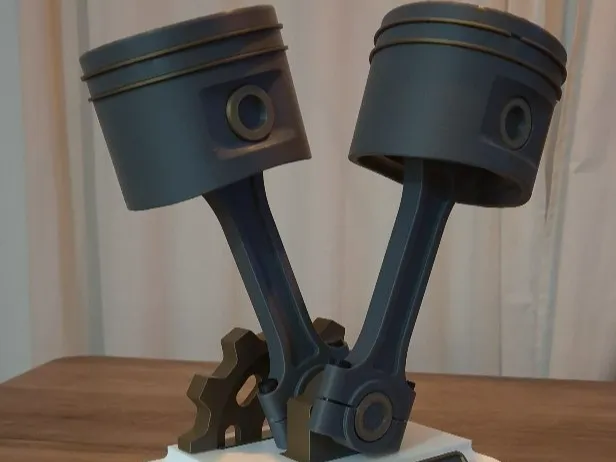
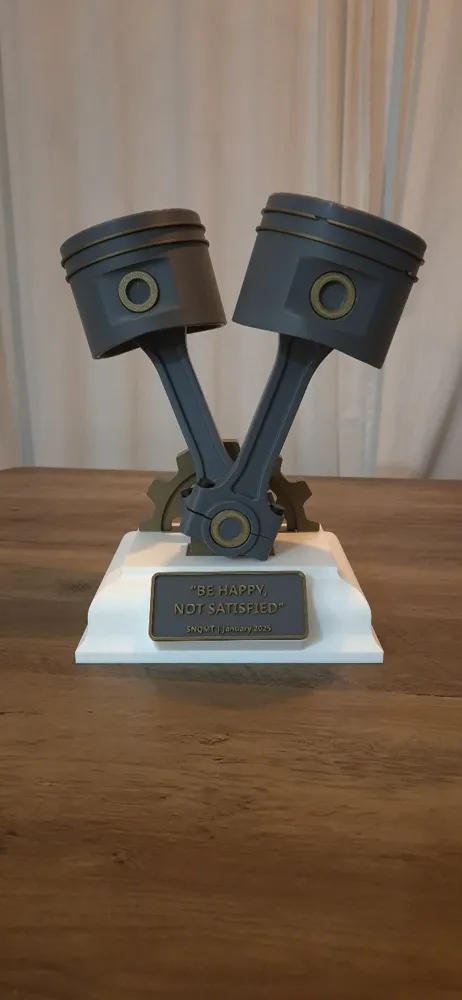
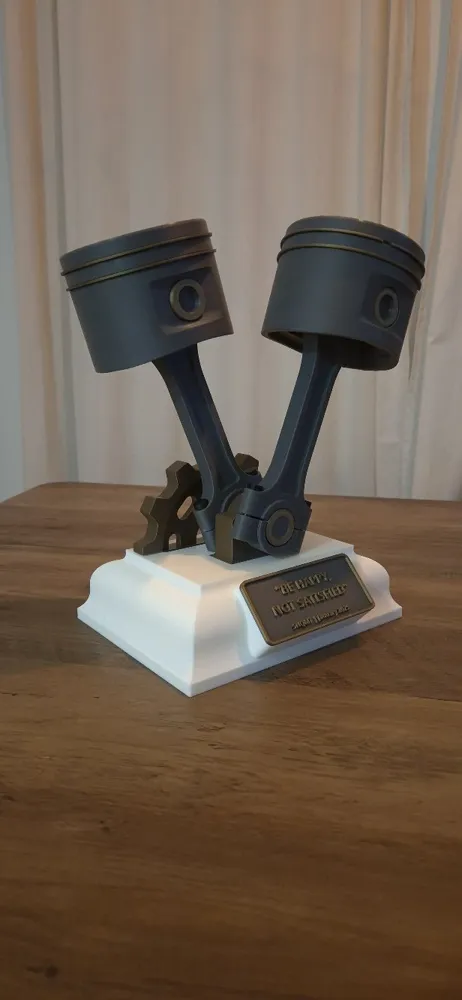
Piston Trophy
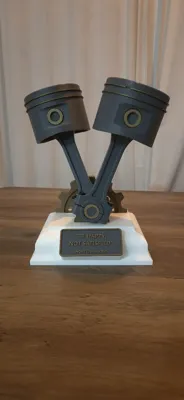
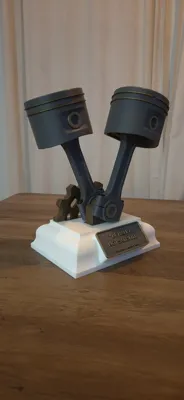
This Piston Trophy was designed as an award for one of Sweden's official kart racing circuits, combining motorsport inspiration with modern 3D printing.
The design was created by combining and adapting existing modules available on Bambu Lab MakerWorld.
The nameplate is fully customizable. I designed mine in SolidWorks, but you can also create your own using the tools available in Bambu MakerLab.
For the best assembly results, I recommend using a small amount of super glue to secure the parts in place.
Assembly Instructions
Step 1
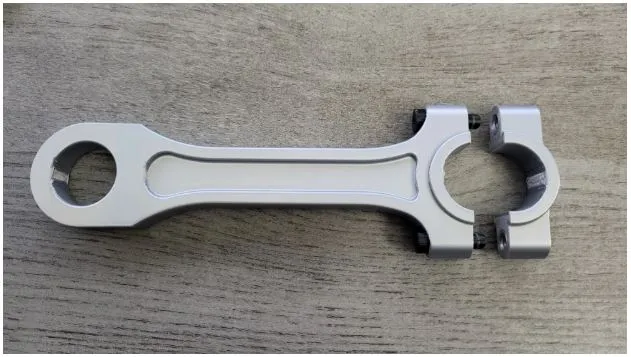
Install the connecting rod coupler. Gently tap the pin into the connecting rod first, then install the coupler.
Step 2
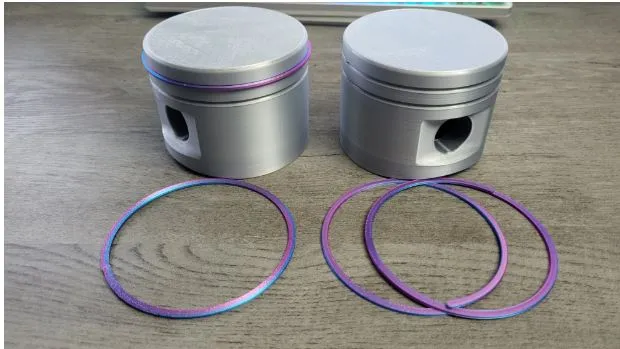
Install the piston rings. Position the ring gaps so they are not aligned.
Step 3
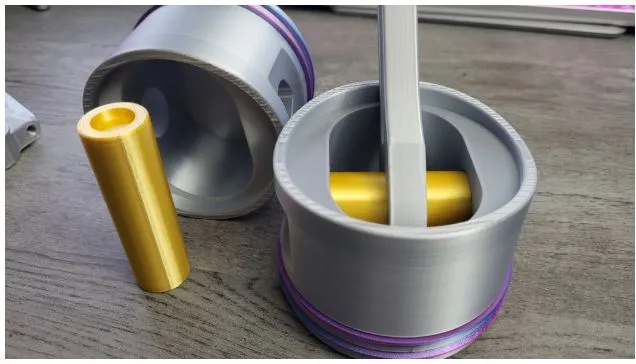
Attach the connecting rod to the piston.
Step 4
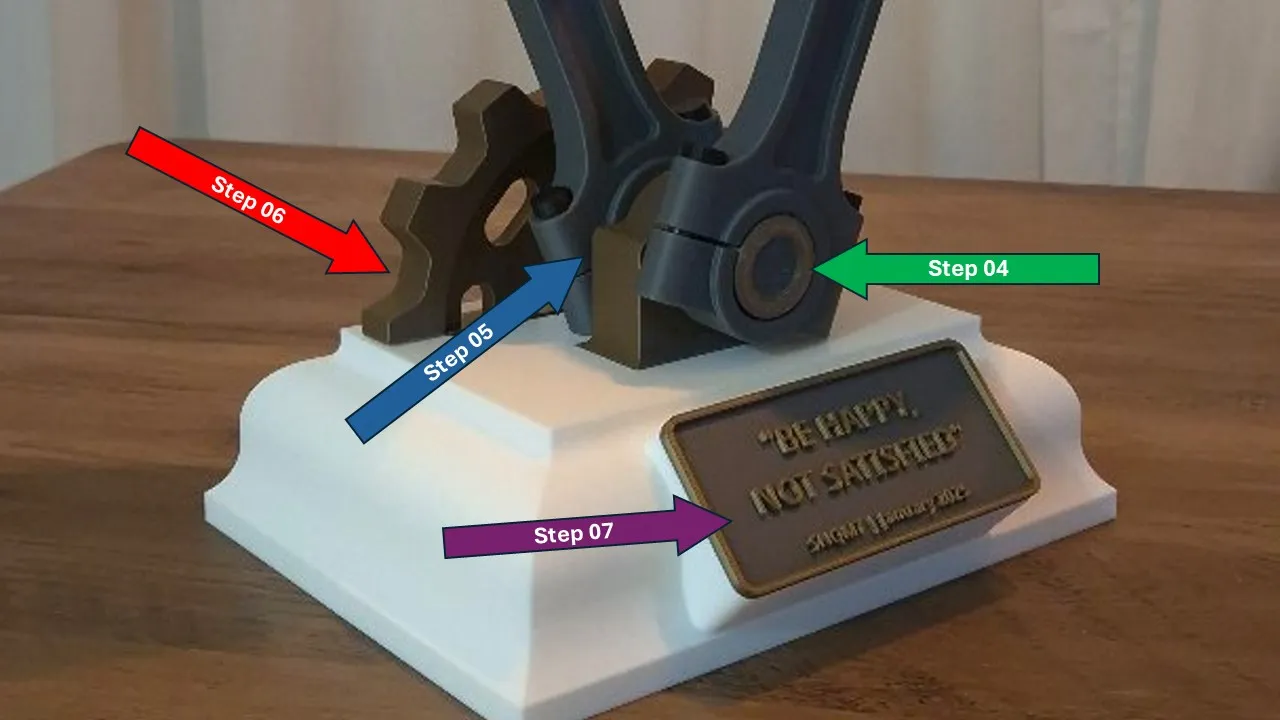
Install the central small pin into the crankshaft (See the last picture) .
Step 5
Install the piston in the main pin already assembled into the crankshaft (See the last picture) .
Step 6
Assemble the gear into the main base (See the last picture) .
Step 7
Glue the customized nameplate onto the center part of the trophy. Allow the glue to cure completely before handling (See the last picture) .
Your Piston Trophy is now complete.
License



Comment & Rating (2)