
Customizable Batch Keychain Creator
Print Profile(1)
Bill of Materials

Description
Boost Me (for free)
Please sir, may i have a boost?
Features
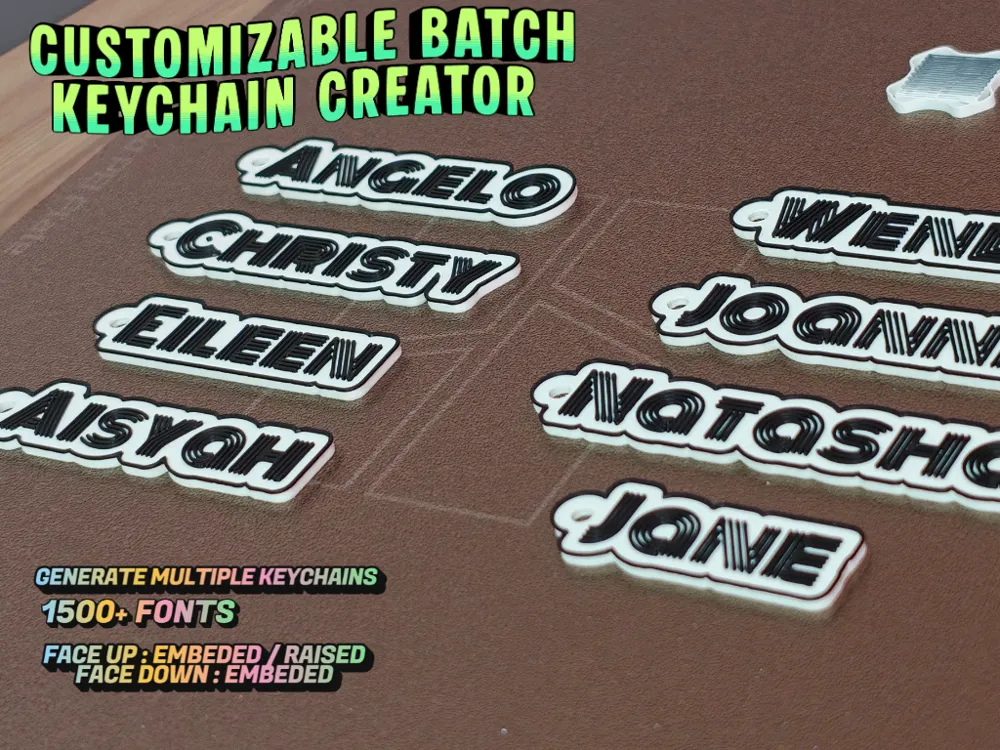
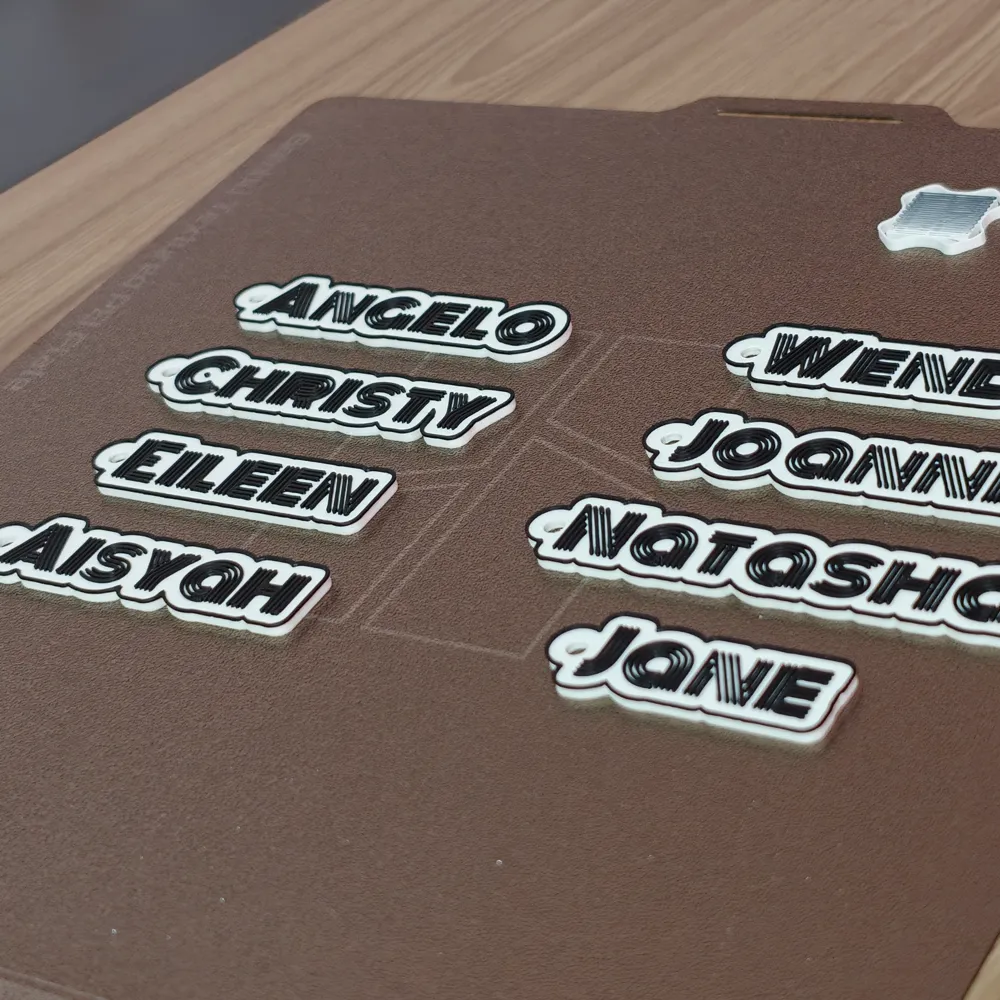
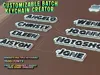
- Batch Generation: Input a comma-separated list of names (e.g., Arthur, Beatrice, Silas) to generate an entire grid of keychains at once.
- Font Library: Fully integrated with MakerWorld's font selector, supporting over 1,500 fonts including complex and Asian scripts.
- Dual-Color Outlines: Optional perimeter outline that follows the text shape, matching the text color and embed depth.
- Print Styles:
- Face Down (Embedded): Text is flush with the build plate (recommended for textured PEI plates).
- Face Up (Embedded): Text is flush with the top surface.
- Face Up (Raised): Standard embossed 3D text.
- Layout Controls: Select between Single, 2-Column, or 3-Column grids with automatic or manual spacing.
- Custom Hooks: Top or side placement options with adjustable hole size, ring thickness, and offsets.
Customizer Settings Guide
Here is a breakdown of exactly what each input in the Customizer does:
1. Batch Data
- Batch Names: Type your list of names here. You must separate each name with a comma (e.g., Name1, Name2, Name3). The code will automatically read the commas to generate separate keychains.
2. Font Selection & Text Controls
- Keychain Font: Uses MakerWorld’s built-in font library. Choose from over 1,500 fonts.
- Text Size: Adjusts the overall size of the font.
- Stroke Width: Controls the thickness of the main background (base) padding around the text.
- Add Outline: A simple toggle switch to turn the dual-color outer border on or off.
- Outline Width: If the outline is enabled, this controls how thick that outer border is.
3. Color Selection
- Base Color: The main color of the keychain body (automatically assigns in Bambu Studio).
- Text Color: The color of the text and the outer outline (automatically assigns in Bambu Studio).
4. Layout & Design Controls
- Print Style: Choose how you want the text applied: Face Down (Embedded) for a flush bed-textured finish, Face Up (Embedded) for flush top-layers, or Face Up (Raised) for classic 3D embossed text.
- Layout Mode: Arranges your batch into a Single Column Stack, a 2-Column Grid, or a 3-Column Grid.
- Custom Column Gap: Set to 0 to let the code automatically calculate the spacing between columns based on your longest name. Input a specific number to manually force the gap width.
- Row Gap Height: Controls the vertical distance between each row of keychains.
- Embed Depth: Controls exactly how deep the text pushes into the base (or how high it raises out of it).
- Base Thickness: The total Z-height of the keychain background.
- Batch X Nudge: Shifts the entire grid left or right. Use this to easily center your batch on the virtual build plate.
5. Hook Settings
- Hook Position: Choose to place the keychain ring loop on the Side (left) or the Top.
- Hole Size: Adjusts the radius of the empty hole for your metal keyring.
- Ring Thickness: Adjusts the thickness of the plastic surrounding the hole (increase this for stronger keychains).
- Top Hook Nudge: If you select the "Top" hook position, this slider lets you slide the hook left or right to perfectly balance it over specific letters.
Optional : Slicing Instructions for Face-Down Printing
To achieve crisp color changes and minimize filament swaps, this model must be split into parts.
Follow these steps in Bambu Studio:
- Open the .3mf file.
- Assign your AMS filaments to the separate text, outline, and base parts in the object.
- Right-click the model on the build plate and select Split -> To Parts.
- Adjust the first layer sequence : Click the gear icon next to your plate and select Customize current plate.
- Under First layer filament sequence, set it to print your Base color first, and your Text color second.
*Face down 0.4mm embeded depth should have only 2 filament changes
Background & Technical Details :
I created this project to learn OpenSCAD and understand slicing limitations which i had when using existing face-down keychain generators.
Typically, OpenSCAD generators weld embedded text and bases together into a single, solid 3D object. Even though Bambu Studio allows you to sync colors and paint the model, the slicer still reads it as one solid part. This forces the slicer into inefficient toolpaths, often resulting in unnecessary filament changes (e.g., 4+ layer swaps for a simple 0.4mm depth).
The Workaround: To circumvent this, this script uses an anti-weld technique. The code automatically shrinks the X/Y walls of the text and the outline by a microscopic 0.01mm. Because the text mathematically never touches the walls of the base cavity, OpenSCAD is forced to export them as distinct, separate shells within the same file.
By using the "Split to Parts" function in Bambu Studio, the slicer correctly reads the program as multiple overlapping objects rather than one painted solid.
License

You shall not share, sub-license, sell, rent, host, transfer, or distribute in any way the digital or 3D printed versions of this object, nor any other derivative work of this object in its digital or physical format (including - but not limited to - remixes of this object, and hosting on other digital platforms). The objects may not be used without permission in any way whatsoever in which you charge money, or collect fees.


Comment & Rating (0)