
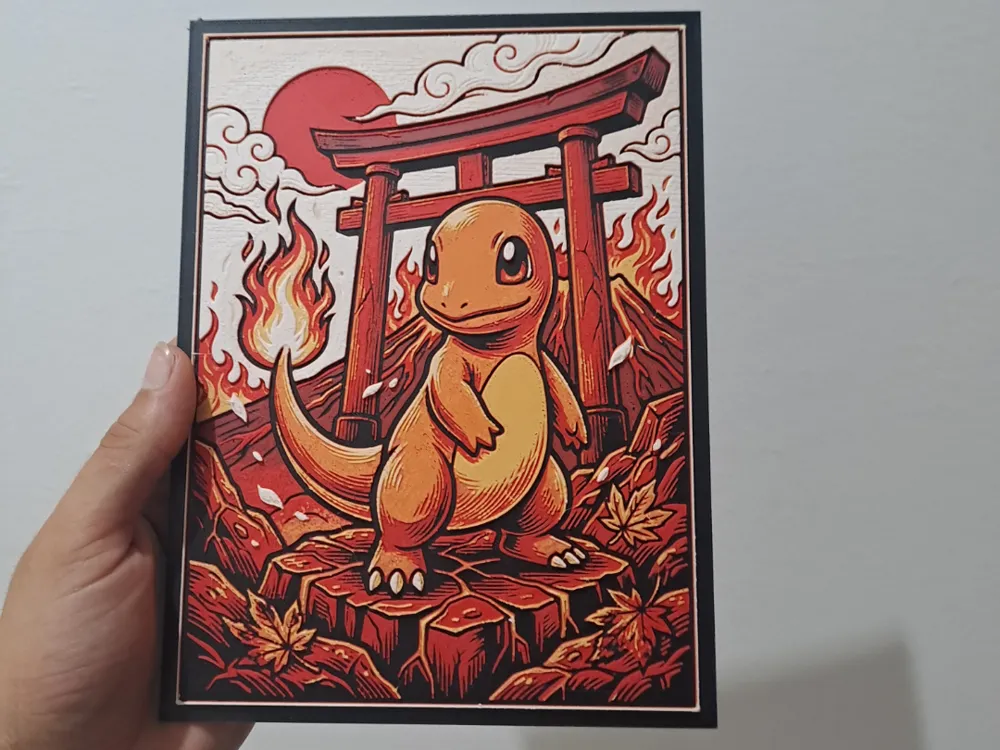
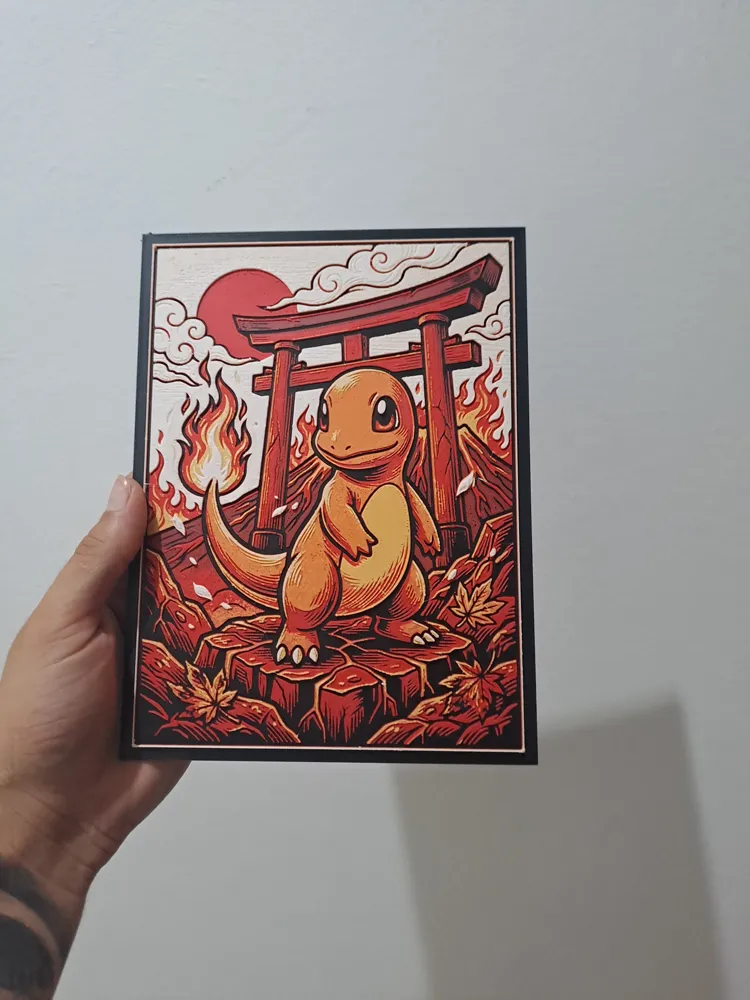
Charmander Nº004
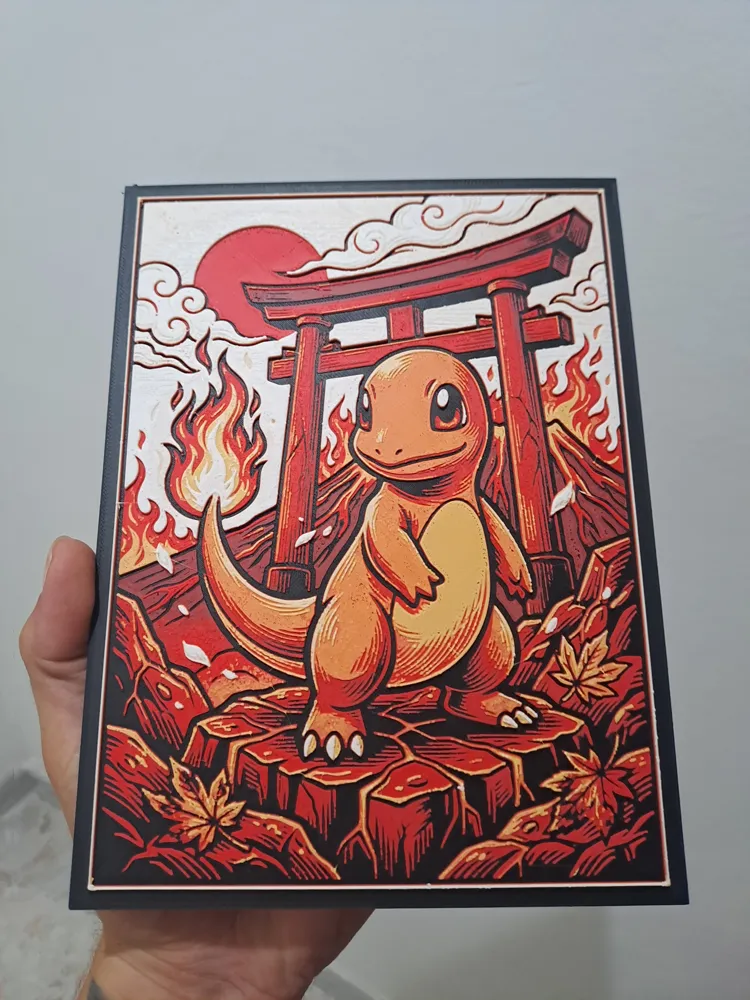
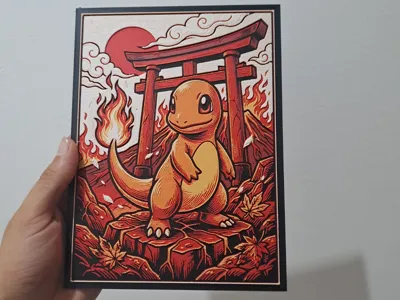
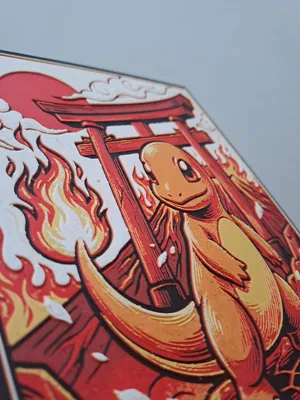
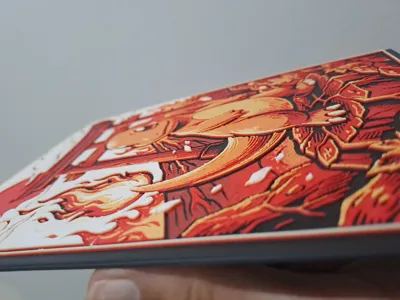
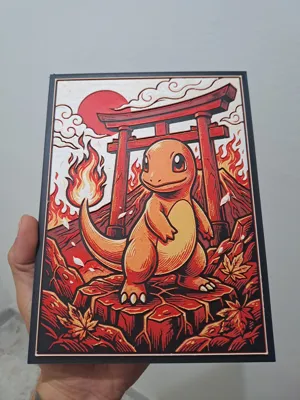
Print Profile(1)

Description
**IMPORTANT INFORMATION**
You cannot adjust the Z scale in any Hueforge. This will affect the coloring and your Hueforge will not come out as intended. However, you can change X and Y to scale the image. I recommend changing by the same percentage only.
To get an accurate print as shown in the photos, you MUST use the same filaments listed below.
You can change brands (as long as they are similar), but keep the filament colors the same. If you use any other color, you will not get the same results as me.
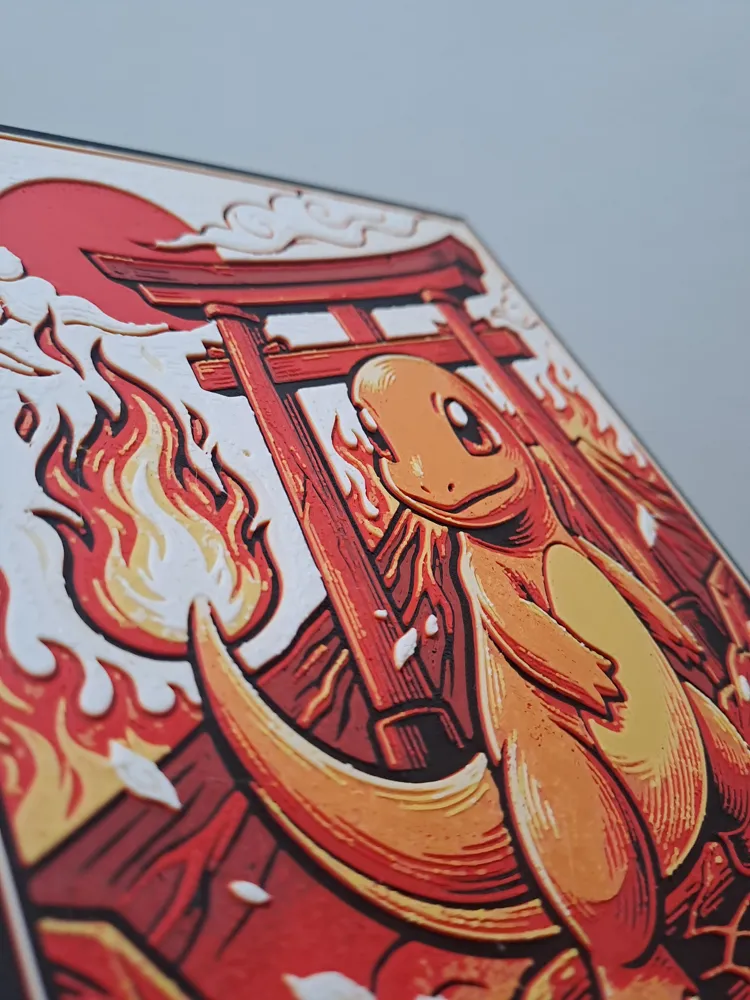
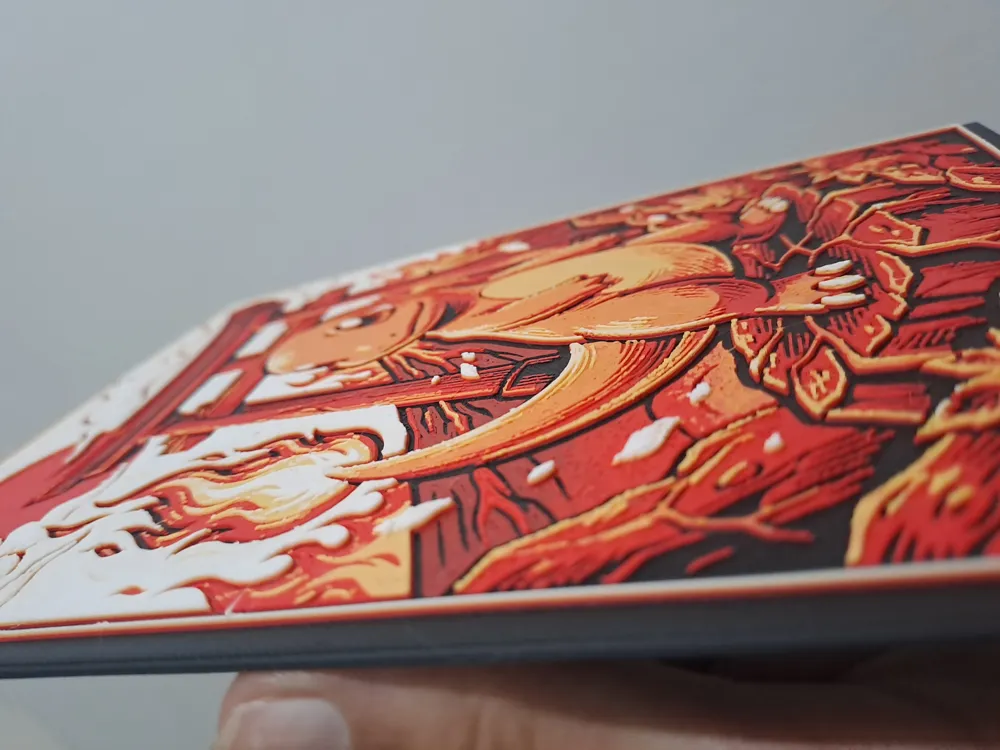
What you see in the slicer will not be the appearance of the final results! Hueforge takes advantage of color bleeding to create blended colors!
Make sure your bed has really good adhesion! If not, the print may lift and cause warping that will ruin the print!
**How to print a Hueforge of more than 4 colors with 1 AMS**
Because a Hueforge essentially places different colors on top of each other, it is possible to print more than 4 colors in a Hueforge. In short, we leverage the filament runout sensor to pause the print and then allow us to swap any other filament at the same time.
The example below is for a 5-color print, but the same idea applies if you need more.
Load AMS slots A1, A2, and A3 with the first 3 colors used. Leave the fourth slot unloaded.
Send to print. When asked which AMS slots have which colors, assign the first 3 colors to A1 – A3 and the fourth color of the print to A4 (note that it will not show a loaded color because it is not loaded). The fifth color will be assigned to A1 (I like to keep it sequentially, but any other slot besides A4 will do)
YOU CAN ALSO LOAD ALL 4 COLORS AND ONCE THE BLACK IS FINISHED, REMOVE THE SPOOL AND PLACE THE WHITE WHILE THE AMS CONTINUES PRINTING ANOTHER COLOR!!
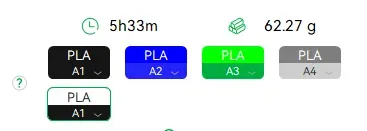
The printer will issue a warning that some of the assigned colors are not mapped in the AMS, simply click confirm.
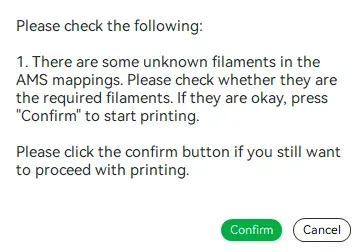
The printer will start printing and will automatically print until it reaches the fourth color. It will tell you that the filament ran out and you need to replace it. At this point, I would load my fourth color AND my fifth color into AMS slot A1 as I assigned it.
Continue printing and that's it! You can repeat this as many times as necessary, but doing this once allows you to print 7 colors with just one swap.
PLEASE NOTE THAT THIS FILE TAKES A LONG TIME TO SLICE, JUST LET IT SLICE AND DO SOMETHING ELSE WHILE IT FINISHES!
Make sure the necessary colors are shown in your slicer
Slice the model
Once sliced, you can go to the slider on the right side and move to the layer heights specified below.
Once you are at the color change layer height, right-click on the slider and select Filament Change
Choose the color you want to change to.
Do this for all other color changes
Print with 100% infill and a 0.08mm layer height with a 0.16mm base layer.
The Model is 149.33x200mm in size
Swap Instructions:
Start with Black
At layer #17 (1.44mm) swap to Scarlet Red
At layer #23 (1.92mm) swap to Mandarin Orange
At layer #25 (2.08mm) swap to Lemon Yellow
At layer #27 (2.24mm) swap to Ivory White for the rest.
License

You shall not share, sub-license, sell, rent, host, transfer, or distribute in any way the digital or 3D printed versions of this object, nor any other derivative work of this object in its digital or physical format (including - but not limited to - remixes of this object, and hosting on other digital platforms). The objects may not be used without permission in any way whatsoever in which you charge money, or collect fees.


Comment & Rating (0)