
Floating Beer Cooler & Phone Holder
Print Profile(1)




Description
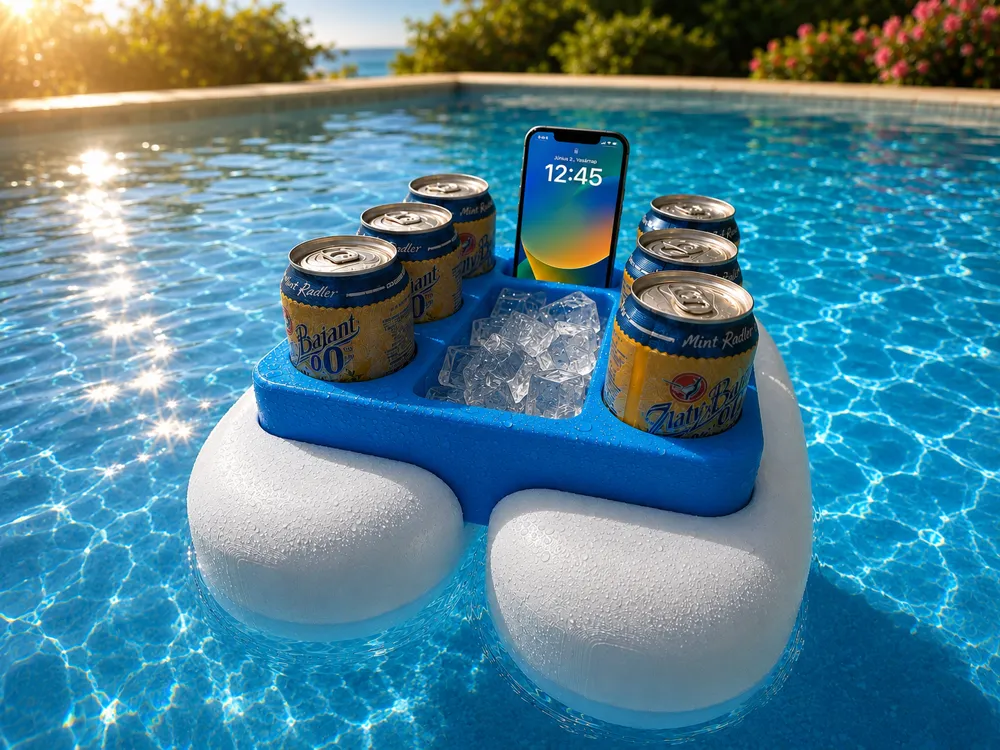
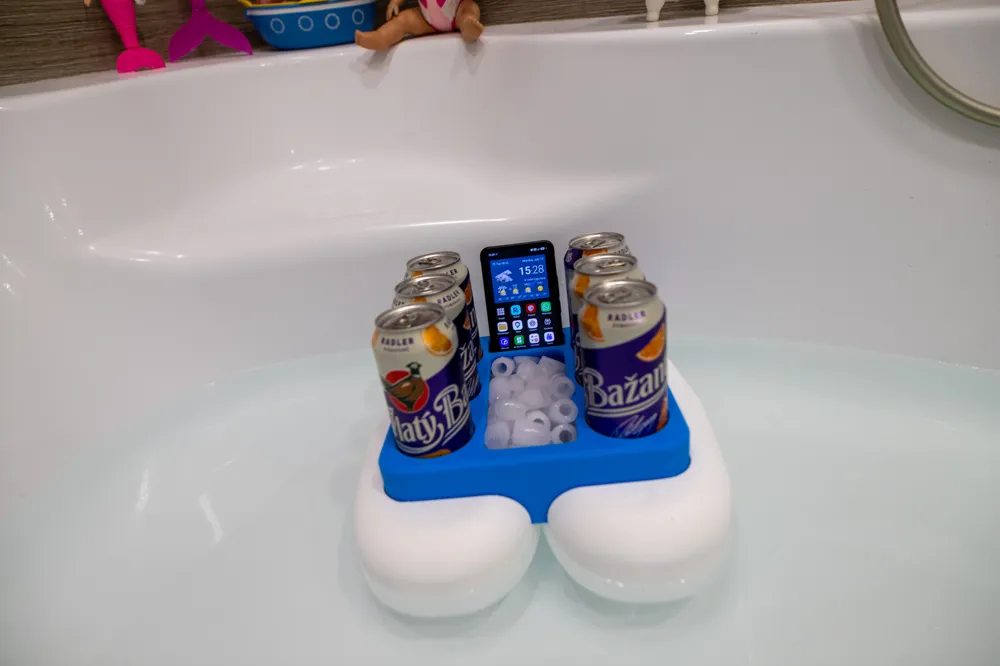
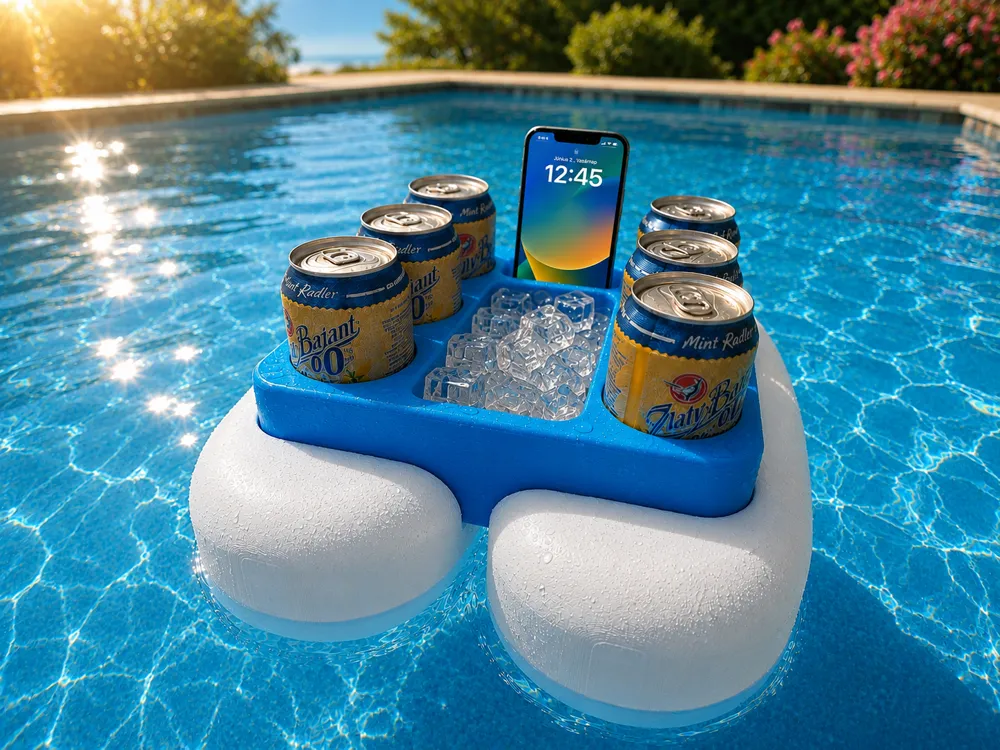
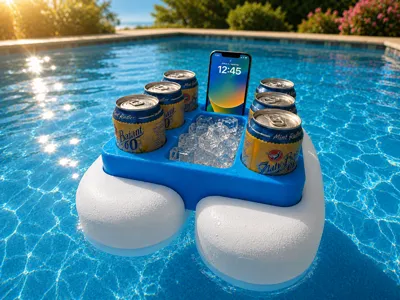
🍻 Floating Beer Cooler with Ice Bucket & Phone Holder
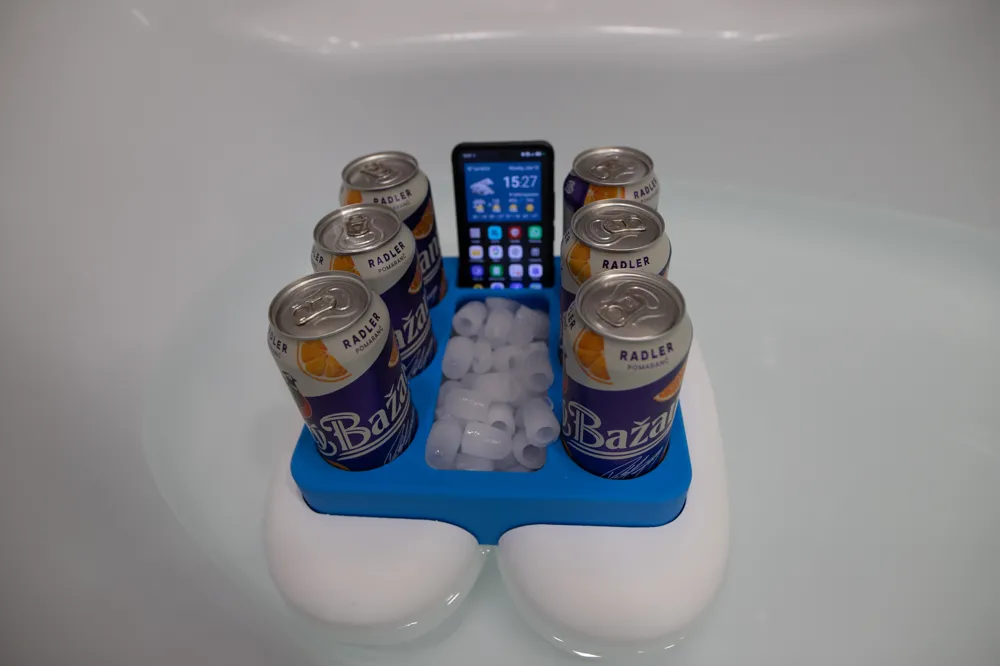
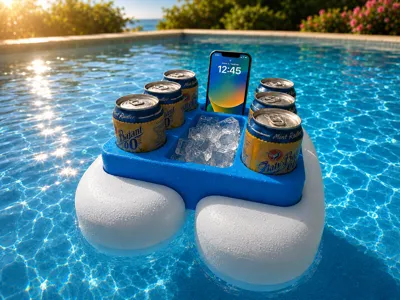
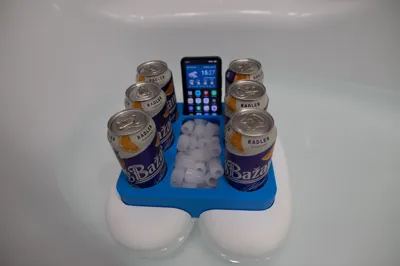
Enjoy your favorite drinks without leaving the pool! This fully 3D printable floating cooler is designed to keep your beverages, snacks, and phone within easy reach while you relax.
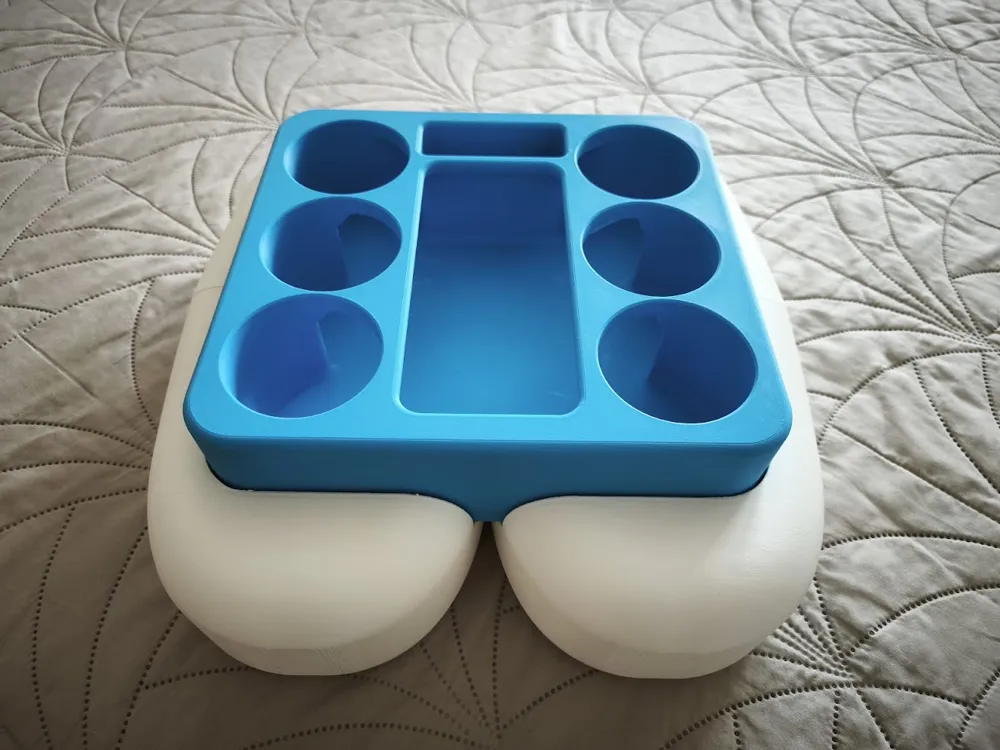
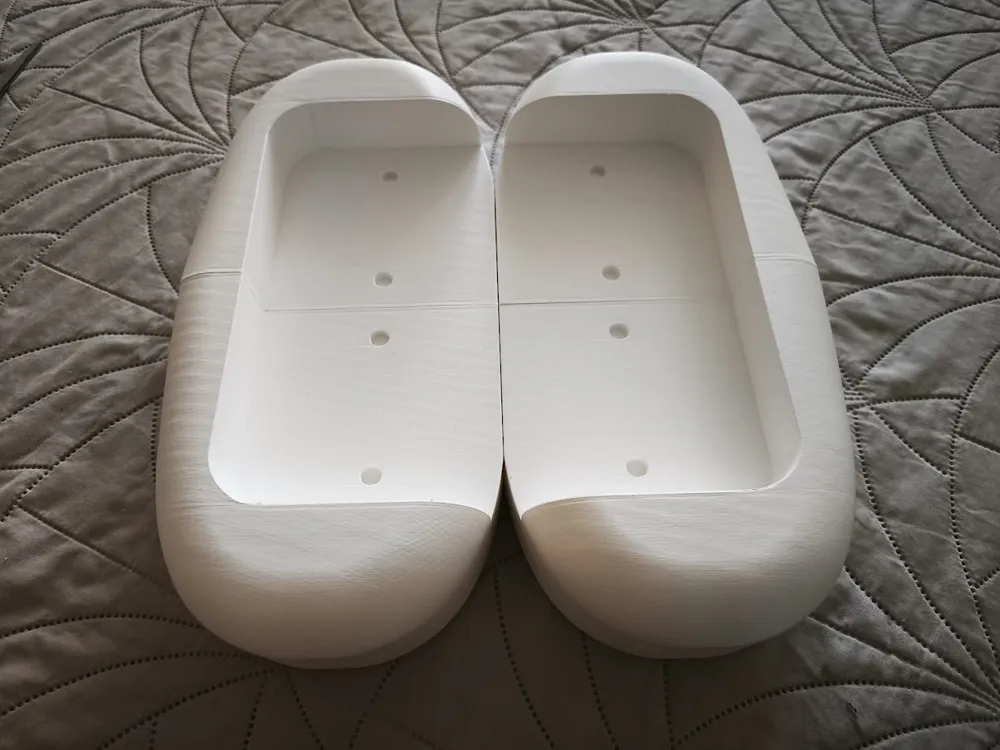
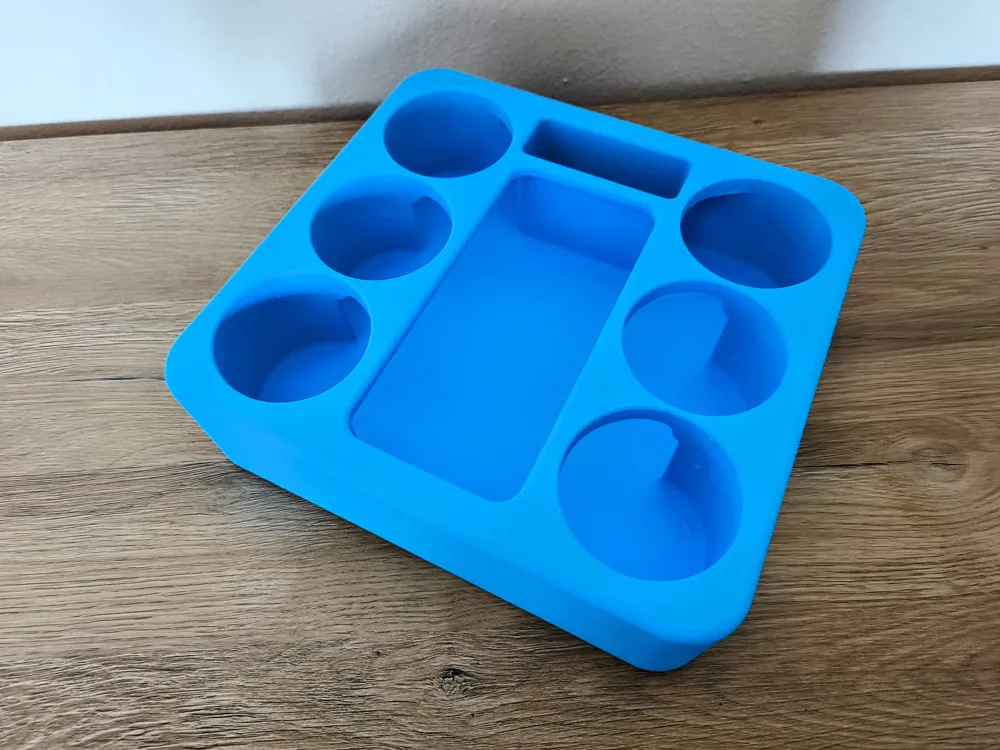
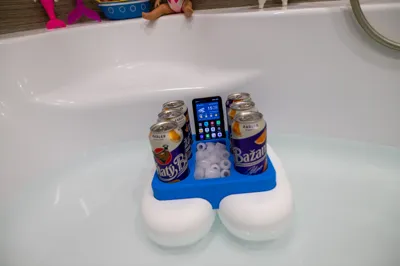
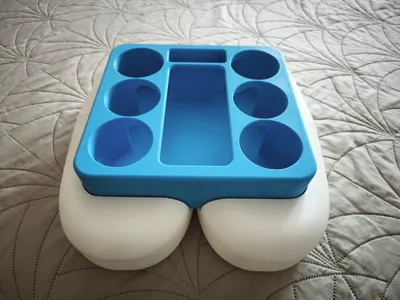
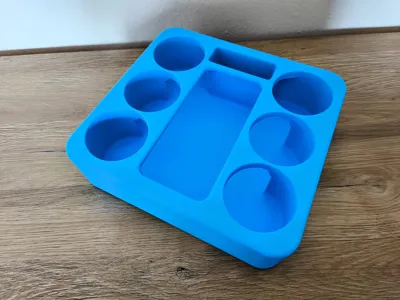
The cooler features 6 drink holders, a large center ice compartment, and a convenient phone holder. The dual-float design provides excellent stability, making it perfect for pool parties, hot tubs, lakes, or a relaxing day in the water.
Features
- 🍺 Holds up to 6 cans or cups
- 🧊 Large ice compartment to keep drinks cold
- 📱 Built-in phone holder
- 🌊 Stable dual-float design
- 🖨️ Fully 3D printable
- 🔧 Simple assembly
- ☀️ Perfect for pools, hot tubs, lakes, and summer parties
Printing
Recommended settings:
- Layer height: 0.2 mm
- Walls: 3
- Infill: 15–20%
- Supports: Yes – Tree (Manual), as configured in the project file
- Material: PETG recommended (PLA for indoor use)
The float sections are designed to be watertight. Depending on your printer, you may want to increase the wall count or enable ironing for improved water resistance.
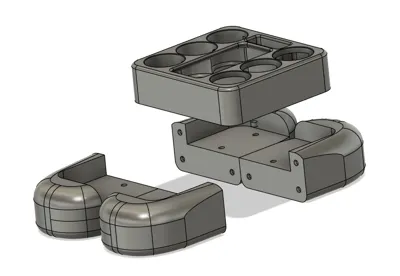
Parts
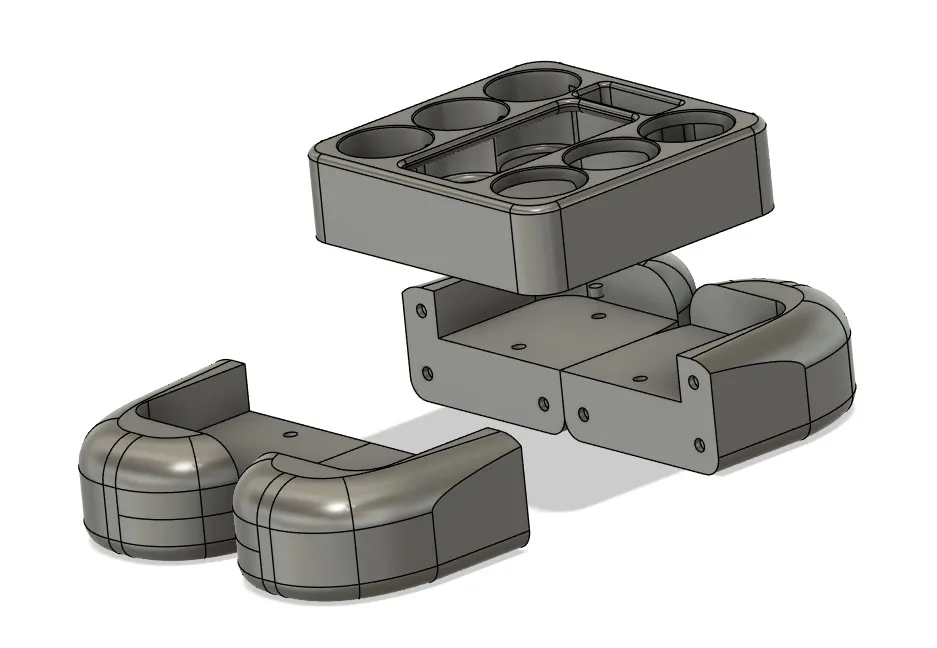
- 1 × Cooler Tray
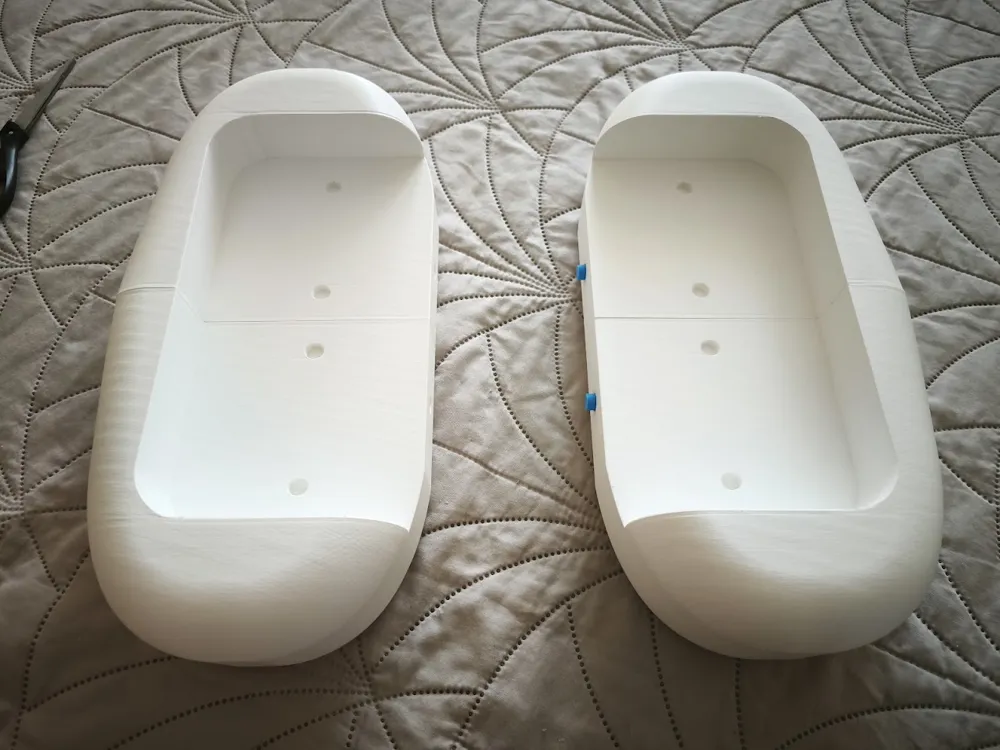
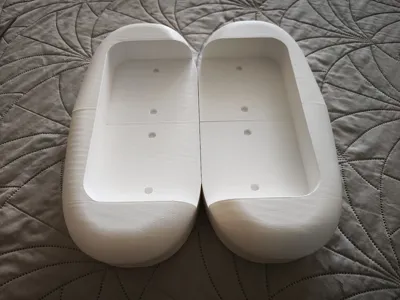
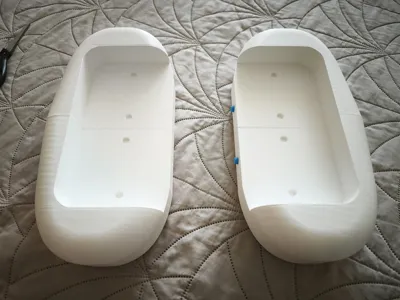
- 1 × Left Float
- 1 × Right Float
- 8 × Short Locking Pins
- 8 × Long Connecting Pins
Assembly
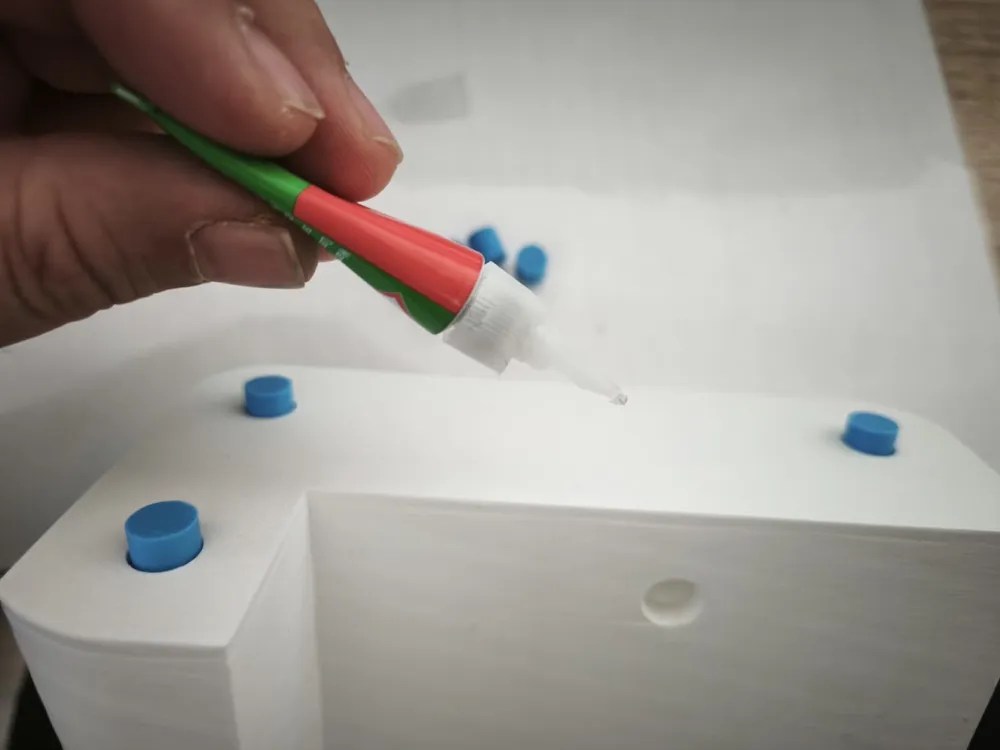
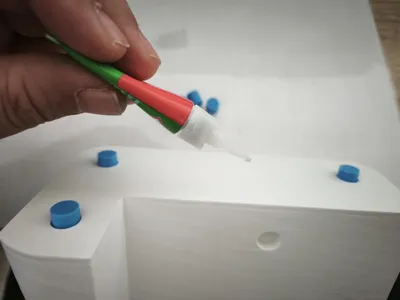
- Join the Left Float and Right Float using the Long Connecting Pins. Apply a waterproof adhesive to the mating surfaces before assembling the floats to create a strong, watertight bond.
- Place the Cooler Tray on top of the assembled floats and secure it using the Short Locking Pins. Apply adhesive to the pins before inserting them to permanently lock the tray in place.
- Allow the adhesive to fully cure according to the manufacturer's instructions before placing the cooler in water.
License

You may create derivative works based on this object, provided that all such derivative works are published exclusively on the MakerWorld platform and include proper attribution to the original creator. You may not share, upload, host, distribute, or publish this object—or any derivative work of this object—on any other digital platform, marketplace, or distribution channel. Commercial use of this object and any derivative works is strictly prohibited. This includes, but is not limited to, selling, renting, sublicensing, or using the object in any context in which you receive monetary compensation or other financial benefits.


Comment & Rating (1)