
Lock - Round
Print Profile(1)
Bill of Materials

Description

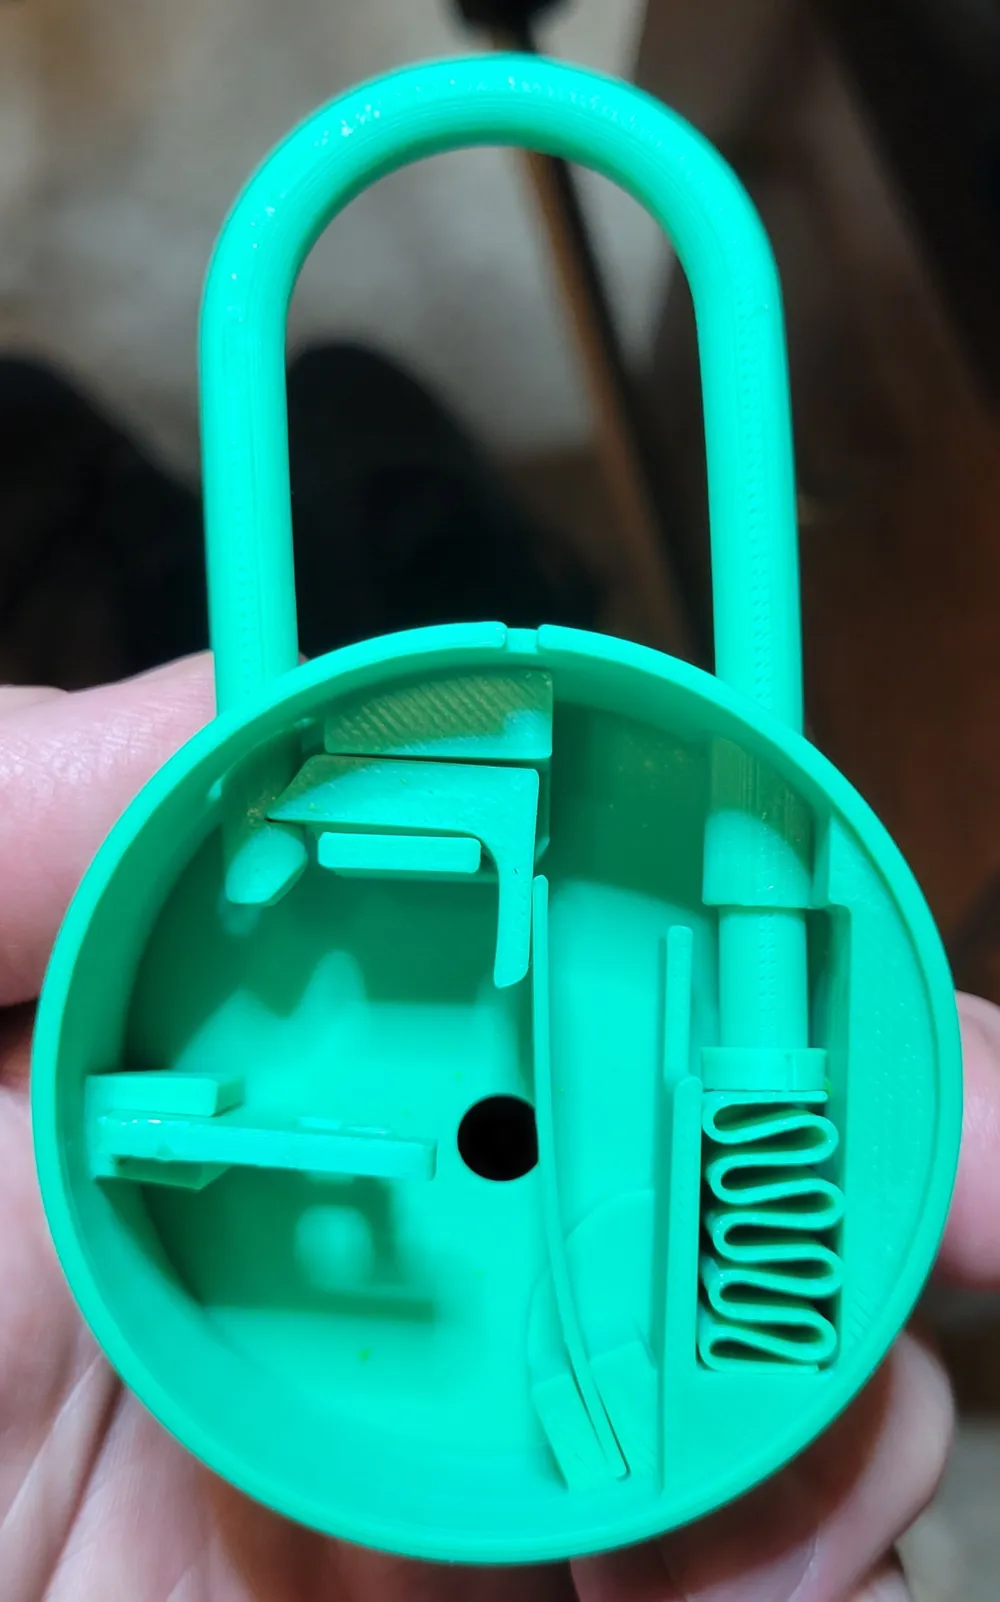
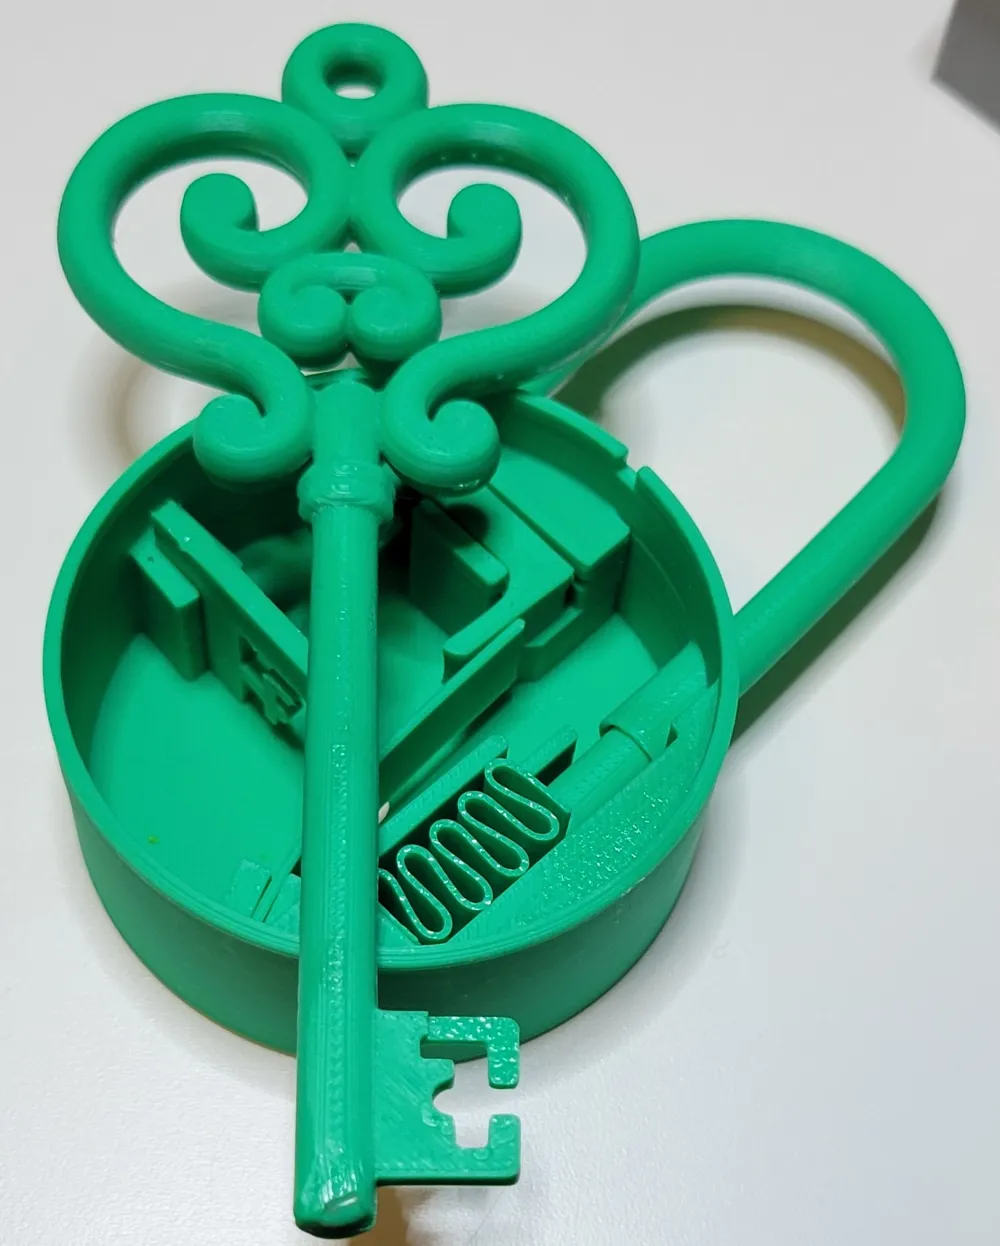
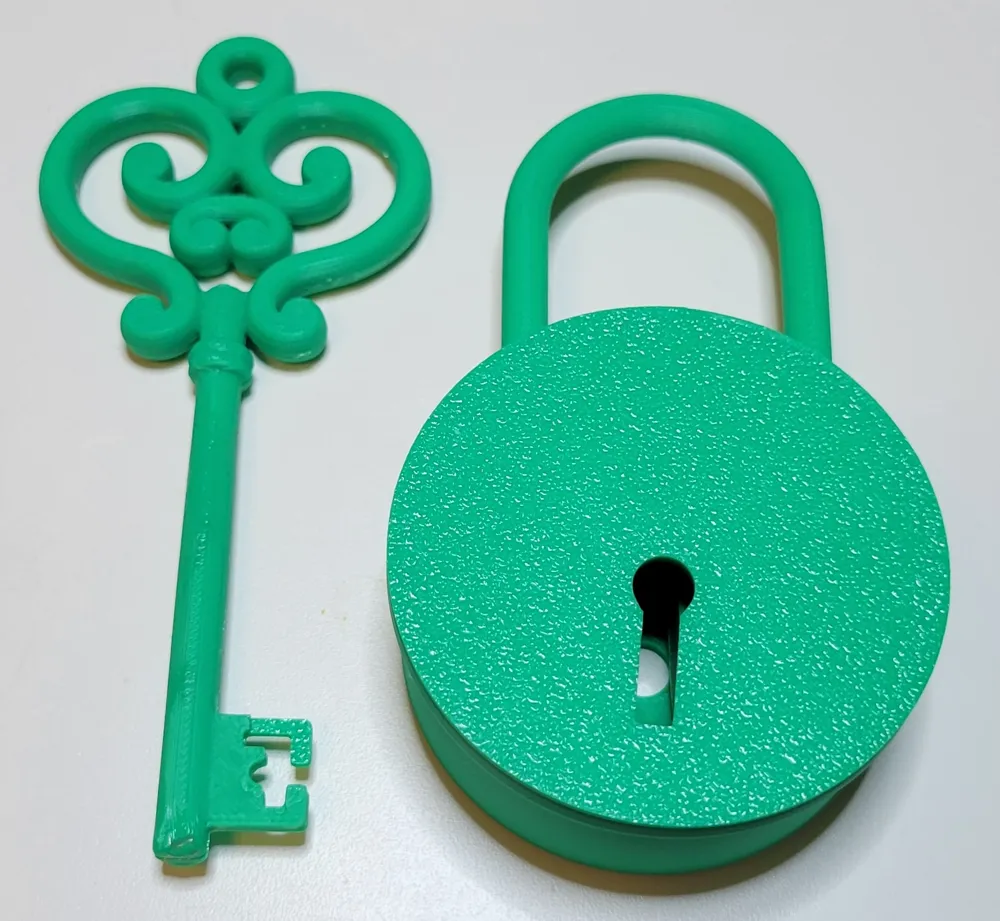
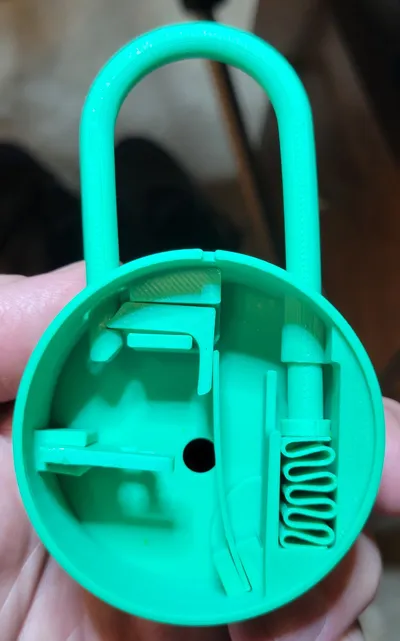
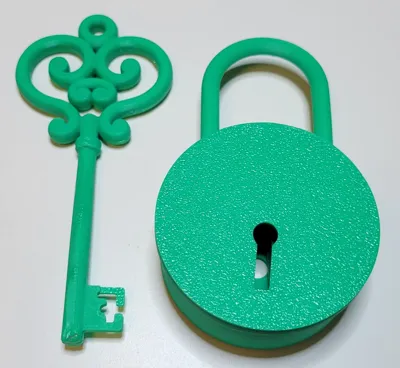
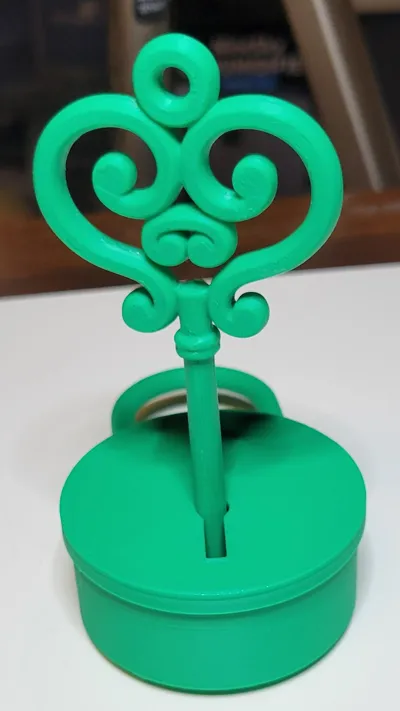
This 3D-printed toy key lock showcases the internal mechanics of a simple key lock. You could use it as a prop, novelty items or a interactive children's toy. The circular housing shows a core comprised entirely of matching plastic components. The lock features a guide for a physical key, a latch to secure the shackle, and a compliant zig-zag plastic spring that gives the shackle tension, a spring bar for the latch that gives it the necessary mechanical tension to hold the latch against the shackle cutout.
The Lock parts are shown below
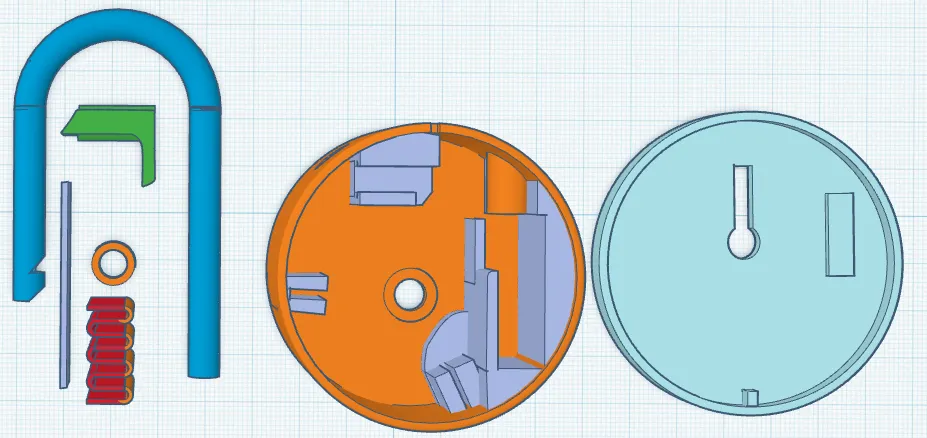
Then you will install the following 3d printed parts to the base
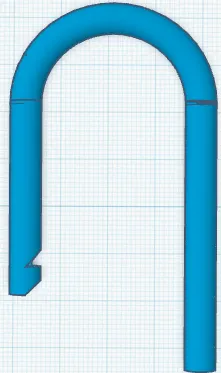 Lock Shackle is placed into the lock with the latch cutout to the left like shown. You will need to add the retainer ring and glue it on.
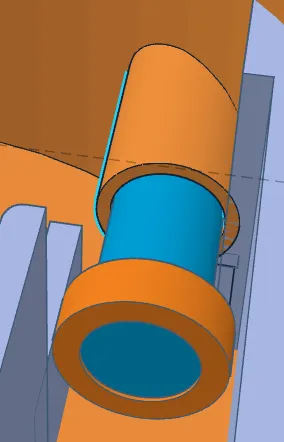
 Retainer ring for the Shackle. It is placed on the end of the shackle after you slide the shackle into the base collar provided. The retaining ring will need to be glued onto the end of the shackle. Don't be sloppy with the glue, Be careful not to get glue on the shaft of the shackle and accidently glue it to the collar in the base. One tiny drop will due. This retaining ring keeps the shackle permanently locked into the lock base.
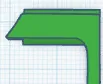 The Latch mechanism slides in from the right hand side of the latch holder. It has a keyway that it must slide into. HINT: Take a Crayon and color both sides of the latch to lubricate and help it slide better while in the latch holder, work it back and forth a few times.
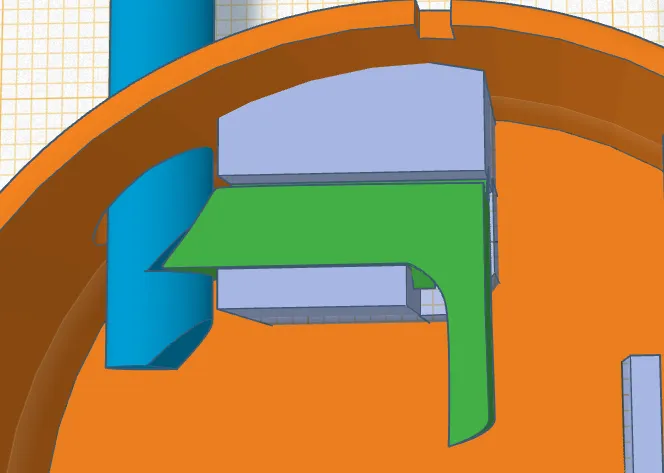
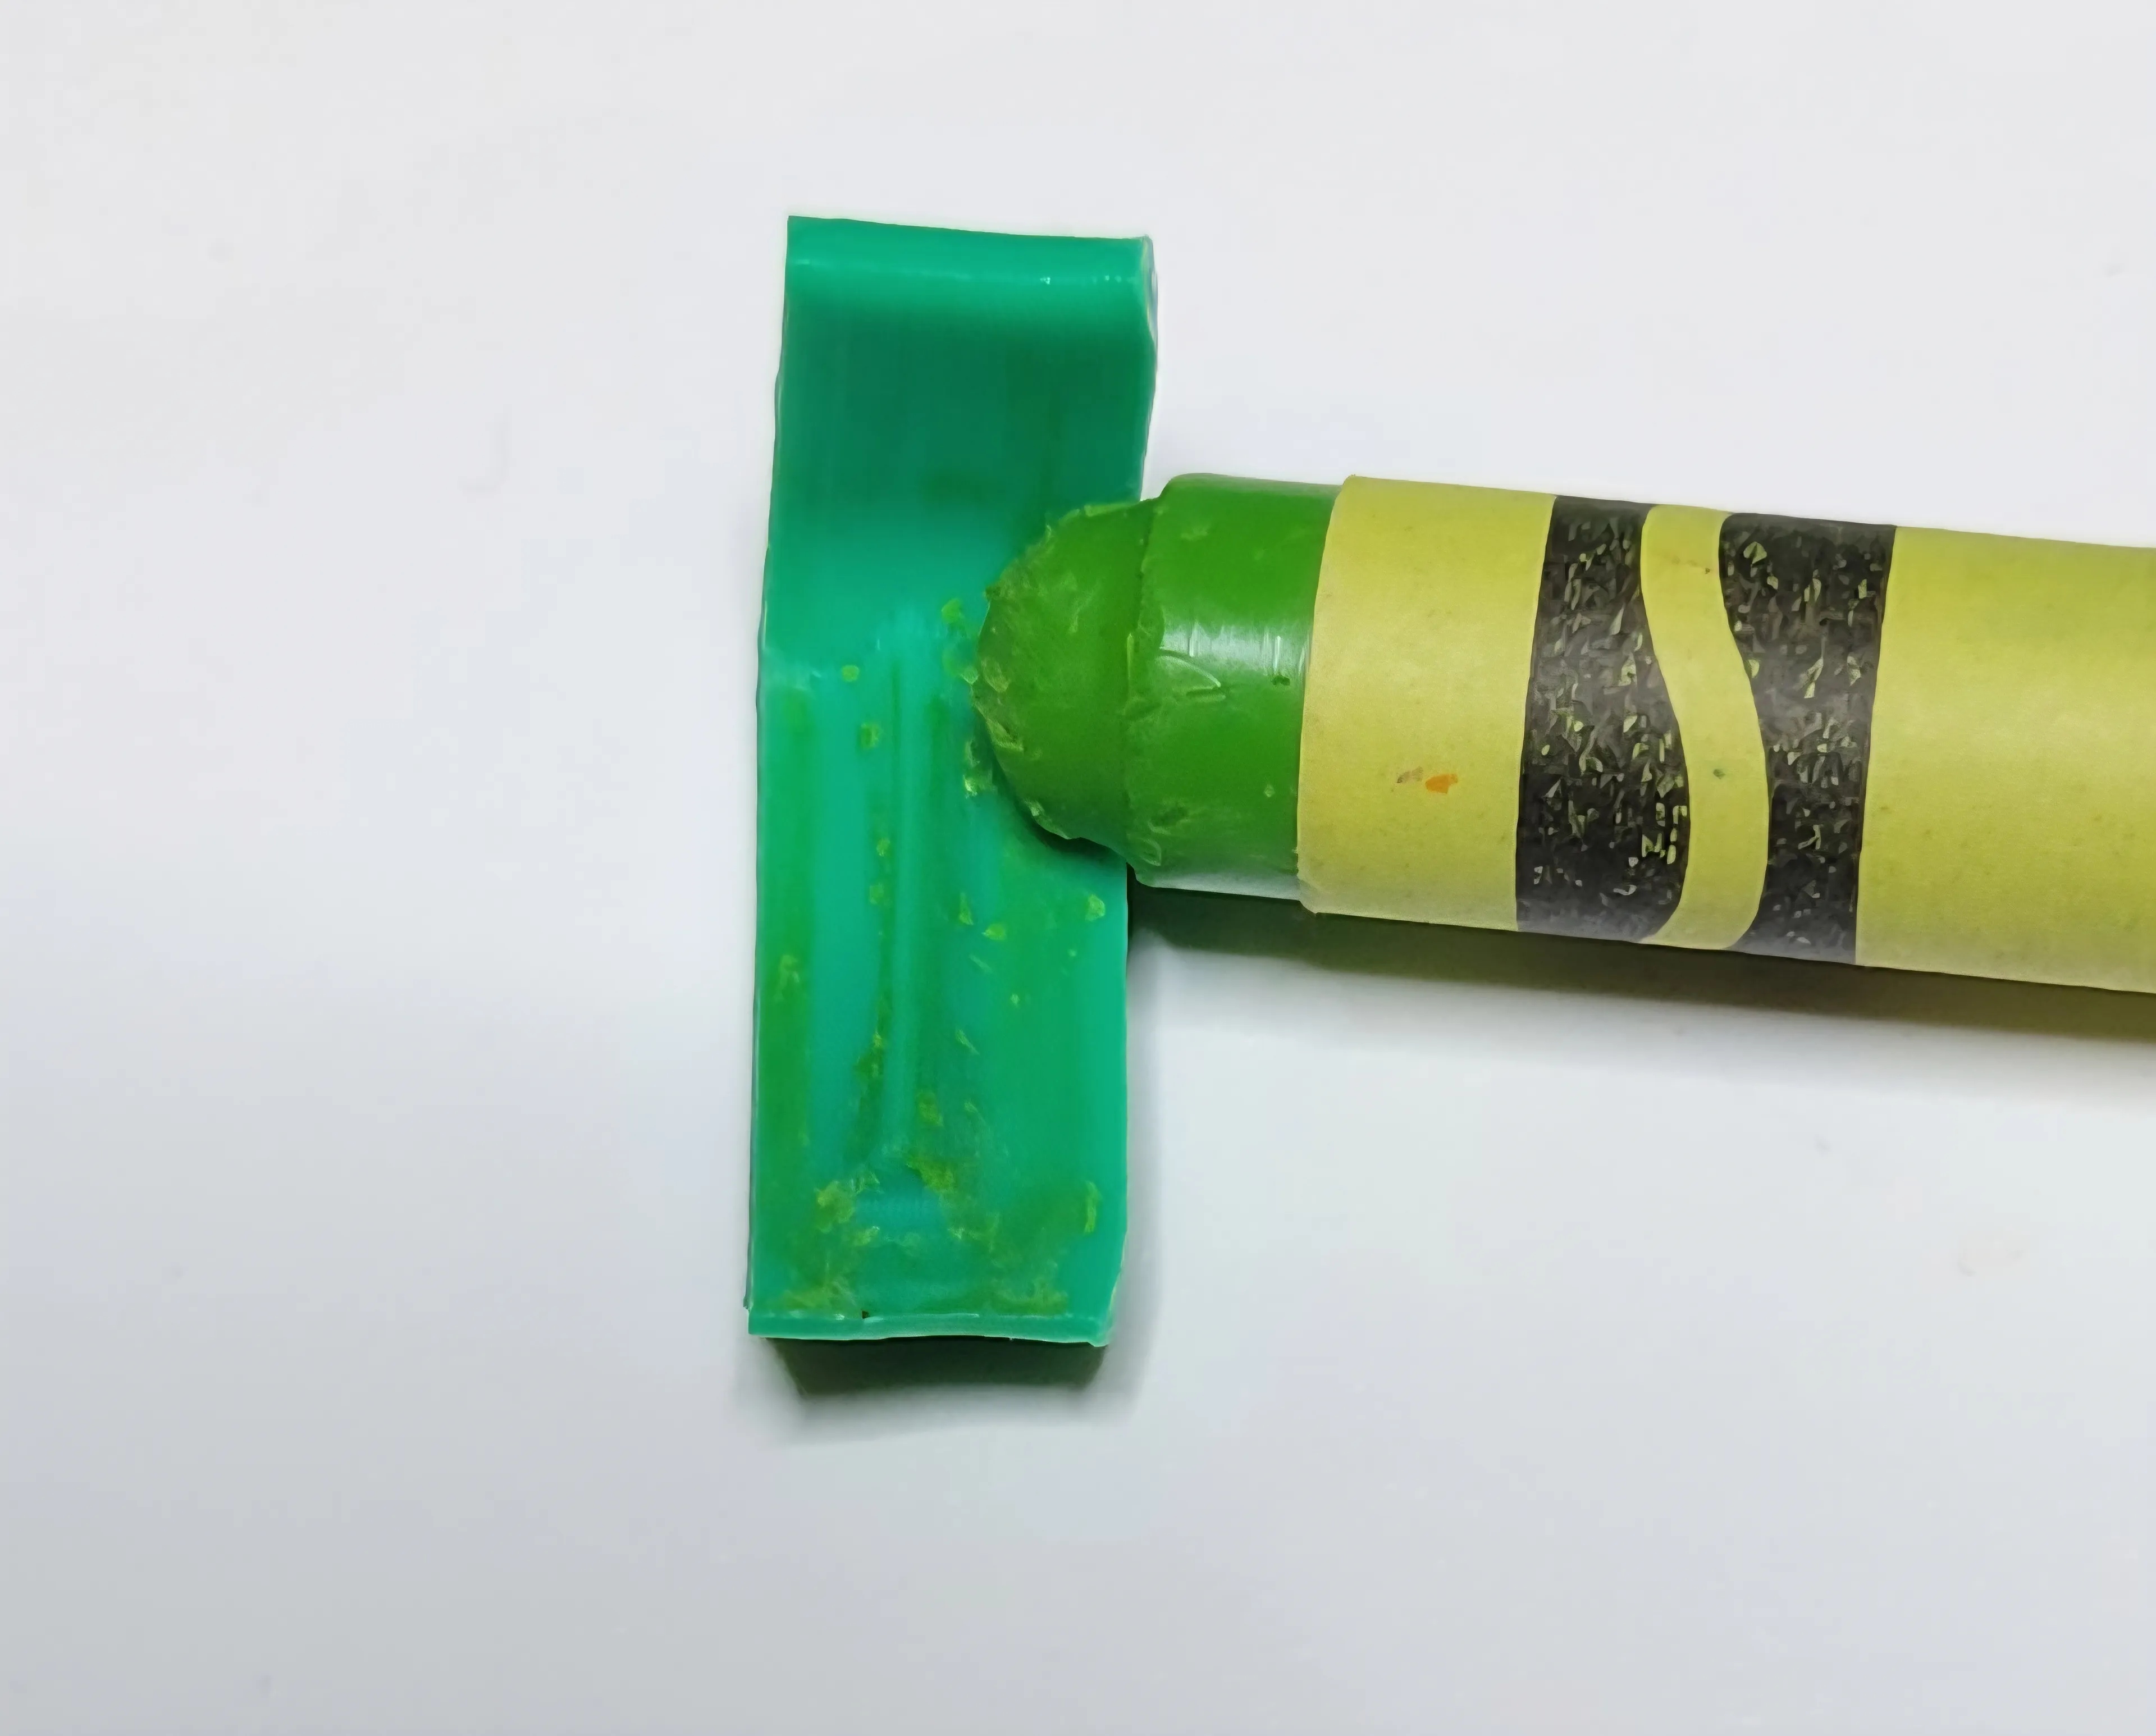
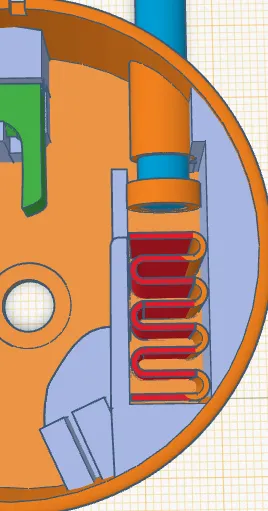
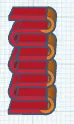 The compliant spring. Drop it into the channel provided in the base making sure it is placed in the orientation shown. I find a spring printed with PLA makes a better spring. Depending on what spring tension you prefer you could print the 5 loop version to give a more solid lock open
 The Latch spring is placed in its holder with the top end placed behind the latch to give it return tension. If you like you could add a small drop of glue to the latch spring holder clip or print the Latch spring ever so slightly thicker to make a tight fit.
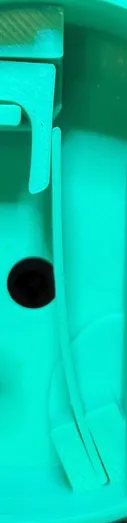
When all is added and complete it should look like this picture
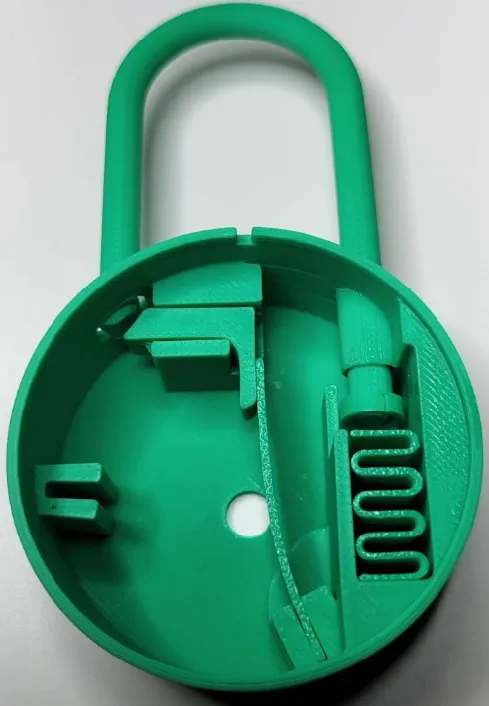
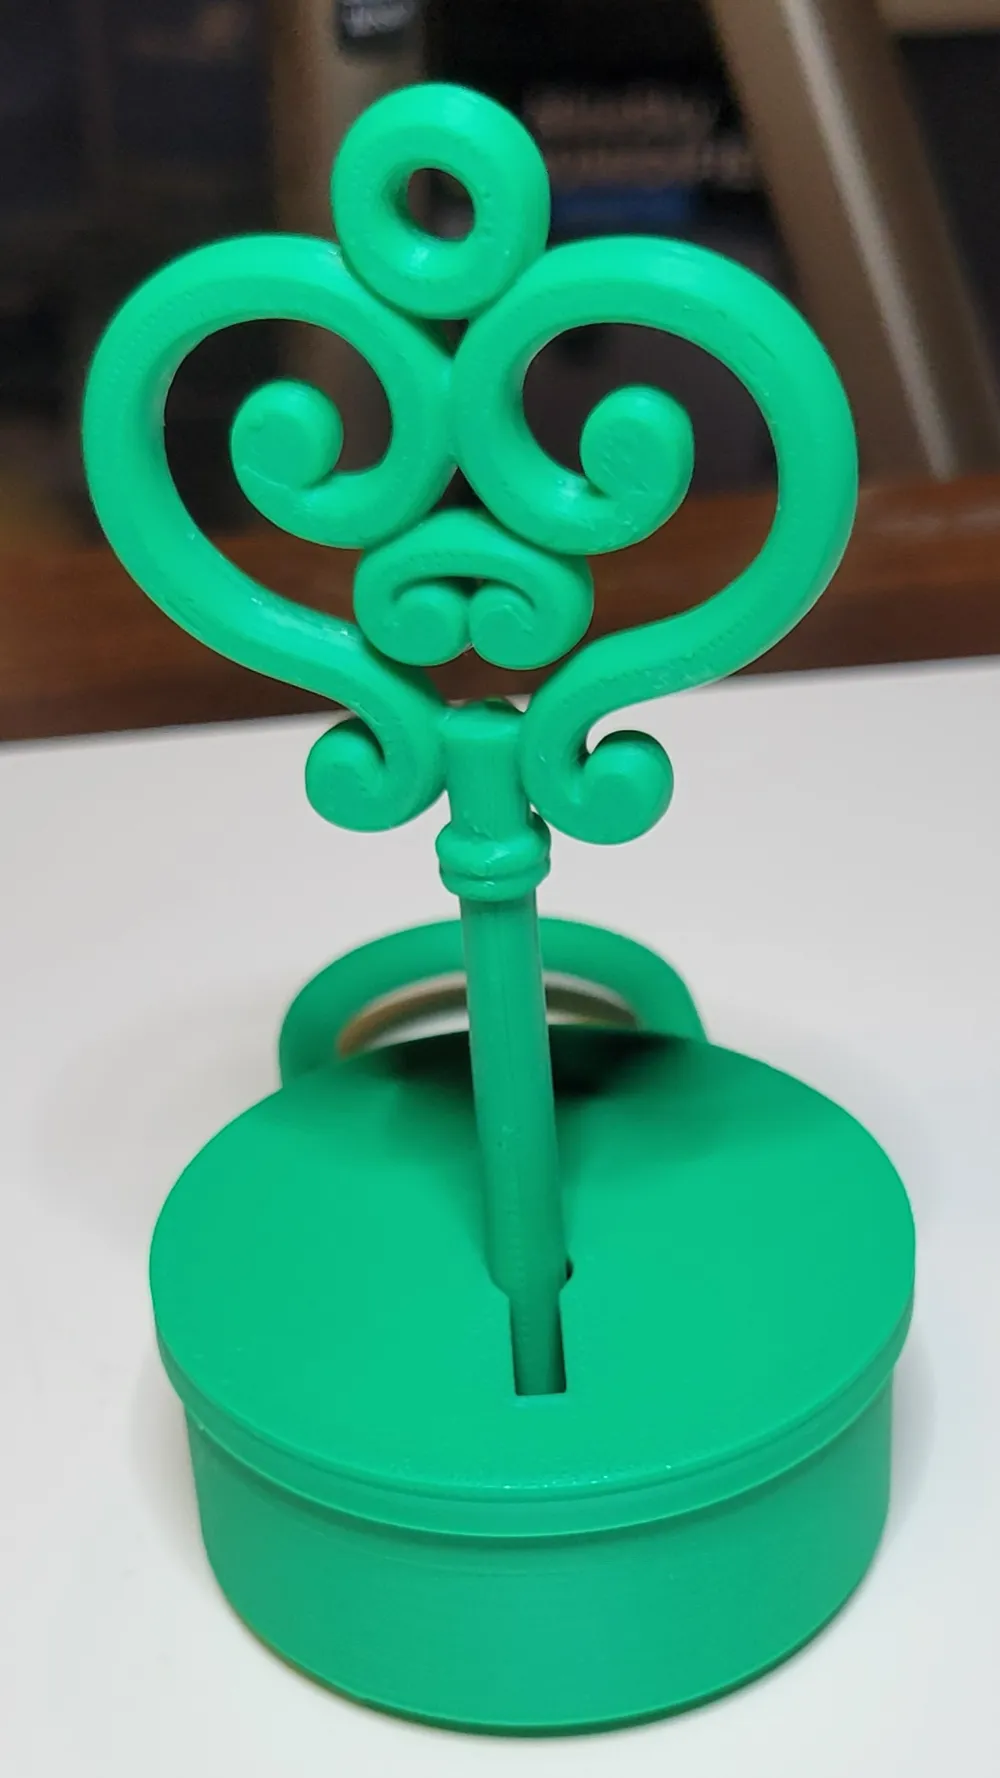
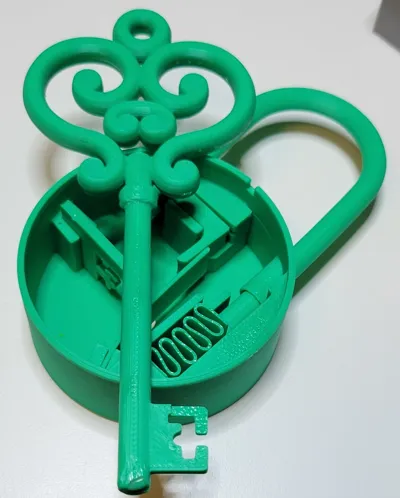
This picture shows the key bitway socket. Depending on the key you use from this fellow maker https://makerworld.com/en/@scotttheis then you can print his key and bitway and add it to the lock to get a full lock experience. Press the key bitway into its holder making sure it is fully seated down and left. you may need to adjust it slightly. If you plan to use one key per lock then you could glue the bitway into its holder. The Bitway is cut in such a way to only allow its corresponding key to work in the lock. Check 2nd picture.
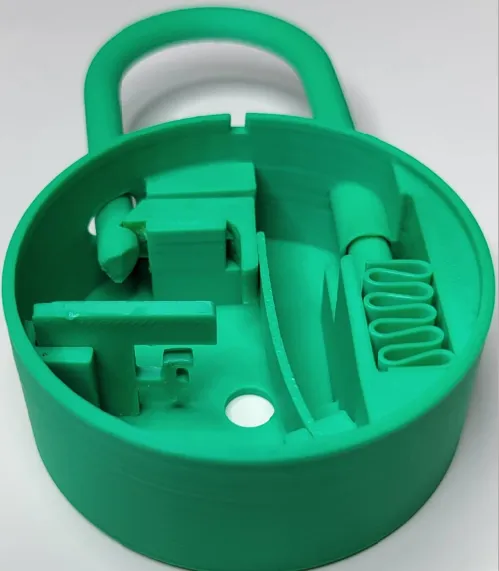
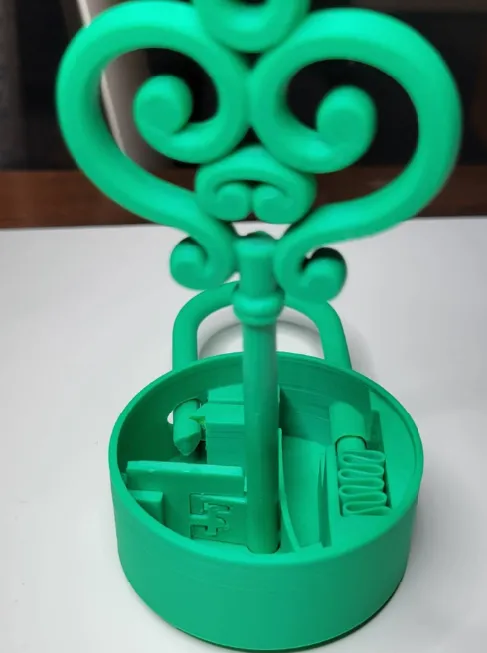
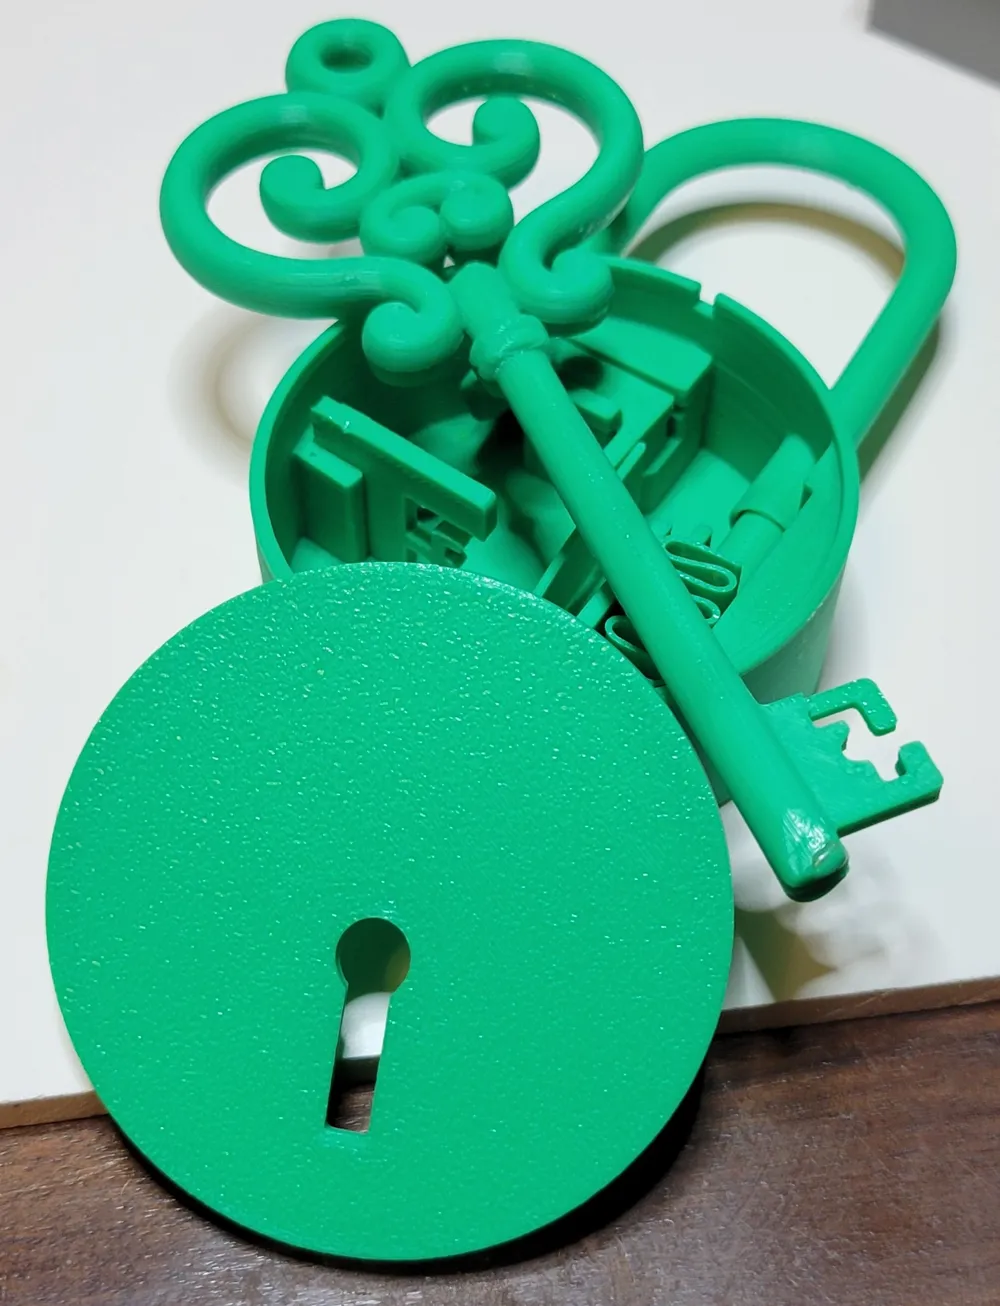
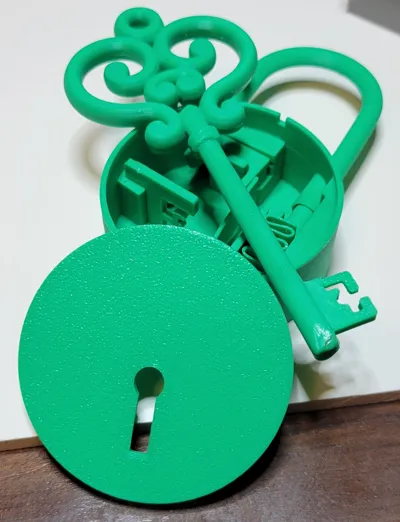
Now add the lid and snap it together. Take note of the keyway at the top of the lid and lock body. Match them up and snap it shut.
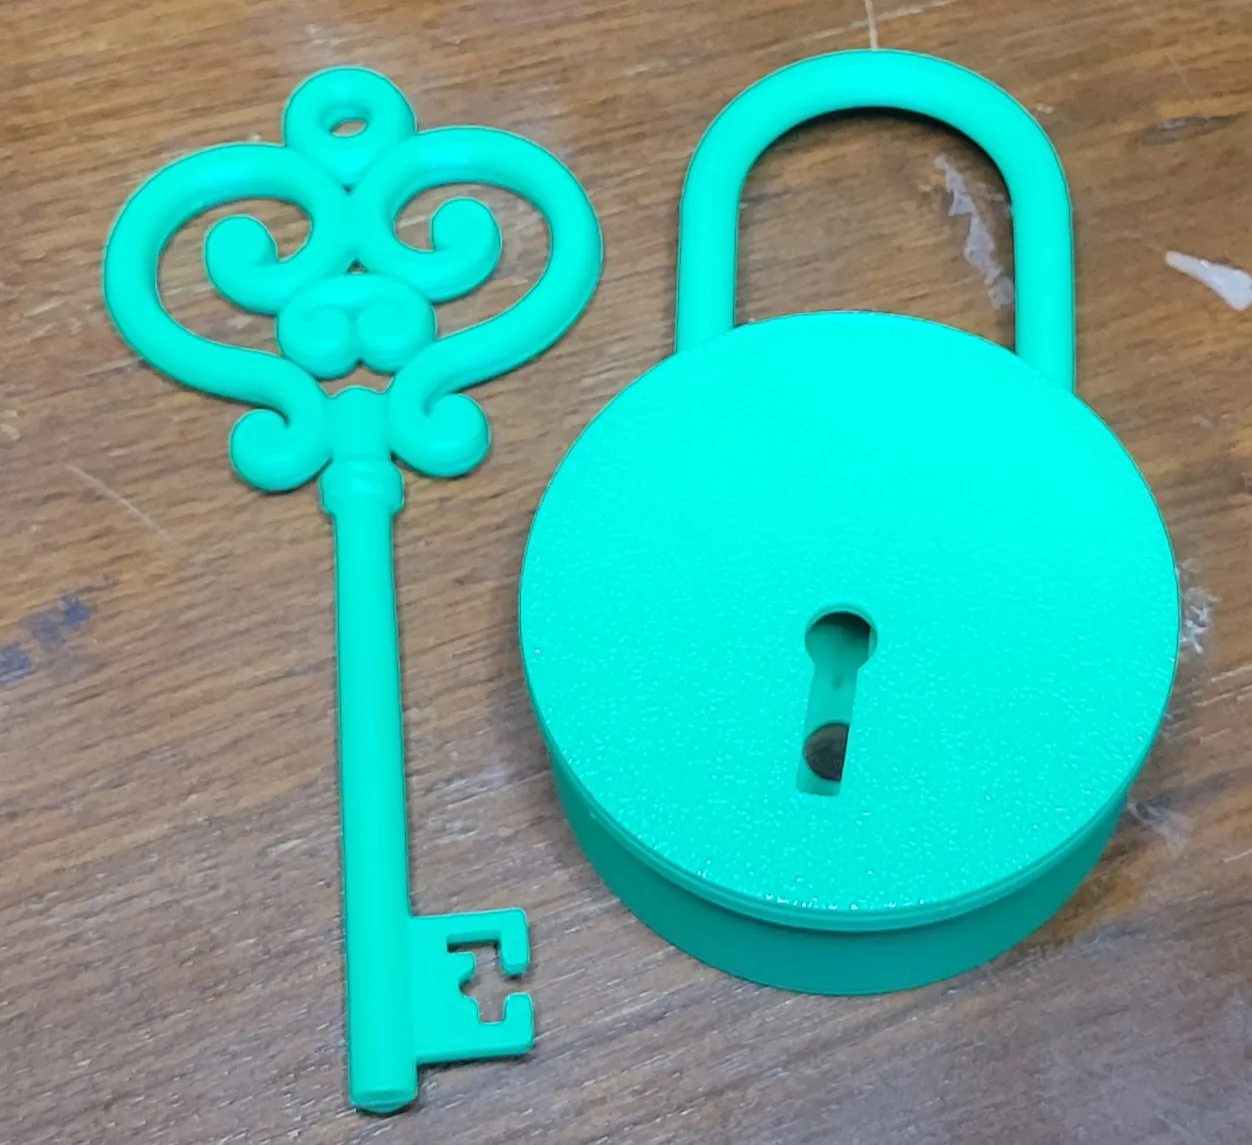
The key comes in two halves and will need to be aligned, add glue and sandwiched together. Make sure you align it well or it could be a problem working with the Bitway.
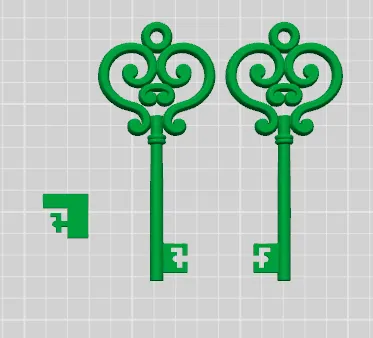
I hope you like it, it was a blast to create this learning object. It took me several prints with lots of trial and errors but this should be a great learning experience to a simple old style lock.
Enjoy
License

You may create derivative works based on this object, provided that all such derivative works are published exclusively on the MakerWorld platform and include proper attribution to the original creator. You may not share, upload, host, distribute, or publish this object—or any derivative work of this object—on any other digital platform, marketplace, or distribution channel. Commercial use of this object and any derivative works is strictly prohibited. This includes, but is not limited to, selling, renting, sublicensing, or using the object in any context in which you receive monetary compensation or other financial benefits.


Comment & Rating (0)