
iPhone 17 Case
Print Profile(2)
Description
iPhone 17 Case
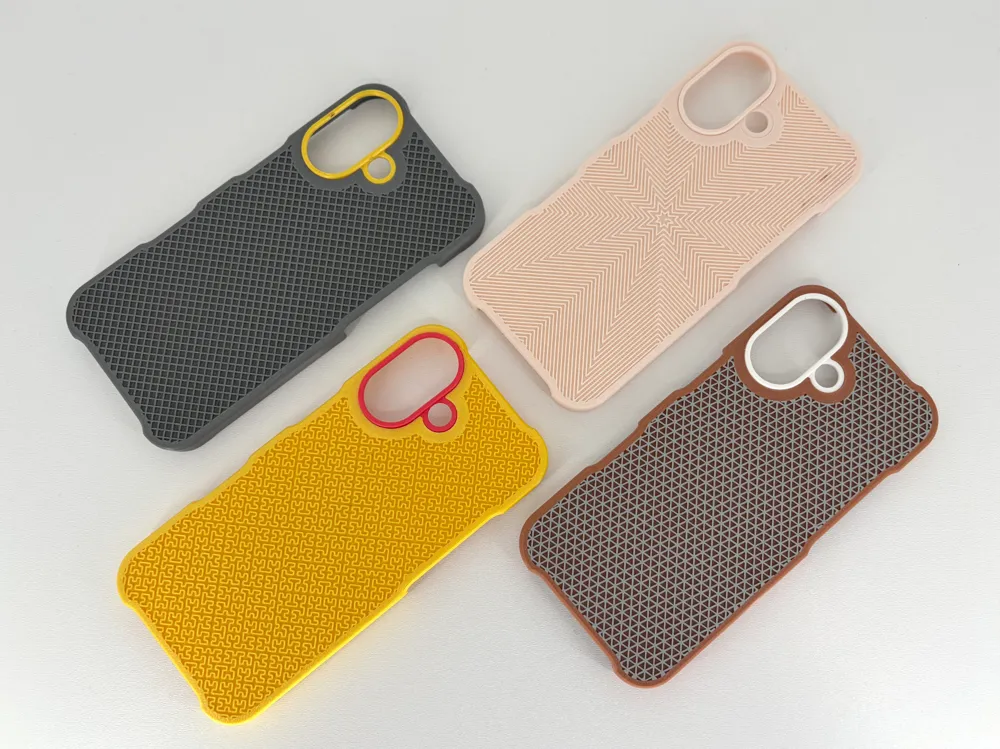
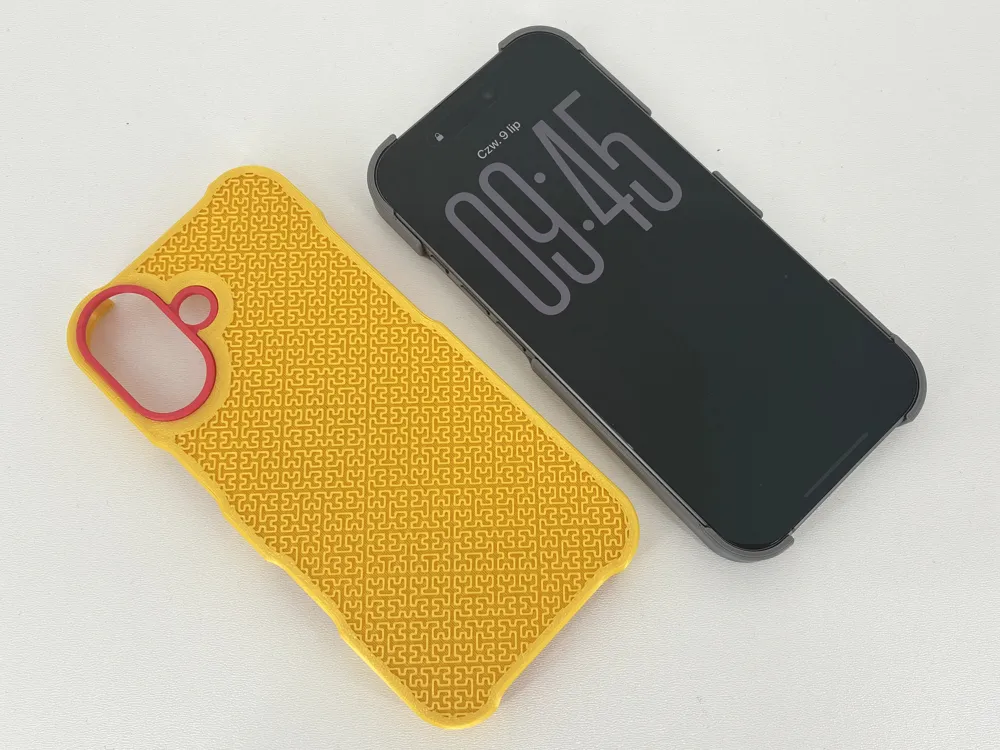
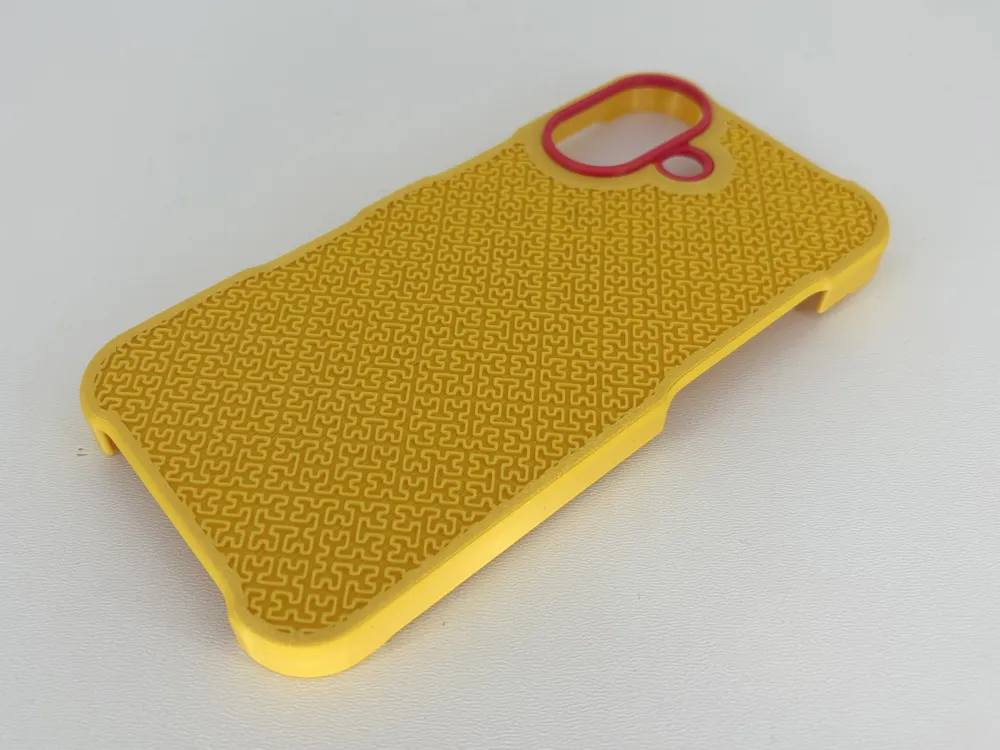
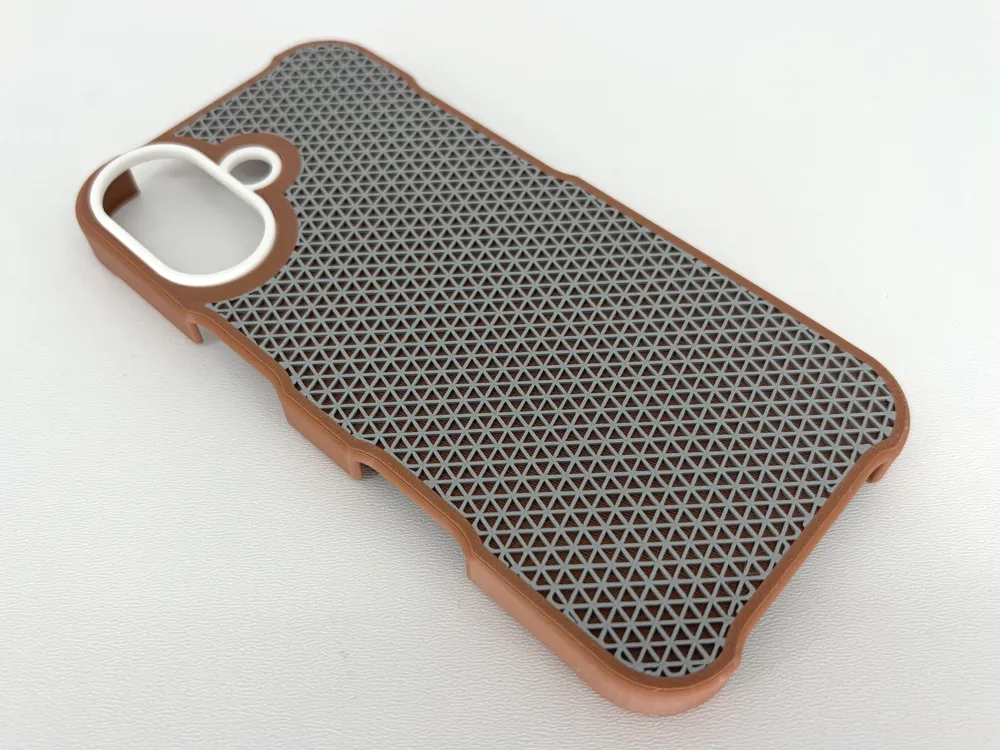
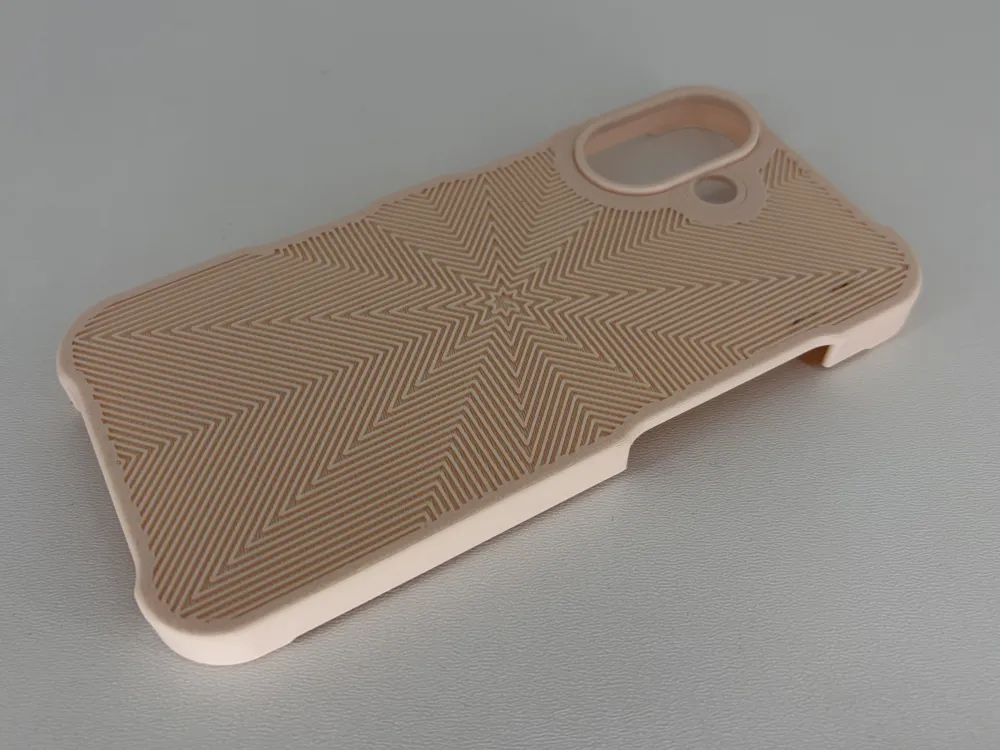
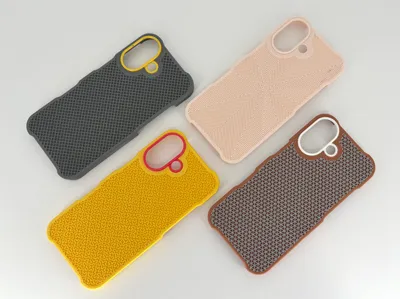
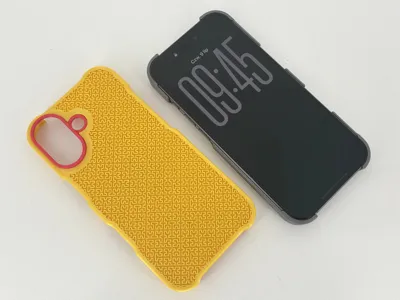
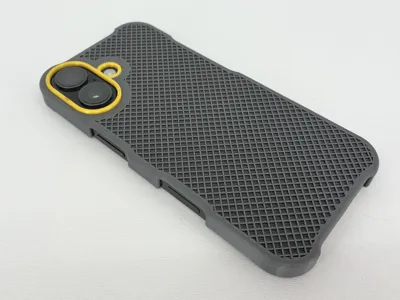
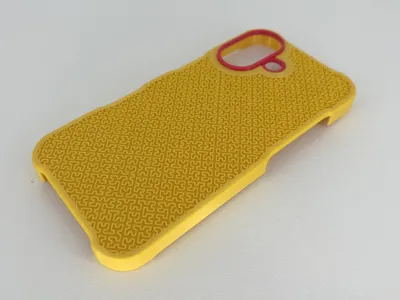
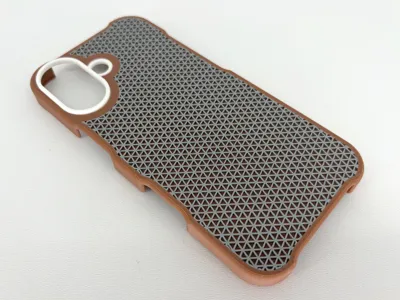
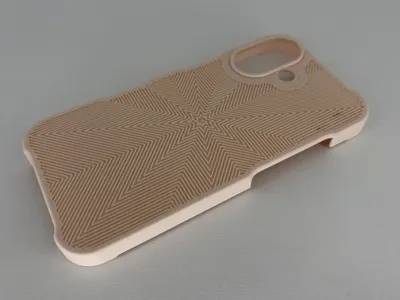
An iPhone 17 case designed for a perfect, snug fit. The pattern on the back is generated using the slicer's infill, meaning you can completely customize the look of your case simply by changing the infill pattern in your slicer settings!
Key Features
- Material Flexibility: Can be printed using rigid materials like PLA.
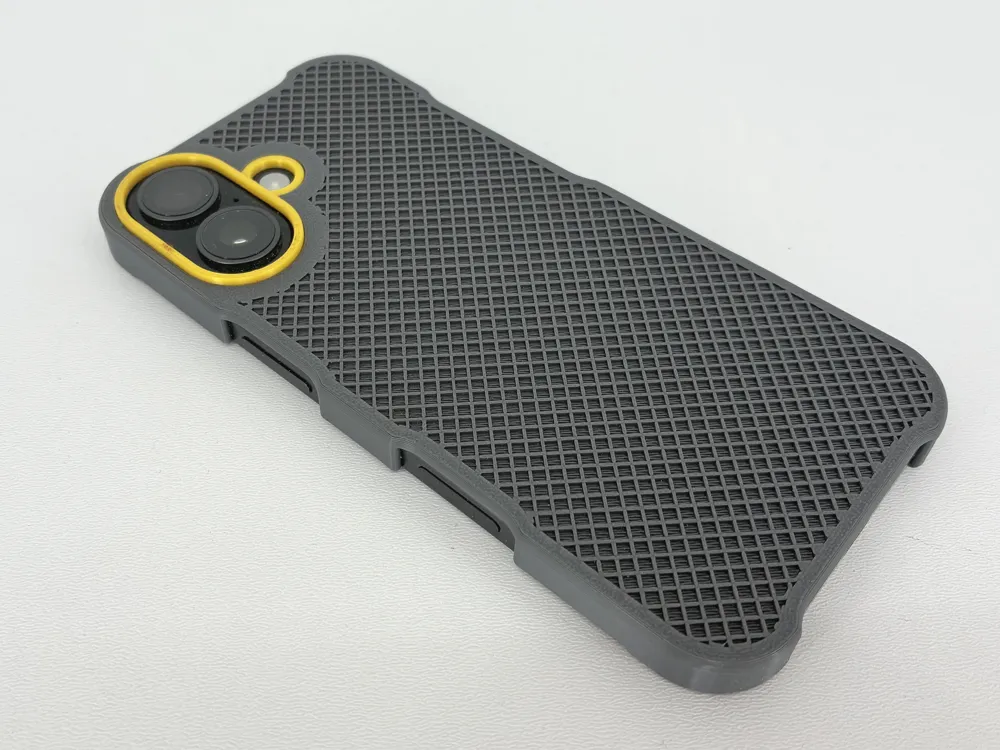
- Enhanced Grip: The open-infill pattern on the back provides a better, more secure hold.
- Secure Fit: Mounts firmly at all four corners of the phone.
- No Supports Required: Optimized for clean printing without support material.
- Easy Installation: The case features precise cutouts around the buttons, speakers, and top edge for effortless installation.
Tight Tolerances:
Fits like a glove, so make sure your Flow Rate and Flow Ratio are well-calibrated. Also, don't forget to clean your build plate before printing!
Printing Options
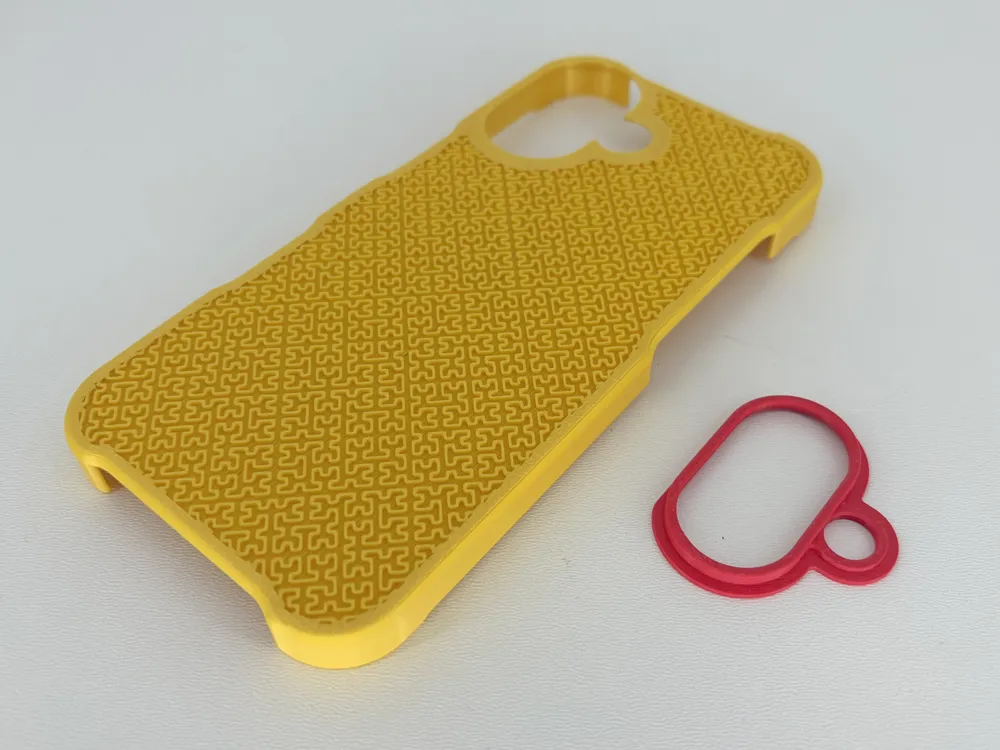
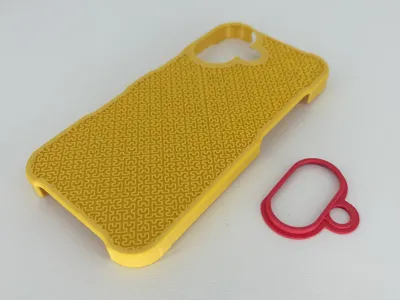
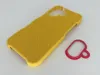
- Single-Color Version: Each build plate contains a complete set (the phone case and the camera protective ring).
- Two-Color Version: The first 4 build plates contain just the cases with different infill patterns. The last build plate contains only the camera protective ring. To get the multi-color look, you need to print one of the cases and then print the camera ring in a different color.
Assembly
The camera protective ring is best secured by gluing it to the case. However, if you don't have glue on hand, you can just place the ring in its slot and insert the phone - it will hold it in place. While this works fine, gluing it is highly recommended for long-term durability.
How to get a two-color infill effect (as seen in photos)
The brown case shown in the pictures features a gray infill pattern and a white camera ring. To achieve this look (changing the color of the infill specifically) in Bambu Studio, follow these steps:
Step 1: Enable Developer Mode
- Click Preferences at the very top of the software.
- Check the Developer mode box, then save and close the window.
Step 2: Switch to Object View
This feature doesn't work globally; you need to apply it to the specific model.
- In the left settings panel, switch from the Global tab to the Objects tab.
- Left-click on your model's name in the list.
Step 3: Change the Infill Filament
With the specific object selected:
- Scroll down to the bottom of the settings panel and click on the Others tab.
- Scroll down until you see the newly unlocked advanced section.
- Look for the option: Sparse infill filament.
- Click on it and assign the specific filament slot number you want to use for the case's pattern/interior.
Boost Me (for free)
Hey! If you like my 3D models, I’d really appreciate it if you hit Boost! 🚀
It’s a big motivation for me to keep creating and sharing new projects with the community.
Every Boost shows it’s worth it – thank you! 🙏
License

You shall not share, sub-license, sell, rent, host, transfer, or distribute in any way the digital or 3D printed versions of this object, nor any other derivative work of this object in its digital or physical format (including - but not limited to - remixes of this object, and hosting on other digital platforms). The objects may not be used without permission in any way whatsoever in which you charge money, or collect fees.


Comment & Rating (0)