
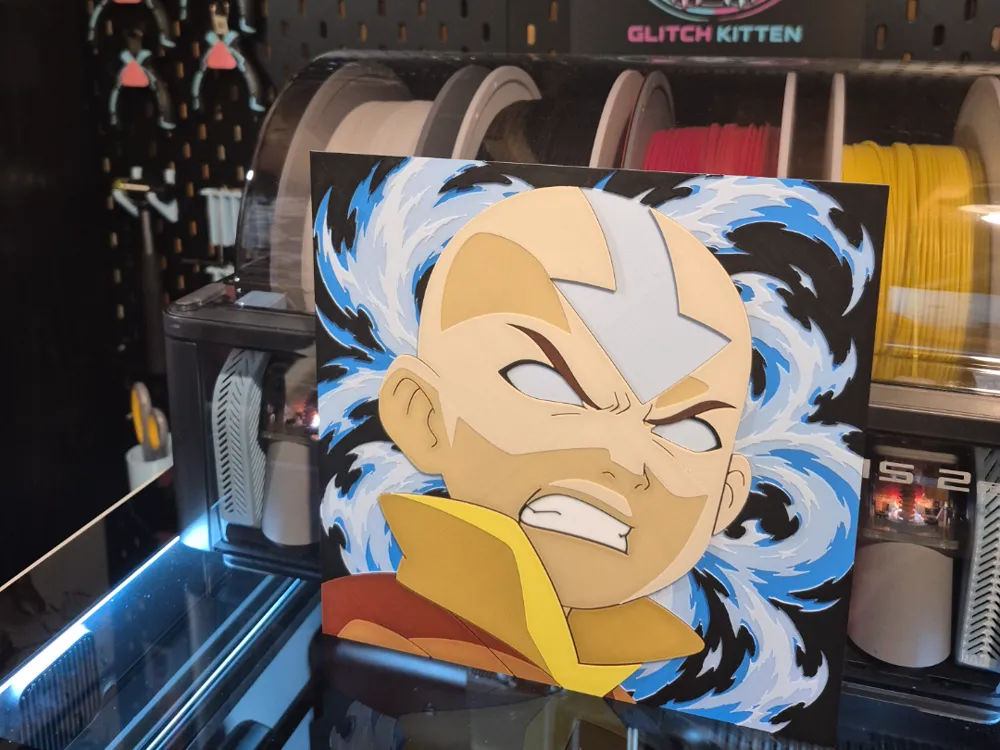
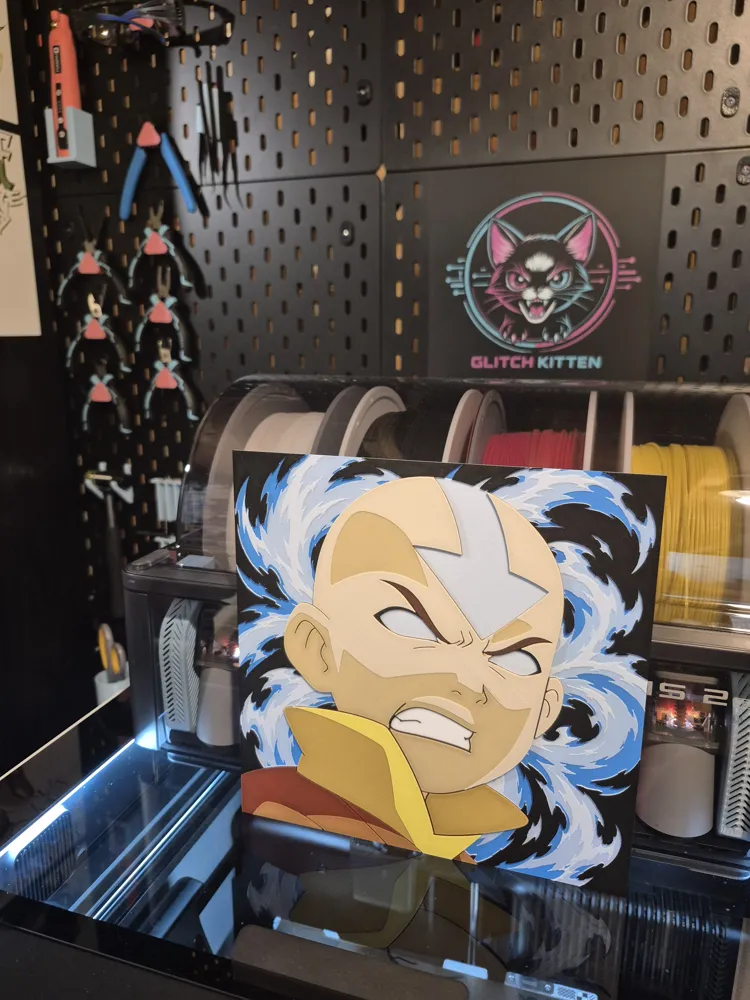
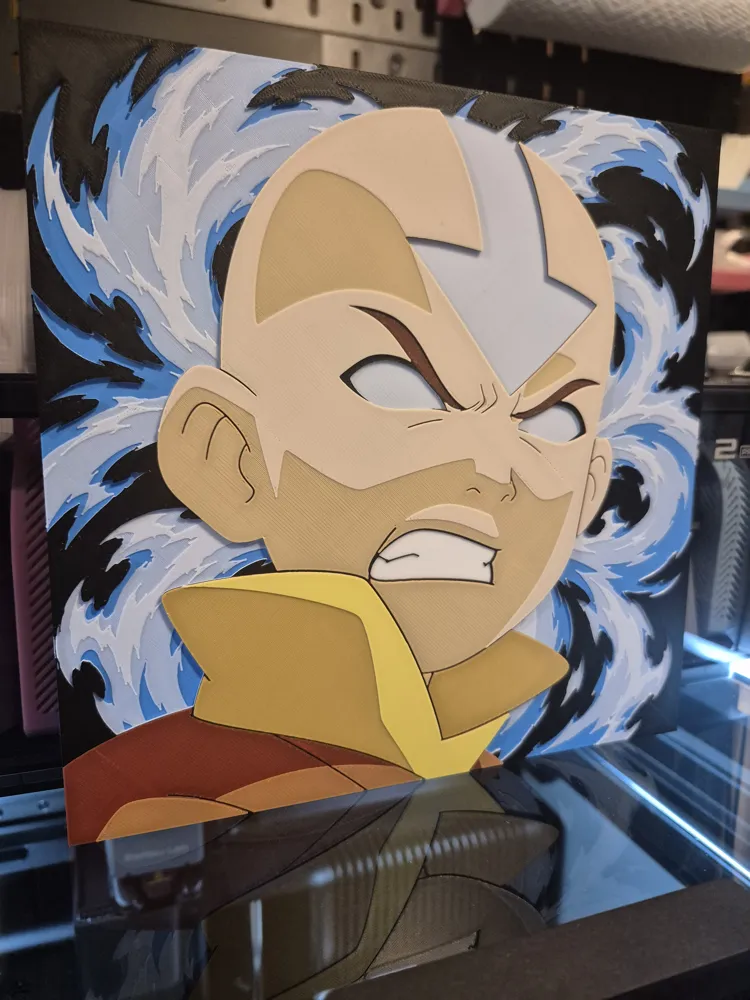
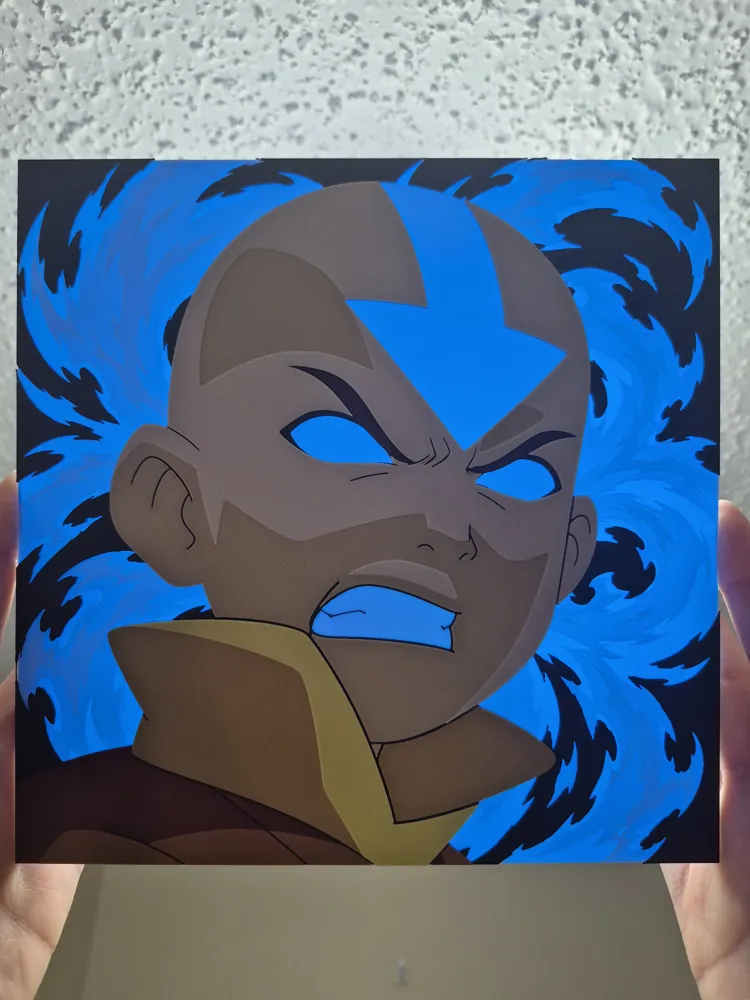
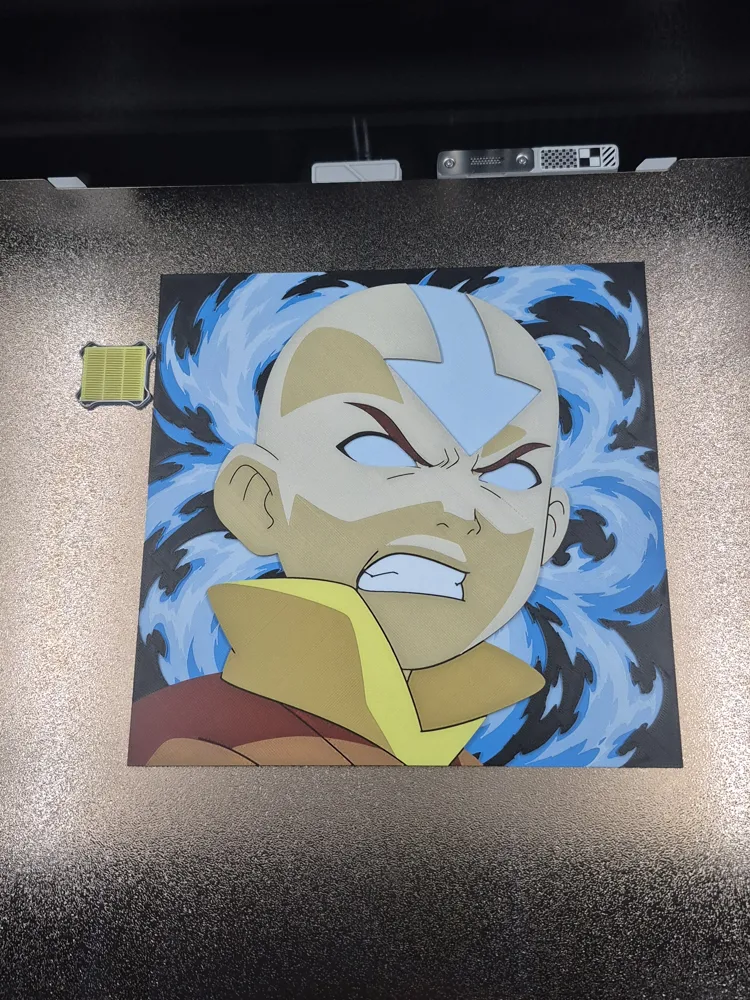
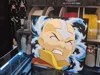
Aang in Avatar State - Hueforge
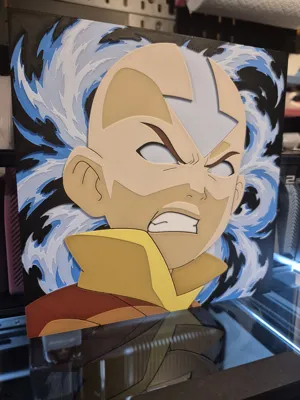
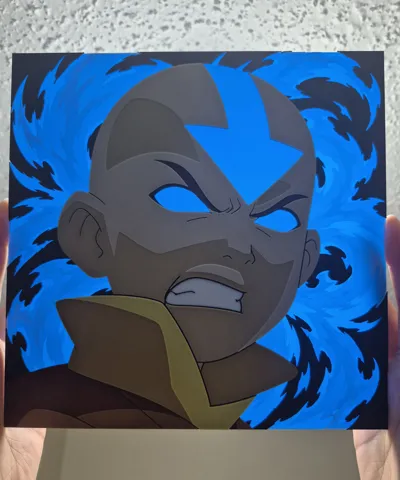
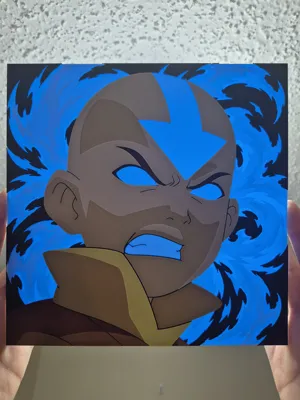
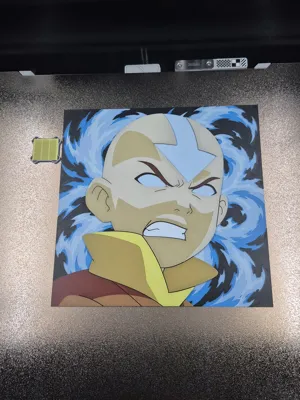
Print Profile(1)
Description
🩵🤍🖤❤️💛
I made this especially for one of my best friends in the world. Pretty soon we have a big reunion trip with all our high school friends at a cabin and GK is bringing gifts! 🎁🤓
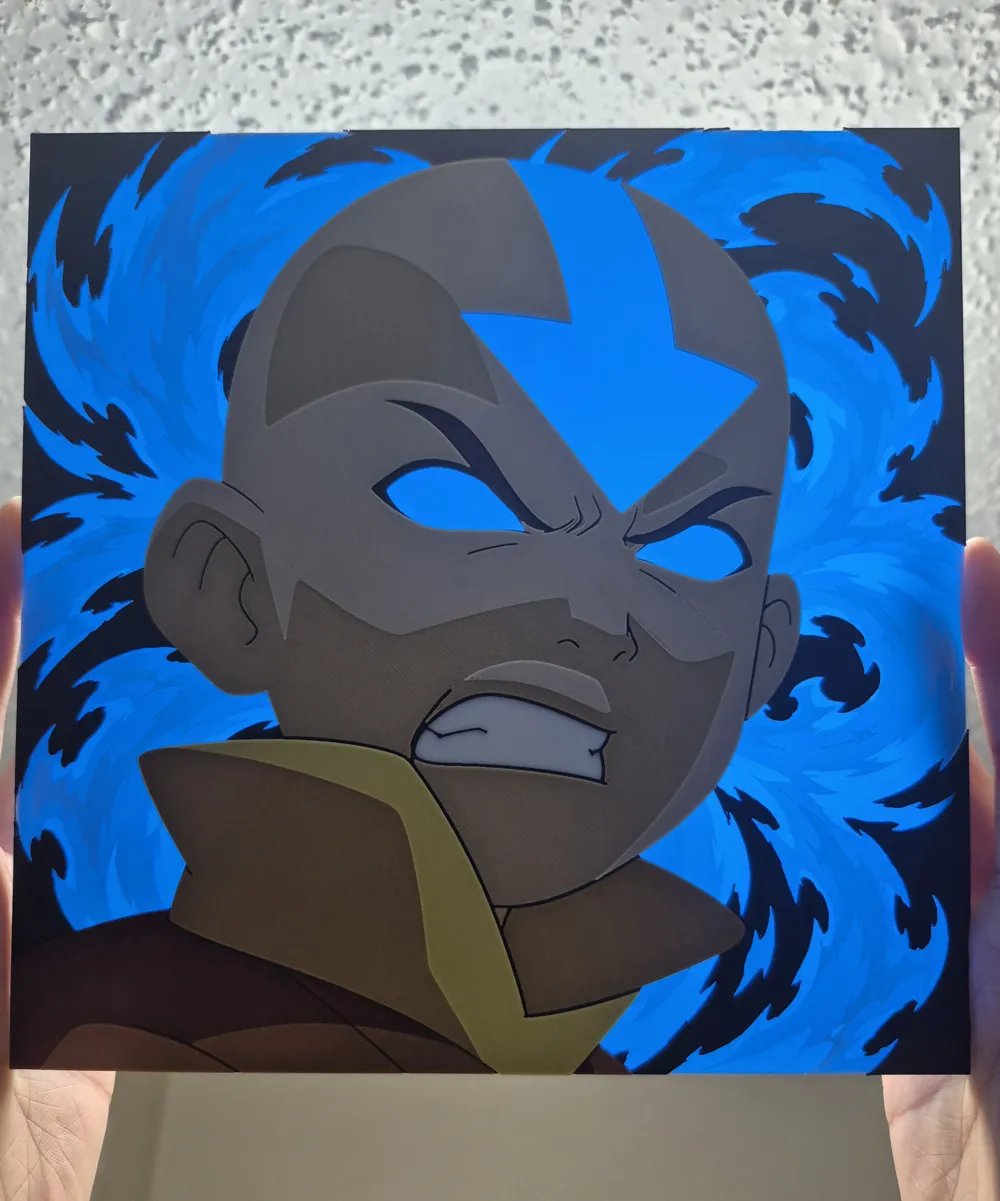
Prominent litho effect as requested. (I actually put a small piece of tape on the back of mine to keep the mouth from lighting up as well. I was going to add a black layer there but one of my kids said the mouth looked cool either way so I left it an easy option.)
(This is for a childhood friend, please don't misunderstand this to mean that I do commission work 😅🙏)
It's done with 5 Colors this time, with a really early swap, making it quite straightforward for single AMS users 👌
Print at 100% infill with a layer height of 0.08mm with a base layer of 0.16mm
The Model is 200x200mm in size
You may print at higher layer heights below the Base Thickness of 0.48mm
The Max allowed Thickness is 2.32mm and the Actual Thickness is 2.24mm
PLA BambuLab Basic Cyan Transmission Distance: 3.5
PLA BambuLab Basic Jade White Transmission Distance: 5
PLA BambuLab Basic Black Transmission Distance: 0.6
PLA BambuLab Basic Red Transmission Distance: 4
PLA BambuLab Basic Yellow Transmission Distance: 6
This print uses 5 unique filaments. (Please note Transmission Distance when making Brand substitutions, especially with WHITE and YELLOW. My hueforges are all about blending, and if you use white that doesn't transmit enough light, then you will not have skin color.)
- Non AMS / Multi AMS Users. Delete my programmed pause on Layer 7 and do your thing as usual. 👌
- SINGLE AMS Users. Follow the Guide below for a smooth experience. (Yes, your print is already set to automatically pause before layer 7 gets started. Please note the assignments before you send your print. You will be assigning cyan and yellow to the SAME AMS slot.)
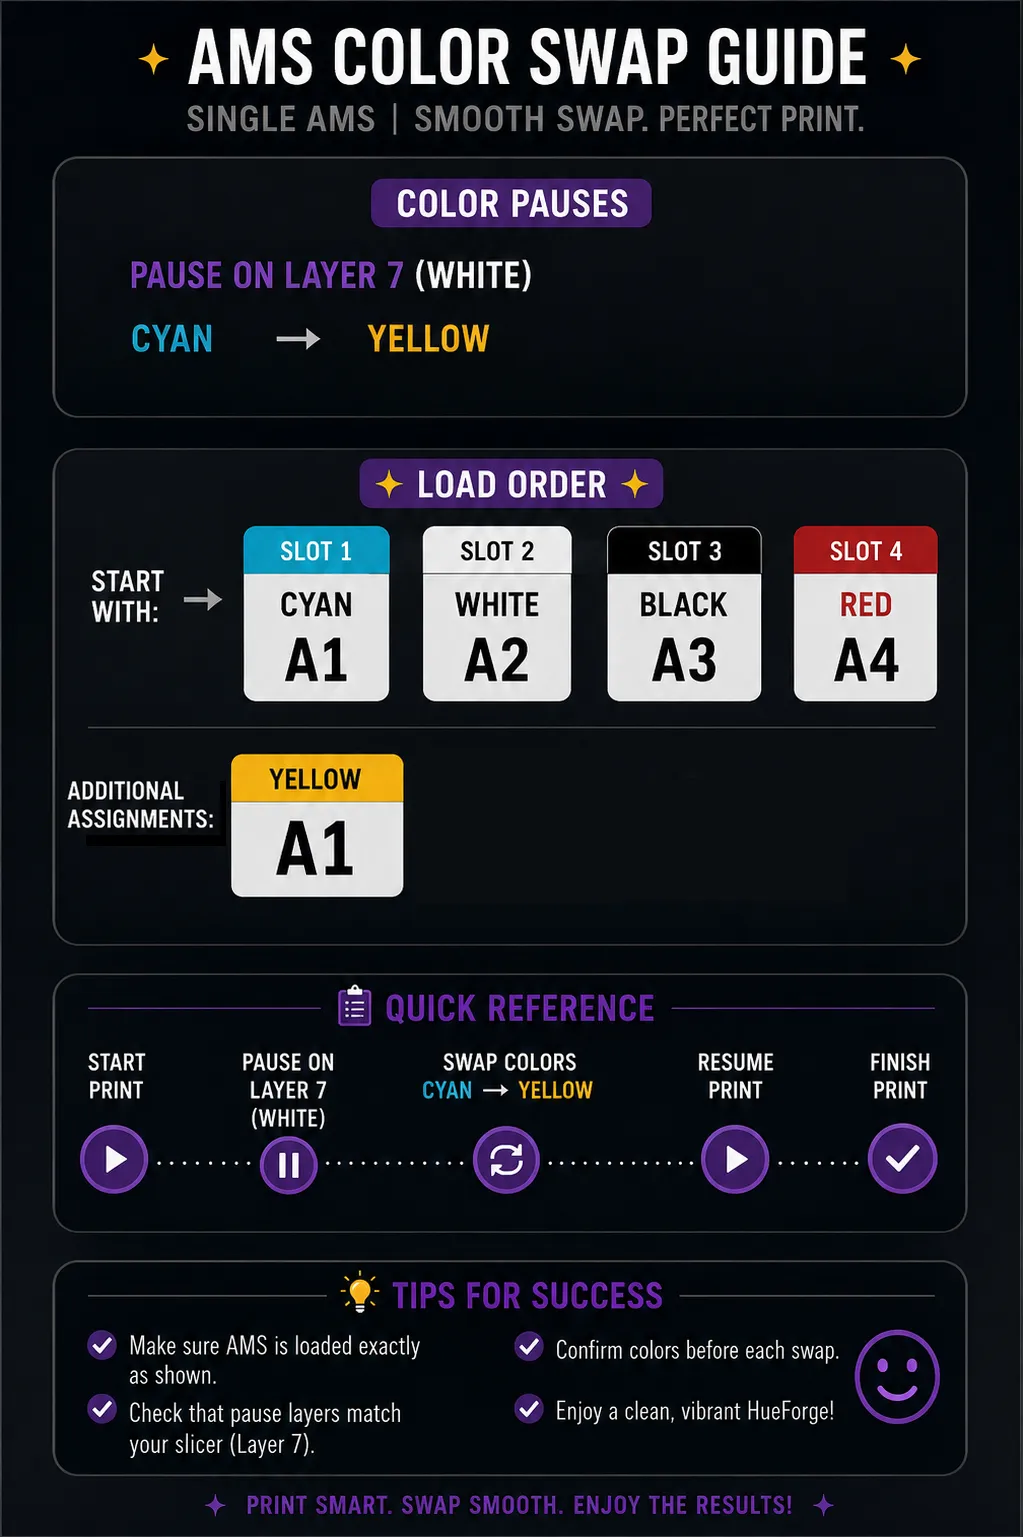
Swap Instructions:
Start with Cyan
At layer #6 (0.56mm) swap to Jade White
At layer #16 (1.36mm) swap to Black
At layer #19 (1.6mm) swap to Red
At layer #22 (1.84mm) swap to Yellow
At layer #24 (2mm) swap to Jade White
At layer #27 (2.24mm) swap to Yellow for the rest.
Boost Me (for free)
I hope you enjoy it!! 💕 See you again real soon! 😽
License

You shall not share, sub-license, sell, rent, host, transfer, or distribute in any way the digital or 3D printed versions of this object, nor any other derivative work of this object in its digital or physical format (including - but not limited to - remixes of this object, and hosting on other digital platforms). The objects may not be used without permission in any way whatsoever in which you charge money, or collect fees.


Comment & Rating (1)