
Electric Harp
Print Profile(1)
Description
Hello everyone
this is a project I created in my free time
I would appreciate a boost or at least a comment and a like, as this whole thing was very elaborate
Anyone who found their way here is aware of what this is about
I used:
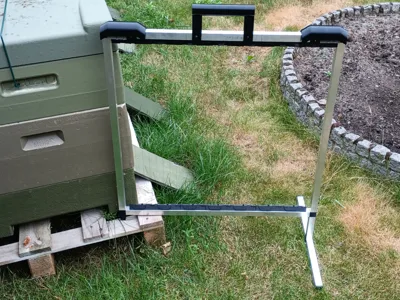
Aluminum square tube 20 x 20 x 1.5mm (!)
4x 60cm for the frame
4x 20cm for the base support
2x 10cm for the height, any measurement can also be chosen here as needed
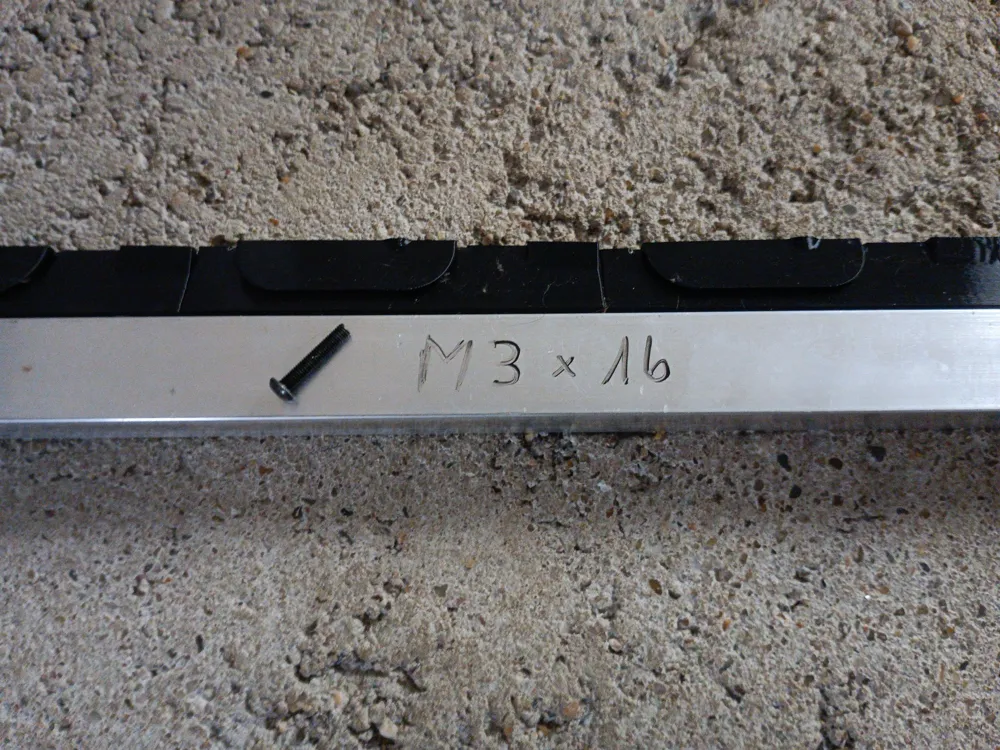
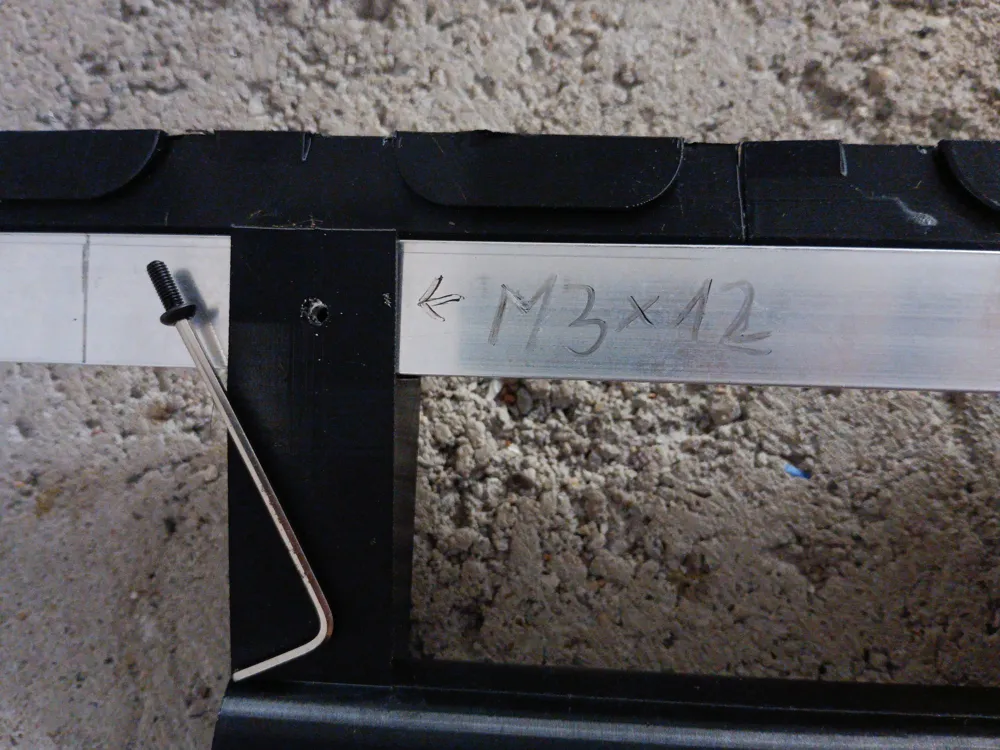
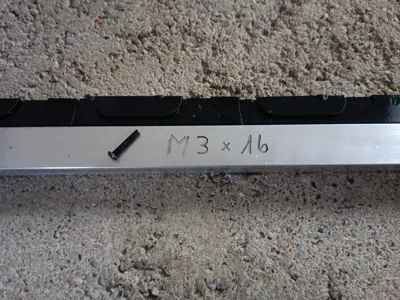
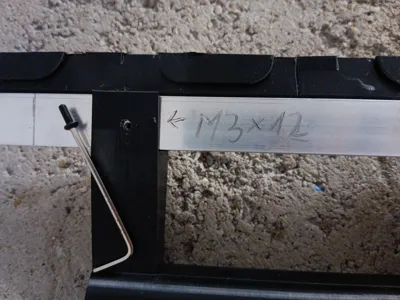
M3 Screws
15x 16mm
12x 12mm
M3 Tap
0.3mm wire
Terminal block
What I paid:
I ordered the square tube in 2 x 2m lengths, which cost 22€ with shipping
Screw set from Temu 6€
Tap from Temu 2€
500m 0.3mm wire from Temu 1.8€
For the wire, I recommend stainless steel; 0.5mm may also work
Building instructions:
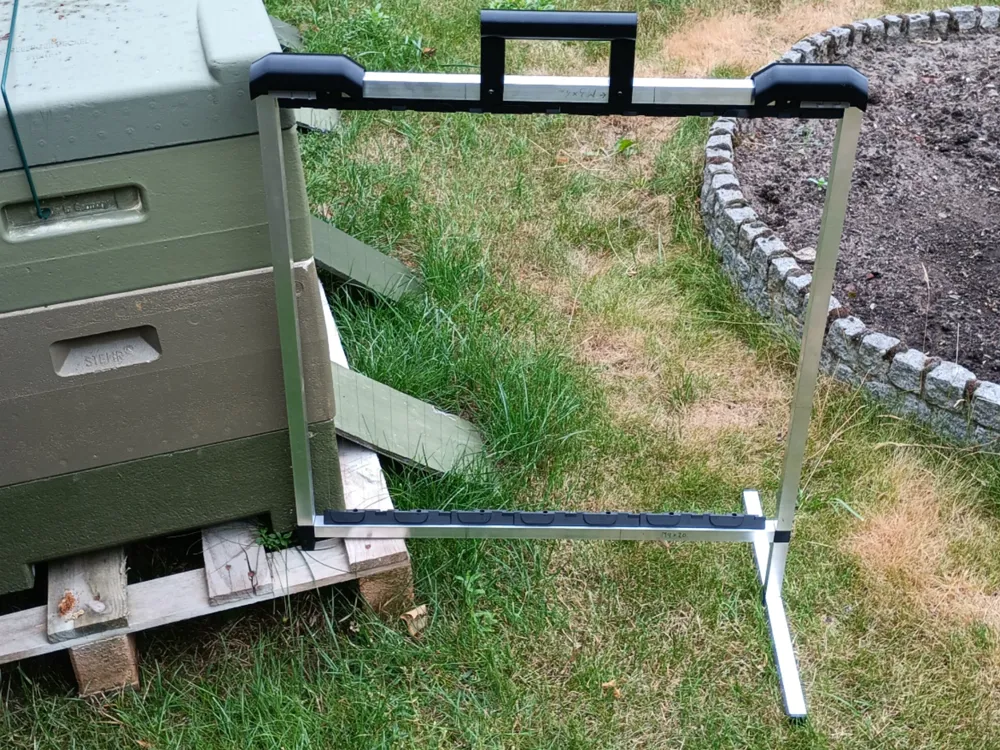
I believe the frame and the stand are self-explanatory
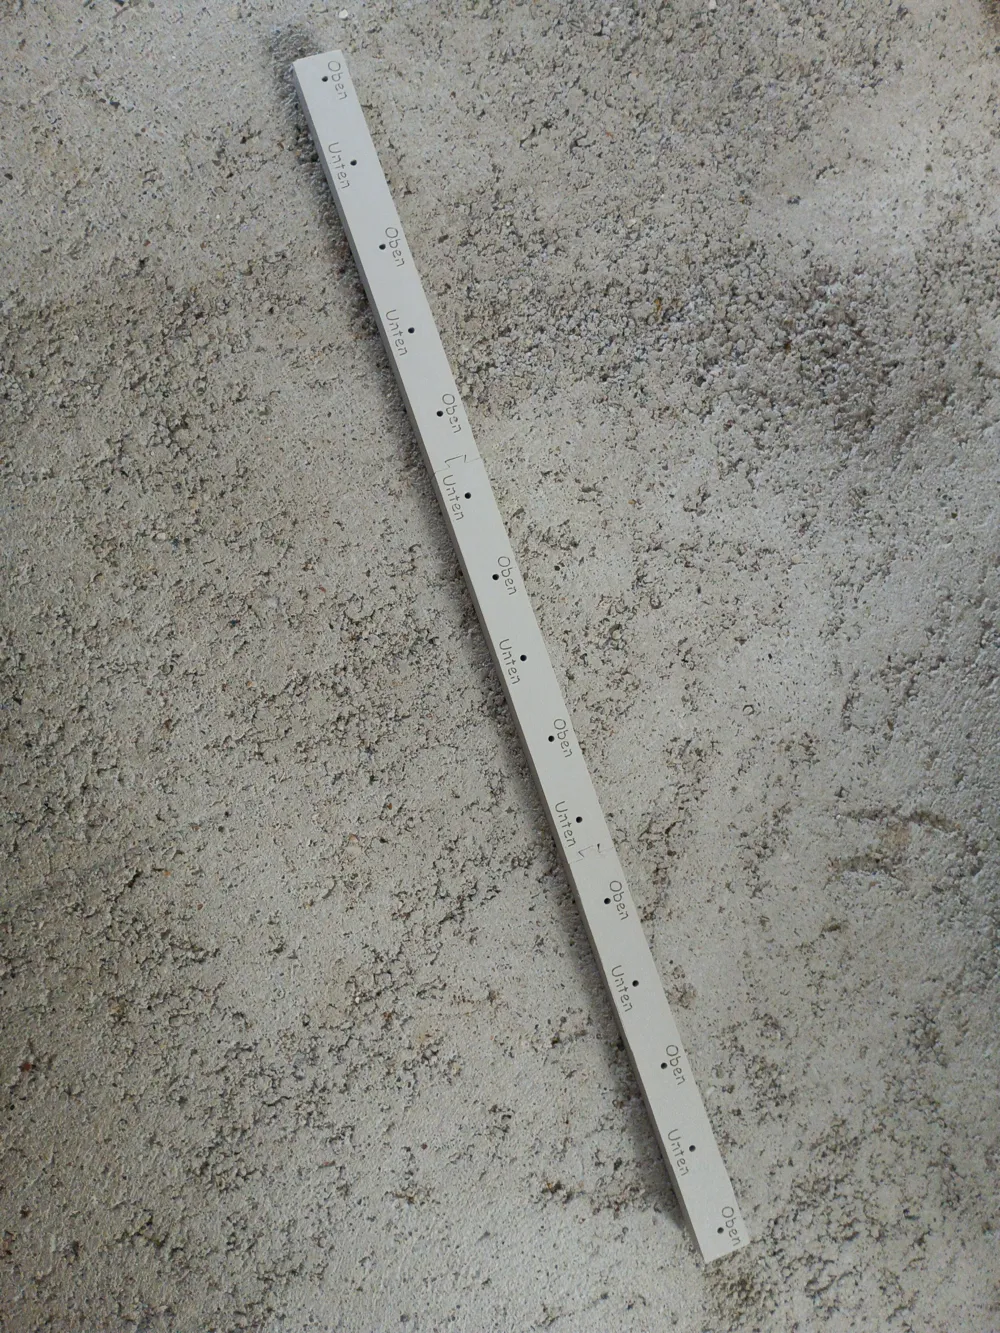
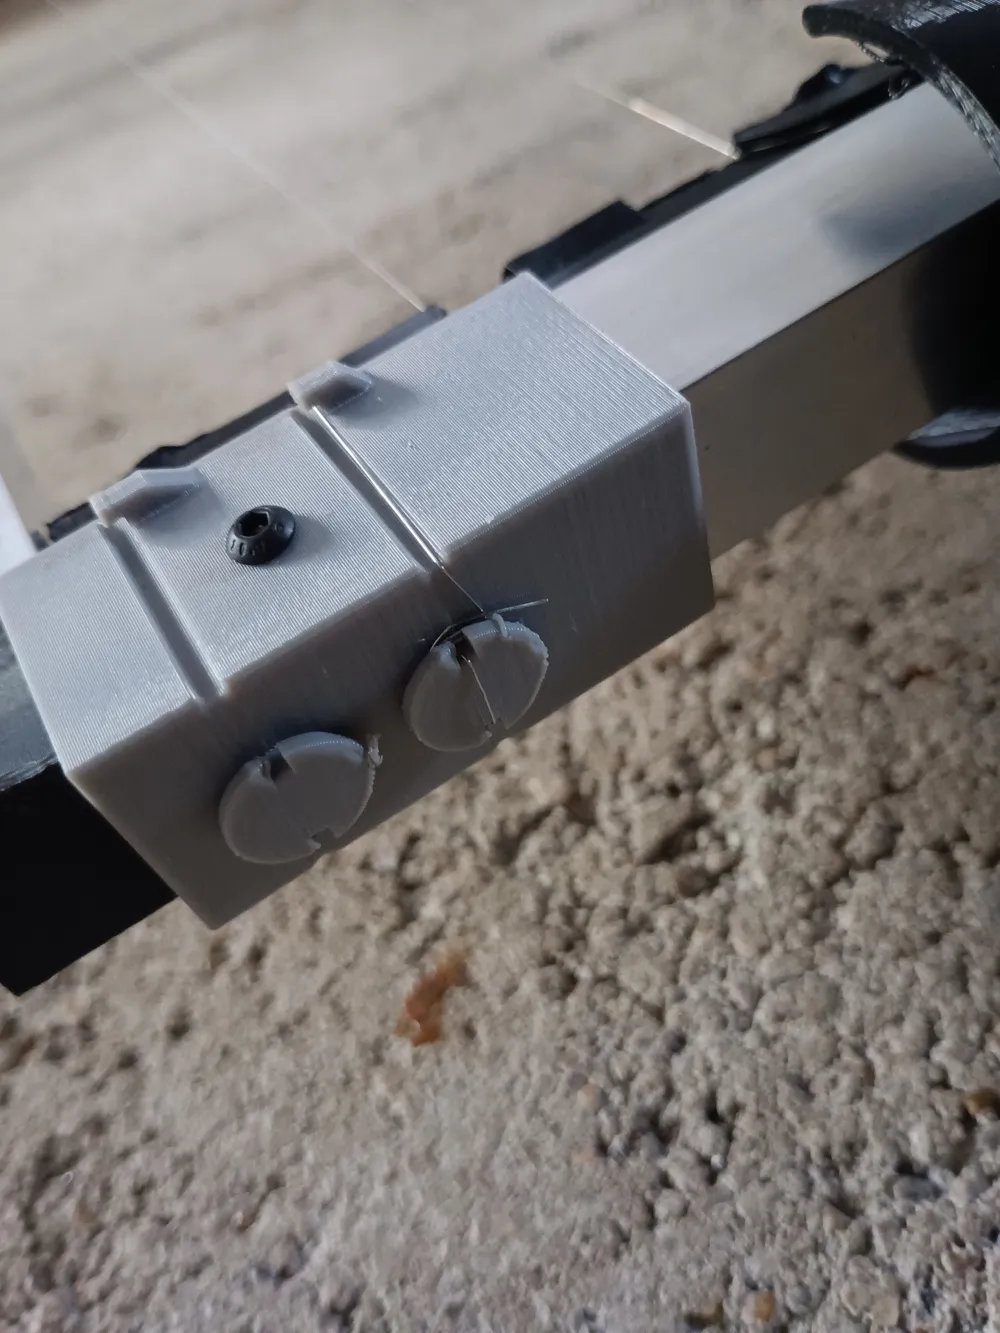
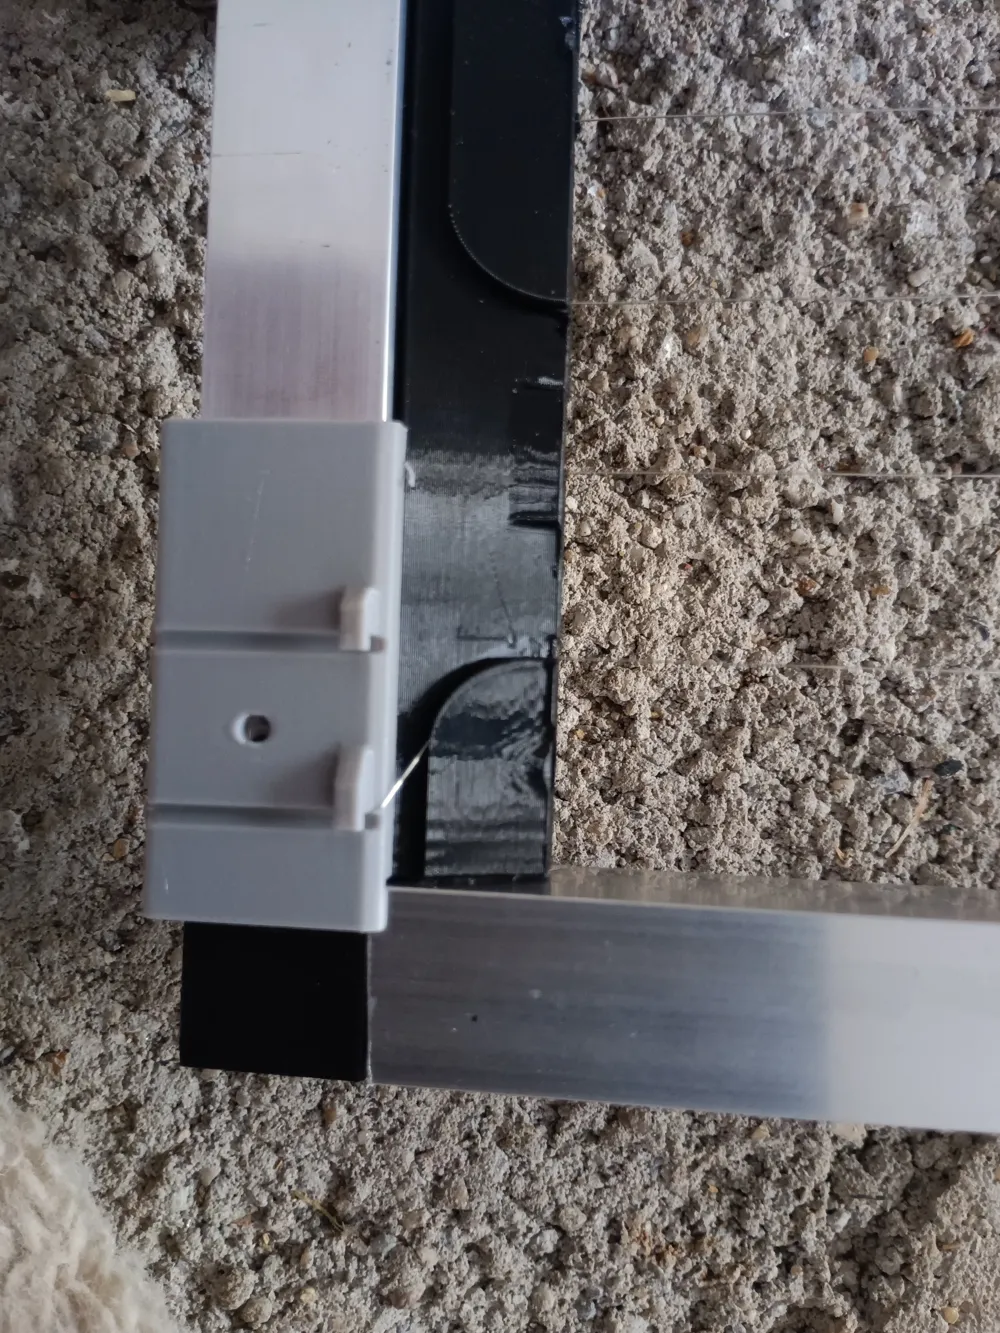
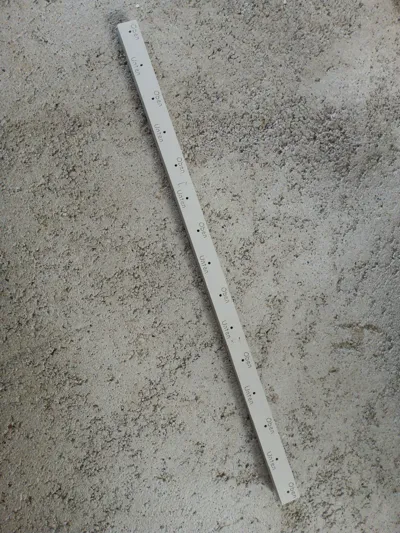
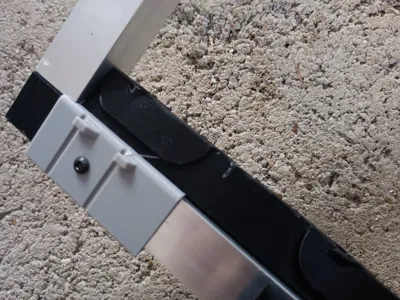
For the wire guide in the frame, I created a template with which you can
mark the drill holes, please align these centrally although it actually has a width of pretty much exactly 60cm
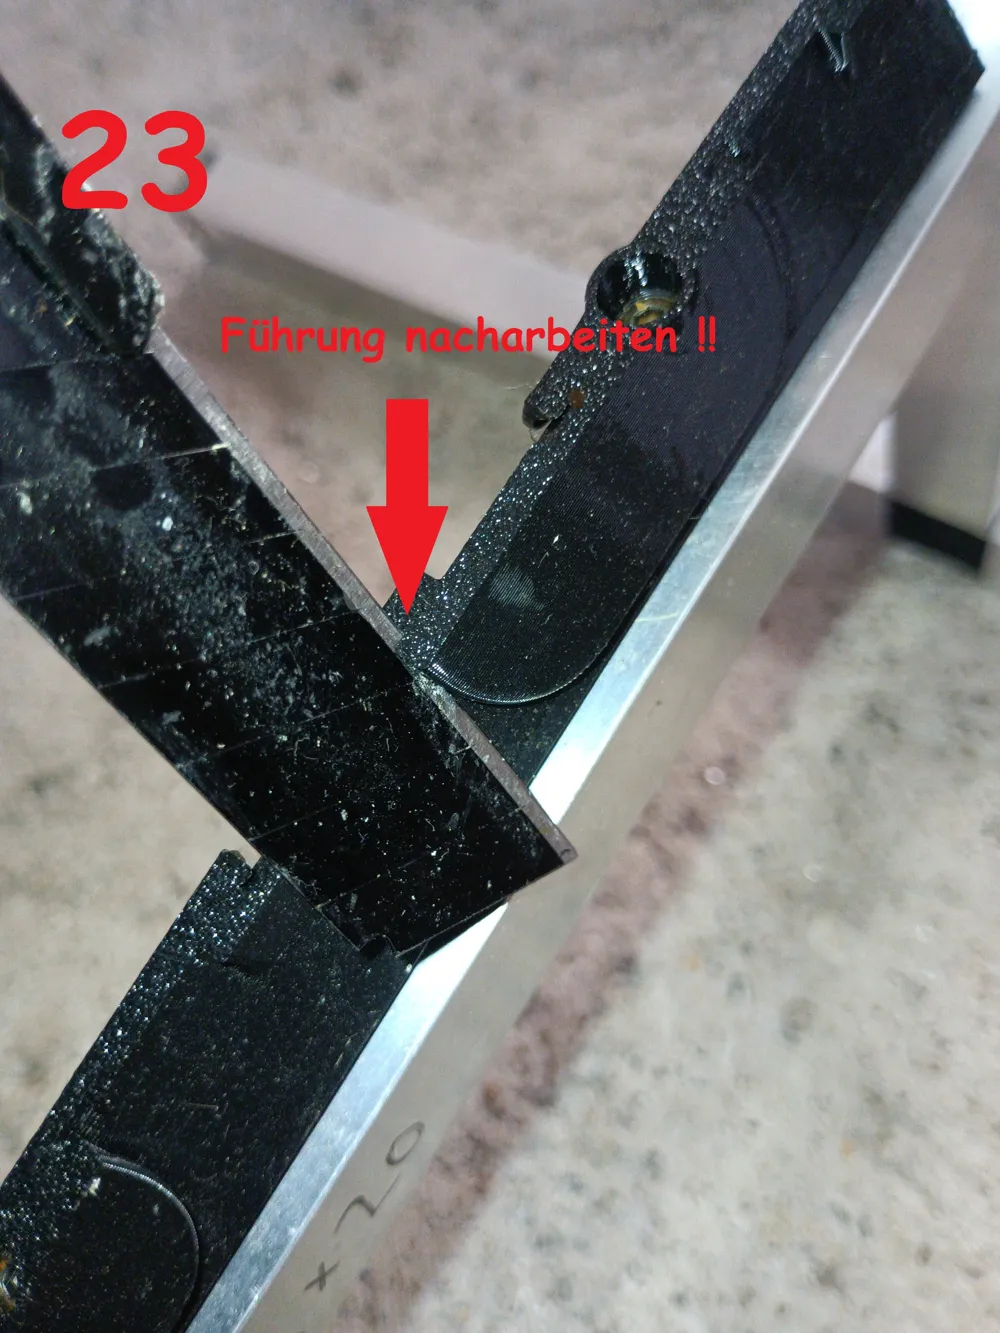
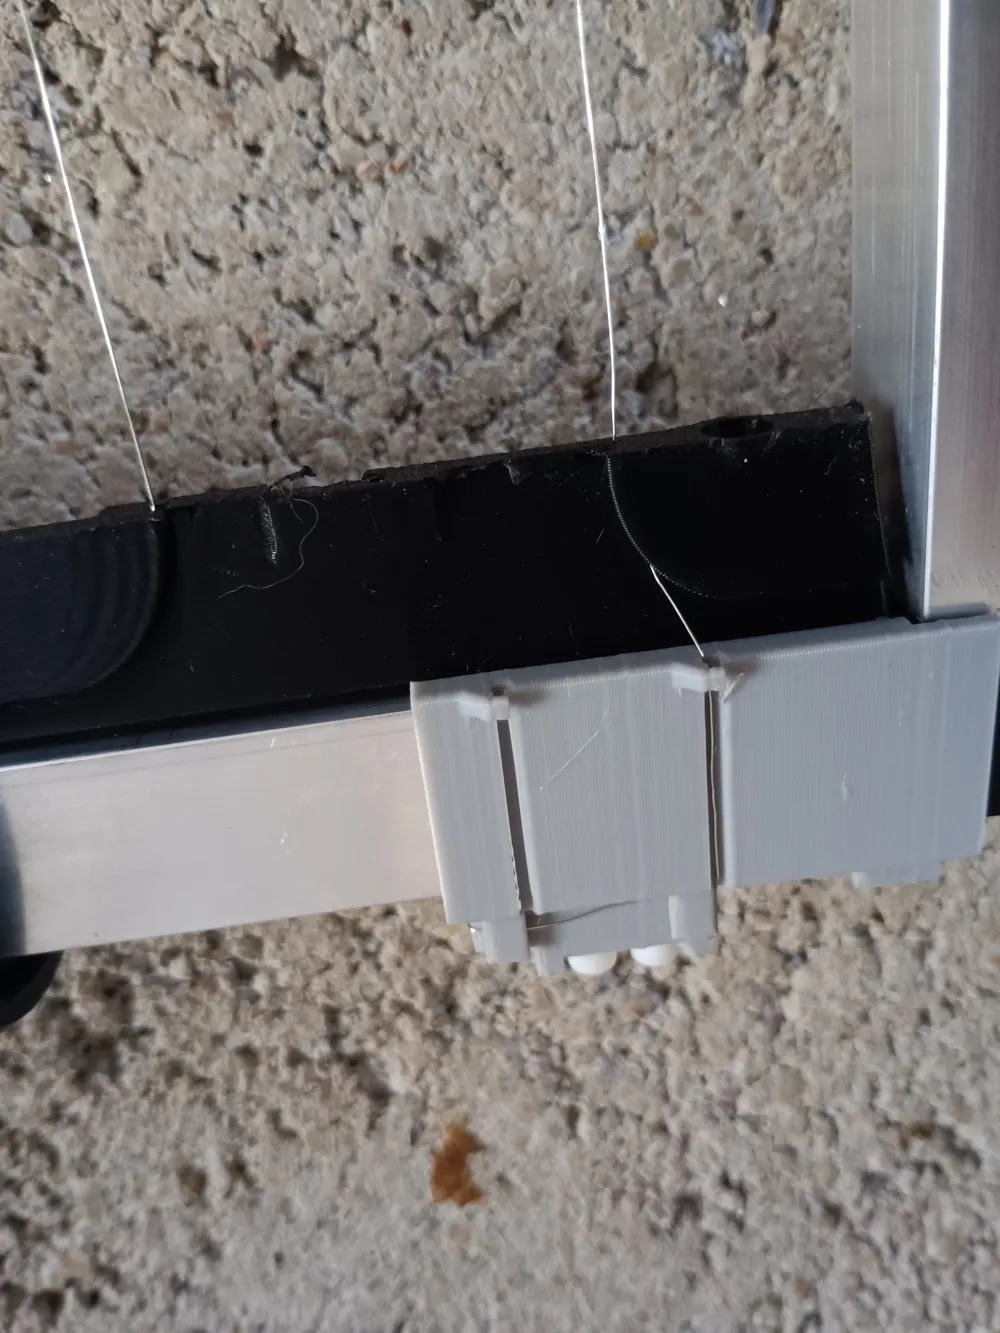
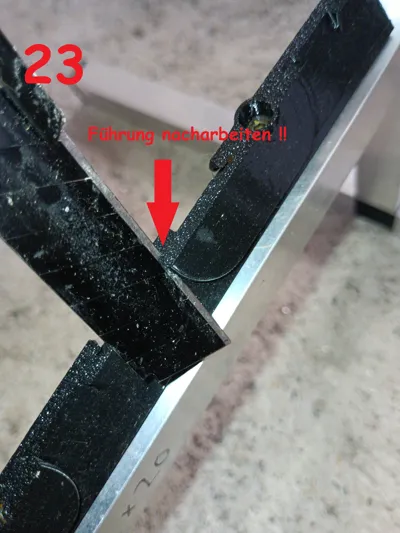
On the wire guide itself, you may need to rework the guide with a narrow file
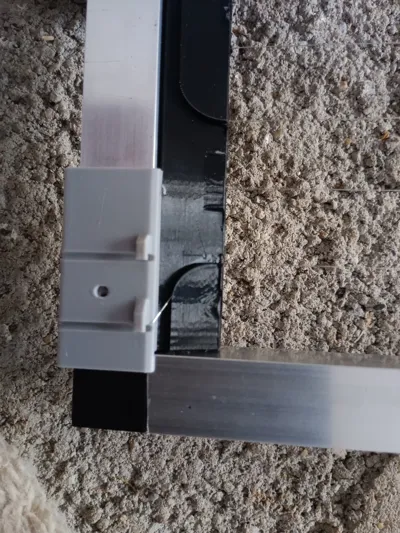
so the wire fits, depending on the printer (Image 23)
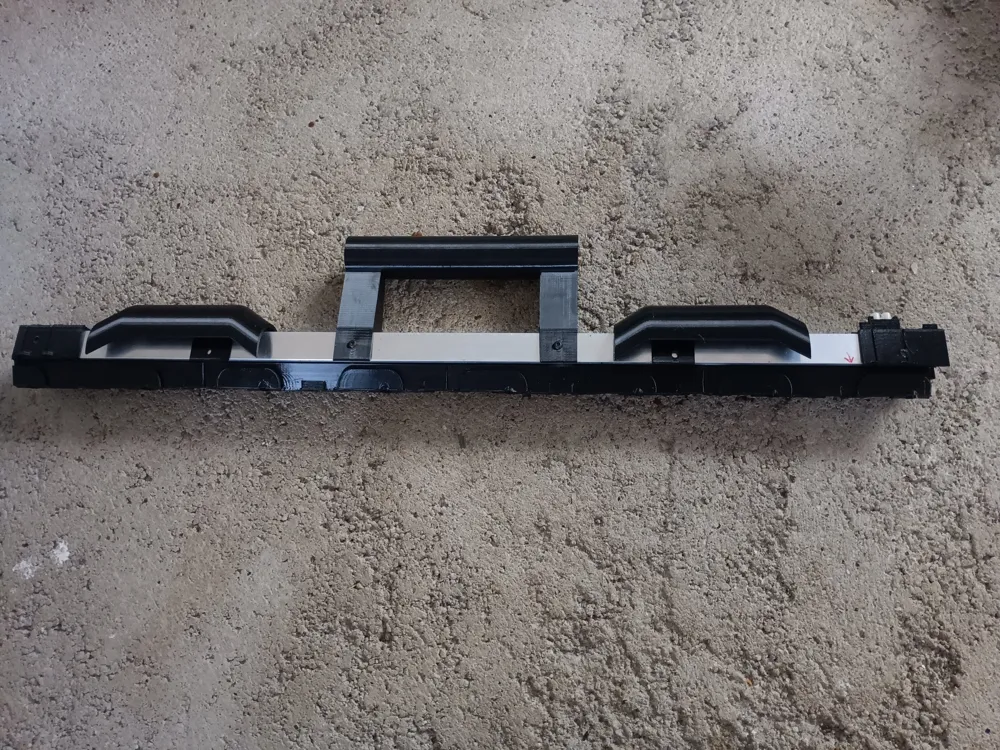
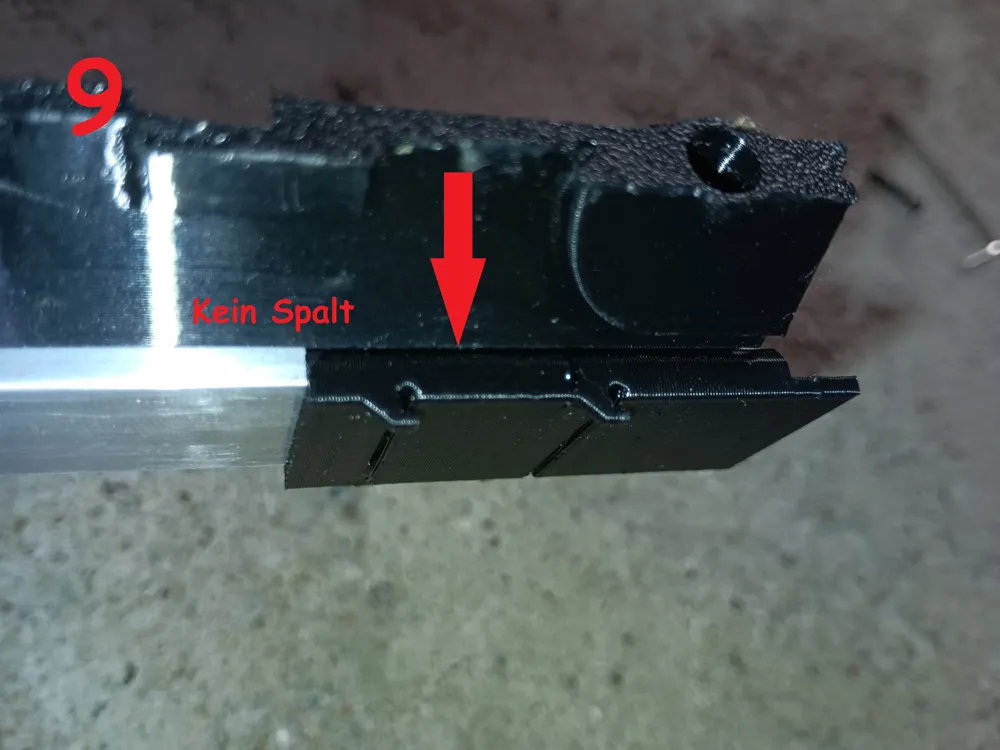
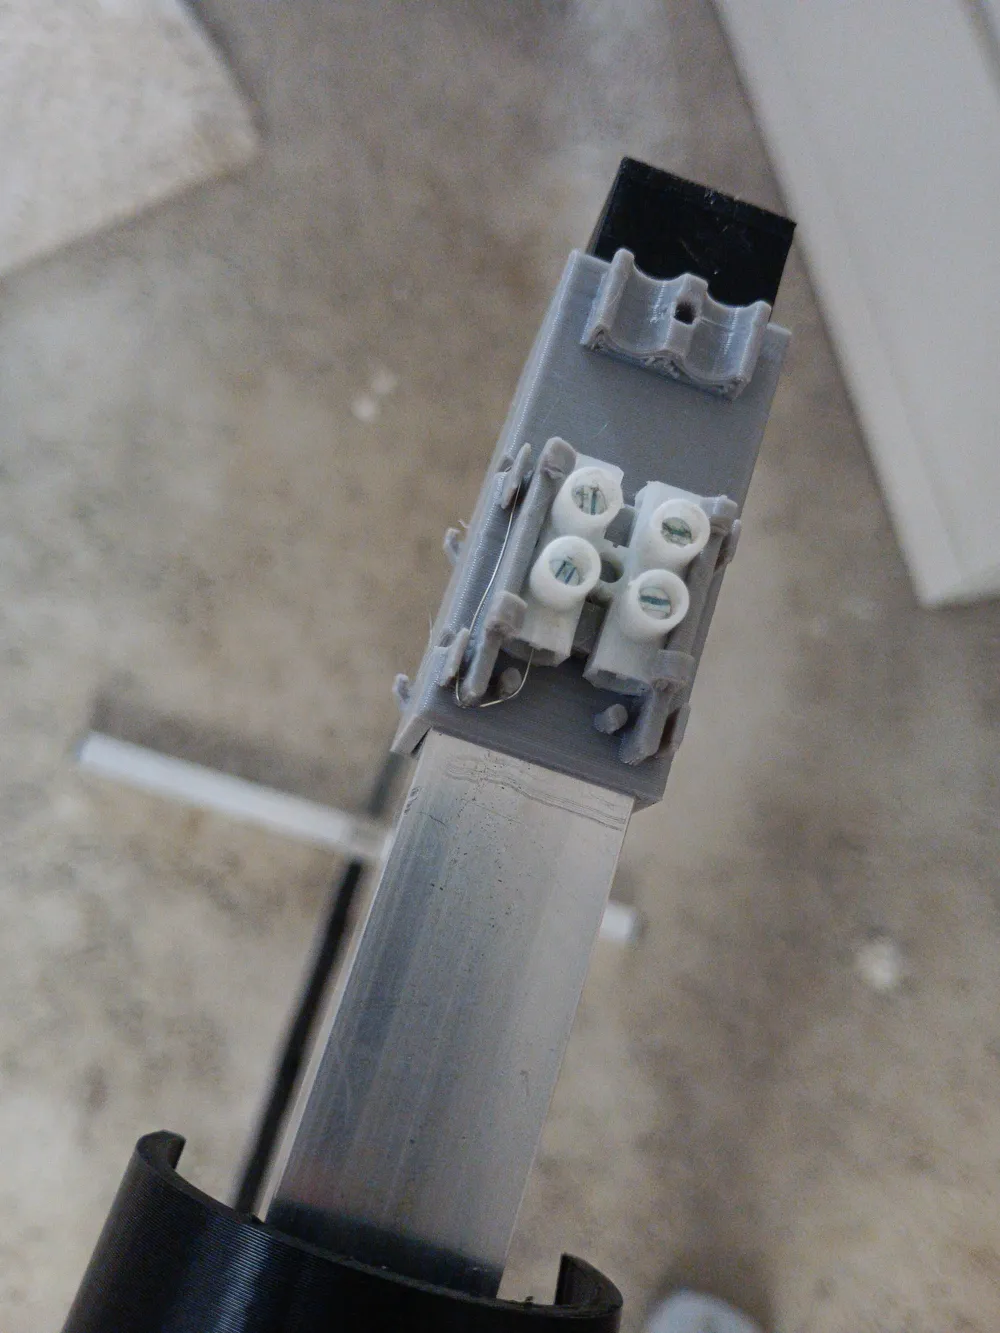
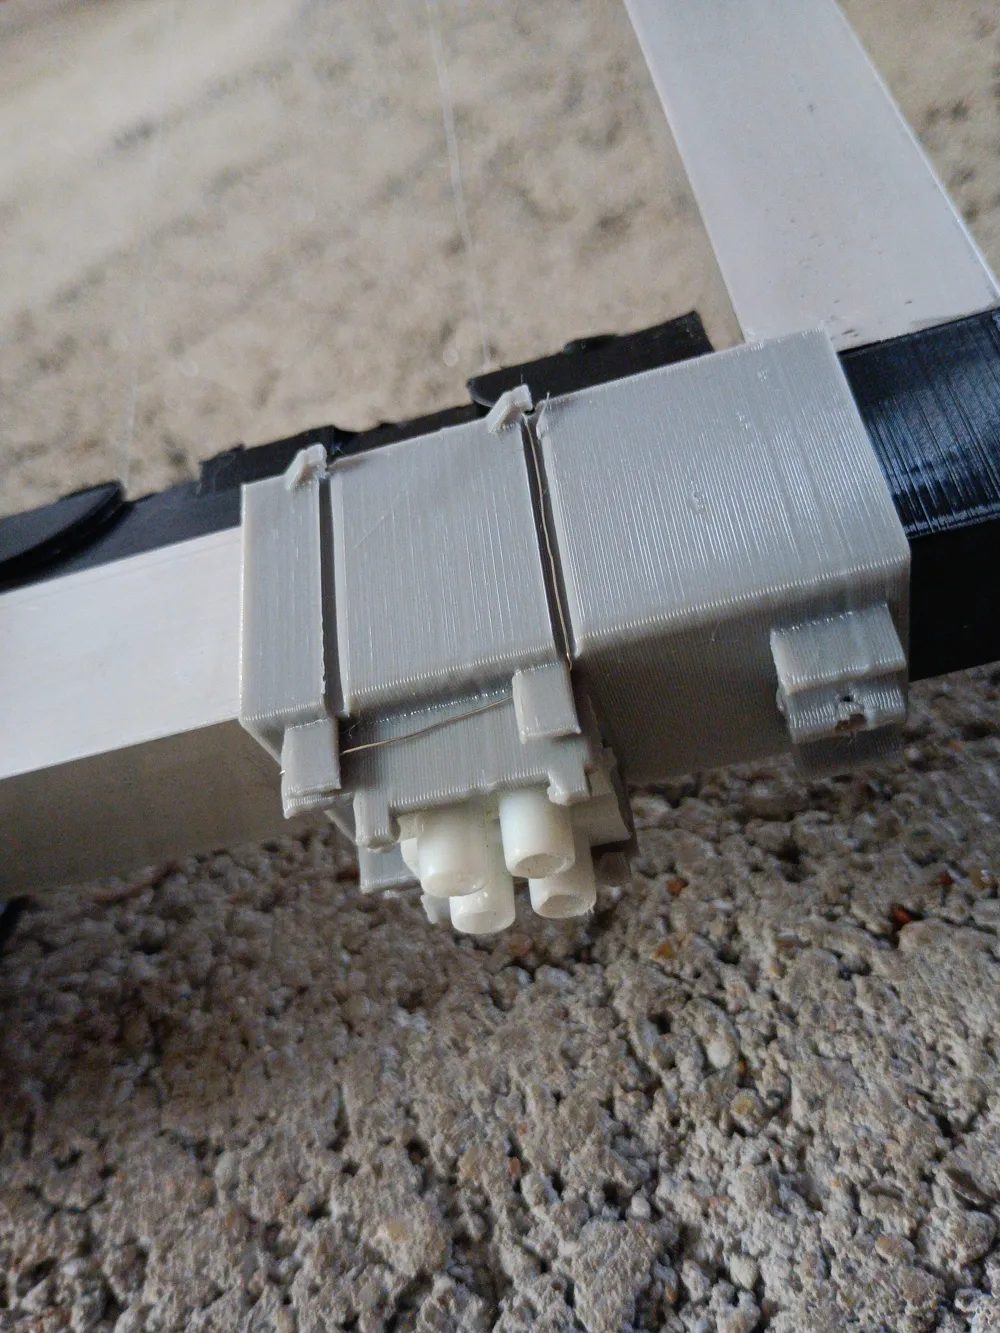
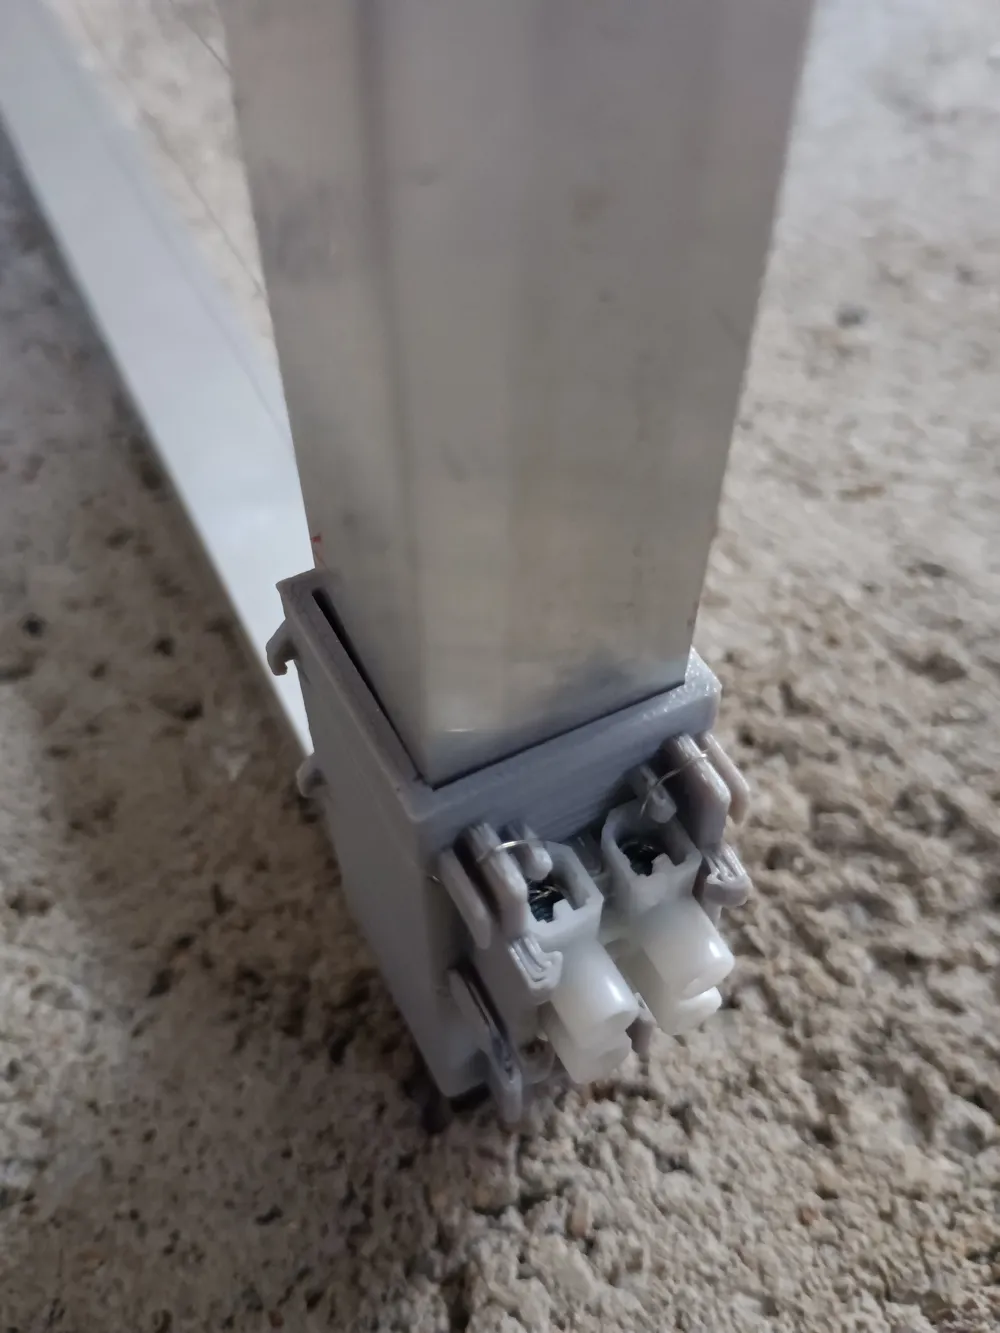
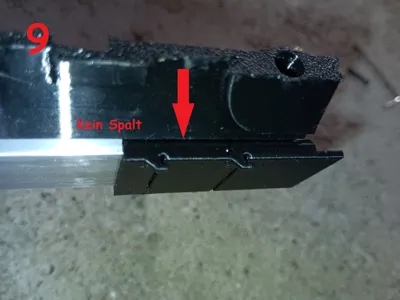
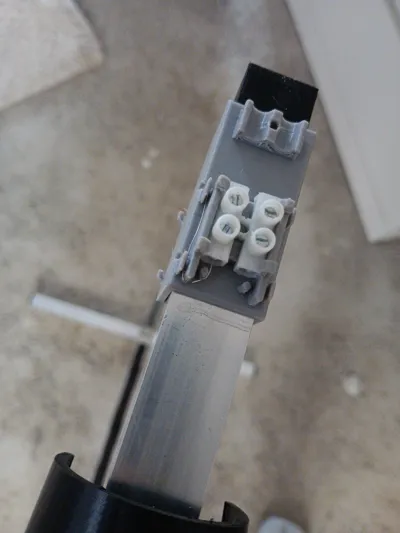
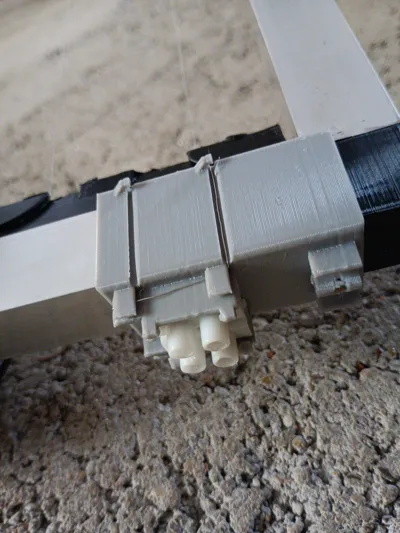
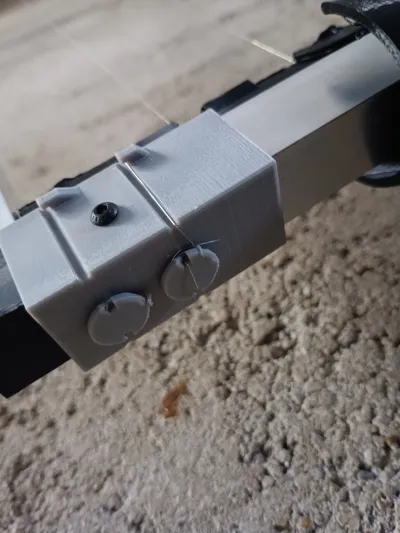
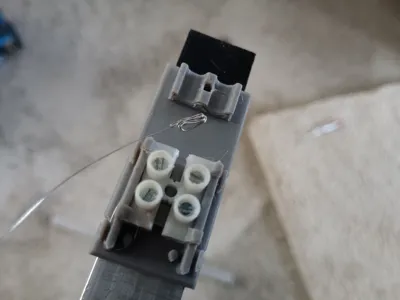
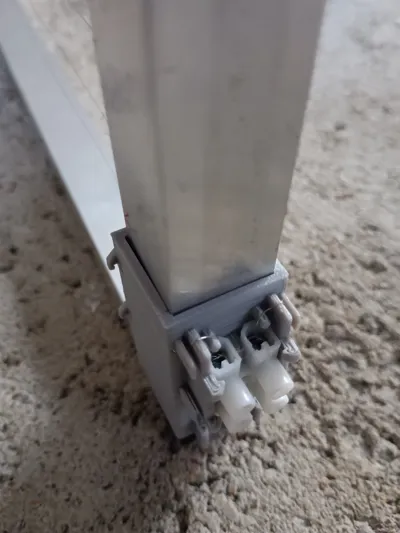
Before assembly, slide the parts with the terminal block and the end piece
onto the square tube beforehand because they stretch too much when pushed on. This could then lead to a spark jumping between
wire and frame, see Image 9 !!
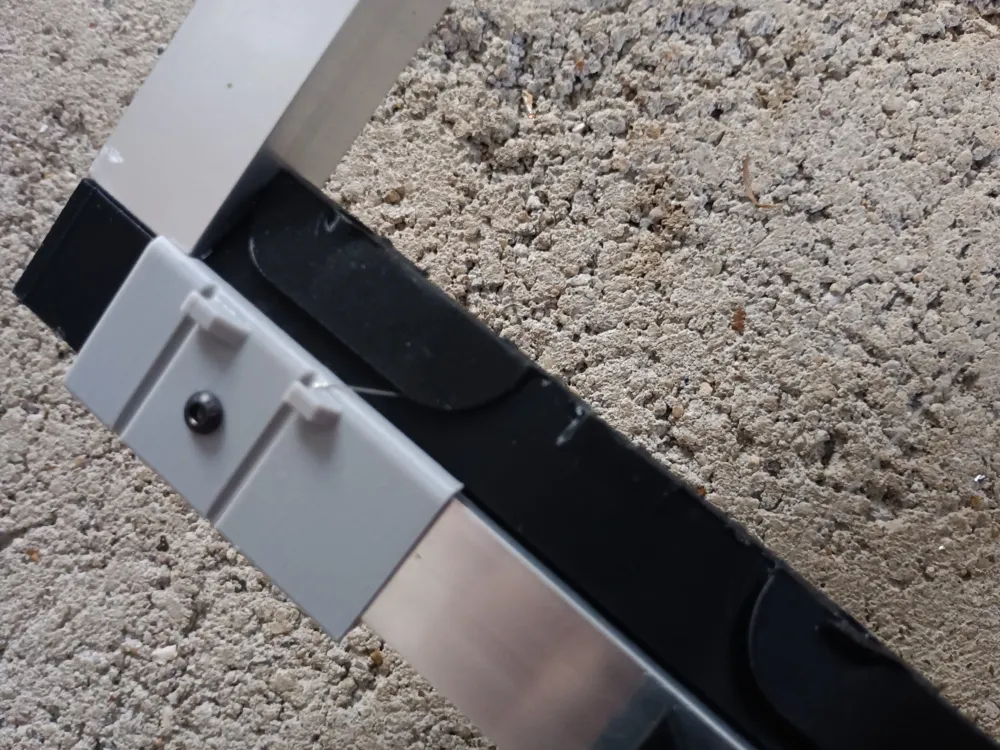
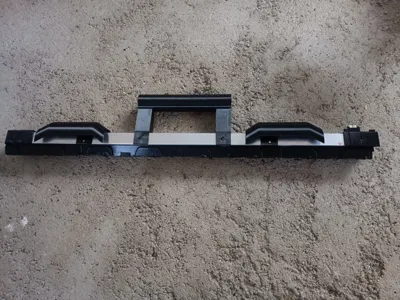
The splash guard and the handle can be attached later
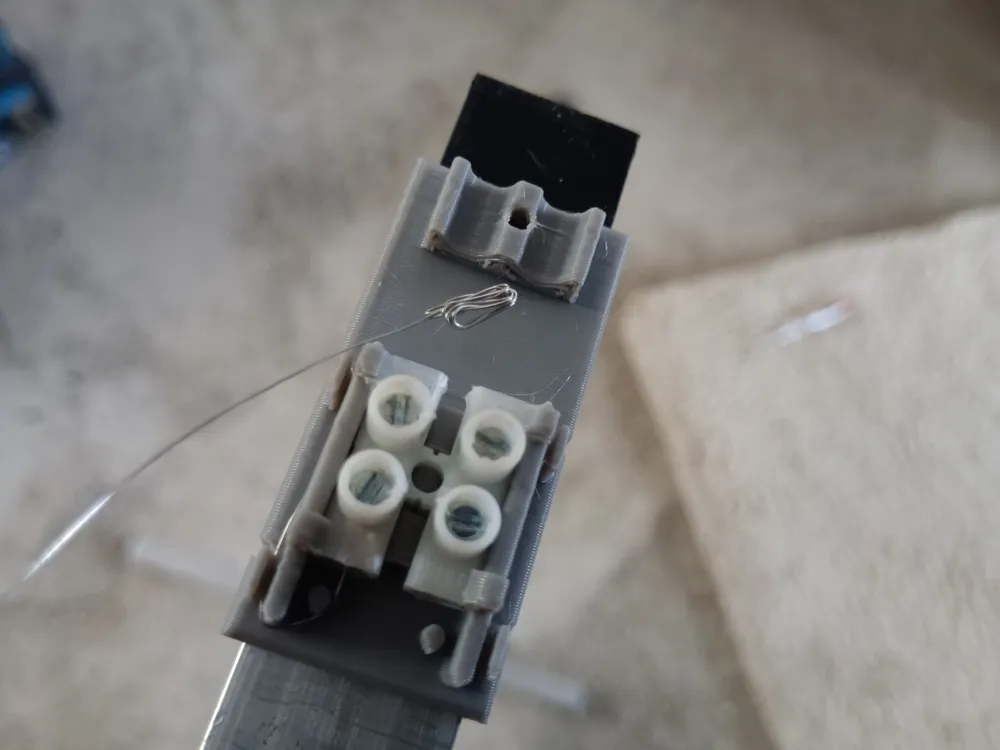
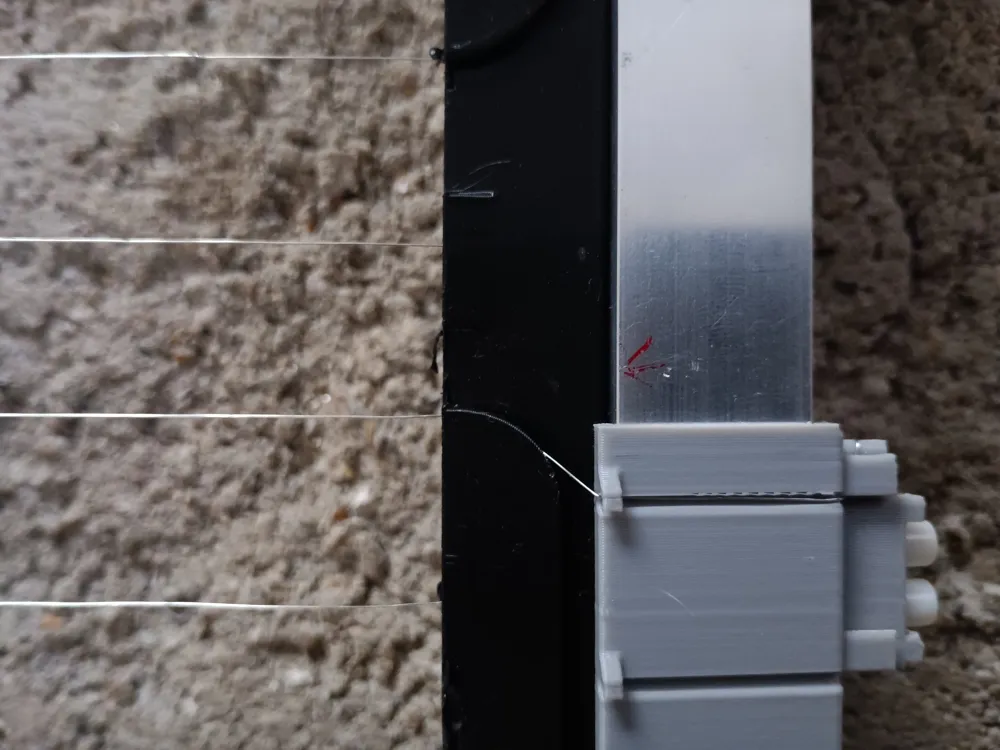
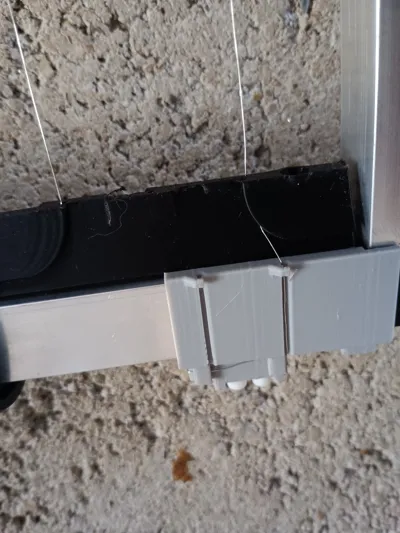
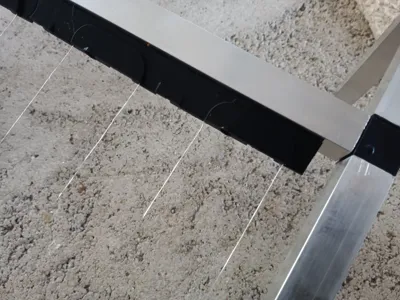
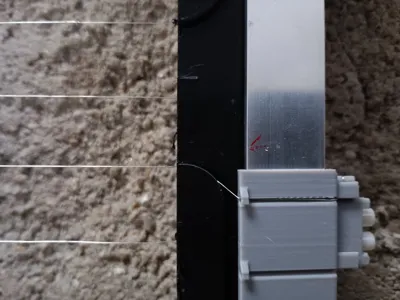
The wire routing is a bit more challenging. To illustrate this better, I reprinted the parts in gray. I started at the terminal block. The wire is tensioned on one side at a time, beginning at the terminal block. At the
end, simply wrap it around the posts, making sure the wire doesn't touch anywhere. Take a good look at the pictures, it took me several attempts until everything fit. Unfortunately, I don't know how to explain this in more detail. In this case, logical thinking
is required
The print plate with the wire guide includes a negative part, please do not change or move it, otherwise it will no longer fit correctly
All print settings and orientations have been chosen so that everything should work well. I tested several variations here
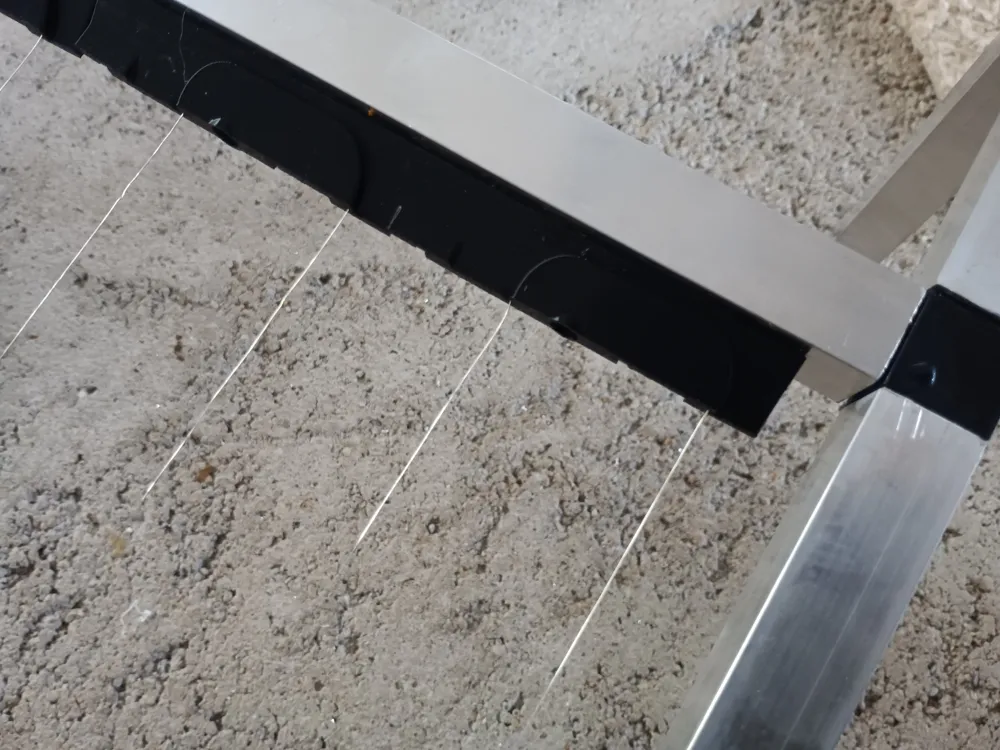
For your information, the wire spacing is 20mm; bees can easily pass through, but hornets cannot. It's not so easy to see in the picture,
the wire is tensioned on both sides, but converges in the middle, running up and down
If I forgot anything, please mention it in the comments; I wrote everything from memory
And please, assembly requires some manual dexterity; it is
not for those with two left hands, so don't complain if you can't manage it
As a voltage source, there are purpose-built generators
At this point, I must reiterate that I do not assume any warranty for anything. Construction and use are at your own risk
Furthermore, to my knowledge, its use is only permitted in France
License

You shall not share, sub-license, sell, rent, host, transfer, or distribute in any way the digital or 3D printed versions of this object, nor any other derivative work of this object in its digital or physical format (including - but not limited to - remixes of this object, and hosting on other digital platforms). The objects may not be used without permission in any way whatsoever in which you charge money, or collect fees.


Comment & Rating (2)