
Planetary Gear
Print Profile(3)
Description
!!!!! Attention please read the entire description before printing !!!!!
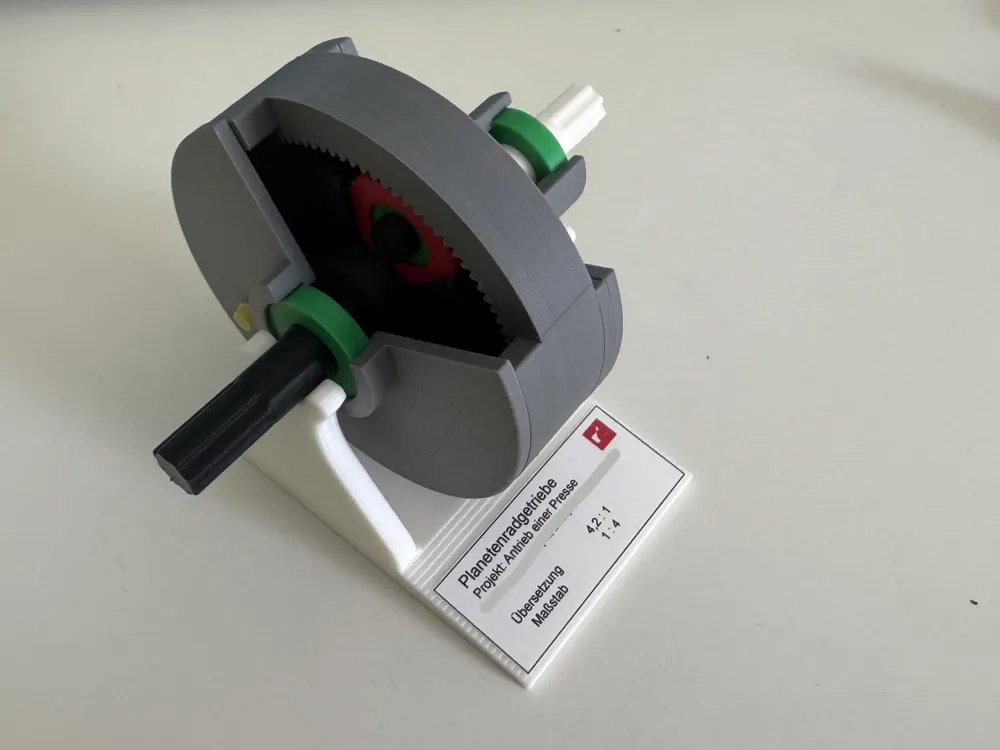
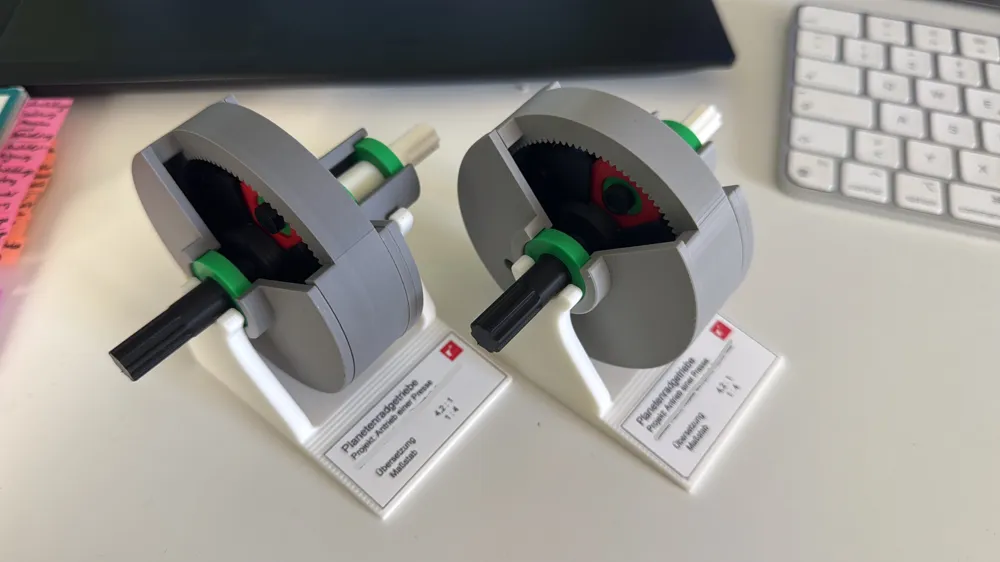
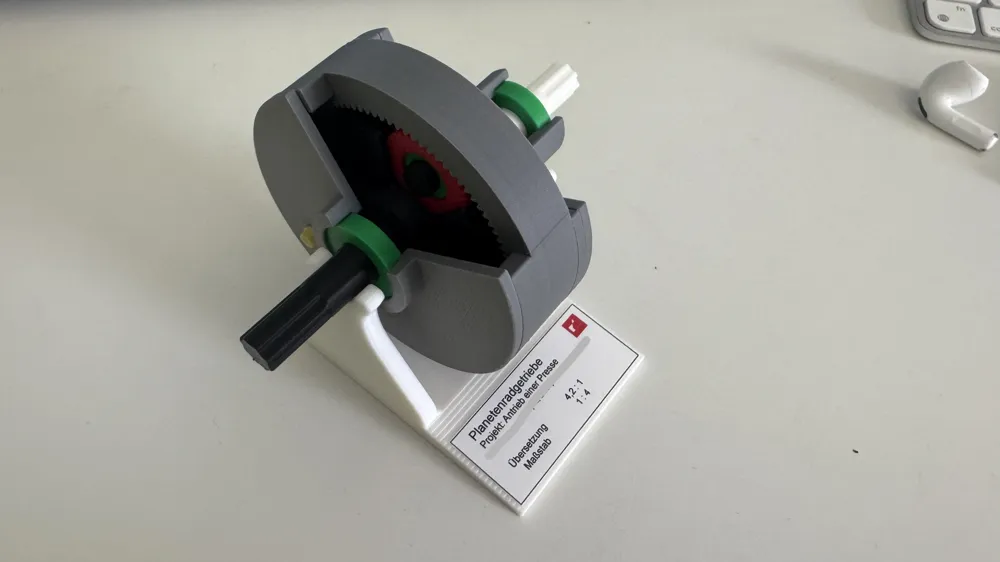
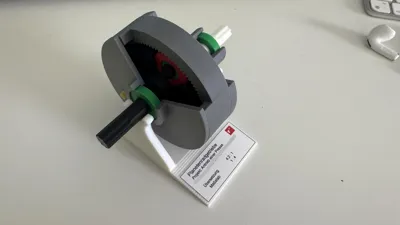
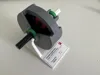
This gearbox is part of a project from the Design Engineering IV course in our degree program. I developed the gearbox together with @dontbanme, @Scheppa, @silas_irgendwas and two other colleagues. We submitted this in addition to our term paper and are incredibly proud of it. It is a wonderful demonstration model which has been further optimized beyond the originally submitted version. Here is the key information about the gearbox:
- The planetary gearbox is part of a press's drivetrain. Surrounding the gearbox is a significantly larger flywheel, as well as a clutch
- I printed the gearbox entirely from PLA; I do not know how it would behave with other materials
- I used a Bambu Lab P1S and chose very fine settings. I am not sure if that was necessary. In any case, the result is definitely impressive
- I would not scale the gearbox, as otherwise the distances between the bearings and the shaft would proportionally increase, but these are designed to be precisely matched
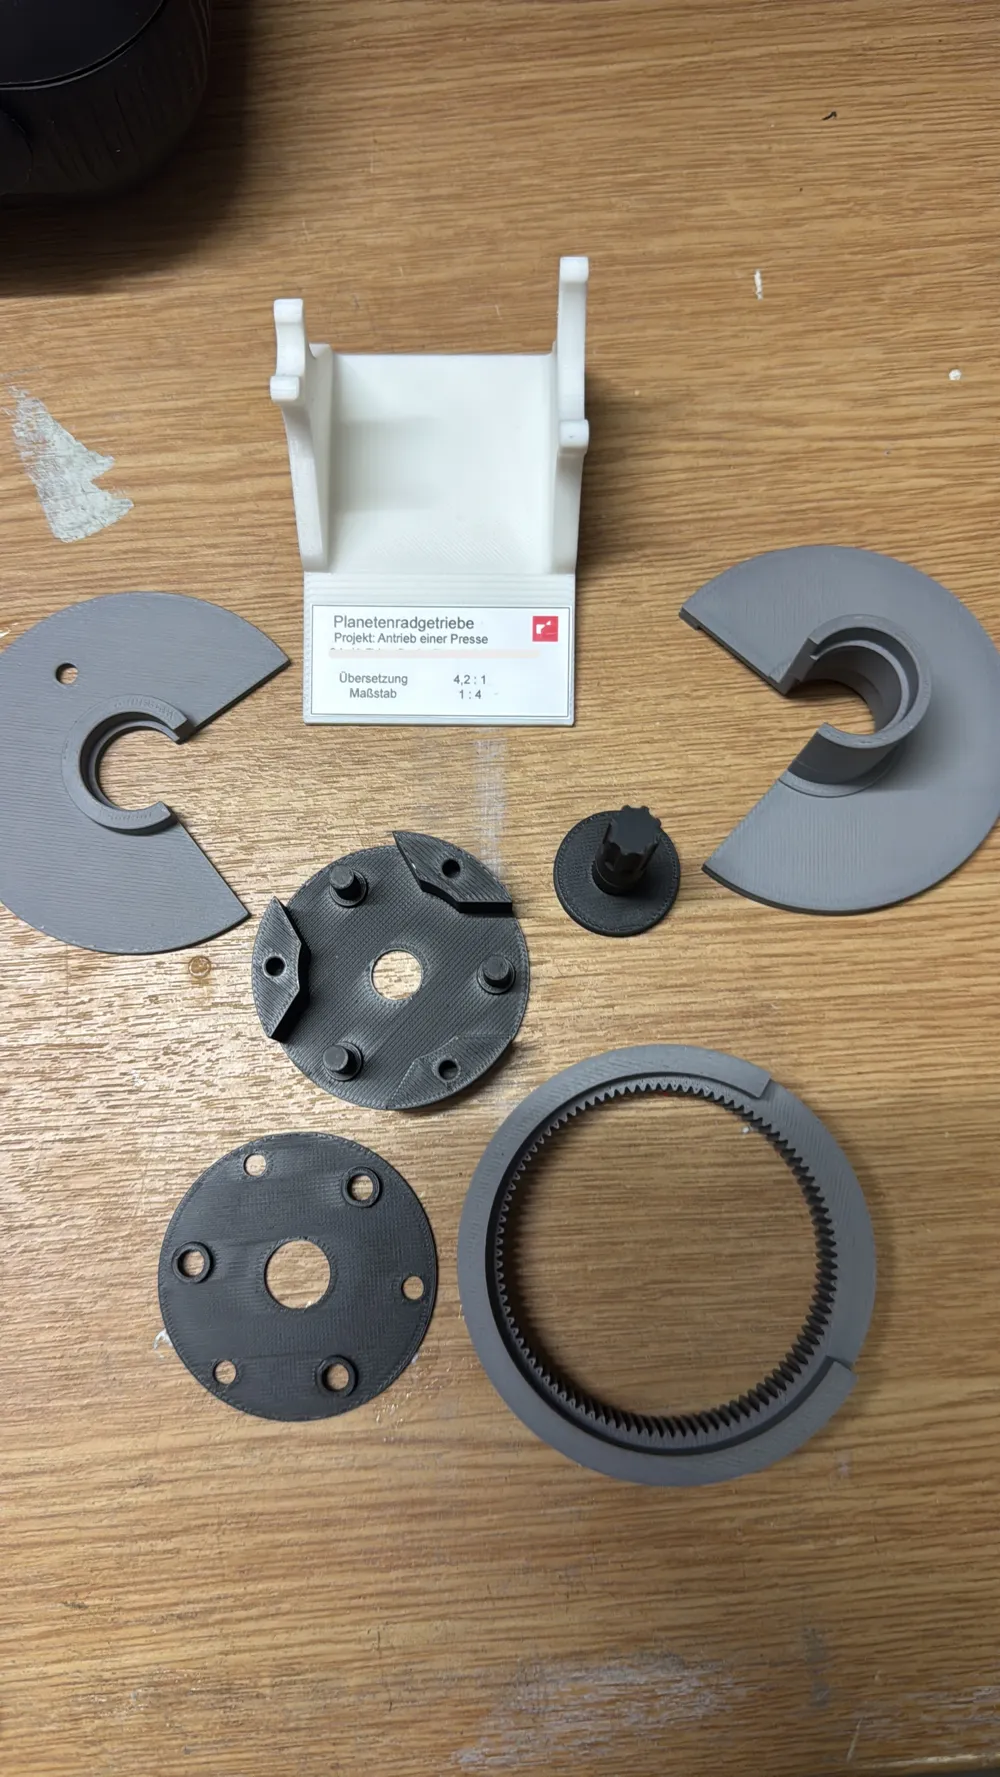
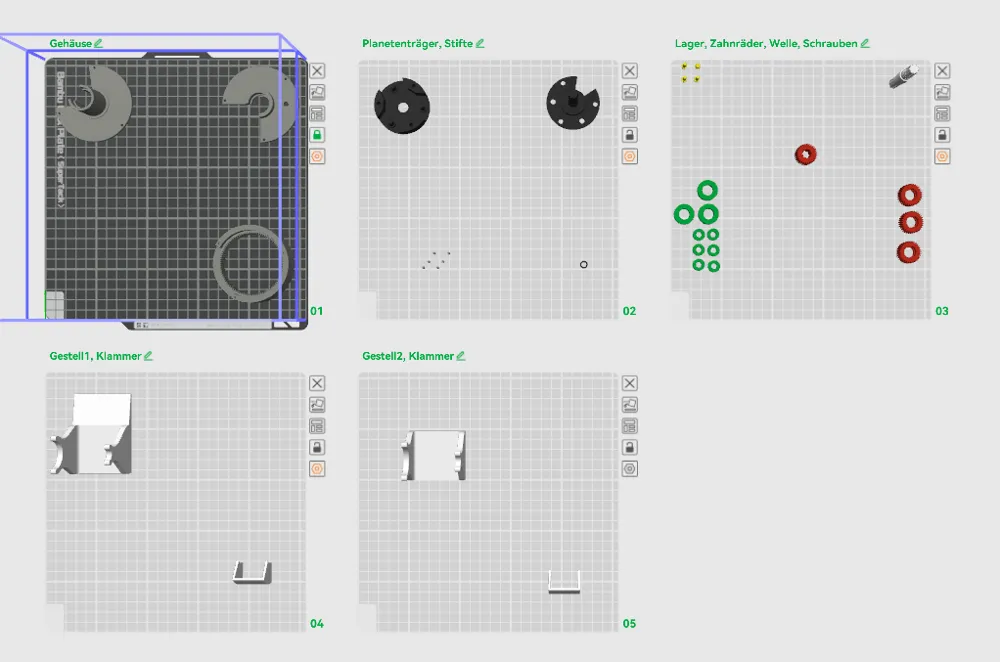
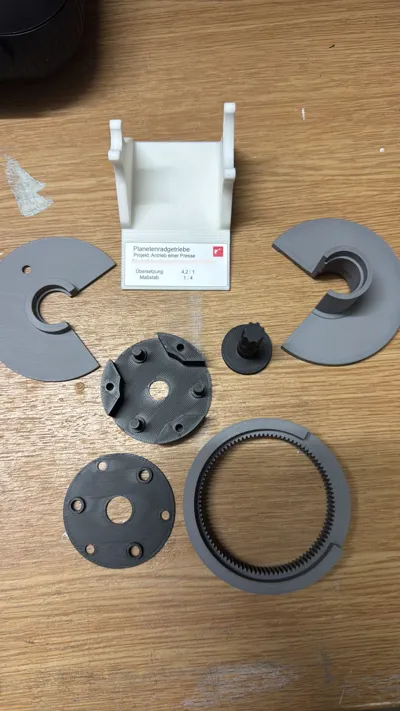
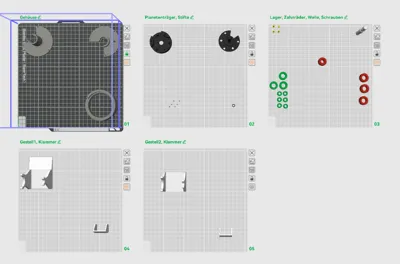
- For a complete gearbox, you must print plates 1–3 and either 4 or 5. Plate 4 contains a support with space for a label (see in the PDF), plate 5 a support without space for a label
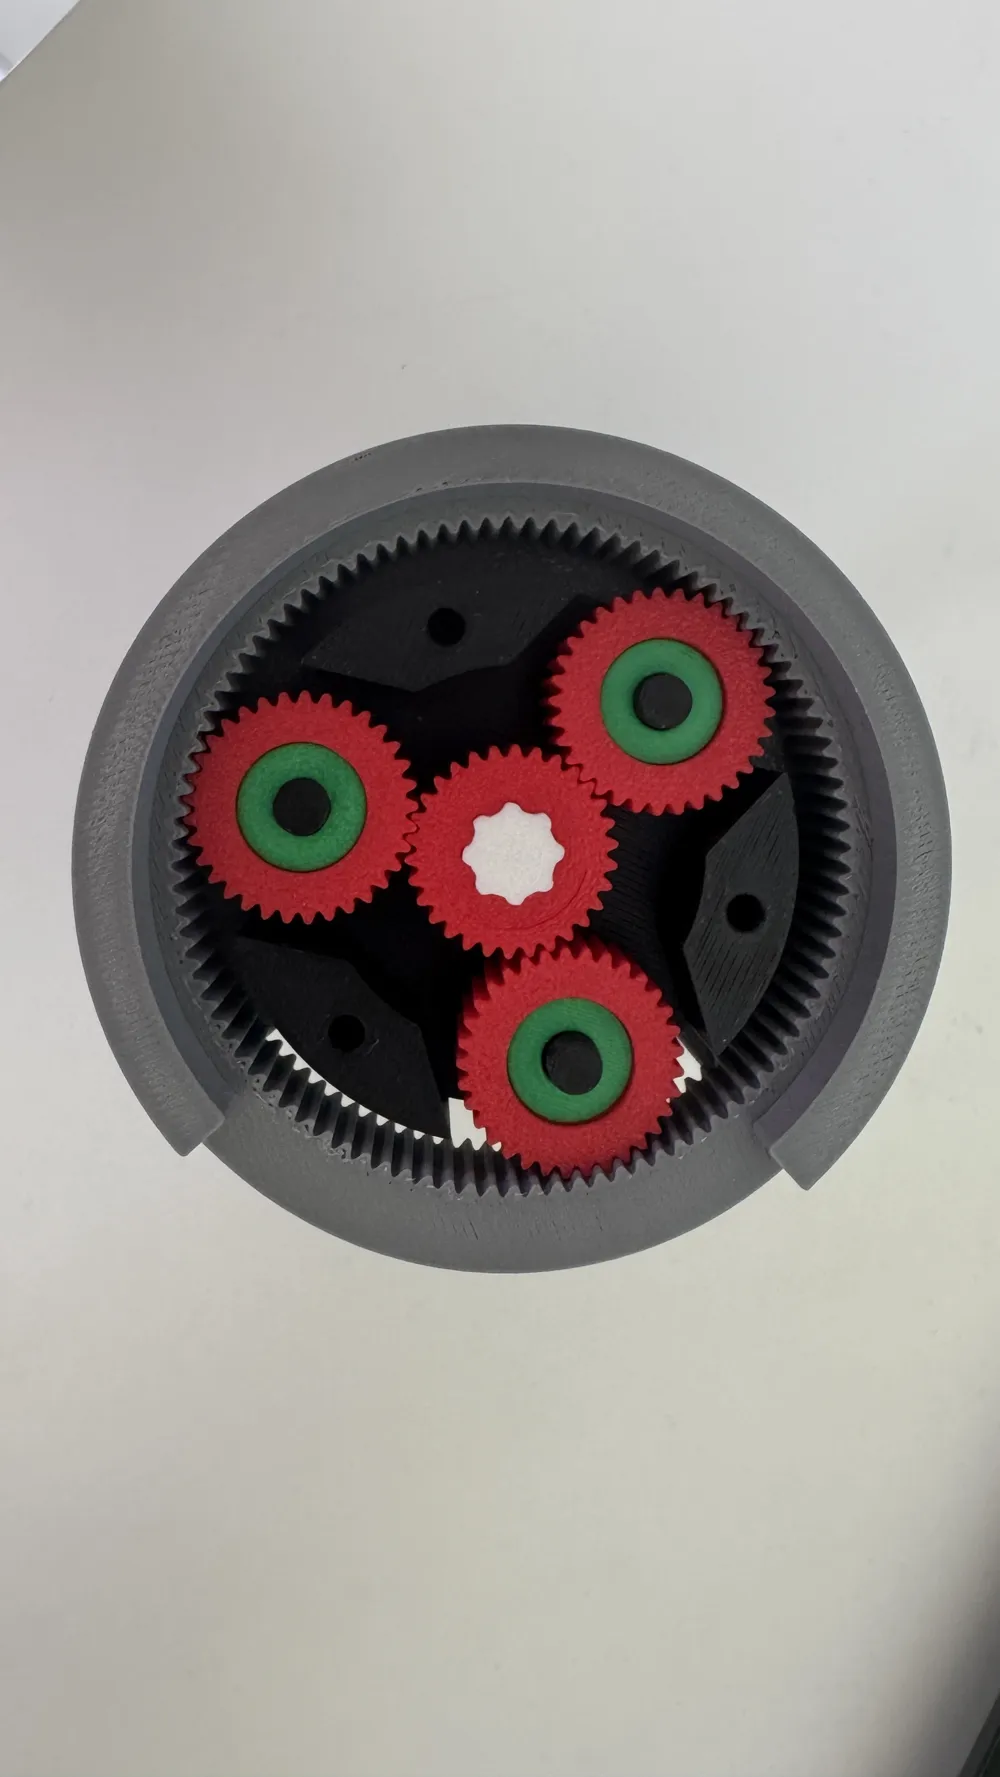
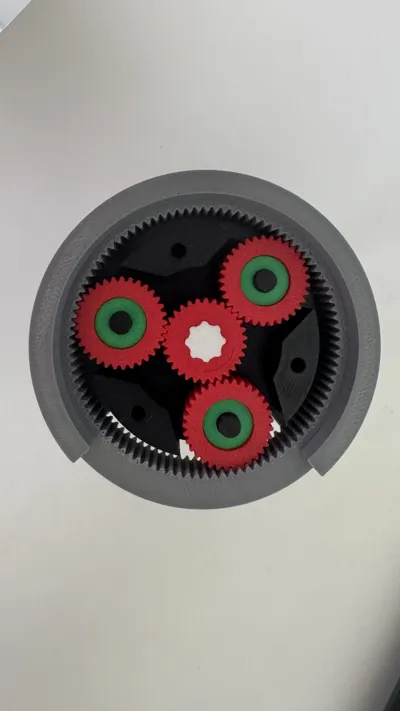
- According to my color coding: white is the drive shaft, black is the output shaft of the planetary carrier, gray is the housing, red is the gears, green is the bearings, and yellow is the plug or screws
- I glued the following: the pins into the housing, the plug into the housing, the inner bearings directly to the housing
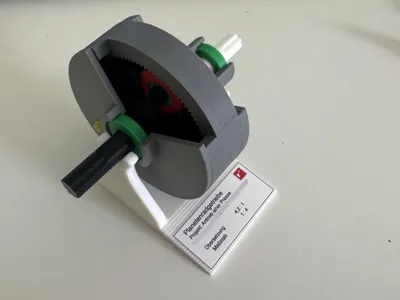
- The covers can be glued to the housing, but then the gearbox can no longer be taken apart. The clamp is there to hold the gearbox together anyway. This can be slid onto the entire housing from below
- The small bearings are very difficult to press into the gears. To do this, gently tap them into the gears with a small tool until the bearings are clearly below the edge of the gear
- The cover of the planetary carrier has a special cutout so that you can see a gear. The "screws", which are actually just pins, were very difficult for me to insert. If you want to be able to open the gearbox easily again, it is best to scale these down slightly and possibly glue them to the cover of the planetary carrier
- The attached PDF contains the label (52mm x 22mm); I printed this on paper (DIN A4), which can be used as a sticker. However, you can also print them on regular paper and stick them on
- The entire gearbox with stand requires about 130g of filament
- I used a few layers of Support for PLA for the supports under the housing. If no Support for PLA filament is available, simply change this to PETG. That works just the same. (If the gearbox is printed in PETG, then switch to PLA) This also leads to a few filament changes. If you want this, simply print the normal supports profile
I printed a total of 5 models until the gearbox reached the final version
Have fun with it
english version:
This gearbox is part of a project from the “Design Engineering IV” course in our degree program. I developed the gear together with @dontbanme, @Scheppa, @silas_irgendwas and two other colleagues. We submitted this in addition to our term paper and are incredibly proud of it. It’s a wonderful demonstration model that has been further optimized beyond the original version we submitted. Here’s the key information about the gearbox:
- The planetary gearbox is part of a press’s drive train. Surrounding the gearbox is a significantly larger flywheel, as well as a clutch.
- I printed the gearbox entirely out of PLA; I don’t know how it would behave with other materials.
- I used a Bambu Lab P1S and selected very fine settings. I’m not sure if that was necessary. In any case, the result is definitely impressive.
- I wouldn’t scale the gearbox, as doing so would proportionally increase the distances between the bearings and the shaft, which are designed to be precisely matched.
- To build a complete gearbox, you need to print plates 1–3 and either 4 or 5. Plate 4 includes a support with space for a label (see the PDF); plate 5 includes a support without space for a label.
- According to my color coding: white is the drive shaft, black is the output shaft of the planetary carrier, gray is the housing, red is the gears, green is the bearings, and yellow is the plugs or screws
- I glued the following parts in place: the pins into the housing, the plug into the housing, and the inner bearings directly to the housing
- The covers can be glued to the housing, but then the gearbox can no longer be taken apart. The clip is there to keep the gearbox together anyway. It can be slid onto the entire housing from below
- The small bearings are very difficult to press into the gears. To do this, gently tap them into the gears with a small tool until the bearings are clearly below the edge of the gear.
- The cover of the planetary carrier has a special cutout so you can see a gear. The “screws”—which are actually just pins—were very difficult for me to insert. If you want to be able to open the gearbox easily again, it’s best to scale these down slightly and possibly glue them to the cover of the planetary carrier
- The attached PDF contains the label (52mm x 22mm); I printed this on paper (DIN A4), which can be used as a sticker. However, you can also print them on regular paper and stick them on.
- The entire gearbox with the frame requires about 130g of filament.
- I used the Super Cool Track Pro plate for the housing and the Textured PEI Plate for the rest. That’s how it’s set up. If you use different plates, be sure to take this into account!
- I used a few layers of “Support for PLA” for the supports under the housing. If you don't have “Support for PLA” filament, simply switch to PETG. It works just the same. (If the gearbox is printed in PETG, switch to PLA.) That's why there are a few filament changes. If you don't want those, just change the support settings in the slicer back to normal supports.
I printed a total of 5 models before the gearbox reached its final version.
Have fun with it!
License

You may create derivative works based on this object, provided that all such derivative works are published exclusively on the MakerWorld platform and include proper attribution to the original creator. You may not share, upload, host, distribute, or publish this object—or any derivative work of this object—on any other digital platform, marketplace, or distribution channel. Commercial use of this object and any derivative works is strictly prohibited. This includes, but is not limited to, selling, renting, sublicensing, or using the object in any context in which you receive monetary compensation or other financial benefits.


Comment & Rating (3)