
F-22 Raptor Plane Glider
Print Profile(4)
Description
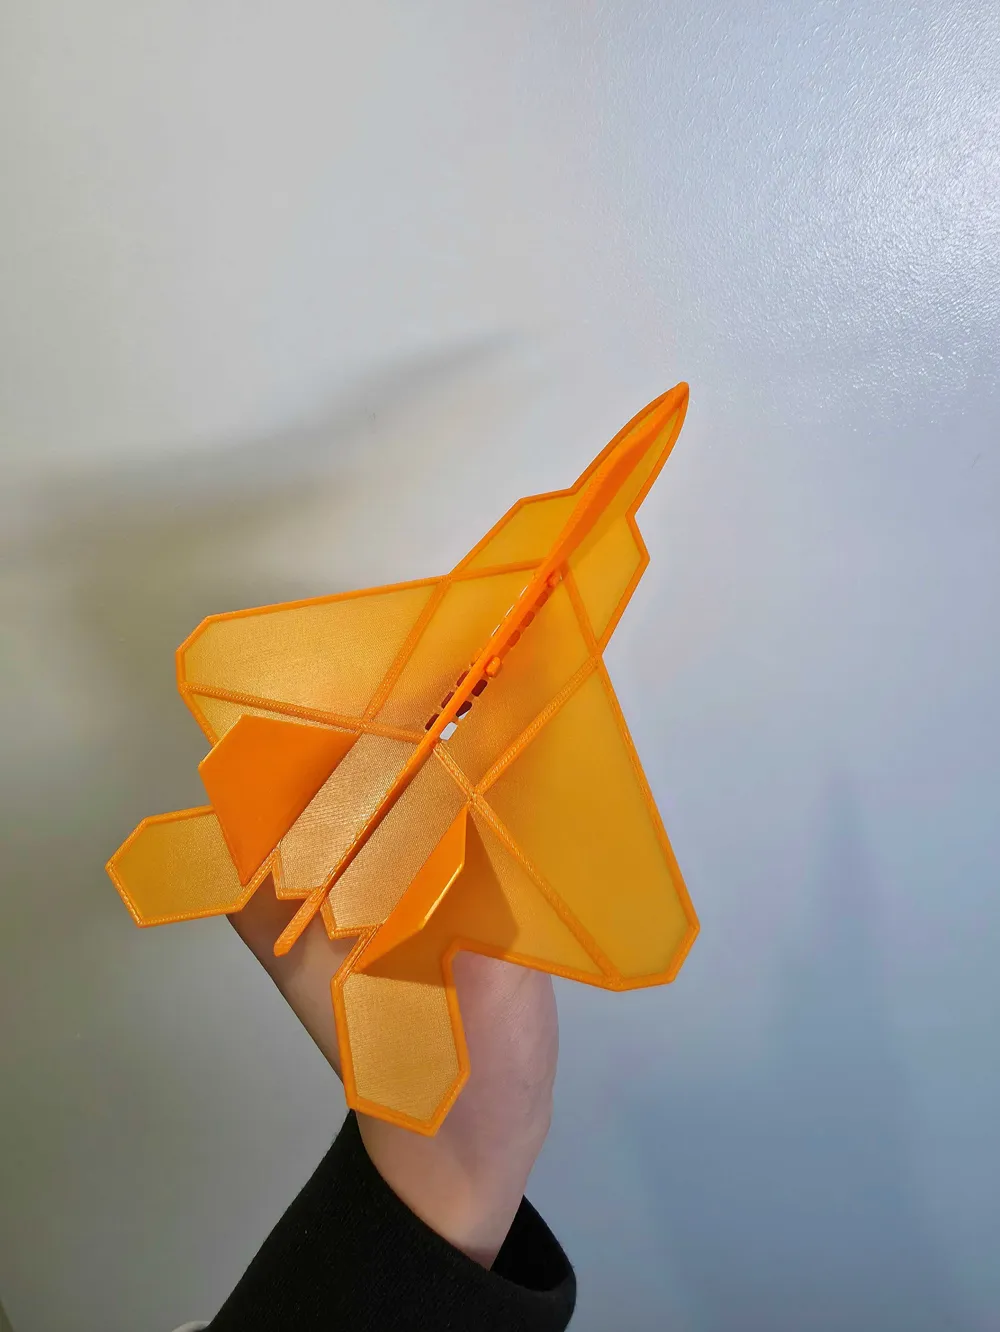
F-22 Raptor Plane Glider
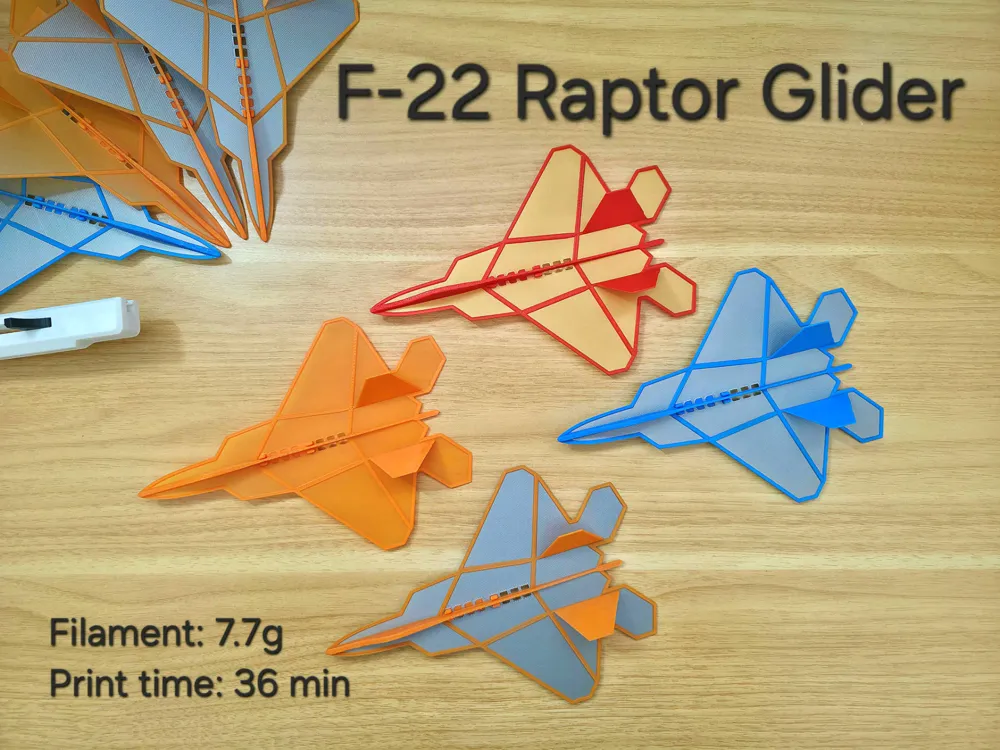

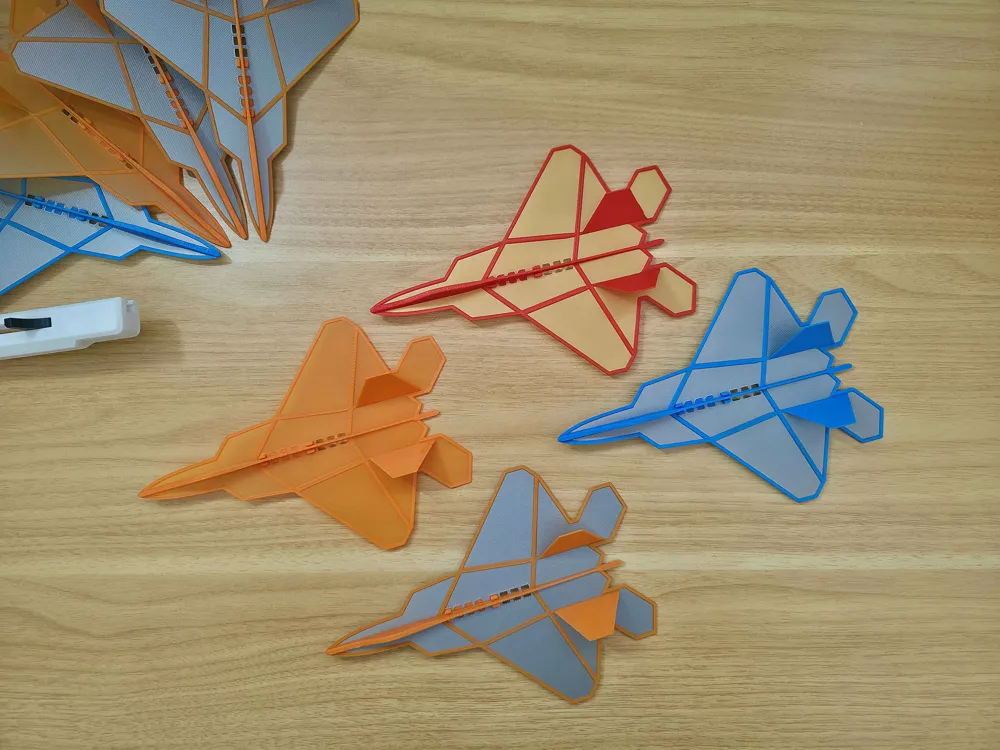
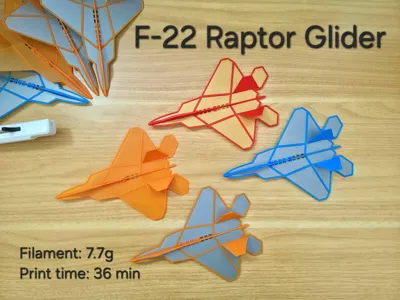
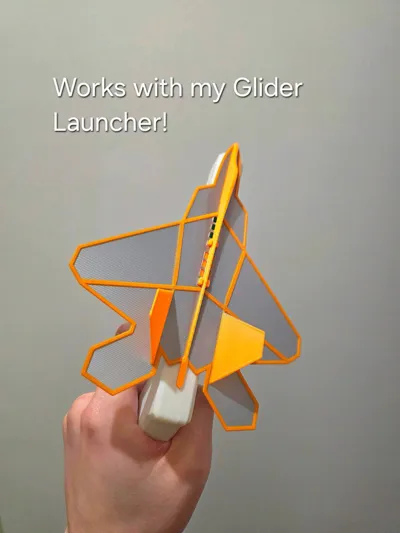
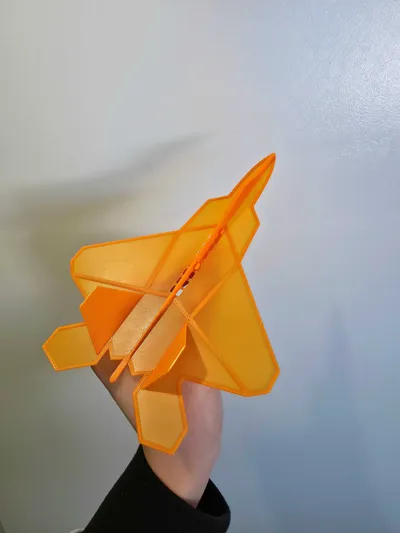
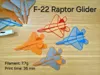
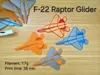
Modeled after the legendary F-22 Raptor stealth fighter jet, this glider combines sleek, aggressive aesthetics with balanced aerodynamics for smooth, stable flight. Featuring a reinforced nose and robust wing roots, it ensures excellent durability, while the iconic twin-tail stealth fuselage adds a striking look compared to traditional gliders.
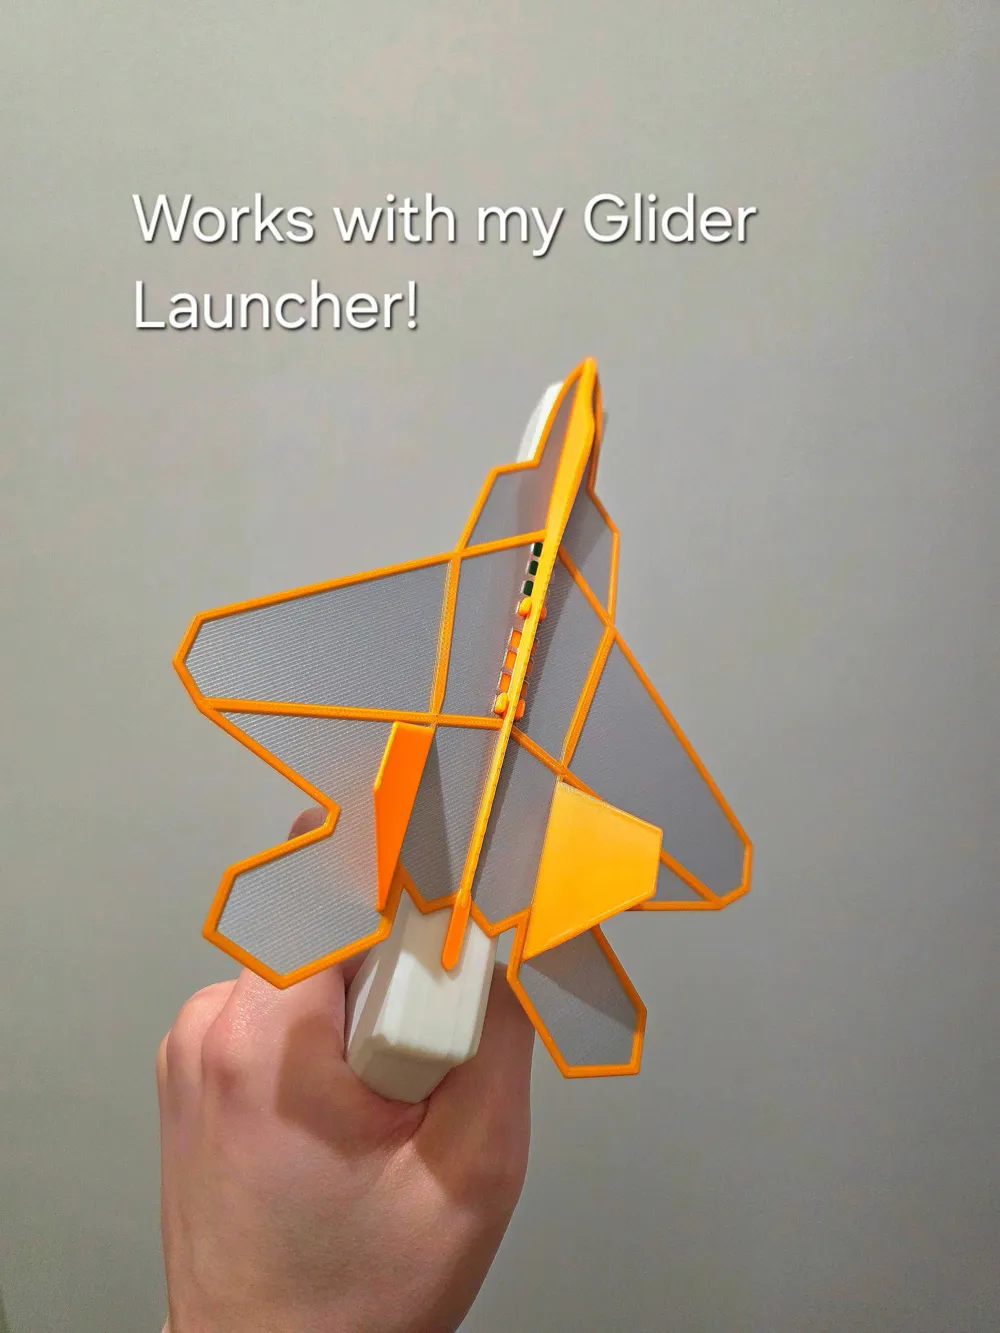
This glider is also fully compatible with my Plane Launcher (Highly recommended):
https://makerworld.com/en/models/1031904-plane-launcher-for-lightweight-glider#profileId-1014864
Key Features
- Launcher Compatible: Fully compatible with my Plane Launcher (Highly recommended).
- Impact Resistant: Reinforced nose cone and wing roots for improved impact resistance.
- Aerodynamic Flight: Optimized lift and weight distribution tailored specifically to the F-22's unique wing geometry for consistent gliding performance.
- Ultra-Lightweight: A lightweight design of just 7.7g.
- Quick Print: A fast print time of approximately 36 minutes.
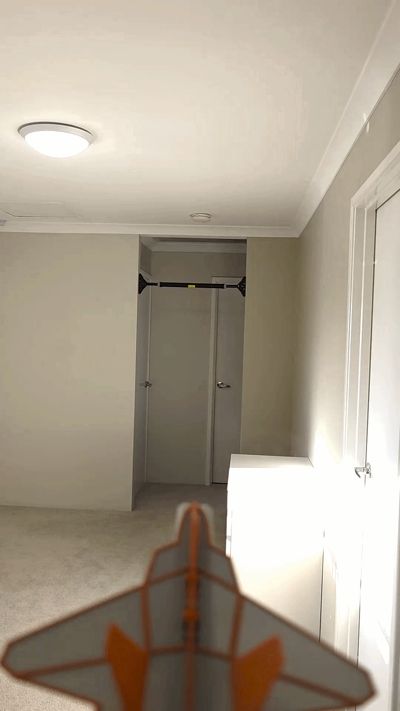
- Versatile Fun: Its compact footprint makes it ideal for flights both in indoor spaces and outdoors.
Assembly Instructions (I reused some video from my previous upload as guide, but instruction are pretty much identical)

How to remove it from build plate (Important!):


How to attach the adapter:
(This is from my previous design, but the Instruction is pretty much identical)
Adapter removal guide:
How to use it with my Plane Launcher:
(This is from my previous design, but the Instruction is pretty much identical)

Note: Make sure the rubber band used on your launcher is strong. The stronger it is, the further the plane can glide!
Troubleshooting guide
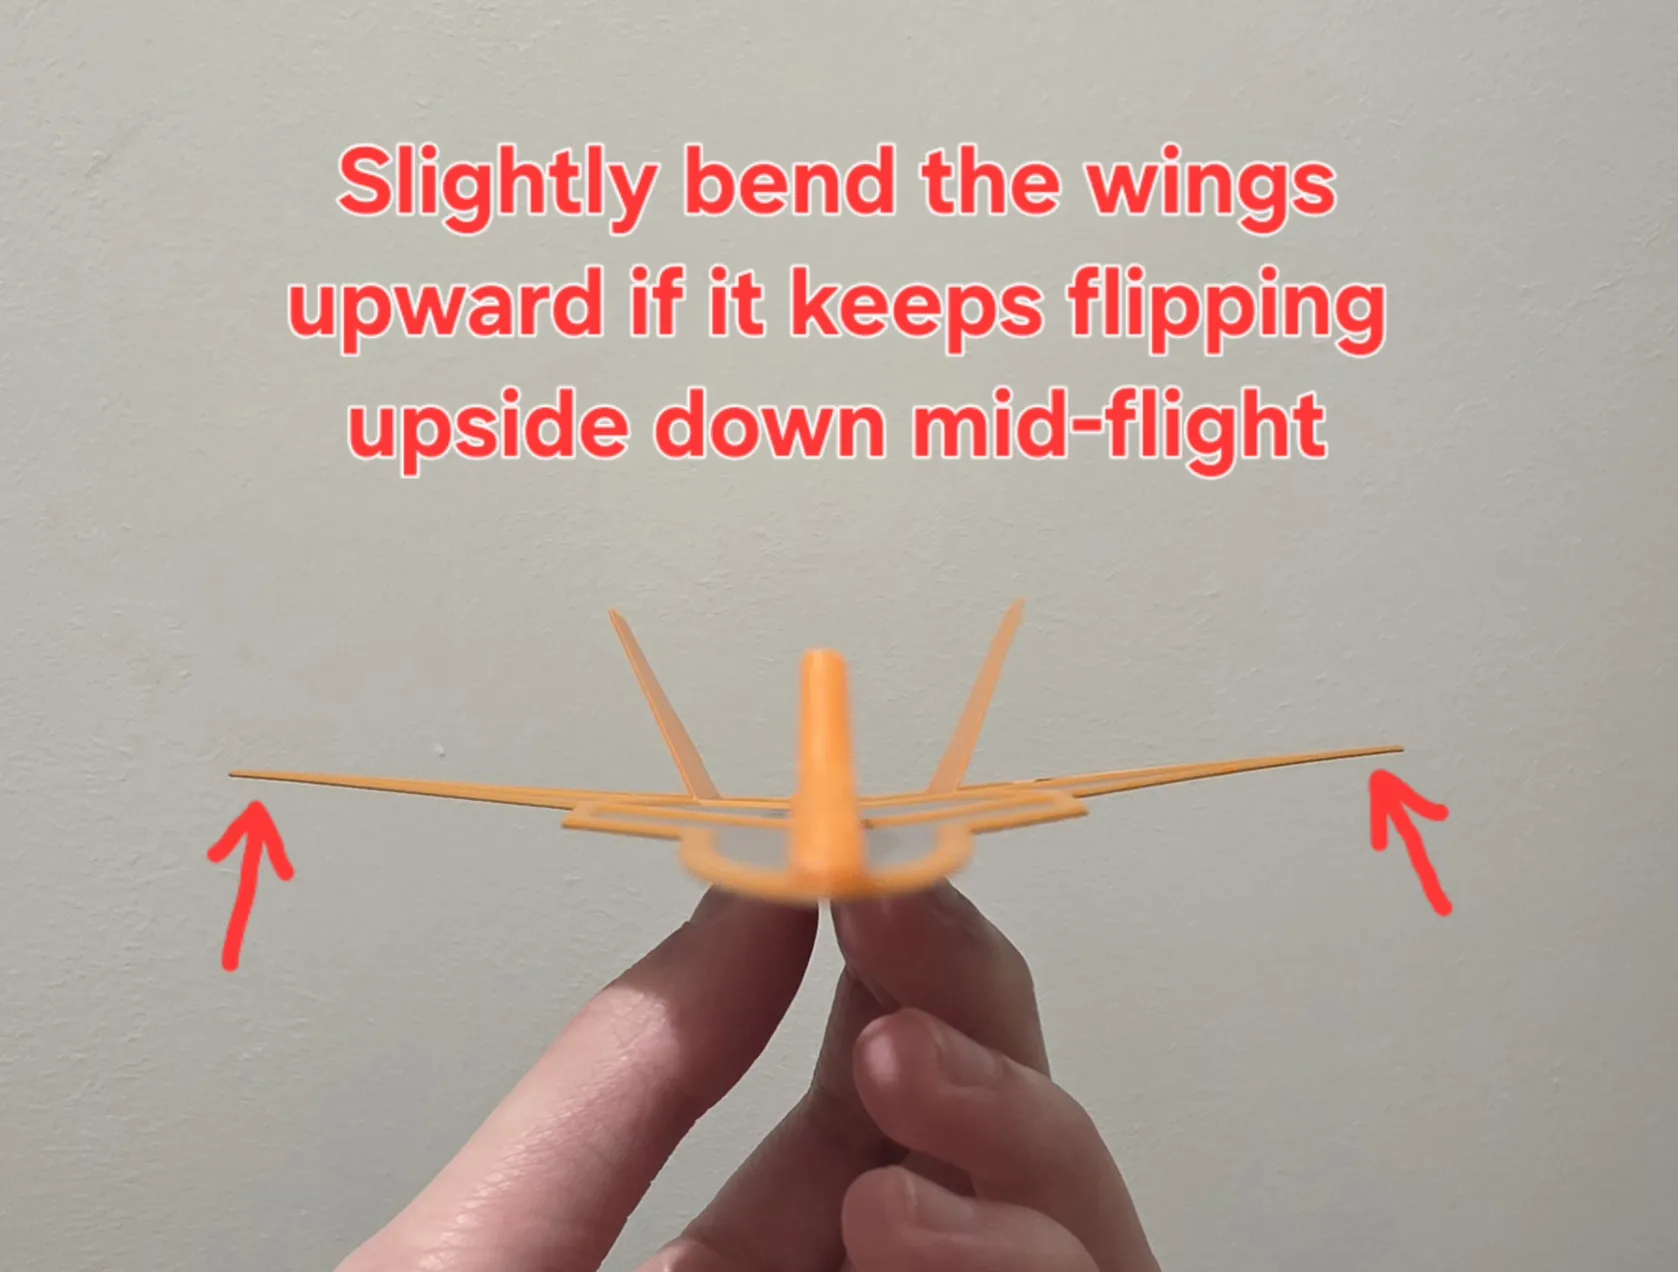
Glider Flipping upside-down mid-flight:

Glider nose-dive/flipping up:
(Try changing the position of the adapter)
3D Print Instructions
Please read carefully—especially if you aren't using my pre-configured print profiles!
- Use 100% Infill: This is important, as it keeps the center of mass correct so the plane properly balanced.
- Layer Height Strategy: To make the wings stronger and smoother, the first 2 layers need to be printed at a 0.1mm layer height, and 0.2mm for the remaining layers. (This is already completely configured if you use my print profiles).
- Bed Adhesion: Make sure your print bed is clean and turn on auto-leveling. This is vital to avoid any adhesion issues with the thin wings profile.
- Safe Removal: Let the print bed completely COOL before bending the build plate back and forth and carefully removing the glider with a scraper. If you rush this step, you risk bending or damaging the wings.
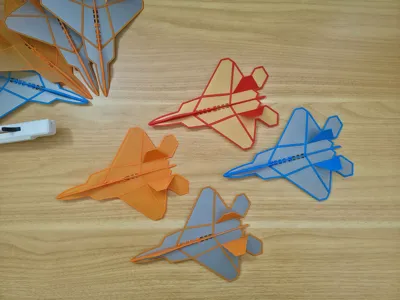
- Optional Dual-Color: You can print a dual-color glider even without an AMS (as seen in the grey and orange example in description above). Simply add a pause command at the 3rd layer in your slicer to change the filament color manually.
Happy Printing!
Membership
If you like my design and would like to sell it. You can subscribe to a commercial license here
Boost Me (for free)
Thank you for your support!
License

You shall not share, sub-license, sell, rent, host, transfer, or distribute in any way the digital or 3D printed versions of this object, nor any other derivative work of this object in its digital or physical format (including - but not limited to - remixes of this object, and hosting on other digital platforms). The objects may not be used without permission in any way whatsoever in which you charge money, or collect fees.


Comment & Rating (1)