
Expandable Modular Drawer Organizer

Print Profile(10)
Bill of Materials








Description
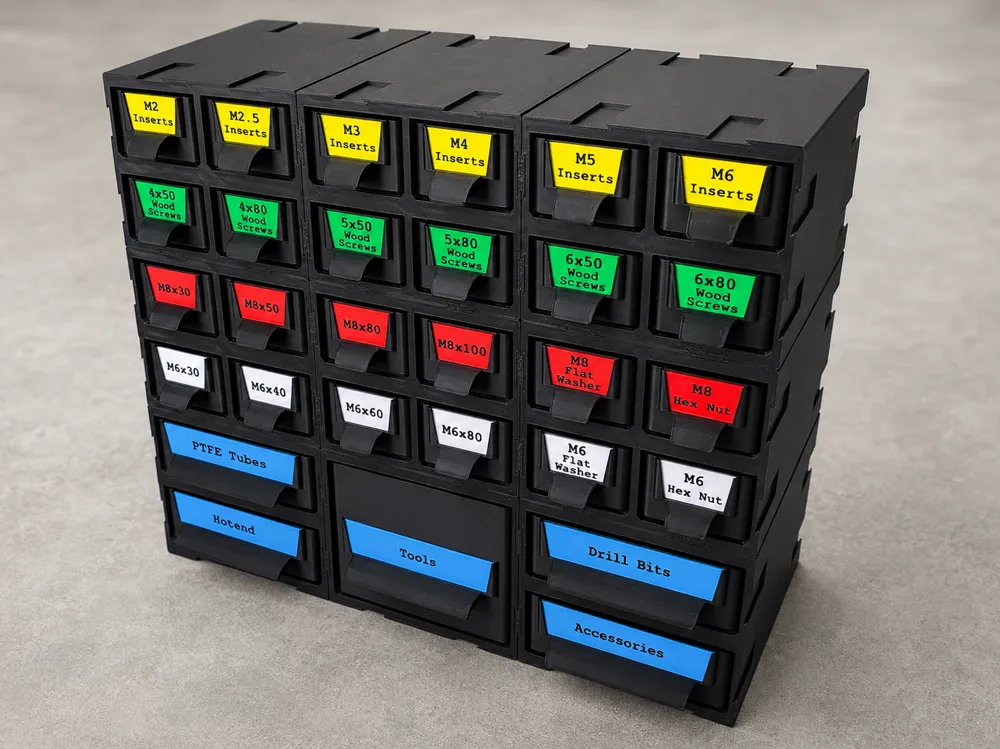
Expandable Modular Drawer Organizer System
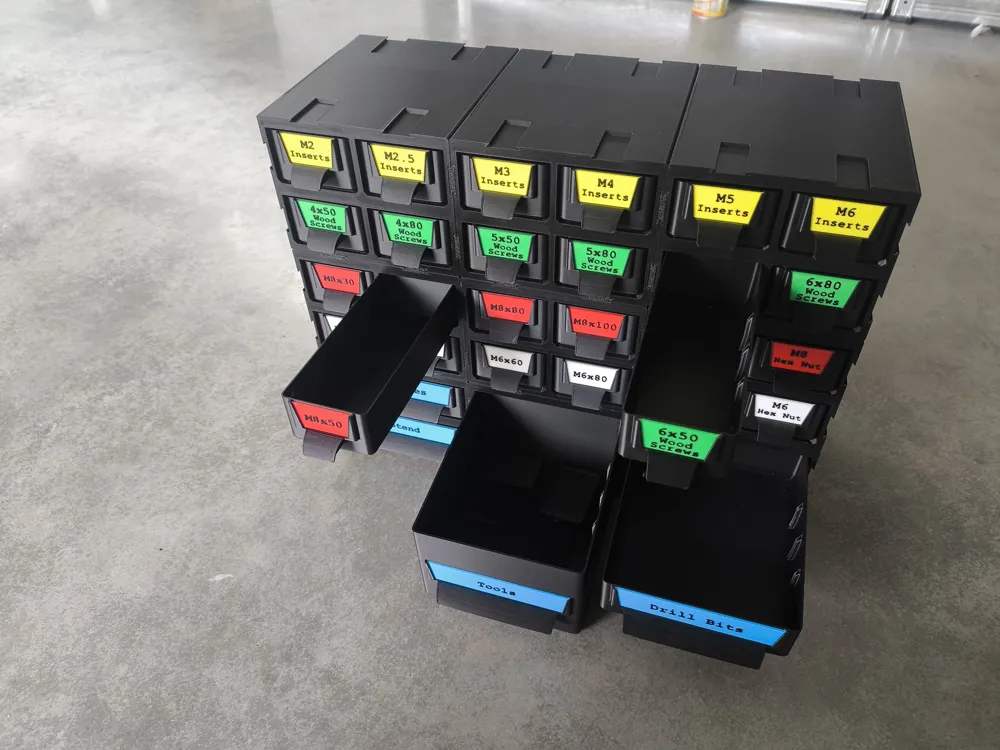
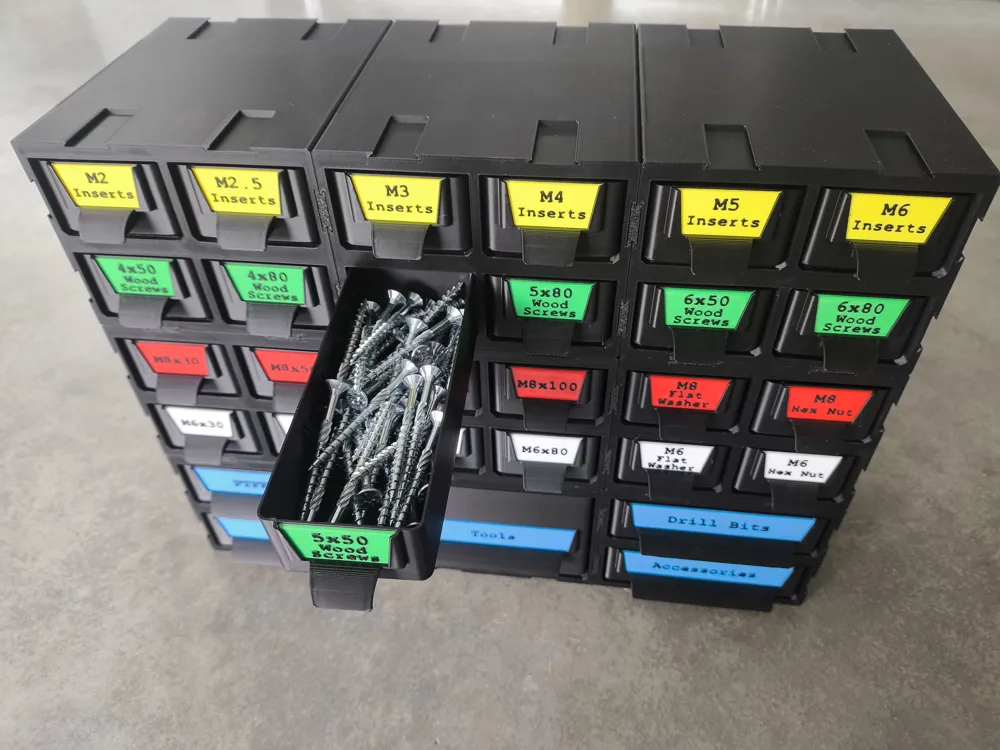
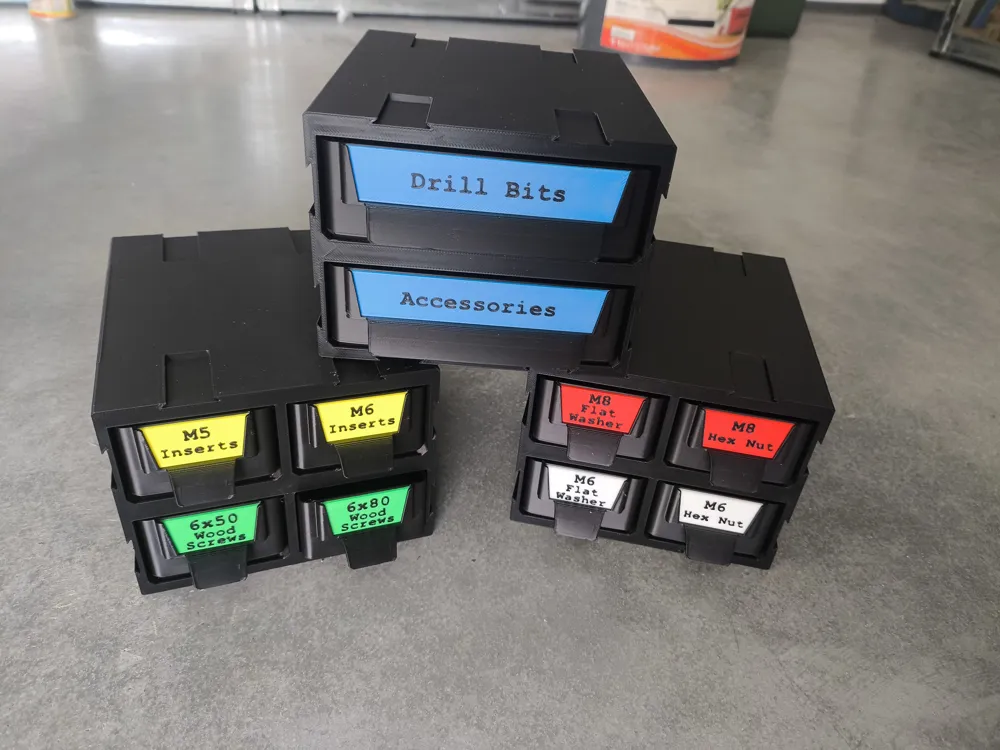
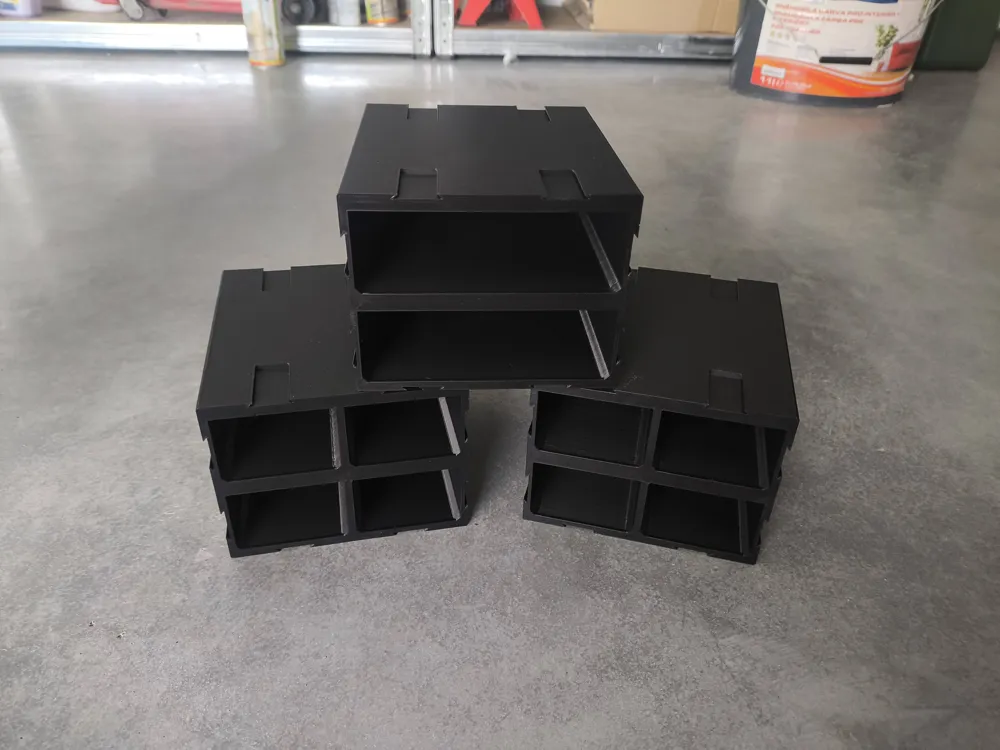
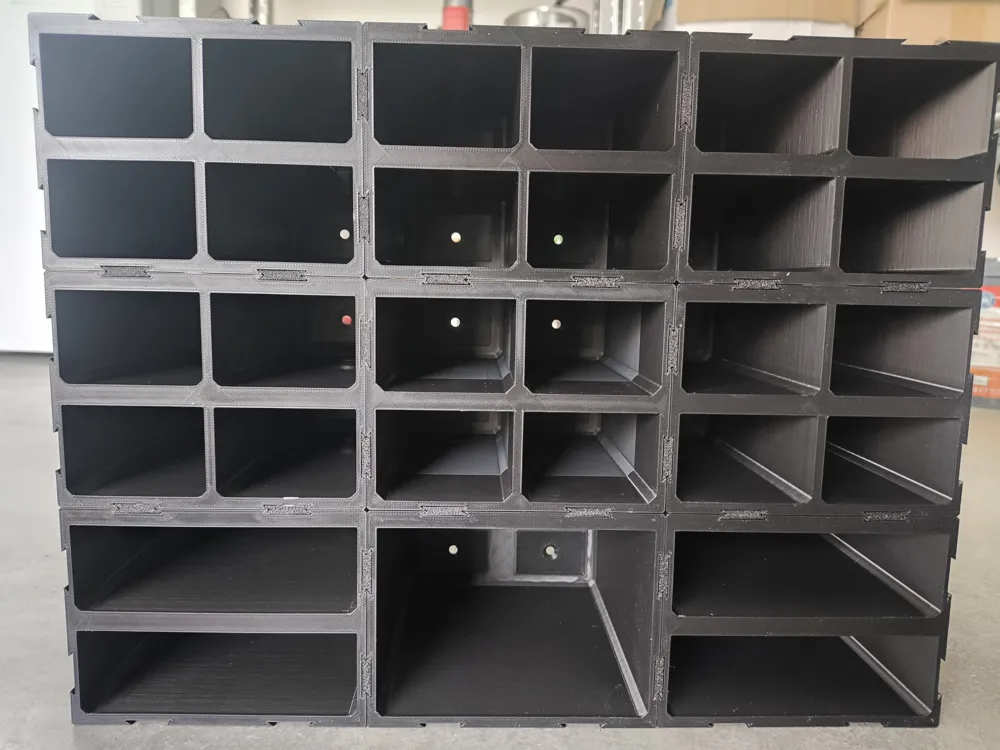
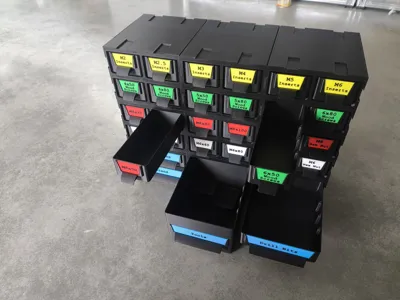
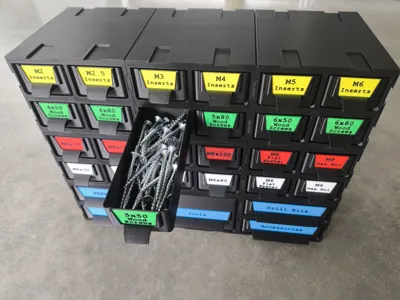
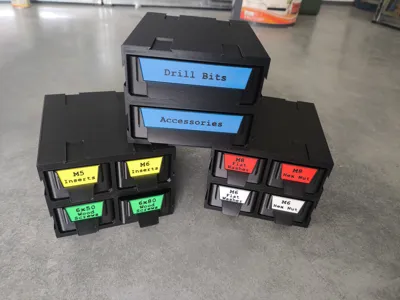
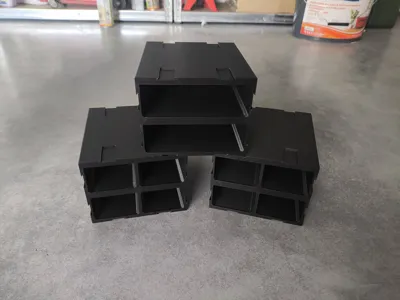
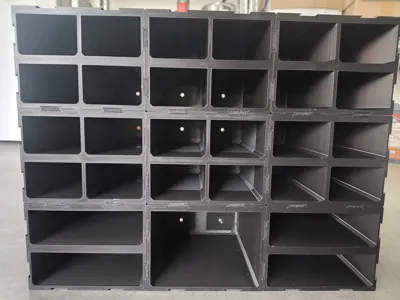
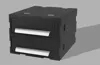
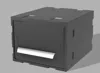
Keep your workspace clean and organized with this expandable modular drawer organizer system. The system is fully modular, allowing you to expand it as your storage needs grow. It can be stacked on a workbench or mounted to a wall, making it suitable for workshops, garages, hobby rooms, and 3D printing setups.
Features
- Expandable modular design
- Stackable construction
- Wall-mountable
- Easy-to-print components
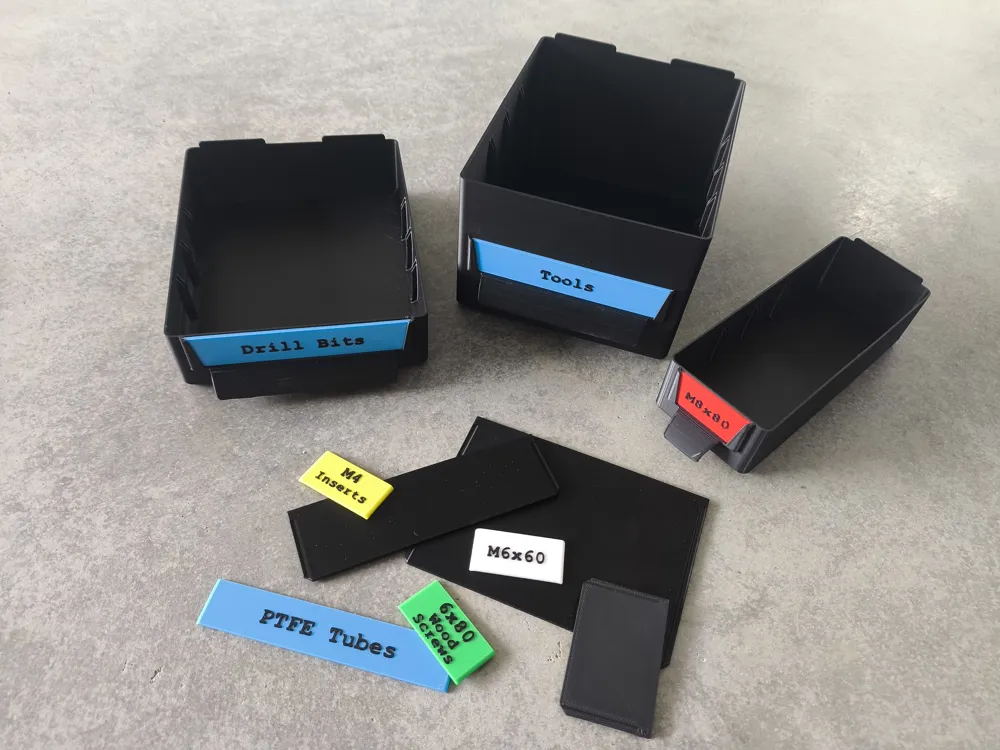
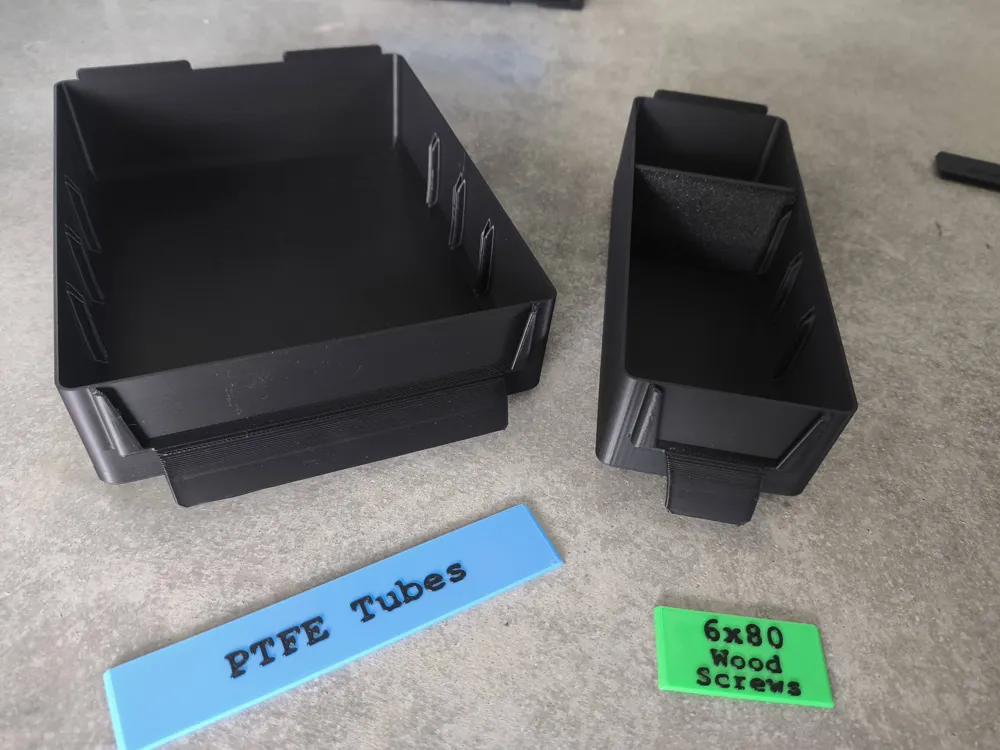
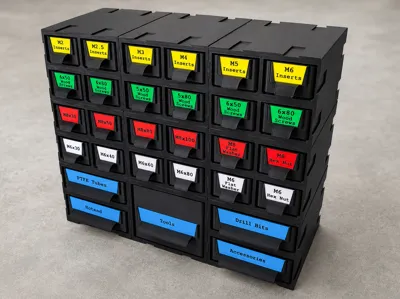
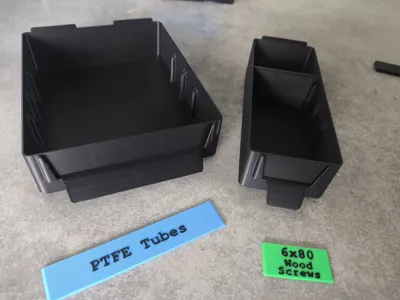
- Customizable drawer labels
- Suitable for screws, nuts, washers, tools, PTFE tubes, spare parts, and more
Assembly
Connecting Modules
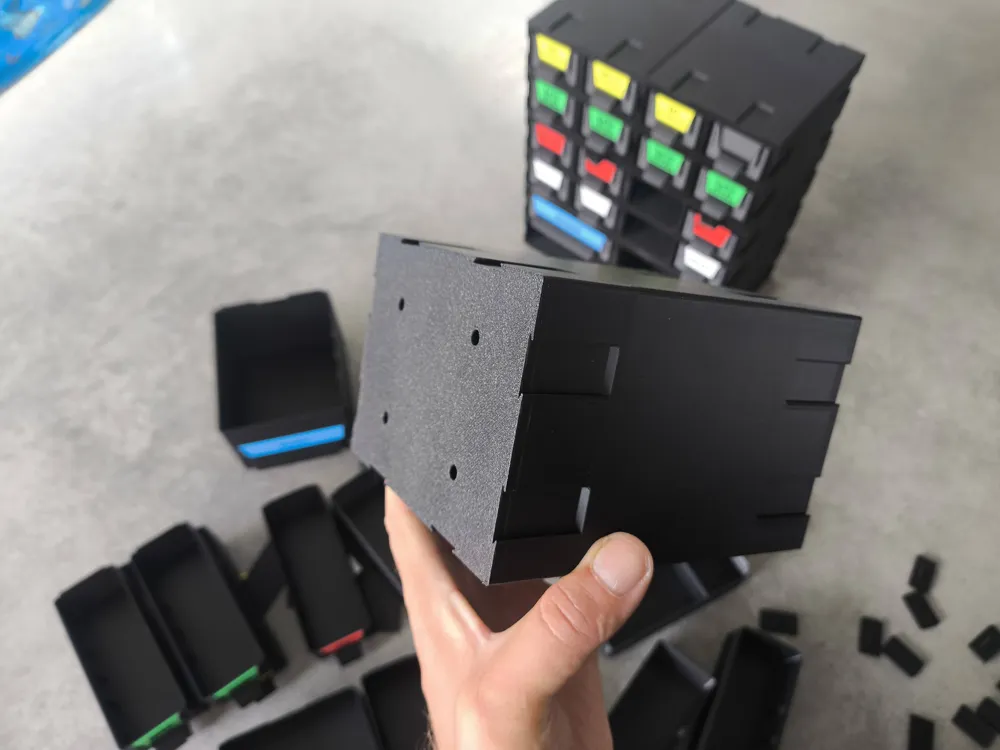
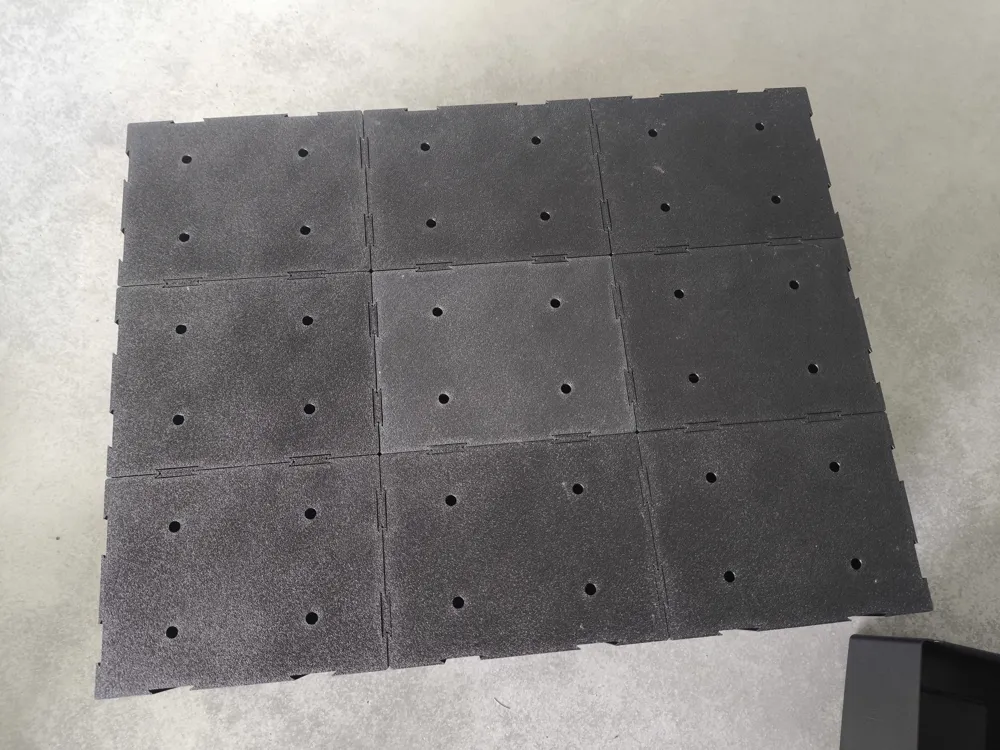
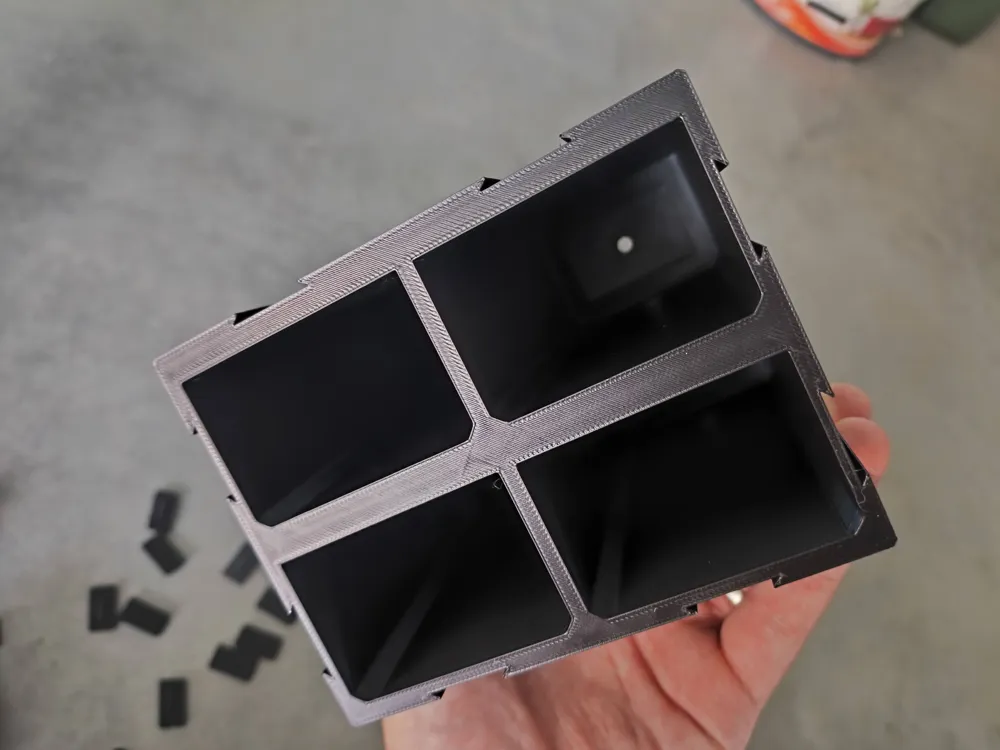
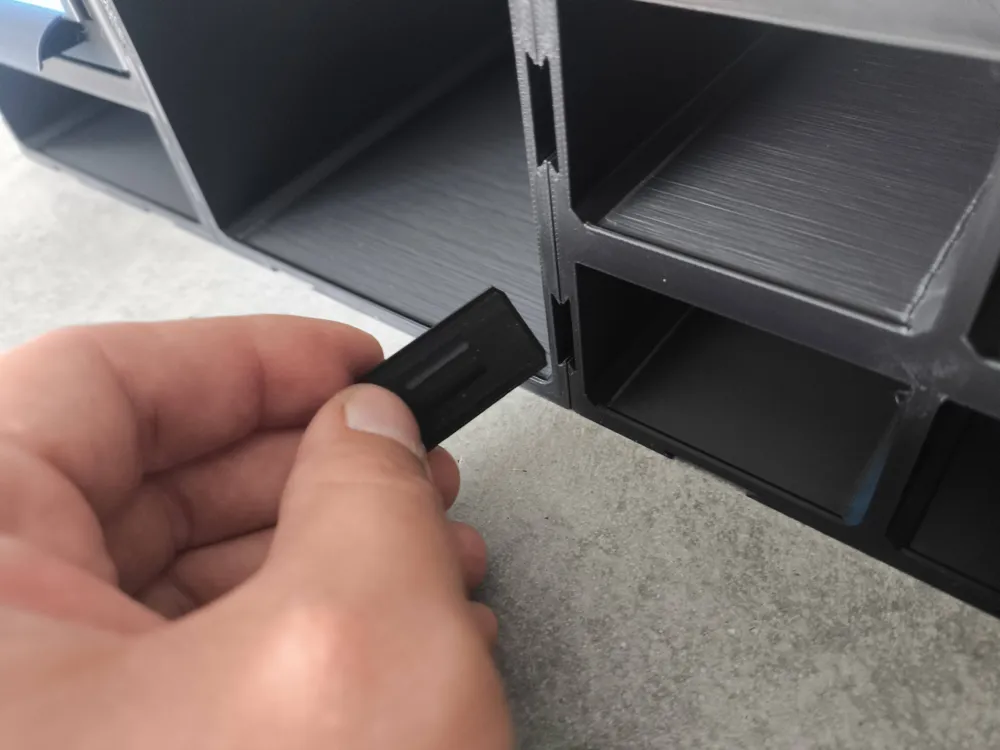
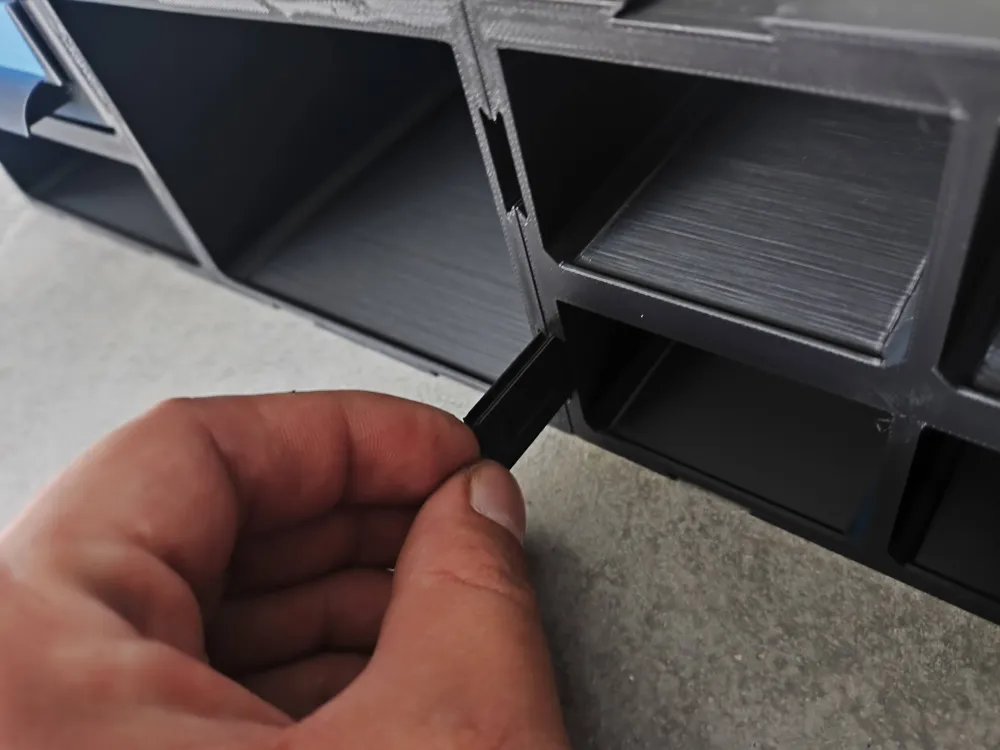
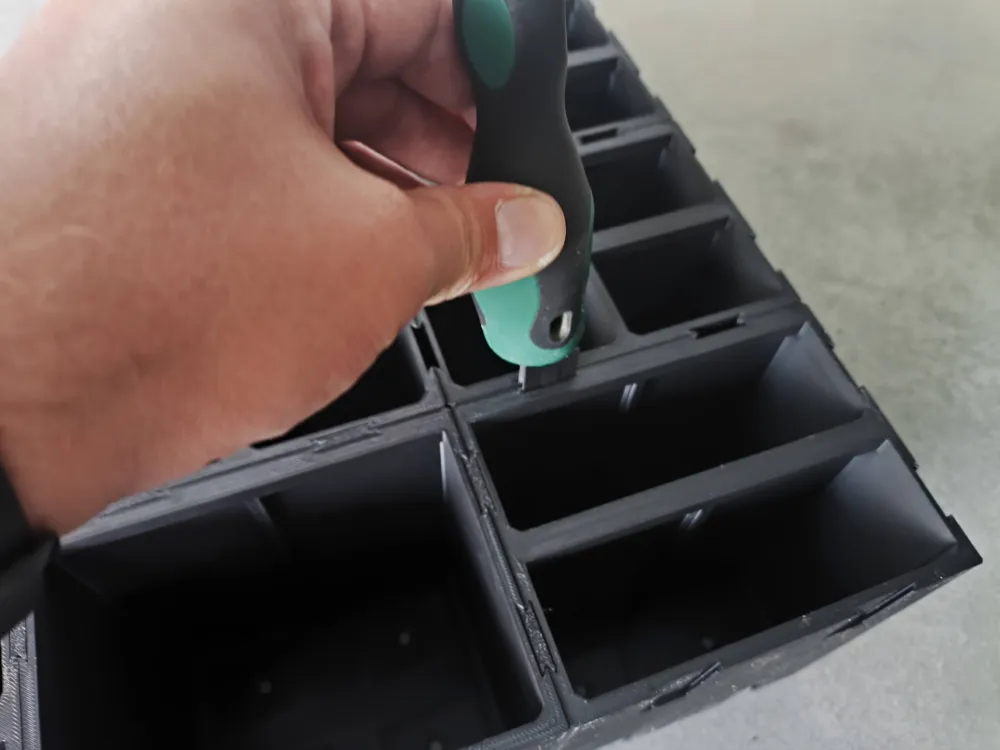
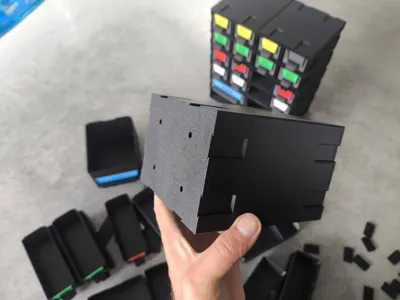
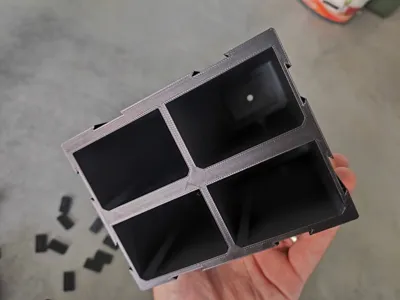
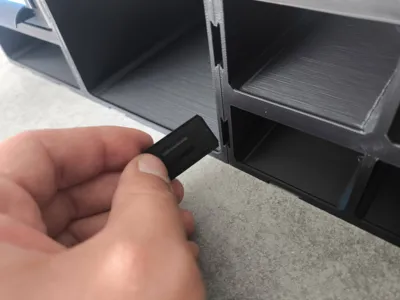
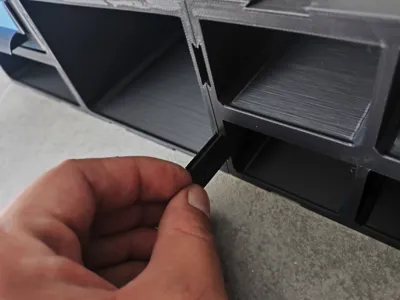
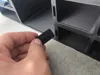
Individual modules are connected using the included Lock parts (see photos for reference). These provide a secure connection while allowing the system to be easily expanded or rearranged.
Wall Mounting
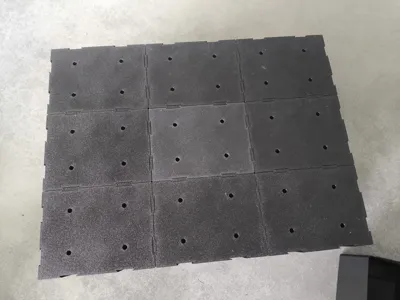
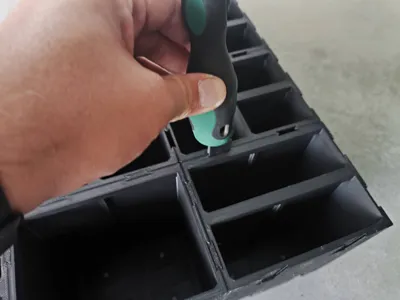
Each module includes four mounting holes designed for 5 mm countersunk screws, making wall installation quick and secure.
Drawer Labels
For the best appearance, I recommend adding the label text directly in your slicer (see the slicer screenshot).
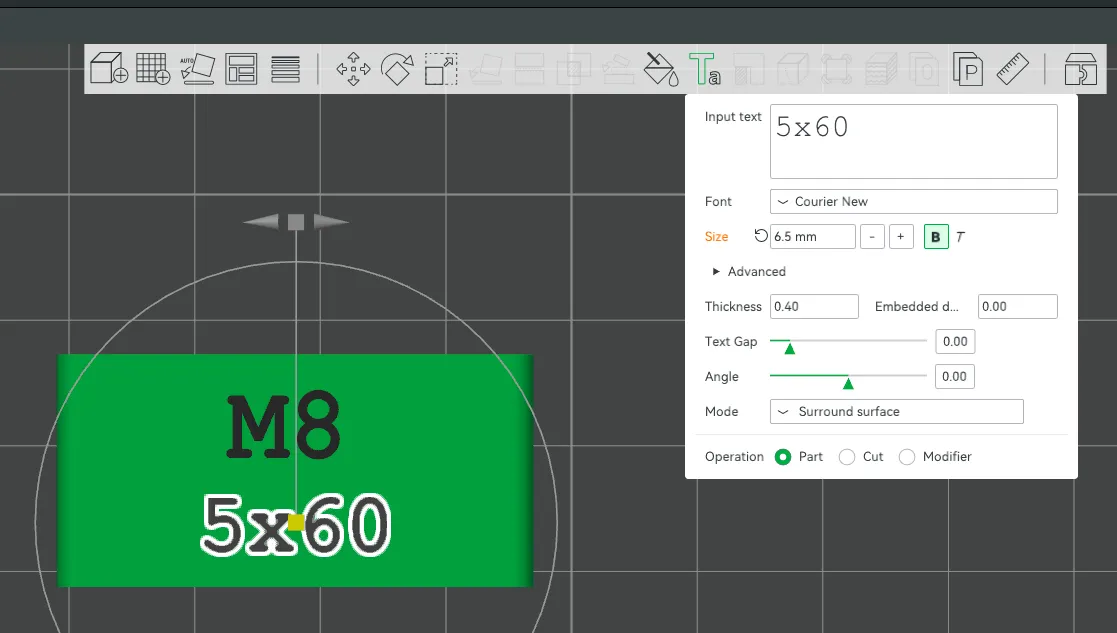
If you prefer, the labels can also be printed without embossed text and labeled manually afterward. In this case, I recommend enabling Ironing in your slicer to achieve a smooth surface for writing or applying stickers.
License

You shall not share, sub-license, sell, rent, host, transfer, or distribute in any way the digital or 3D printed versions of this object, nor any other derivative work of this object in its digital or physical format (including - but not limited to - remixes of this object, and hosting on other digital platforms). The objects may not be used without permission in any way whatsoever in which you charge money, or collect fees.


Comment & Rating (0)