
Print Profile(1)

Description
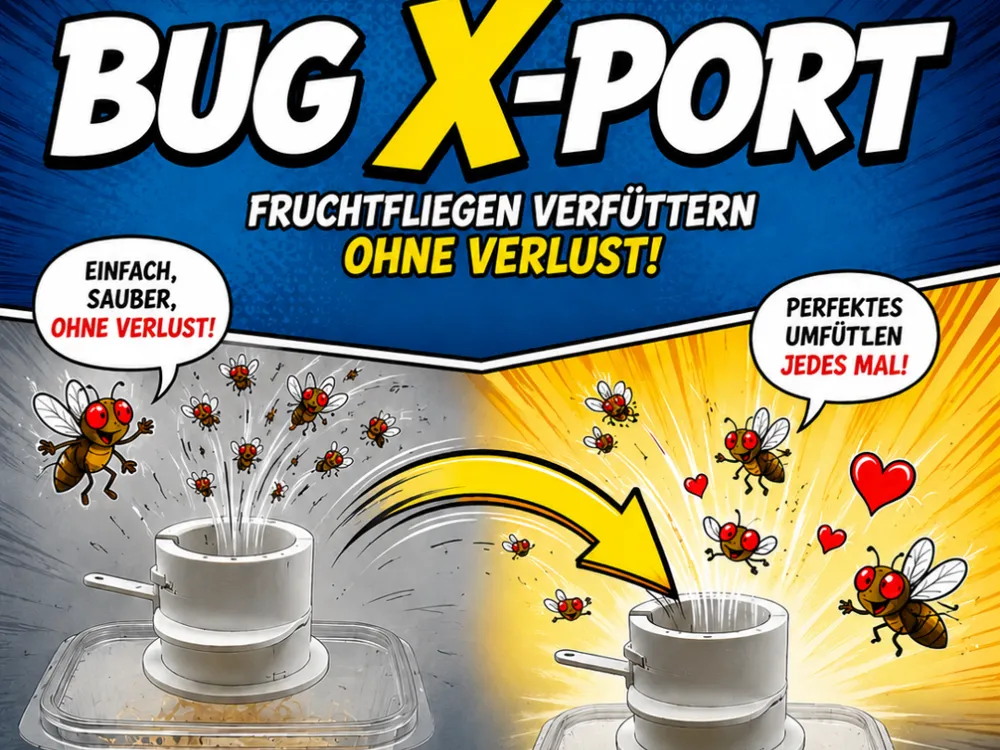
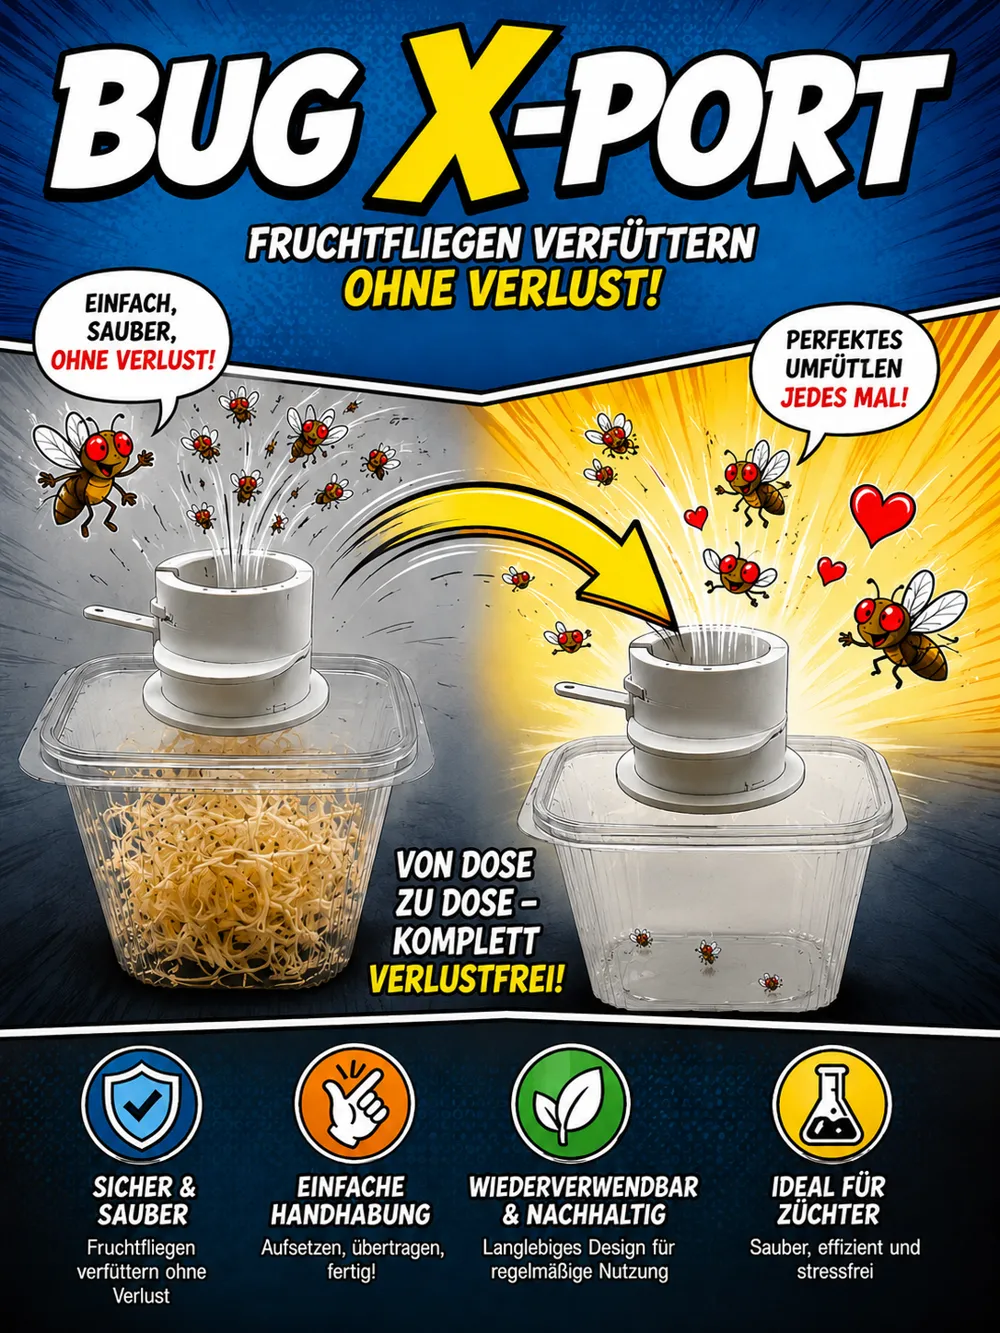
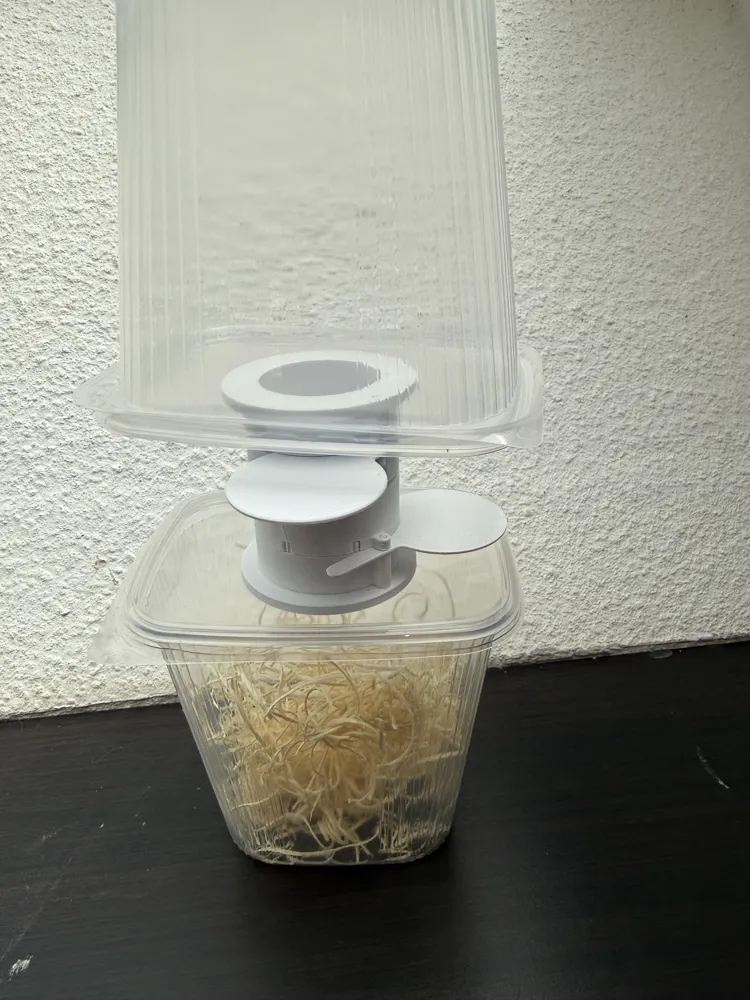
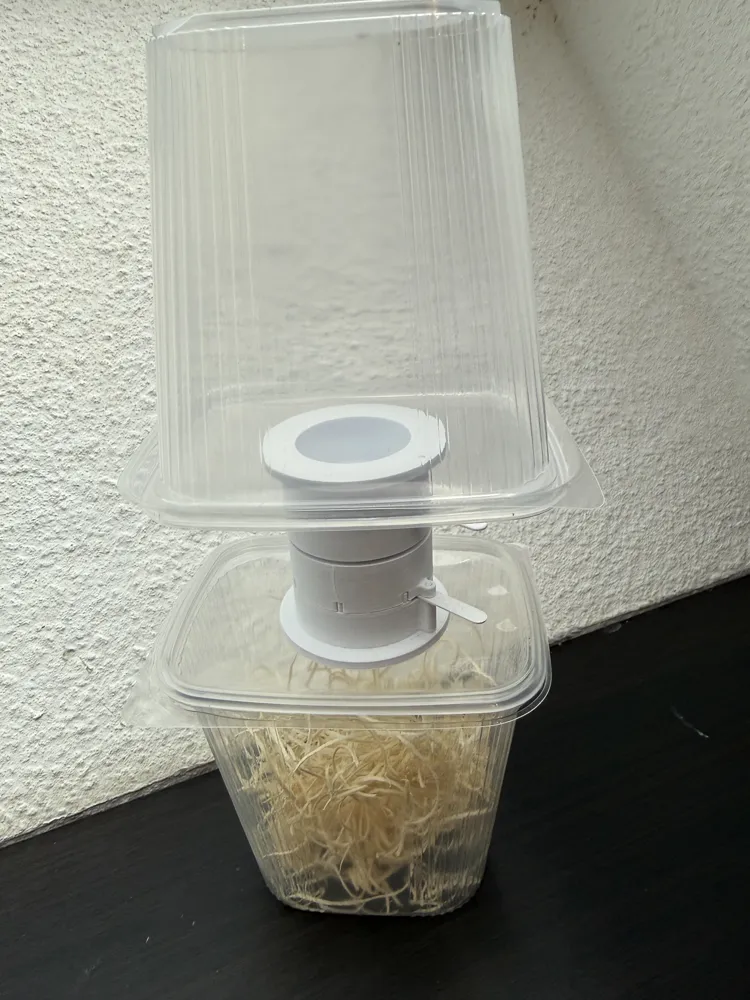
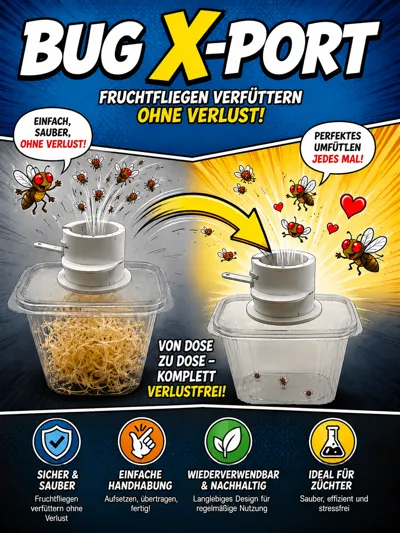
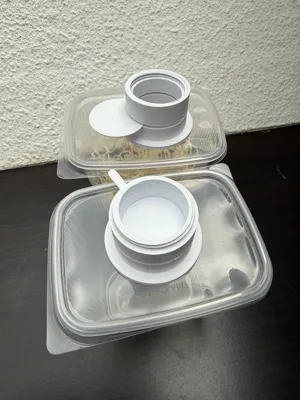
The Bug X-Port is a practical lock solution for safely transferring feeder insects such as fruit flies or TerFlys. With this system, feeder insects can be moved from one breeding container to another container or box without insects escaping when the containers are separated. However, the Bug X-Port can also be used without the second component. If a single component is glued to the breeding container, the slider can be used as a practical closure flap to pour feeder insects directly from the container into the terrarium in a controlled manner
Functionality
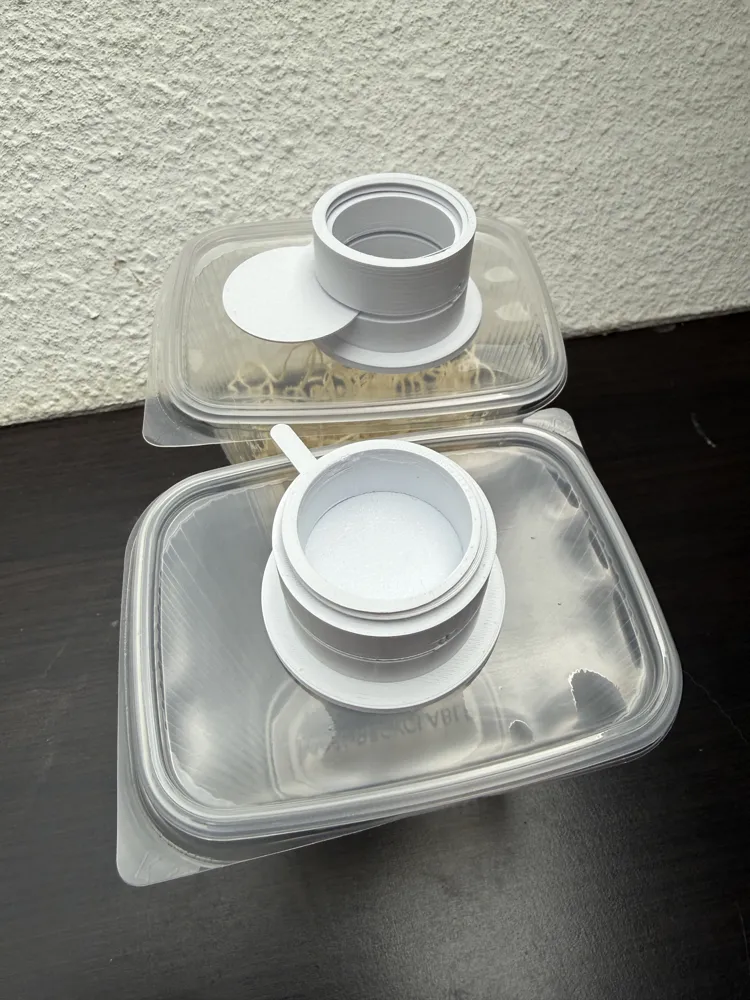
The Bug X-Port consists of two components that are screwed together via a thread
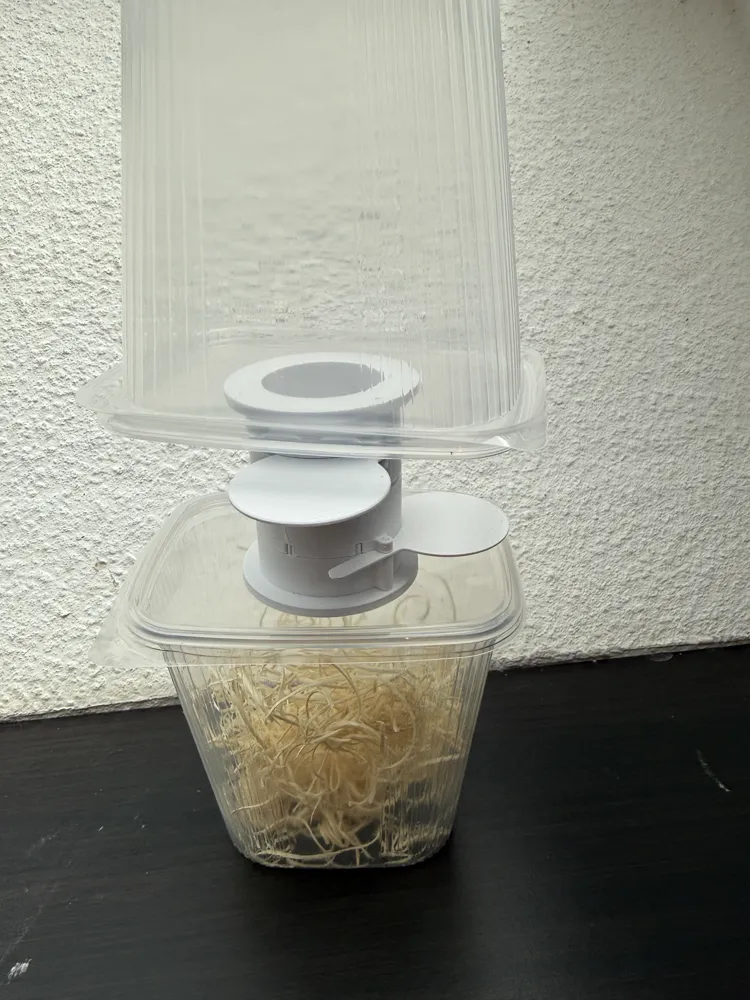
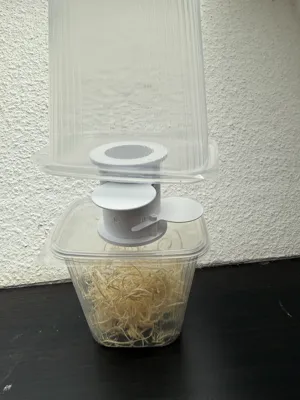
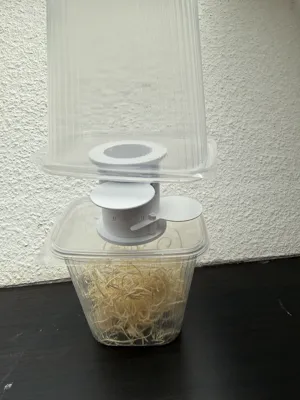
Each component has its own slider, so both sides can be opened and completely closed again independently. This creates a lock: While the components are screwed together, both sliders can be opened so that the feeder insects can get from the breeding container to the collection box. Then both sliders are closed again. Since both sides are now closed, the two components can be safely separated from each other without insects escaping
Only a short piece of filament is needed as a hinge for the sliders, which is pushed through the designated holes
Printing Notes
To ensure clean print quality, the model was **divided at 14.9 mm height in Bambu Studio** and provided with connectors. The reason for this is that the slot for the slider is difficult to print reliably even with supports
After printing, the two halves of each component must be carefully glued together
Recommended Print Settings
- Material: PLA (or a material of your choice)
- Supports: Not required
- Carefully glue the two halves together after printing
Assembly
- Print all parts
- Glue the two halves of each component together
- Insert the sliders
- Push a piece of filament through the designated holes as a hinge
- Glue one component onto the container with the feeder insects
- Glue the second component onto a collection box or another container, for example, an empty feeder container
For a permanently stable connection, I recommend lightly roughing the adhesive surfaces before gluing
Usage
- Screw both components together
- Open both sliders
- By lightly tapping or shaking, allow the desired amount of feeder insects to move from the breeding container to the collection box
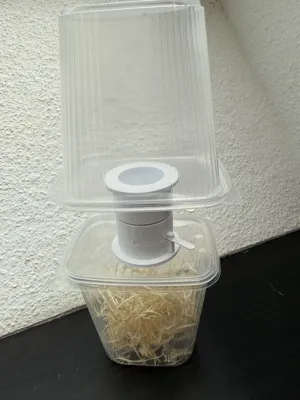
- Close both sliders again
- Now the two components can be safely separated from each other, as both sides are closed again
The process can be repeated as often as desired
Note
The Bug X-Port was developed to significantly reduce the risk of feeder insects escaping during transfer. For the best possible function, the parts should be cleanly printed, carefully glued, and precisely assembled
I hope the Bug X-Port makes handling your feeder insects easier
License

You shall not share, sub-license, sell, rent, host, transfer, or distribute in any way the digital or 3D printed versions of this object, nor any other derivative work of this object in its digital or physical format (including - but not limited to - remixes of this object, and hosting on other digital platforms). The objects may not be used without permission in any way whatsoever in which you charge money, or collect fees.


Comment & Rating (0)