
Print Profile(2)
Description
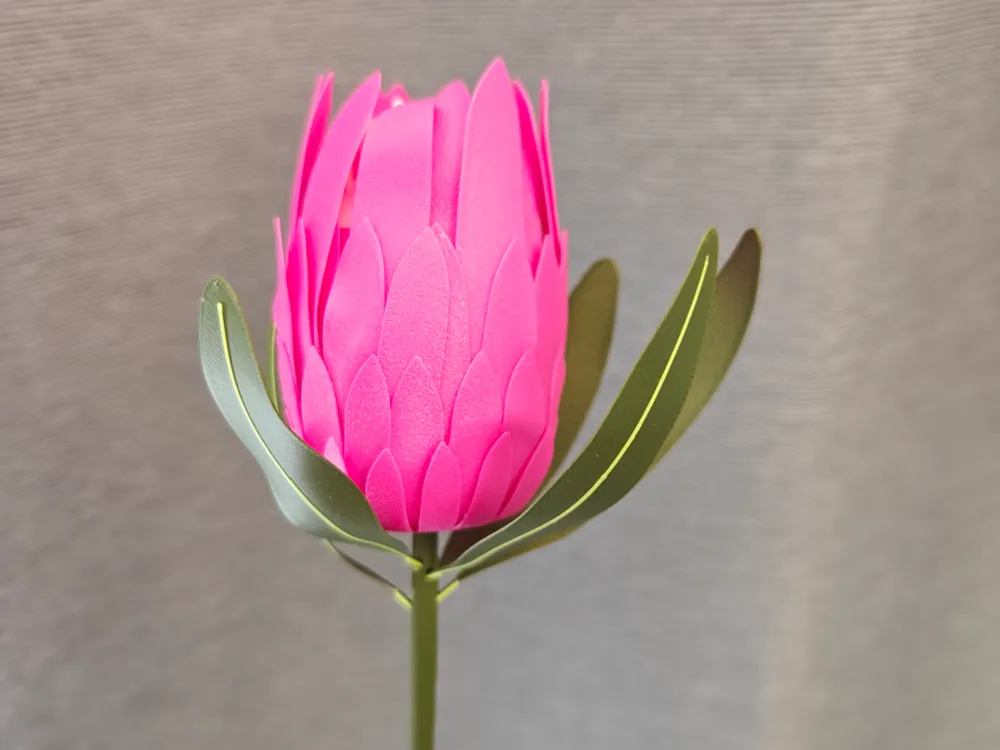
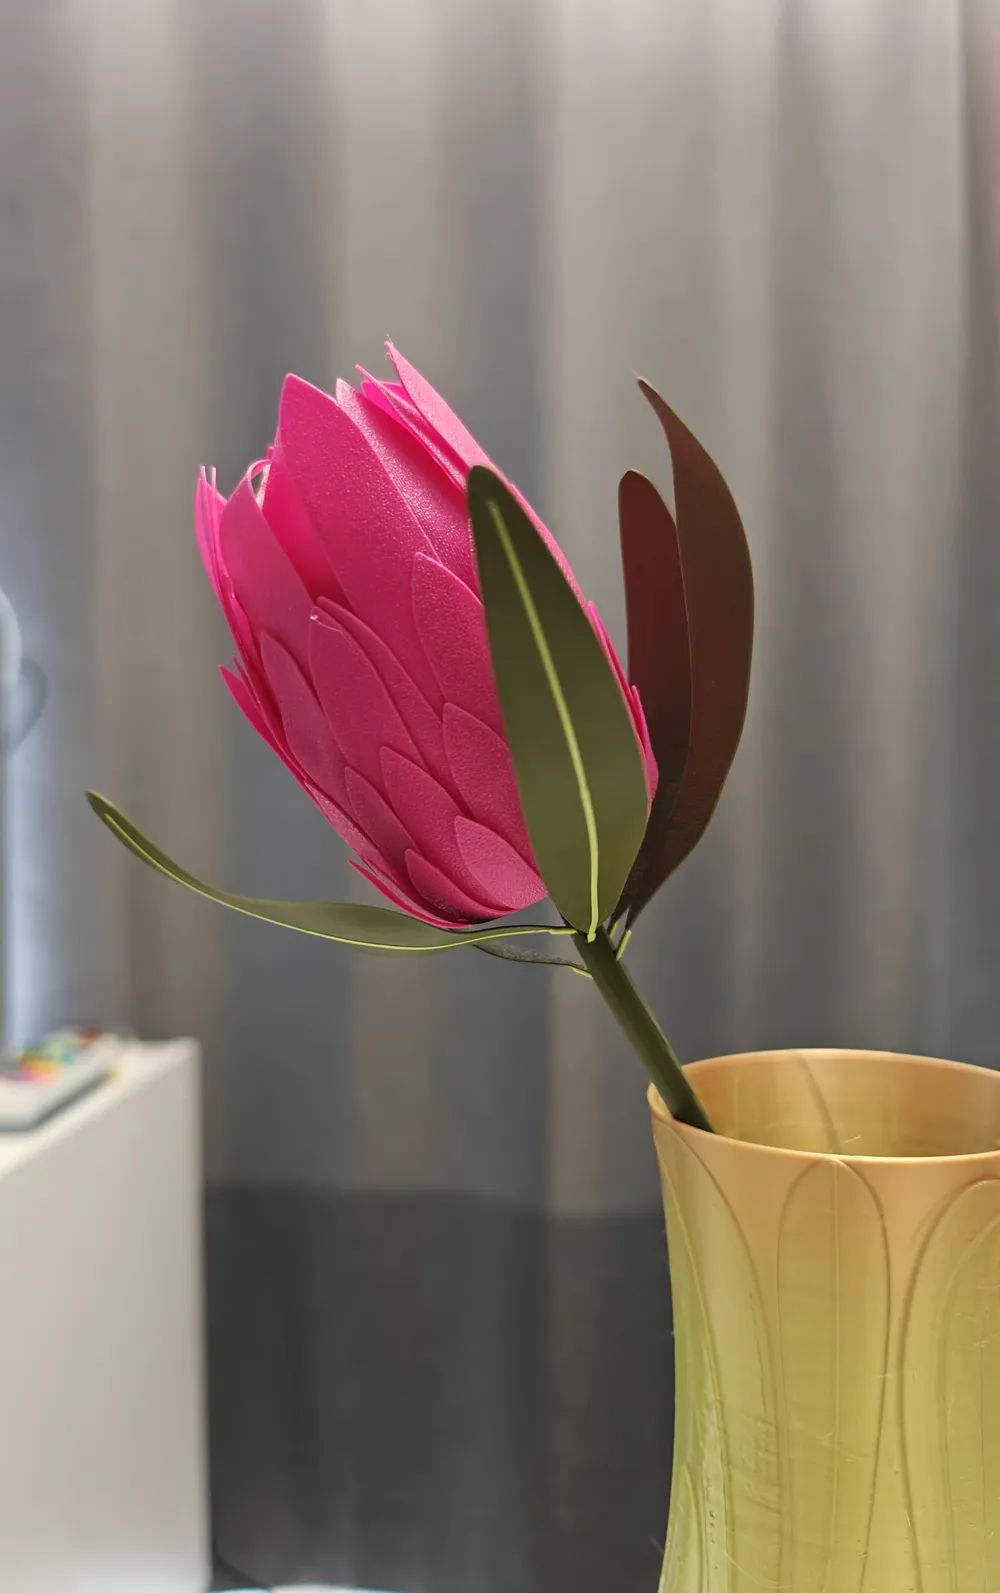
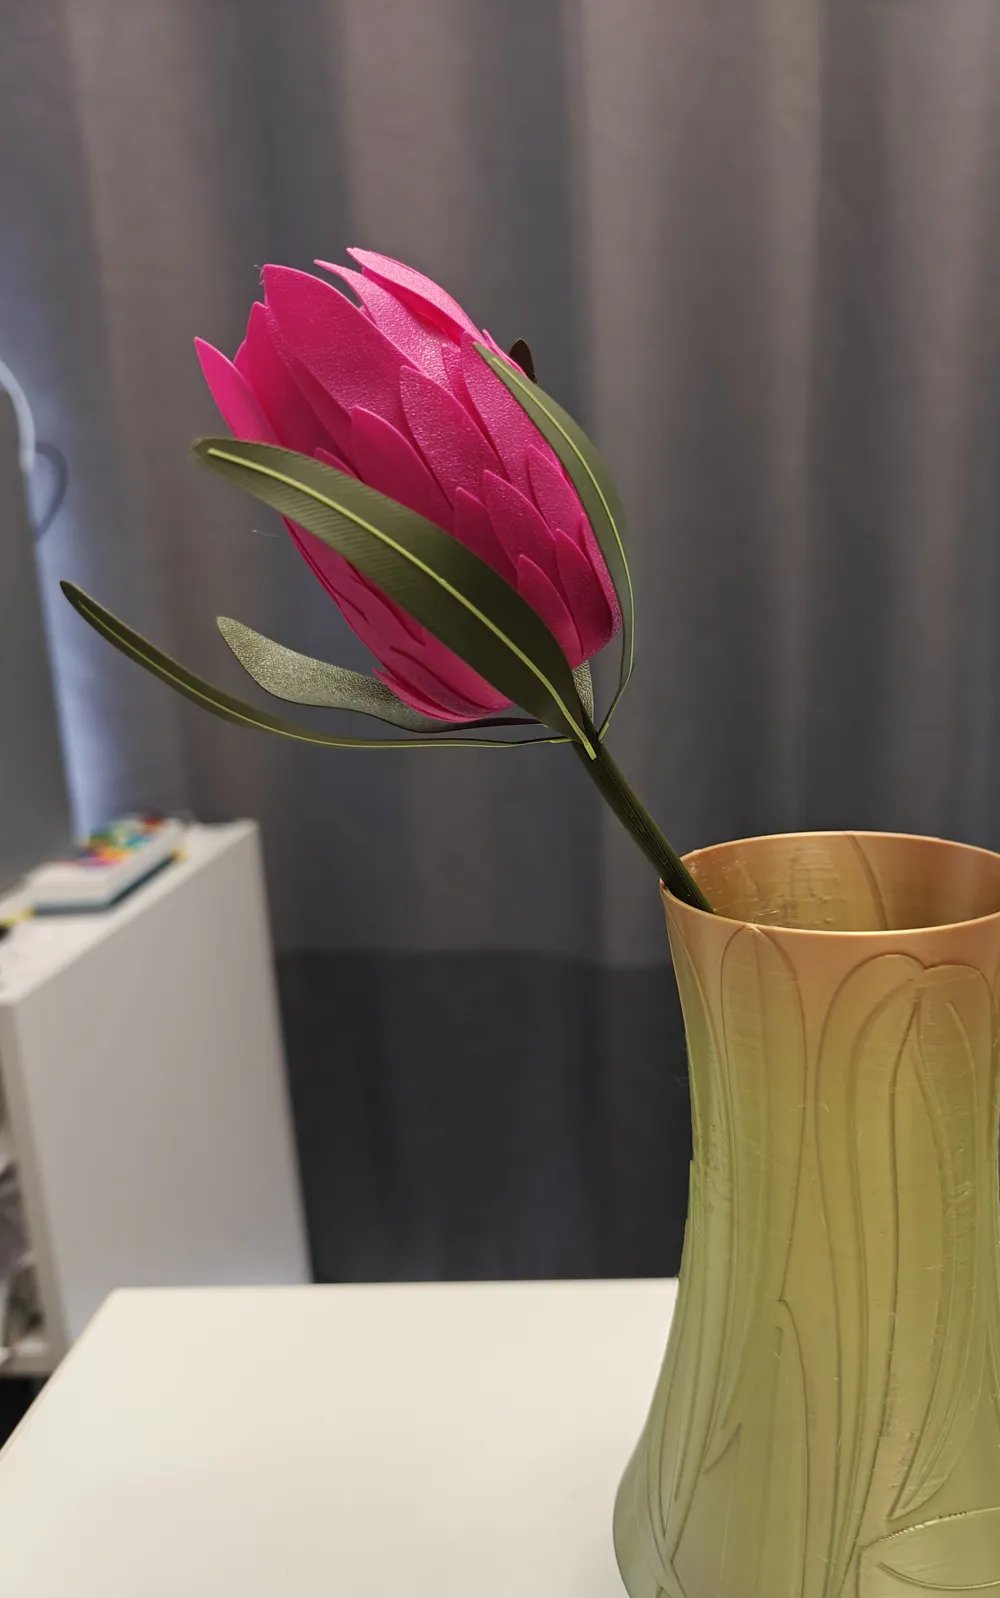
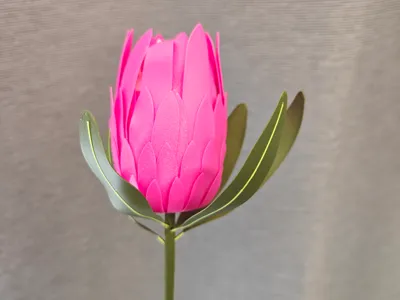
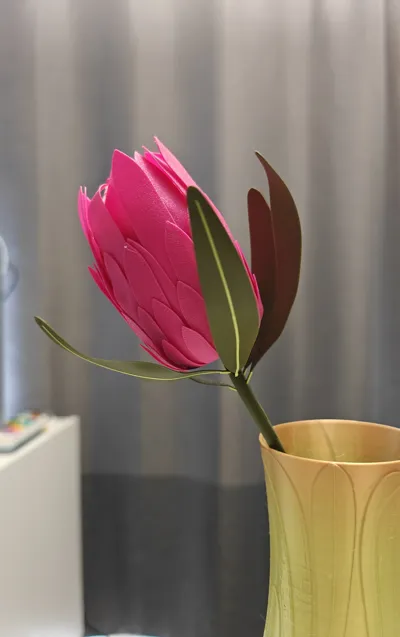
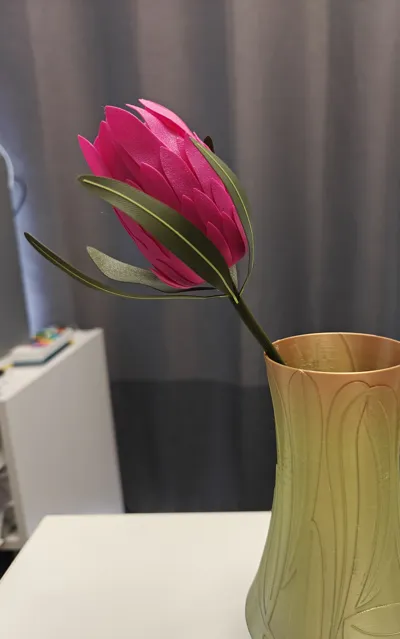
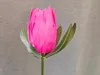
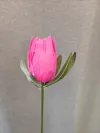
Designed to look good and still be easy to print, with minimal effort required to assemble. No tools, no supports, no glue, and no AMS required. Assembly takes only some boiling water and about 1 minute.
Printing notes:
• You can still print the multicolour version, even if you don't have an AMS! I've designed it to use only a single colour change for the flower and a single colour change for the leaves, so you can do it manually - simply insert a pause at layer 251 for the flower and layer 3 for the leaves so you can change filament. If you prefer to just print the single colour version, I've provided a profile for that too.
• Clean your plate first. This is always important, but especially for objects with a small contact area on the plate (such as the stem) to print successfully.
• Make sure you enable the bed levelling for this print. This helps to keep the long stem from peeling up at one end.
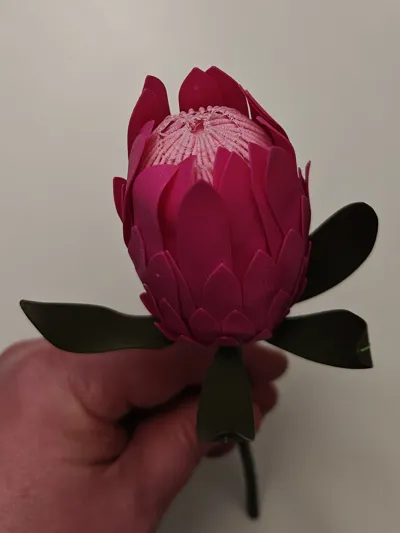
• Small imperfections may still be OK - flowers are organic shapes. You may find the styles (small hairs) have some slight stringing, and this actually helps it look more natural!
Recommended print settings:
Please note that my profiles already contain all the optimised print settings to minimise filament use and print time, so if you print on a BambuLab printer, you shouldn't need to change them. If you do need to set them manually, the most important one is to use arachne wall generation.
Layer height: 0.2mm
Walls: 2
Wall generation: Arachne
Infill: 5%
Infill pattern: Grid
Prime tower: Disable
Purge into object's infill: Yes
Assembly Instructions:
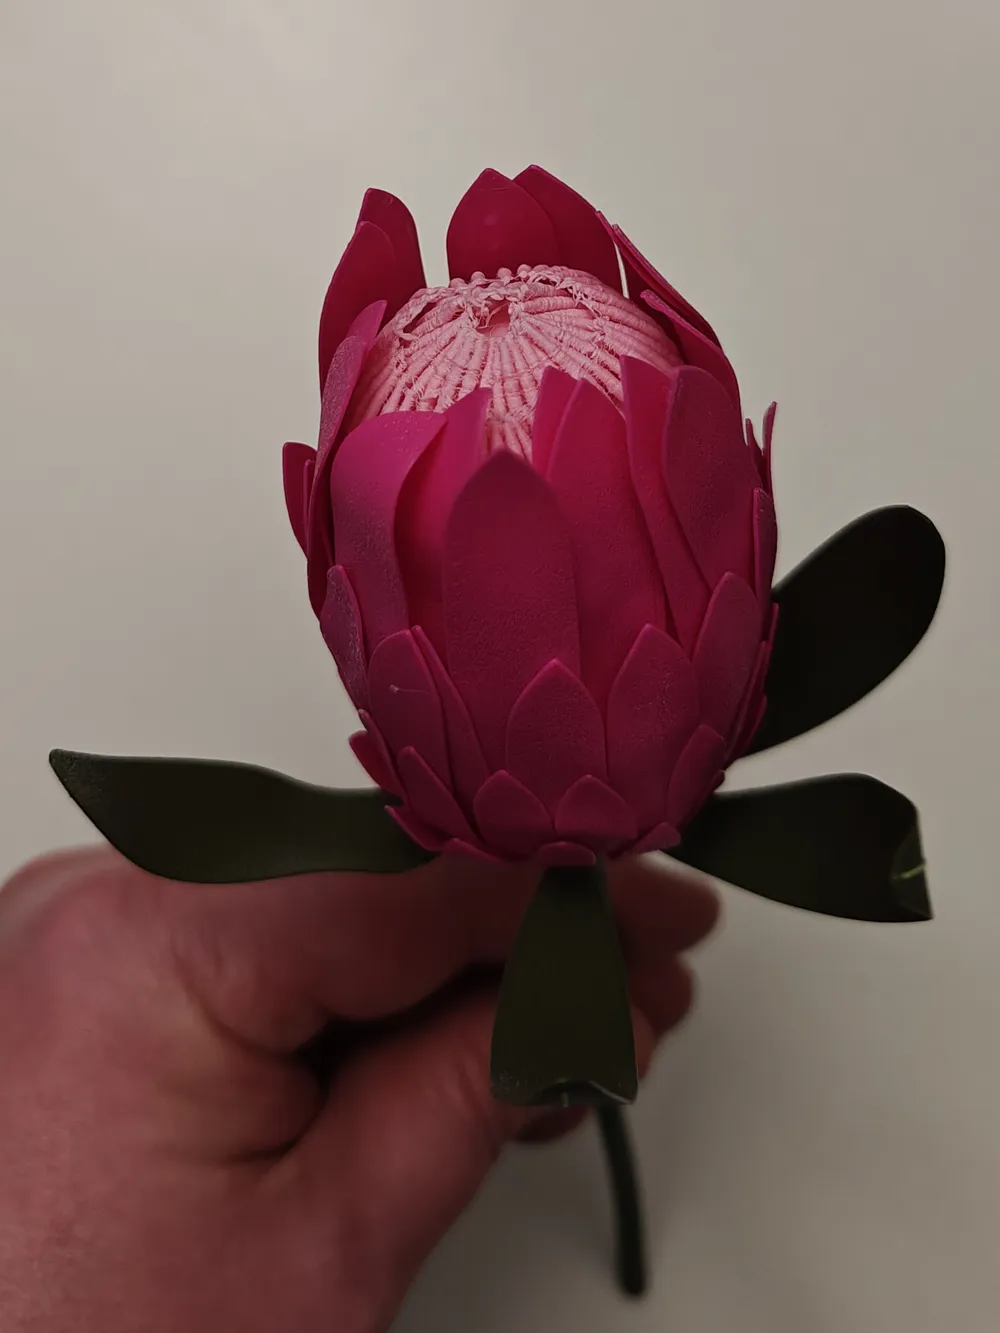
1. Once all the parts are printed, prepare a bowl of boiling water and dip the tip of the main pod into the water until the styles (the little hairs) soften - remove it and shake the excess water off gently. Stroke them upwards, pressing them down to pointing them to the centre/tip of the flower, and if they start to become firm, just dip it back in the water for 1-2 seconds to keep them soft, or you may break some - but don't worry if it's not perfect, that just adds to the natural look!
2. Assemble the flower by inserting the square of the largest set of petals into the base of the main pod. Insert the next smallest petals and so on, until they're all attached. Orientation doesn't matter. You may need to press firmly, but don't force it, or it may break, as the petals are thin.
3. Dip all the petals into the hot water, and hold them just below the surface - when they start to droop, remove them and gently shake off any excess water. Firmly push the petals up and inwards until they are snuggly pressed against the main pod. If they harden before you're done, dip them back into the water and try again. If the petals aren't aligned very well, I recommend dipping one side into the water and working them into position, then repeating as many times as needed until all the petals look nice - the slight variations are what makes it look more natural.
4. Hold the base of each leaf and one at a time, dip them carefully into the hot water for about 1-2 seconds and then shape them however you like. Very carefully insert the leaves into the holes at the top of the stem at a 45 degree angle. It doesn't matter which leaves go into which holes, but if you printed the dual-colour leaves, have that side facing outwards so you can see it. Even if they feel a little loose, the leaves shouldn't fall out, but you can add a tiny dot of cyanoacrylate (superglue) at the base of the leaves if you want. If a leaf doesn't quite fit, do not force it - carefully use a hobby knife to clear any obstructions and try again.
5. Insert the stem into the hole at the bottom of the flower - if the hole has deformed slightly, hold the petals firmly and dip the base of the flower back into the water for a few seconds to allow it to soften enough for the stem to be inserted.
License



Comment & Rating (1)