
Skylight Clamp
Print Profile(1)
Description
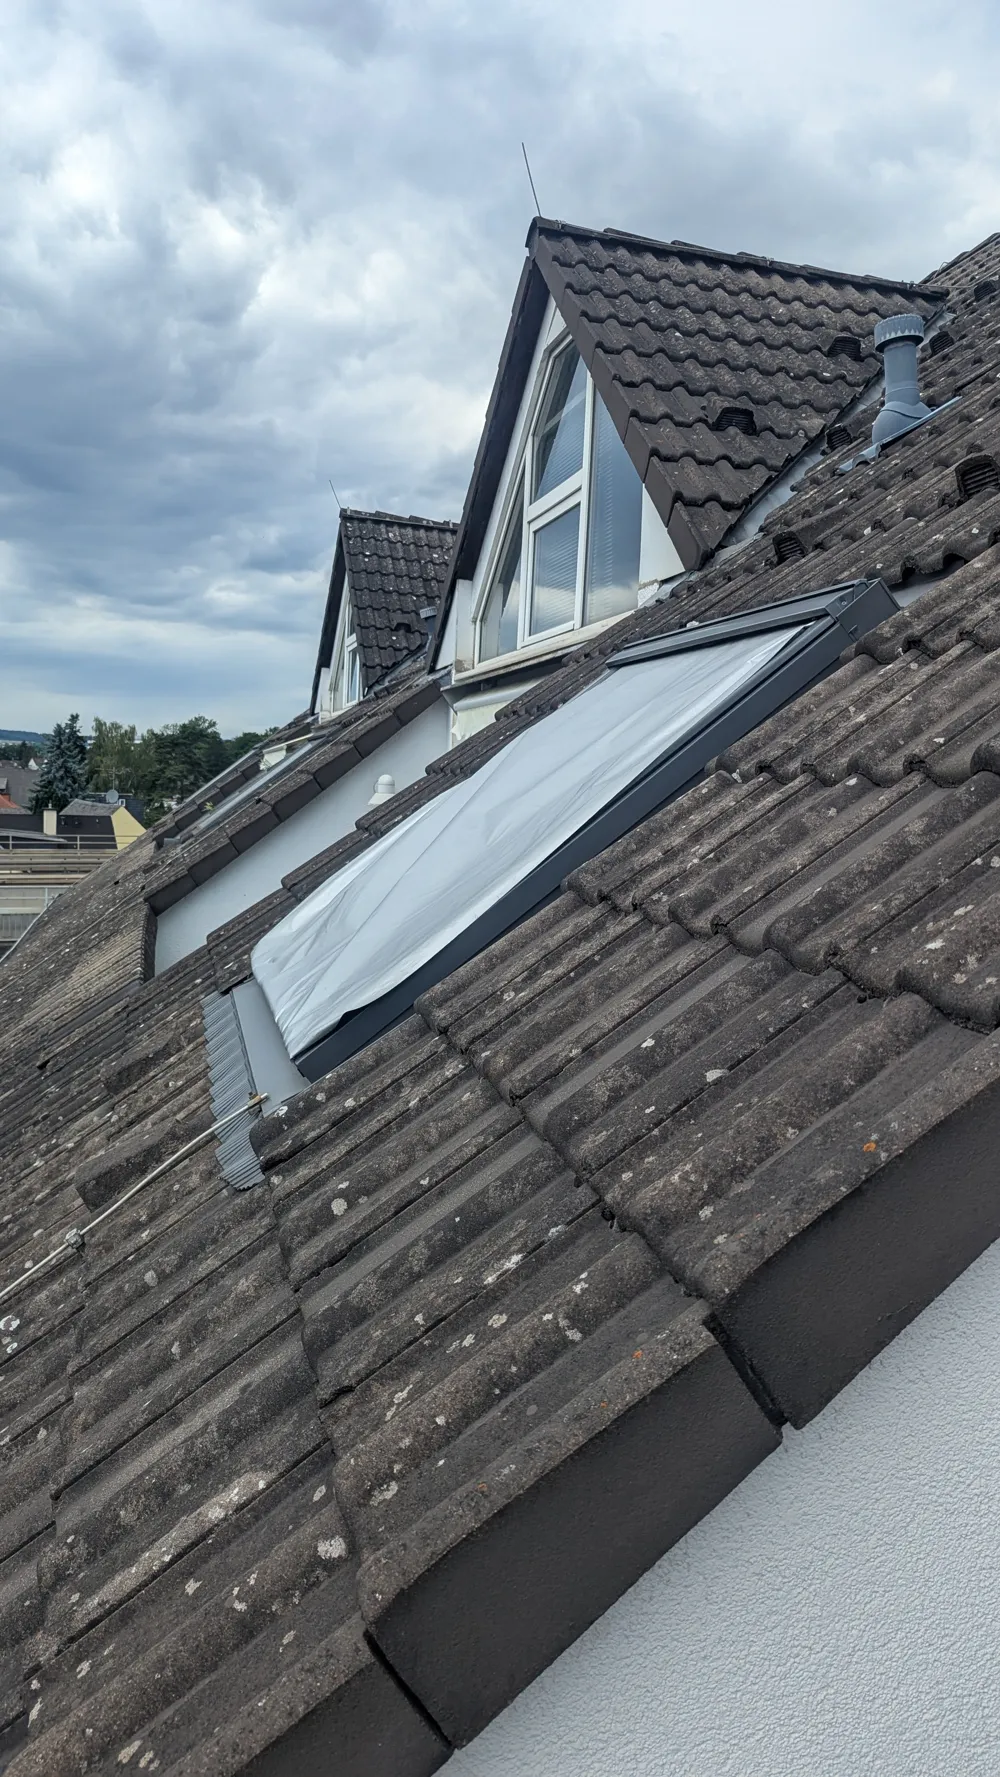
☀️ Skylight Rescue Clamp: The Ultimate Heat Shield for Summer 🥵🧊
Welcome, fellow Makers! If you're reading this, the thermometer is probably above 30 degrees Celsius, and your attic is threatening to be declared an official outpost of hell. 🔥
Don't despair! You have a 3D printer, and with it, you hold the key to cooling down. I present: The Skylight Shading Clamp – a minimal but highly effective component that protects your four walls from heat collapse. 🛡️❄️
🌡️ The Problem: Why Your Skylight is an Oven
Physics lesson in brief: Why do rooms with skylights heat up so extremely? The keyword is the greenhouse effect.
Sunlight consists of short-wave radiation. This penetrates the window glass effortlessly. As soon as it hits furniture or floors in the room, it is converted into long-wave thermal radiation (infrared). The catch: window glass no longer allows this long-wave radiation to escape outside. The heat is trapped. 🛋️❌
Anyone who installs expensive blinds or pleated shades inside the window is doing damage control at the wrong end. The energy is already in the room. The blind heats up, the air behind it boils, and the room still turns into a sauna.
The only scientifically correct solution: The heat must be blocked before it touches the glass! It must stay outside. This is exactly where this design comes in. 🛑☀️
💡 The Solution: External Shading for Pennies
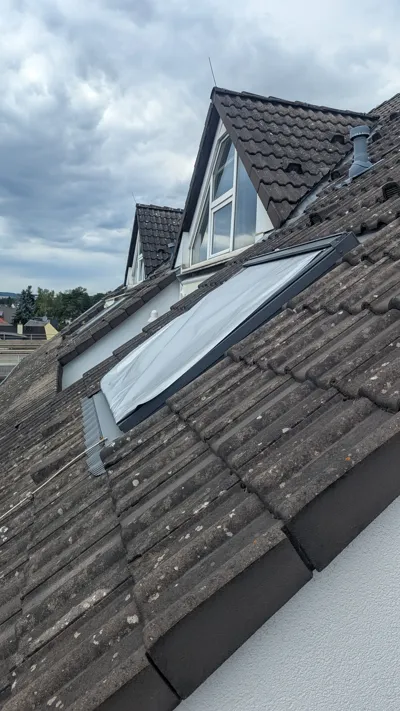
Professional external roller blinds for skylights can quickly cost hundreds or thousands of euros. Those who don't have this money or are not allowed to make structural changes as tenants can use an ingenious low-budget hack: The emergency blanket! 🥇
Emergency blankets (or thin sun protection films) consist of metallized PET film. The silver side facing outwards reflects up to 99% of solar thermal radiation directly back into the atmosphere. The effect is immediately noticeable. 🥶
The problem until now has been attaching it to the skylight without ruining the frame with tape or squeezing seals.
The solution is this clamp. 🛠️✨
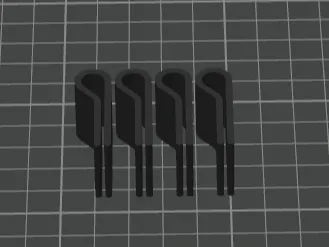
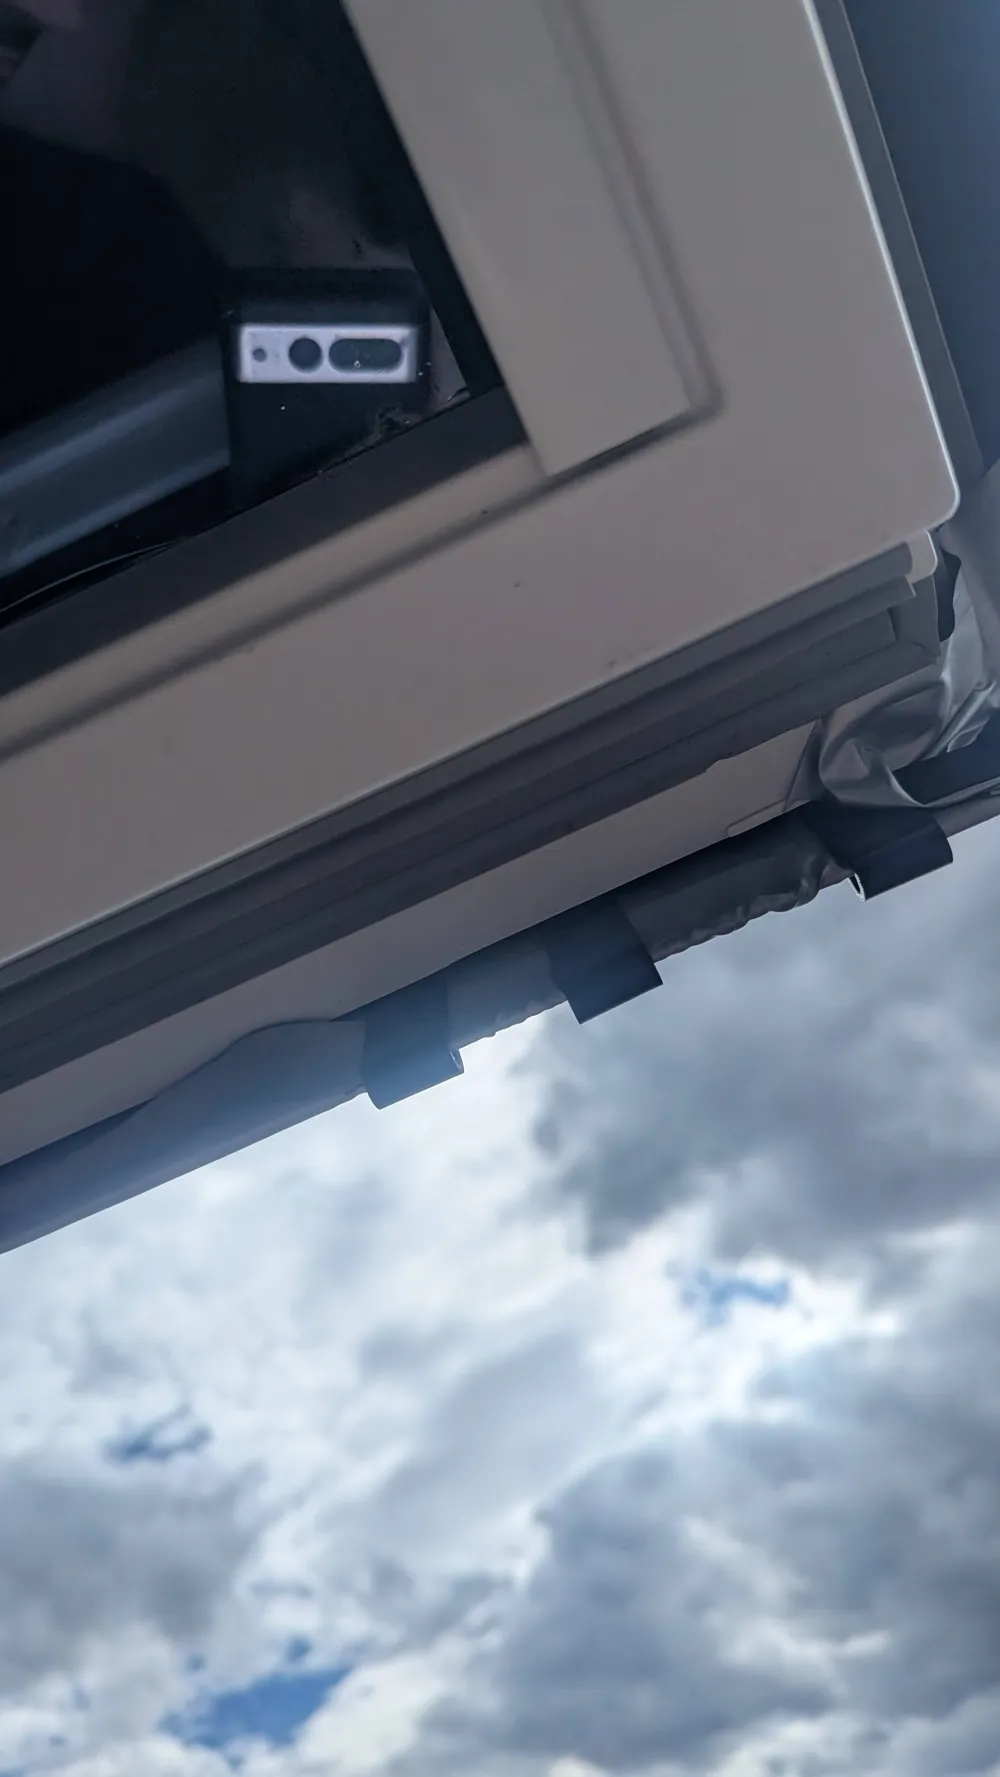
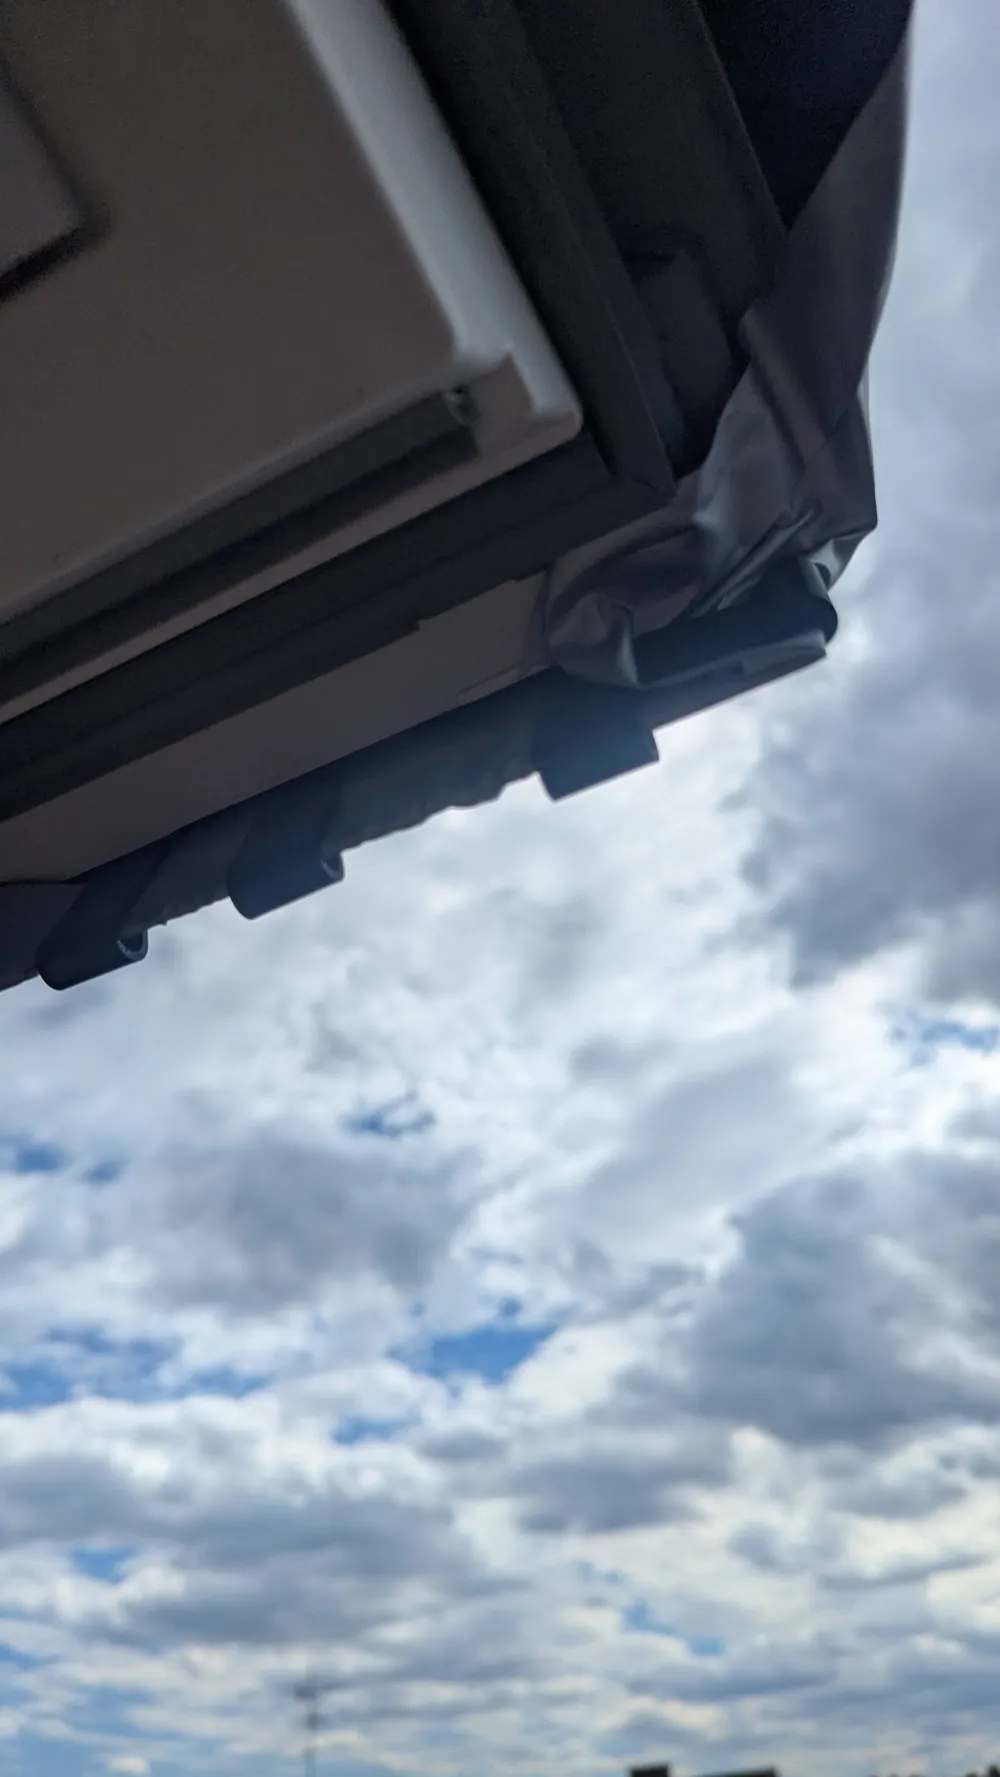
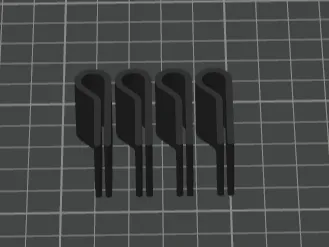
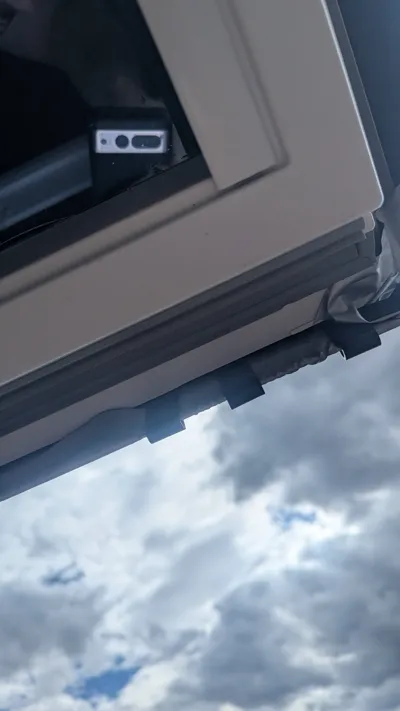
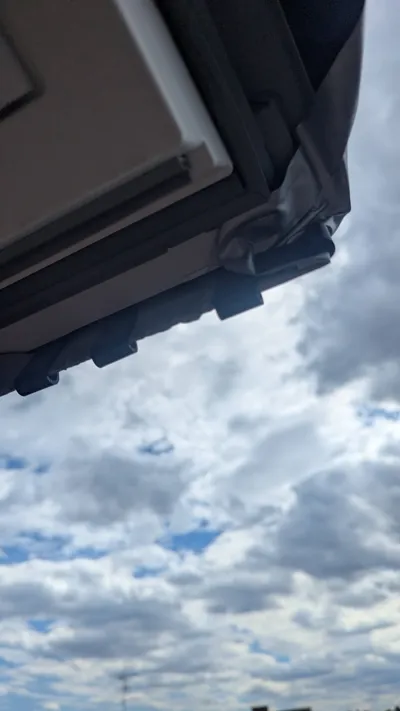
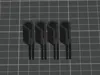
I have developed a custom clamp that clips precisely onto the profiles of common skylights (Velux, Roto, Fakro, etc.). It uses the natural spring tension of the plastic, securely grips the metal profile, and clamps the film bomb-proof. No drilling, no gluing. One "click", and the heat shield is up.
🔬 Material Science: Why PLA is Your Enemy
Please do yourselves a favor and DO NOT PRINT THIS MODEL IN PLA! 🚫🫠
PLA has a glass transition temperature of approximately 55 °C. On hot days, the dark aluminum profiles of skylights can easily reach 70 °C to 80 °C. A PLA clamp will soften like chewing gum within a few hours, lose its tension, and your emergency blanket will say goodbye to your neighbor.
Material recommendations:
- PETG (Very good): The absolute sweet spot. Flexible enough for the click mechanism, temperature resistant up to approx. 75–80 °C, and naturally very UV-resistant. 🌲
- ASA / ABS (Perfect): If your printer can handle it, use ASA. It is extremely heat-resistant (over 95 °C), impact-resistant, and absolutely weather and UV-proof. 👑
Color tip: Be sure to print the clamps in white or light gray. Dark colors absorb sunlight, further heating the component and shortening its lifespan. ⚪👍
⚙️ Slicing & Print Parameters
The clamp is designed so that it can be printed completely without support material.
Here are the ideal settings for maximum durability:
- Orientation: Place the clamp flat on its side on the print bed (as specified in the STL). If you print it standing up, it will break along the layers immediately upon first expansion! ⚠️
- Walls/Perimeters: At least 4 to 5. The spring force comes from the outer walls, not the infill! 🧱
- Layer height: 0.20 mm to 0.28 mm.
- Infill: 25% to 30% Gyroid or Cubic.
- Cooling: For PETG, reduce the part cooling fan to 30-50% to maximize layer adhesion. We need mechanical strength here, not optical perfection. 💪
🛠️ Installation Guide in 6 Steps
Installation takes less than 10 minutes per window:
- Get materials: A standard emergency blanket from a first-aid kit or pharmacy (cost: approx. 1.50 €). 🛒
- Cleaning: Briefly wipe the outer aluminum profiles of the window dry. Dust reduces the grip of the clamps. 🧽
- Cut film: Roughly pre-cut the film with an overhang of approx. 5–10 cm per side. Excess will be trimmed later. ✂️
- Silver to the OUTSIDE: The silver side MUST face the sun to reflect the radiation. 🪞
- Top installation: Open the window, place the film along the top edge (feel free to fold it twice for more tear resistance) and clip the first clamp centrally onto the aluminum profile. Then secure the left and right top corners or simply clamp if your skylight has different tilt modes.
- Tension & Finish: Pull the film smooth downwards and attach clamps to the sides and bottom edge (approx. 20–30 cm apart). Neatly trim off any excess with a cutter. 🌟
🌪️ Wind Load, Safety & Maintenance
- Thunderstorms and gales: Emergency blankets act like sails in strong winds. If severe summer thunderstorms or gale-force gusts are forecast, you MUST REMOVE THE FILM! Simply loosen the bottom clamps and take the blanket inside. This takes 30 seconds and prevents the film from being torn to shreds. ⛈️
- UV wear: Emergency blankets are extremely thin. Aggressive UV radiation destroys the metallization over the course of weeks. Expect to replace the film every 4 to 6 weeks (i.e., about once per summer). The clamps themselves will last for years. ♻️
❓ FAQ – Short & Sweet
- Does the clamp fit every window? It is optimized for standard aluminum profiles. First print a single test clamp to check the fit on your frame.
- Will the room be completely dark? Yes, the film filters out about 95% of the light. Perfect for bedrooms. If you need light during the day, unclip the bottom and fold the film up. 🦇
- Will it scratch my window? No. The printed plastic is significantly softer than anodized aluminum or window paint.
🙏 Feedback & Support
If this little life-saver makes your summer more bearable, please leave a like, share the model with your friends, and post your makes in the comments!
Stay cool, drink enough water, and happy printing! 🥶🧊🖨️
License

You shall not share, sub-license, sell, rent, host, transfer, or distribute in any way the digital or 3D printed versions of this object, nor any other derivative work of this object in its digital or physical format (including - but not limited to - remixes of this object, and hosting on other digital platforms). The objects may not be used without permission in any way whatsoever in which you charge money, or collect fees.


Comment & Rating (0)