
Handle with Logo
Print Profile(4)
Bill of Materials

Description
Handle with Logo
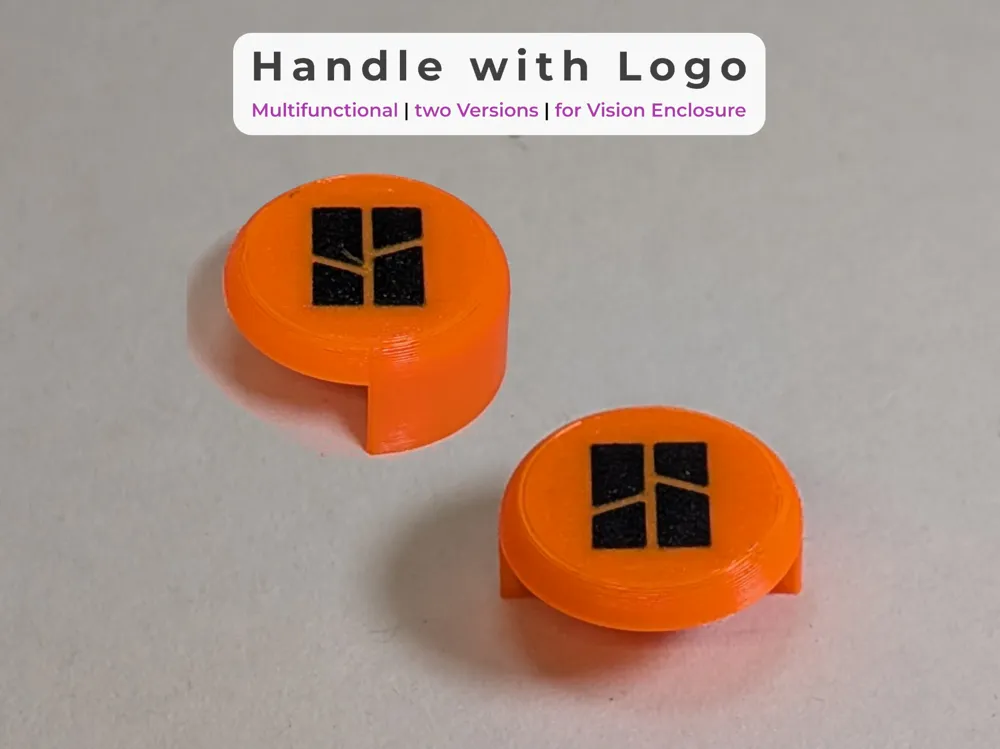
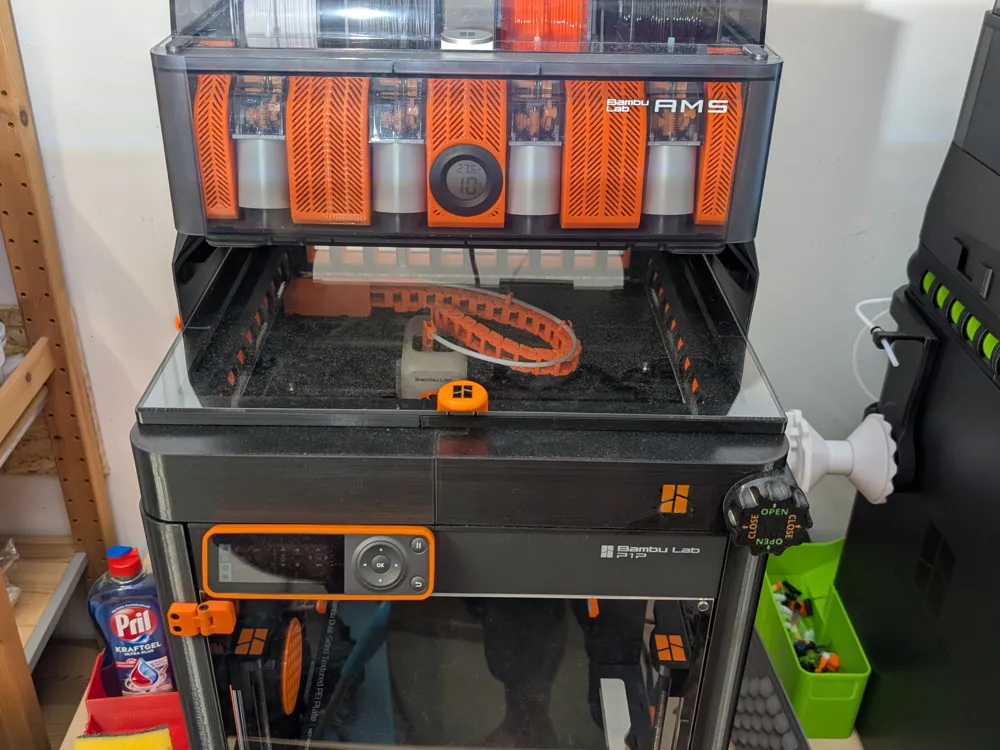
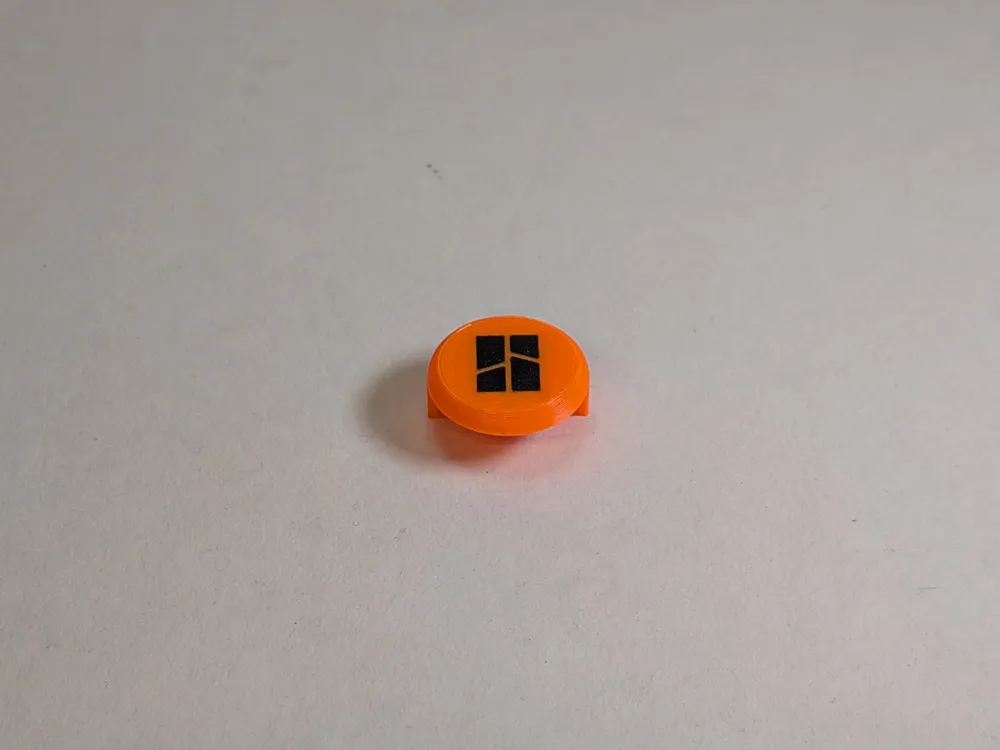
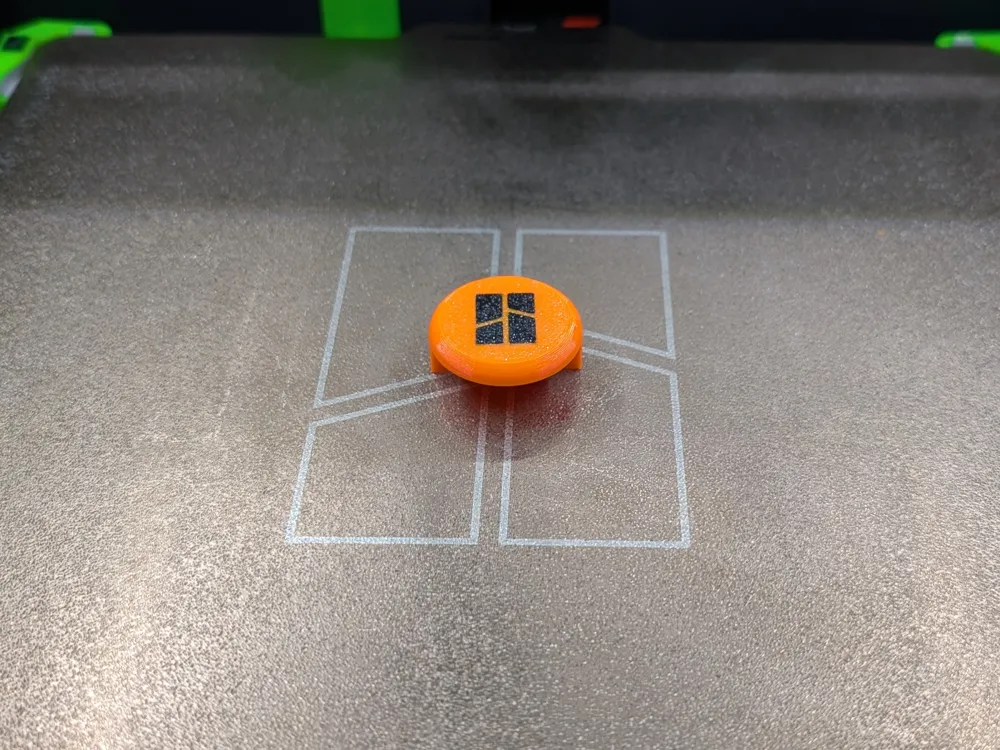
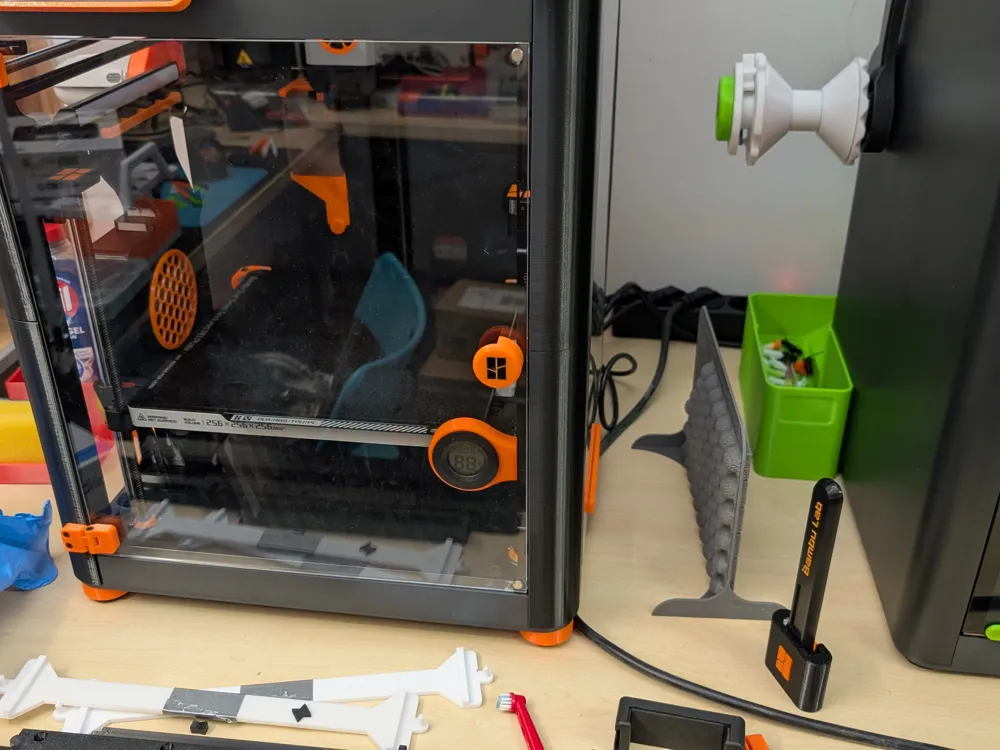
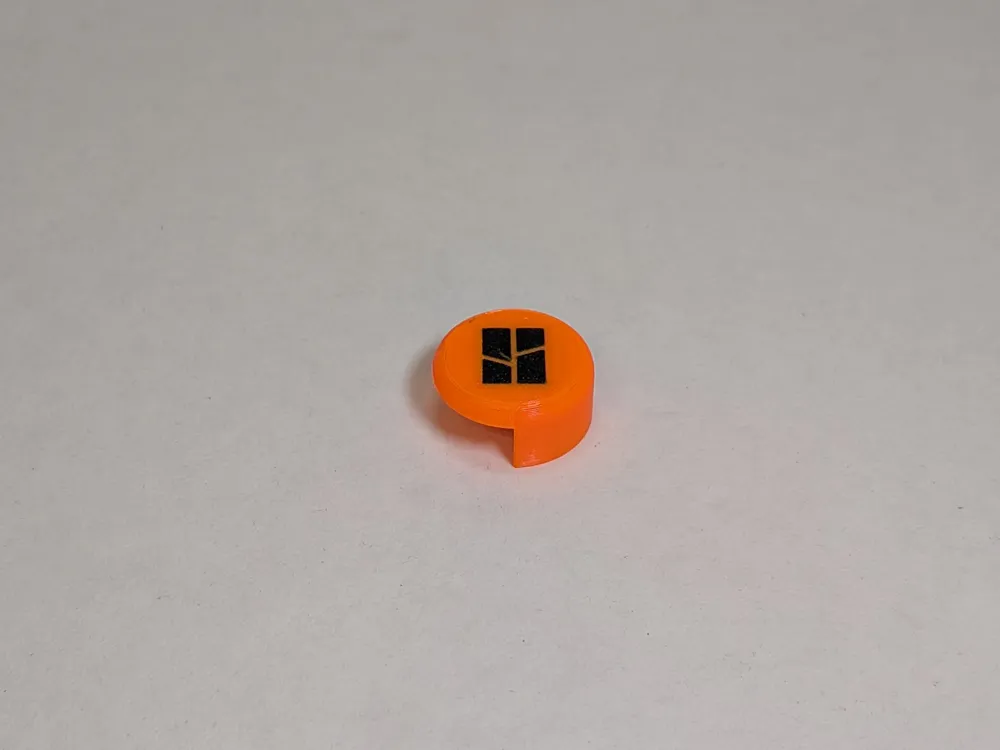
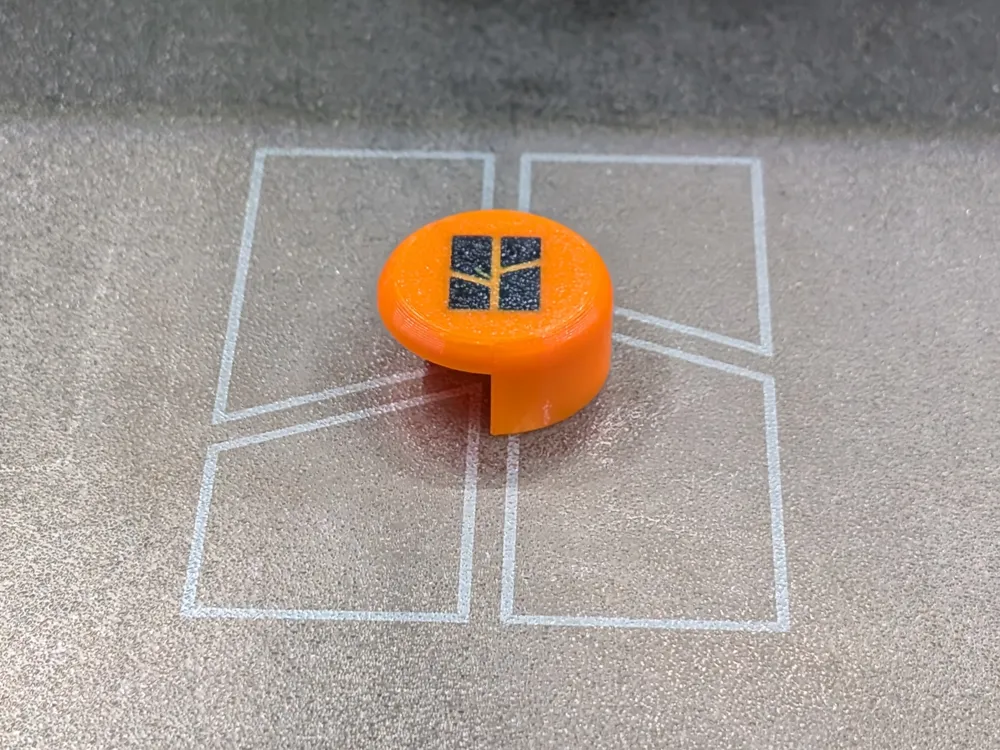
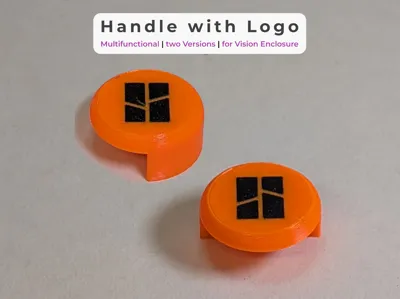
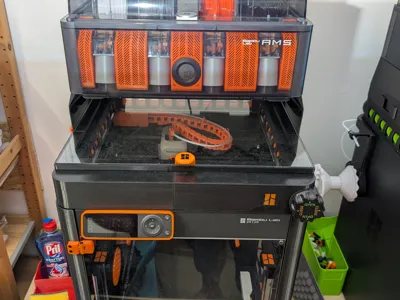
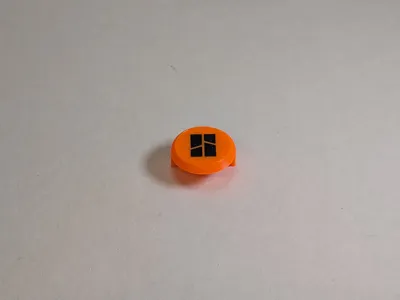
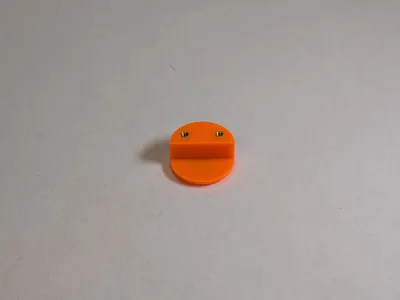
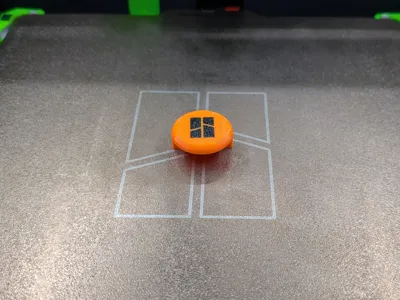
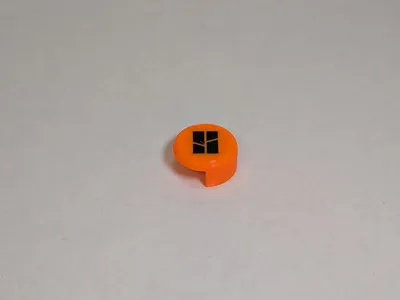
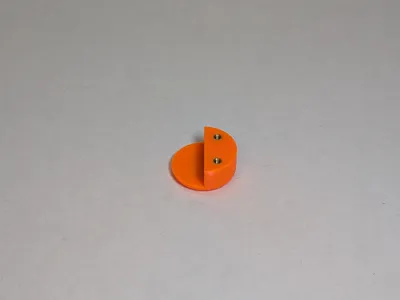
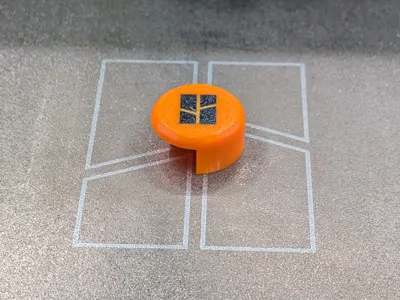
Give your Vision Enclosure the perfect Bambu Lab look! This stylish and ergonomic handle is specially designed for the door and top lid of the enclosure. It features a flush-mounted Bambu Lab logo on the front. To offer maximum flexibility for replication, the model comes in two practical variants: one version is optimized for the use of heat-set inserts (threaded inserts), while the other version can be screwed in directly without additional nuts.
✨ Features
- Bambu Lab Design: Perfect optical integration into your printer setup.
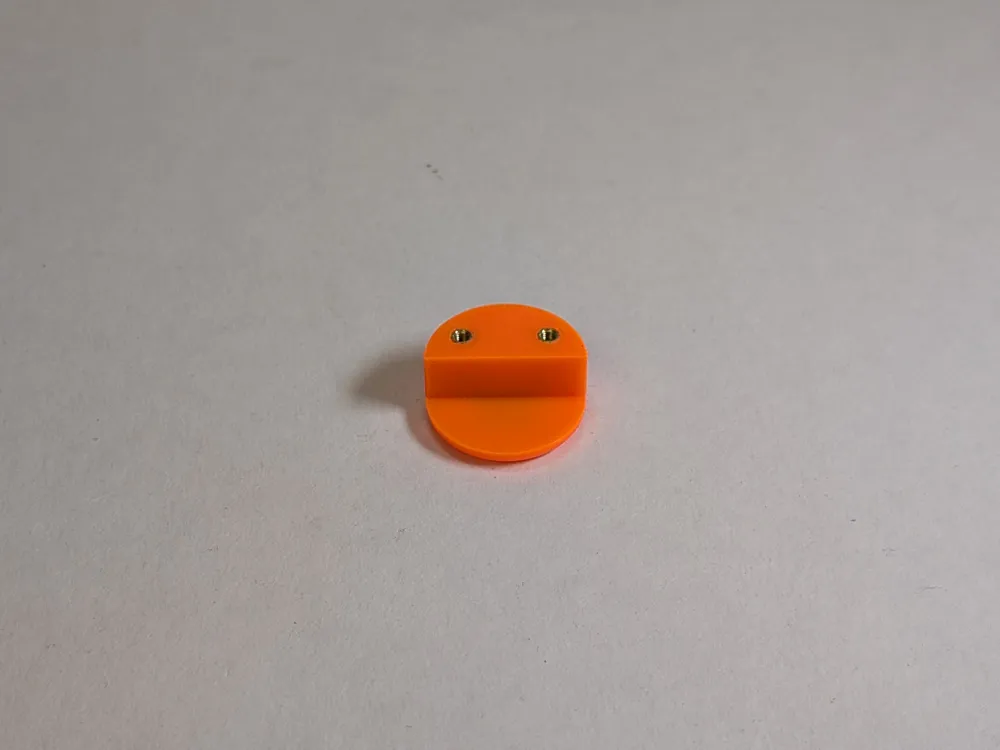
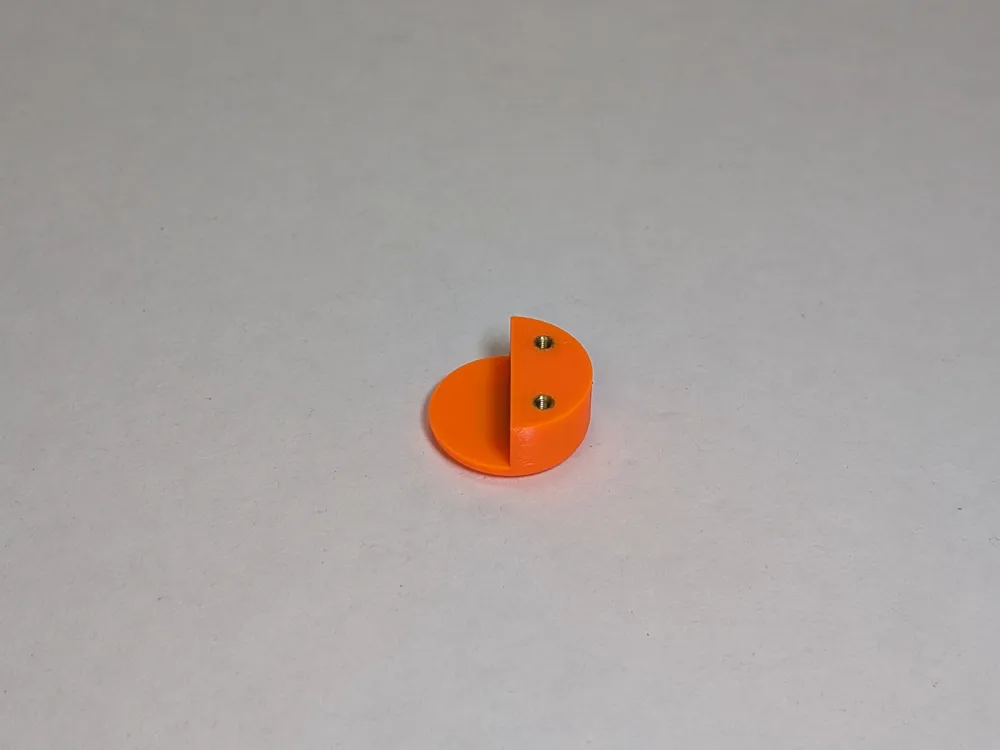
- Two Variants (Two Versions): * Variant with heat-set threads (Hole diameter: 4.0 mm) / Version with heat-set inserts (Hole diameter: 4.0 mm).
- Variant without heat-set threads (Hole diameter: 2.6 mm) / Version without inserts (Hole diameter: 2.6 mm).
- Optimized Print Settings: The model and filament changes are optimized so that neither support structures nor a purge tower (Purge Tower / Prime Tower) are needed – this saves time and filament! / No supports and no purge tower required due to optimized print profiles, saving you time and material!
- Multifunctional: Identical dimensions suitable for the front glass door as well as the foldable or removable lid.
- Optimized Printability: Can be perfectly printed with the AMS (Multi-Material) to make the logo stand out perfectly in color.
🔧 Mounting / Assembly
- Prepare Threads: If you have chosen the variant with heat-set inserts (4 mm hole), carefully melt the threaded inserts flush into the back of the handle using a soldering iron. If you use the variant without nuts (2.6 mm hole), this step is omitted.
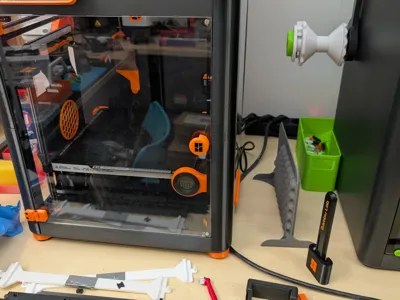
- Attach: Position the handle at the designated spot on the door or lid of the Vision Enclosure and screw it in from the back.
- Done! Your enclosure now has an optical and functional upgrade.
Have fun printing – make your enclosure a real eye-catcher!
____________________________________
📸 Show us your results! 😀
I look forward to your 💬feedback, a ⭐star rating, a ❤️like and 📷pictures of your 🖨️prints!
🔍 Discover more
Interested in my other models?
Feel free to look around my profile!
There you will find more useful accessories, decoration ideas and practical everyday helpers.
Link: https://makerworld.com/de/@exo2dus
_____________________________________
Boost Me (for free)
It costs you nothing and you support my work with it. 😀
Thank you and happy printing!
License

You shall not share, sub-license, sell, rent, host, transfer, or distribute in any way the digital or 3D printed versions of this object, nor any other derivative work of this object in its digital or physical format (including - but not limited to - remixes of this object, and hosting on other digital platforms). The objects may not be used without permission in any way whatsoever in which you charge money, or collect fees.


Comment & Rating (0)