
Eclipse Putter - Low Torque / Modular / High MOI
Print Profile(2)
Description
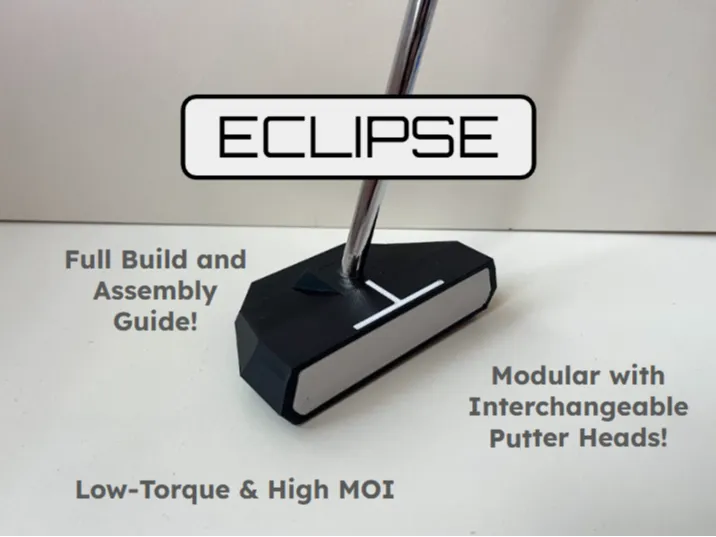
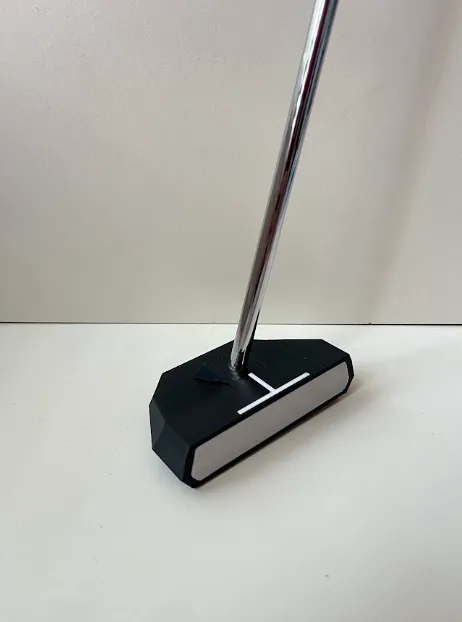
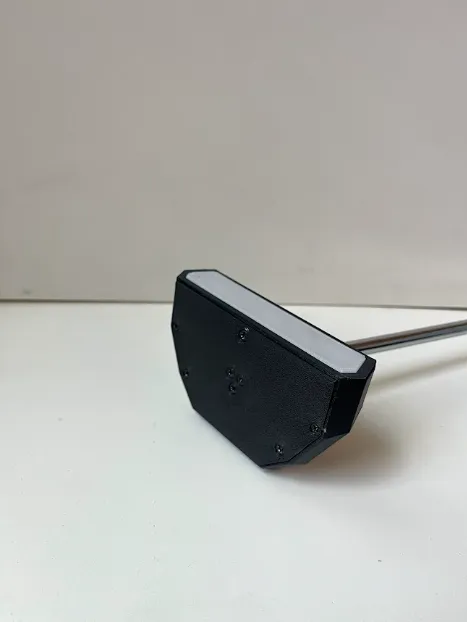
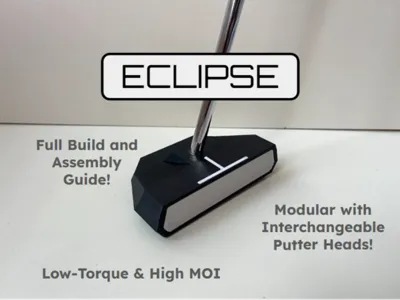
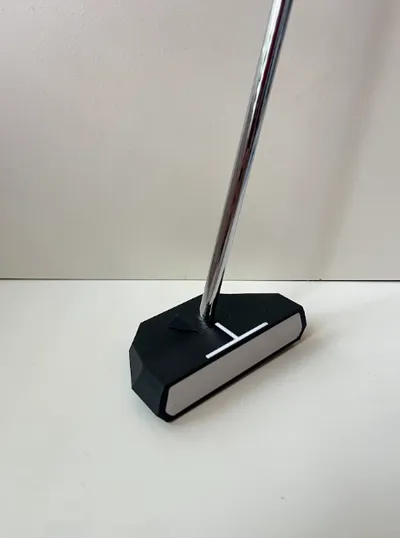
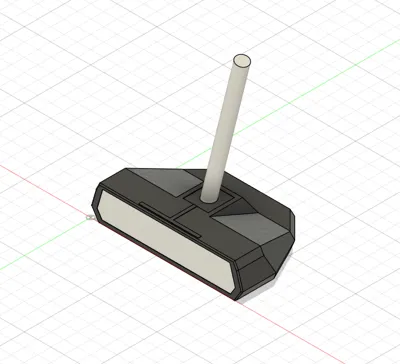
Eclipse - A Modular High-MOI 3D Printed Putter
Looking for a customizable putter without the price tag of today's premium designs? This project combines the flexibility of 3D printing with design features inspired by modern high-performance putters.
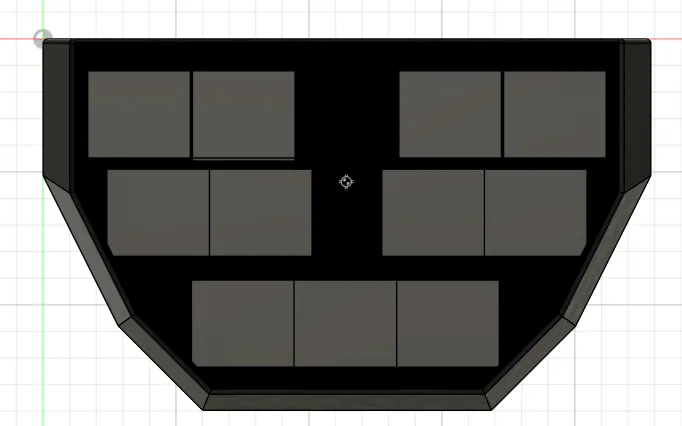
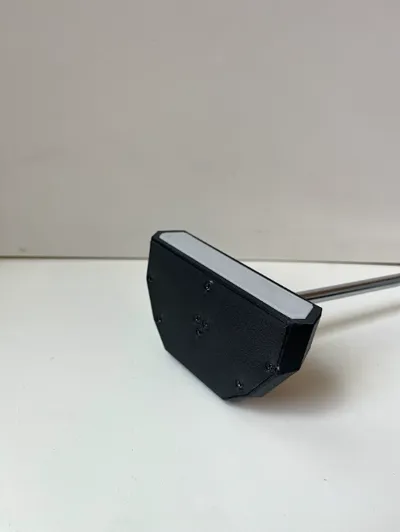
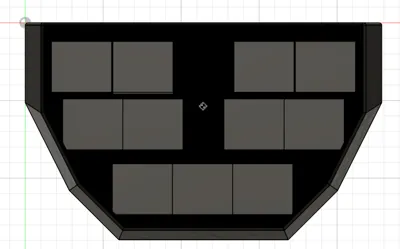
The putter head is designed to incorporate removable weights, allowing the majority of the mass to be positioned around the perimeter. This increases the moment of inertia (MOI), helping improve stability on off-center strikes while reducing twisting through impact.
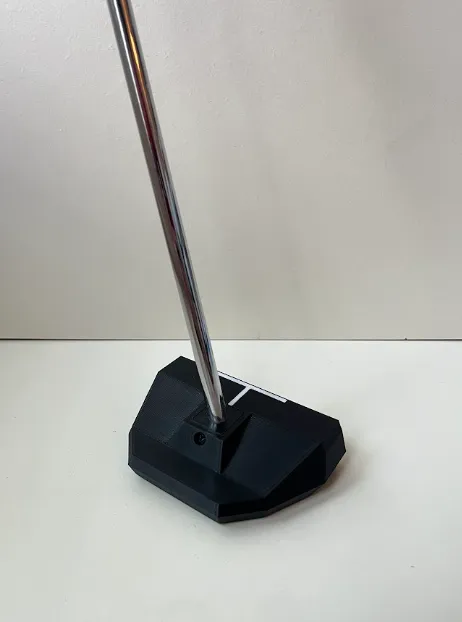
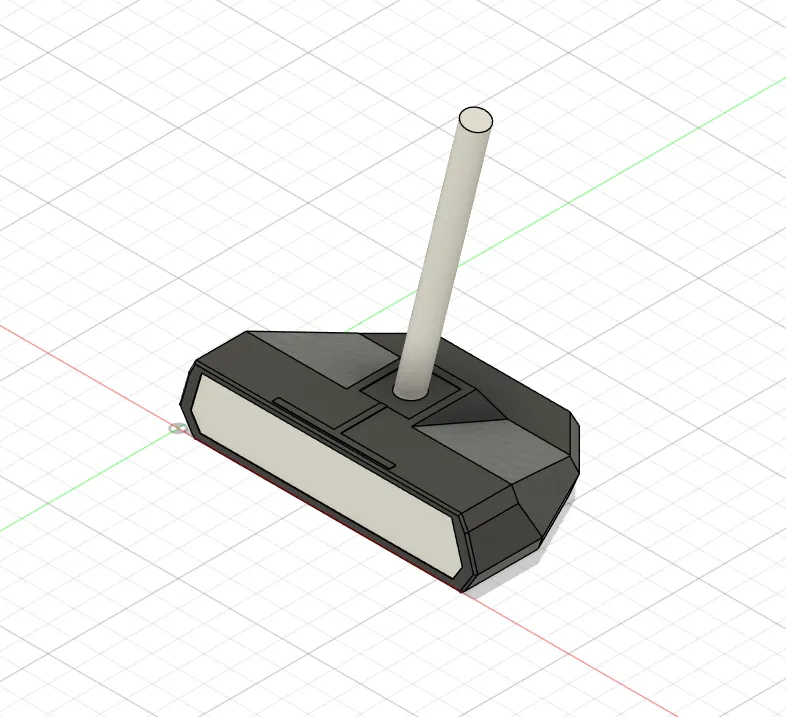
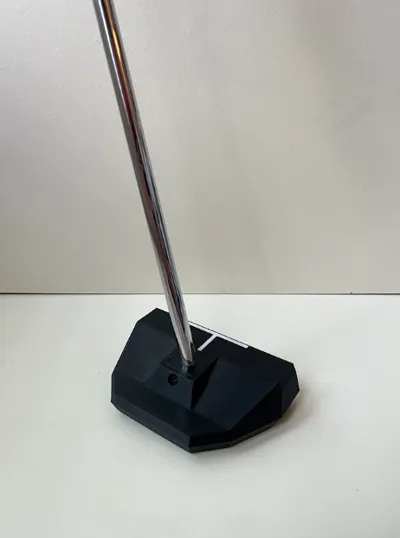
One of the key features of this design is its modular construction. The shaft insert is a separate component that bolts into the main putter head, allowing different putter head designs to be swapped without needing to remove or reinstall the shaft. Simply remove a few screws, install a new head, and you're ready to go. The shaft insert has a lie angle of 74 degrees and a static loft angle of 3 degrees to match the feel of many center-shafted putters.
The design of the head of the putter has been carefully made to ensure that the center of mass is aligned with both the center of the face and the shaft when all weights are inserted. Therefore, the design of this putter naturally eliminates the majority of the torque produced when swinging. This can make it significantly easier to keep the face square at impact.
To improve feel, the striking face is printed from TPU, providing a soft but responsive impact that closely resembles the insert faces found on many premium putters.
Including the printed parts, added weights, screws, and epoxy, the total mass of the head of the putter is right around 320g.
Features
- High-MOI perimeter-weighted design
- Center of Mass positioned to produce Low Torque when swinging
- Modular construction with interchangeable putter heads
- TPU face insert for a soft, responsive feel
- Removable shaft adapter secured with screws
- Designed for commonly available hardware and weights
- Inexpensive and creative alternative to traditional putters
Hope you can have as much fun with this project as I did and get to give it a try out on course! For instructions, materials, and a list of parts to purchase/use, see the information below! Happy printing!
Modular Design: Find other compatible putter heads here!
Material Selection
Body / Shaft Insert - PETG is recommended for outdoor use and to withstand higher temperatures while being relatively easy to print.
Face Insert - TPU provides a soft yet confident feel when striking the ball.
Assembly
Be sure to read all the following steps before beginning assembly of your putter! The order in which some of these steps are taken is very important!
- Print all required components in your favorite colors. Be sure to print each component in its recommended material.
- Support removal. This step can be rather difficult due to the way the model must be printed, so my recommendation is to work from the outside inwards. I've used normal supports for the flat-bottomed sections to allow for each of the gaps for the weights to be cleared in a singular piece.
- Press the TPU face into the putter body. Secure it by using super glue or epoxy.
Install the weights. All weights should sit flat within the head of the putter when installed correctly. See the image below for the proper layout of weights. A total of 30 individual 0.25oz weights are to be inserted, with 4 stacked near the face and 2 stacked in all other locations. While removing the film on the weights (making them stick) is recommended, it is not required for the putter to work great. Doing so may reduce noises heard when making contact with the ball slightly but will make it more difficult to remove the weights if interchanging putter heads.
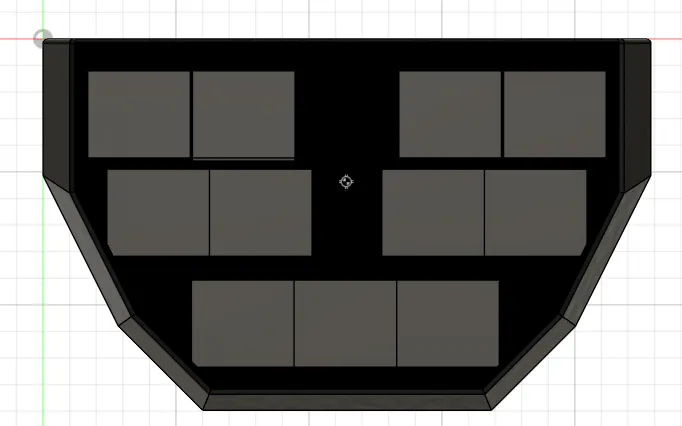
- Install the bottom plate to the putter head at the 5 holes around the perimeter. Ensure that the side which features cutouts matching the position of the weights is facing the inserted weights. Use 5x M3 x 3/8" wood screws (link provided below for the ones used). Screws should only be hand tight, and do not over-tighten them!
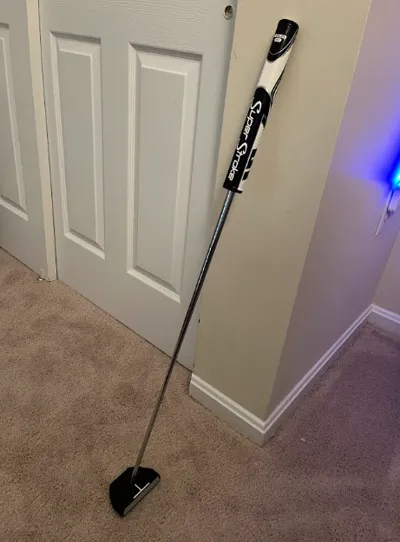
- Cut down the putter shaft to your desired length (I cut mine down to 36in for my height). For a great step-by-step process to complete this, check out this YouTube video: How to Shorten a Putter with a Steel Shaft.
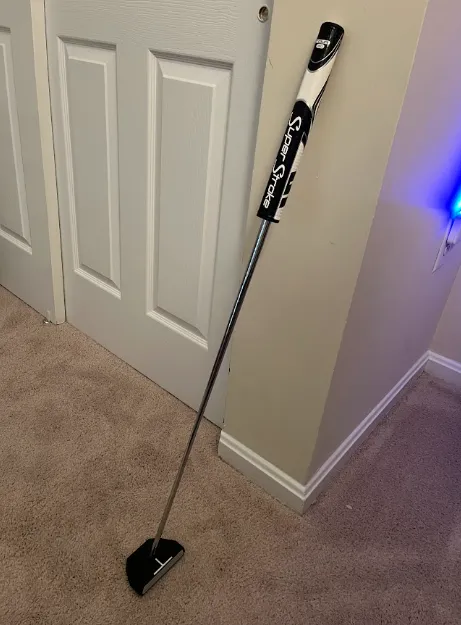
- Install the grip to your putter shaft. I recommend completing this step before installing the shaft adapter and putter head as there is less time to work and straighten out the grip in comparison. For a great guide to doing this, check out this other YouTube tutorial: How to Install a Putter Grip (jump to 3:00 in the video).
- Bolt the shaft adapter/insert into the putter head after sliding the shaft adapter into place from the top. Using 3x M3 x 3/8" wood screws, secure the bottom plate, main body, and adapter together through the bottom in the three central holes. Then, complete the installation by using one more screw in the hole near the top of the putter towards the back. Screws should only be hand tight, and do not over-tighten them!
- Epoxy the shaft into the adapter by applying epoxy to the shaft and sliding it in from the top. The epoxy which is suggested has a long working time which allows you to rotate the putter shaft so the the grip precisely lines up with its correct orientation. My recommendation for alignment of the grip is as follows: look down the shaft and line up the flat part of the grip with the line on top of the putter which is parallel to the direction of your stroke. Once aligned properly, wipe away any excess epoxy from the top of the putter.
- Let the putter sit overnight so that the epoxy can fully cure. Next step, rolling putts!
Hardware & Non-Printed Parts
Required Purchased Components:
I've added direct links here so you can source everything needed.
- Shaft: 0.370in Tip Diameter Straight Stepless Putter Shaft (Amazon Link) - $29.95
- Grip: Any putter grip should do, but the one seen in all images here is a SuperStroke Zenergy Tour 3.0 (Amazon Link) - $34.39
- Weights: Important to uses these weights due to their exact size and 1/4oz weight (Amazon Link) - $6.99
- Screws: M3 x 3/8" Wood Screws (Amazon Link) - $6.79
Required Tools/Adhesives:
Links are provided in case you may need to get these. If you don't already have some of these, they are also great to have in general for a variety of projects.
- Epoxy: Simple JB Weld 2-Part Epoxy (Amazon Link) - $5.93
- Steel Tube Cutter: I used a copper pipe cutter (although it worked, not recommended), but using a proper steel pipe cutter is advised if possible (Amazon Link) - $13.99
Total (For Required Components and Printed Parts): ~$80 USD
Future Plans
This modular platform was designed with expansion in mind. I plan to release additional interchangeable putter head designs that will all use the same shaft adapter, allowing you to experiment with different shapes and weight distributions without building an entirely new putter.
If you build one, I'd love to see your make! Feel free to leave feedback or suggestions for future head designs. Happy printing, and good luck on the greens!
About Me!
Hey you! I'm just an engineer with some spare time who likes to make models and solve problems. I hope you like what you see. If you do, please feel free to let me know! I prefer to make all my designs free to access here on MakerWorld, but filament can get pricey. Your feedback, likes, ratings, comments, and boosts make a huge difference so that I can continue prototyping, producing, and uploading more models. I very much appreciate all of it and hope I can make your printer a little more useful, one model at a time!
License

You shall not share, sub-license, sell, rent, host, transfer, or distribute in any way the digital or 3D printed versions of this object, nor any other derivative work of this object in its digital or physical format (including - but not limited to - remixes of this object, and hosting on other digital platforms). The objects may not be used without permission in any way whatsoever in which you charge money, or collect fees.


Comment & Rating (14)