
Adjustable iPad Stand V2
Print Profile(3)




Description
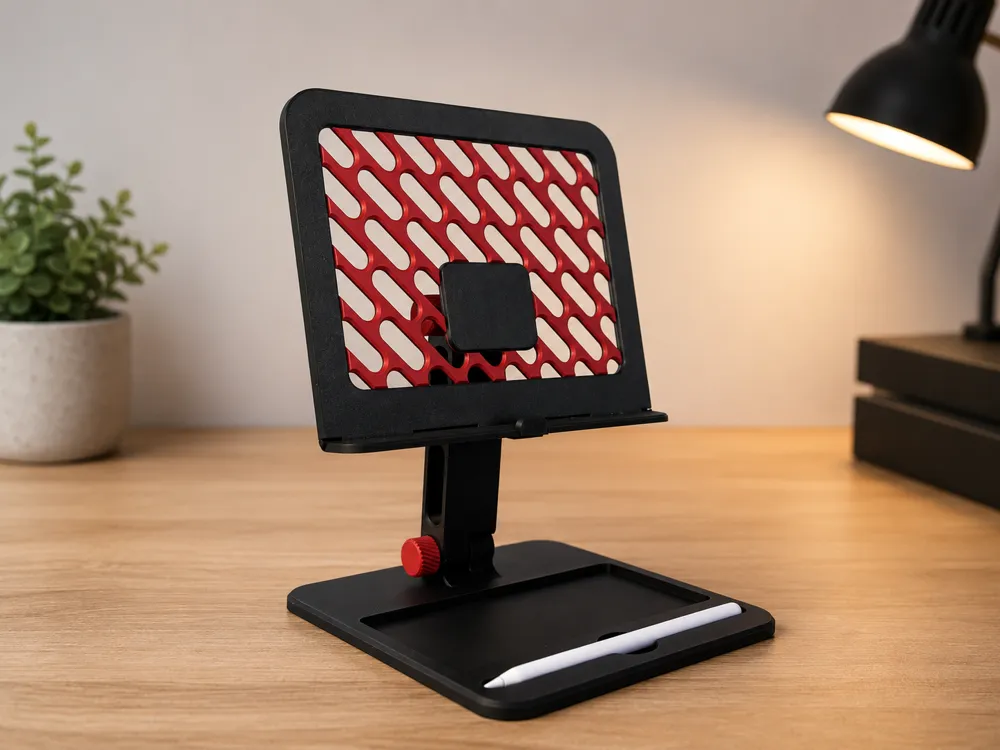
Adjustable iPad & Tablet Stand
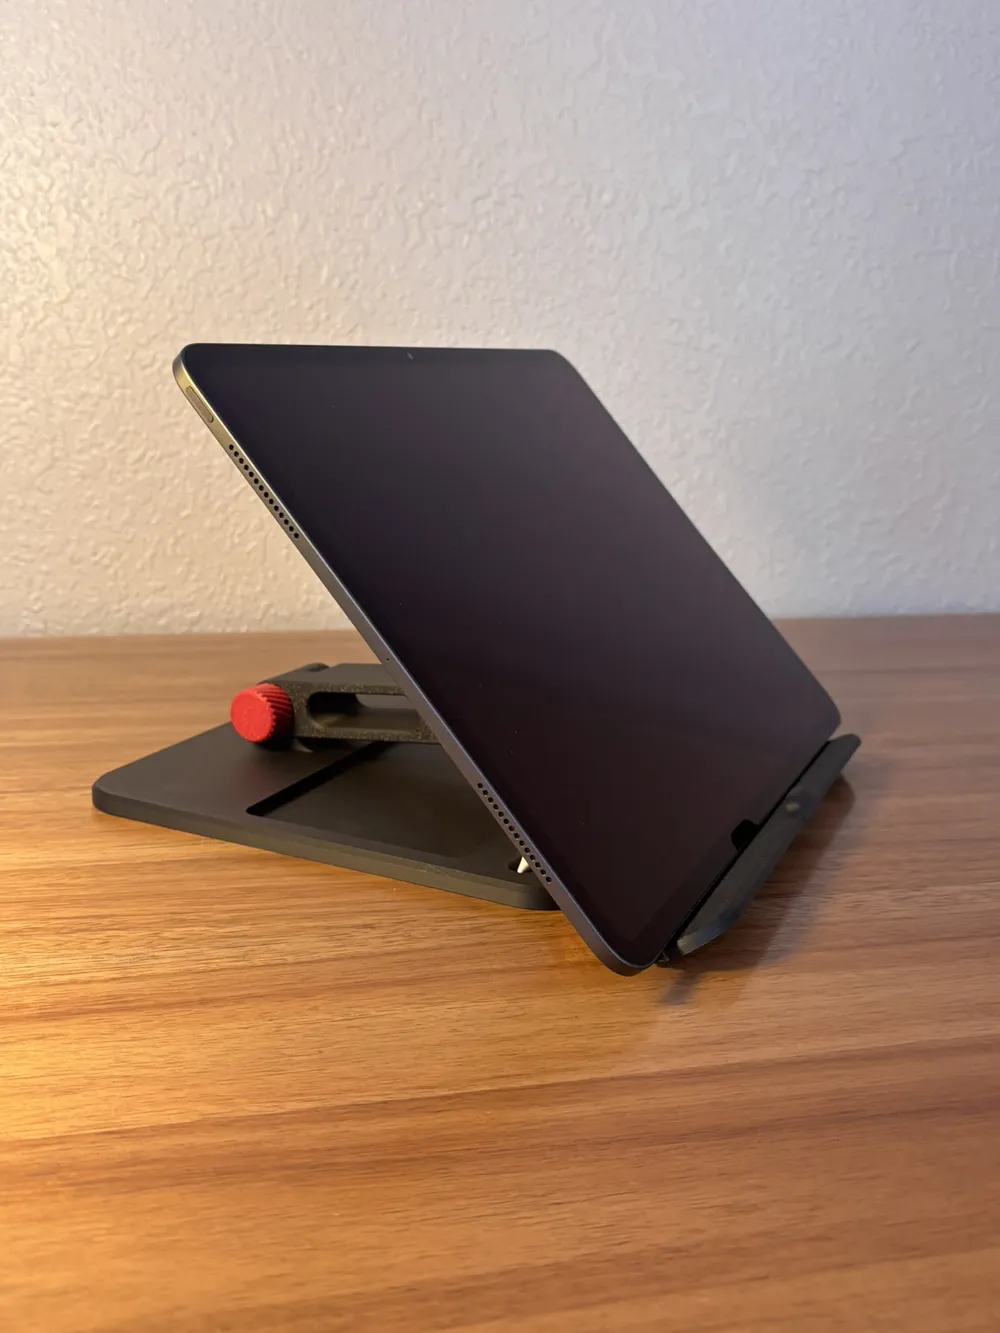
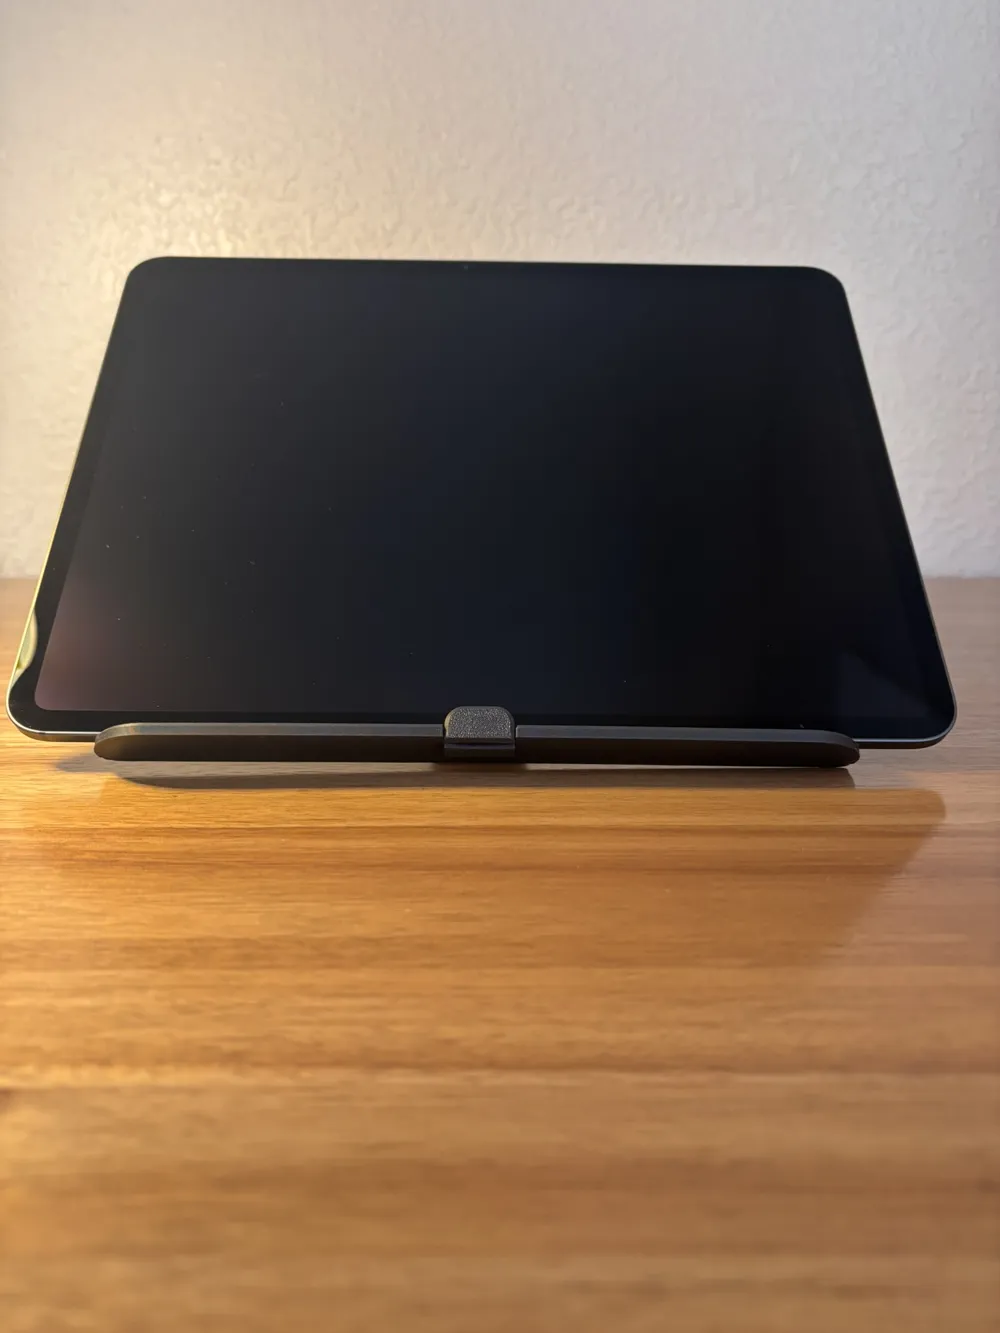
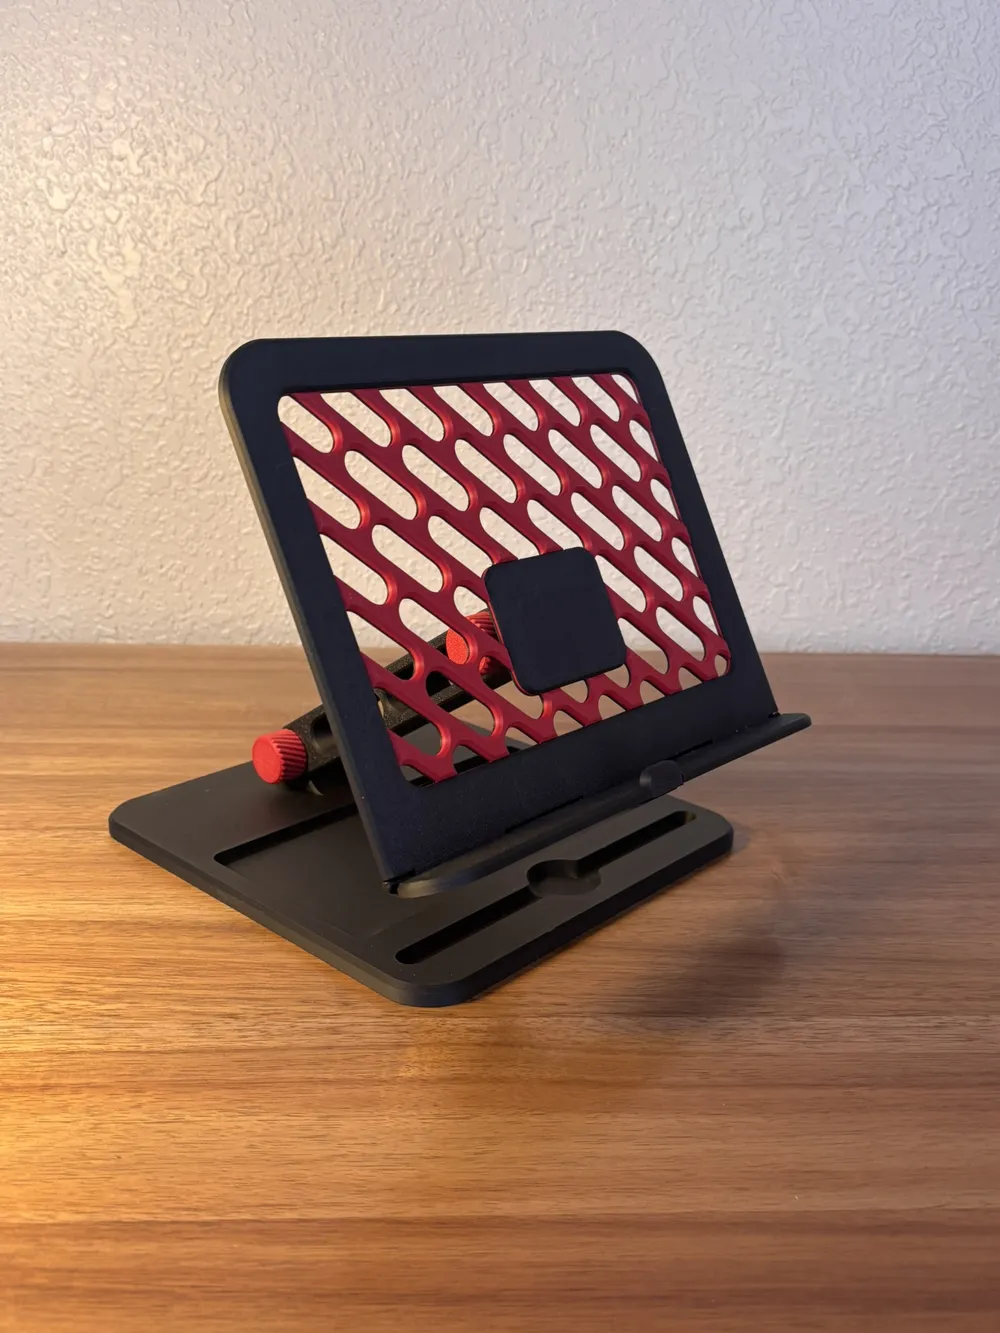
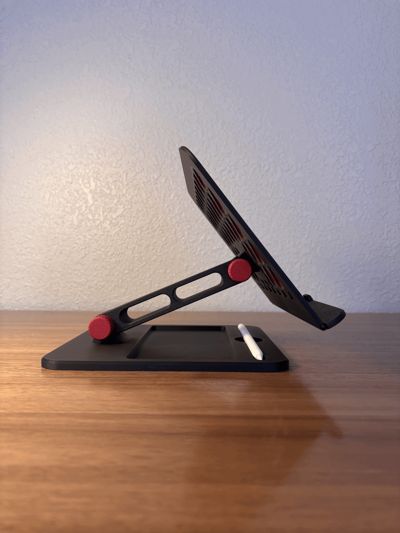
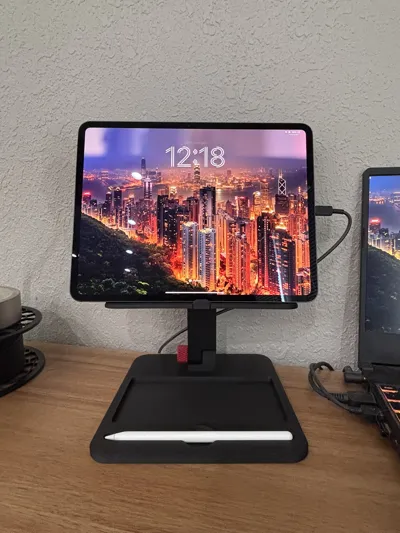
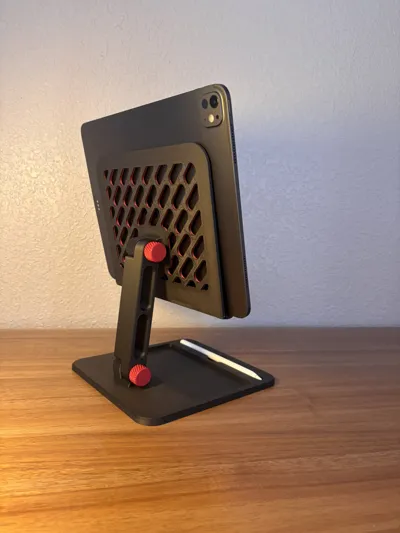
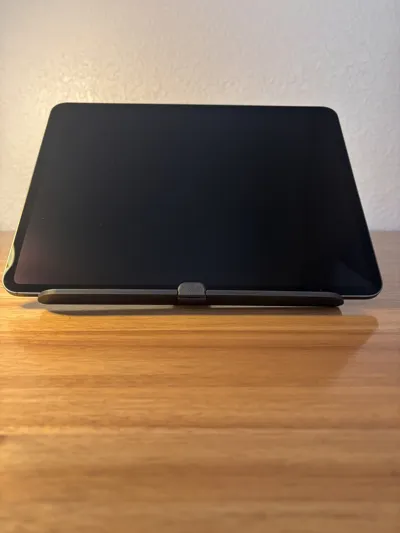
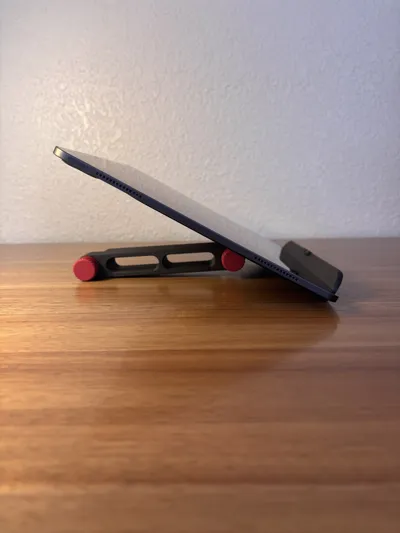
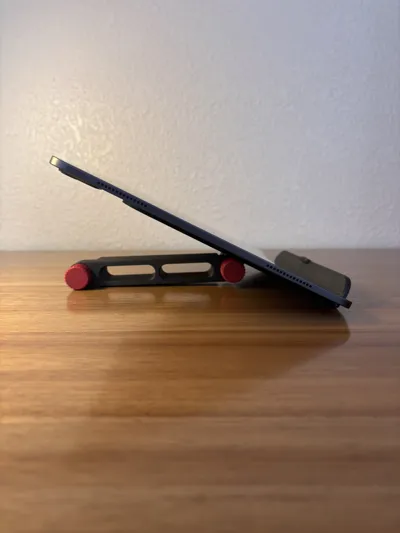
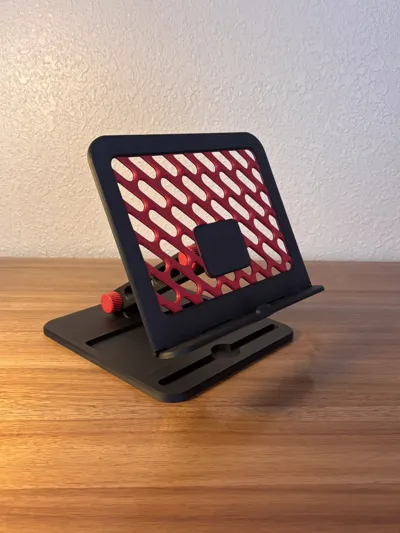
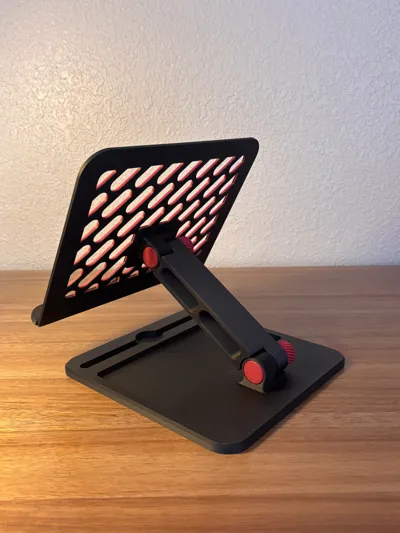
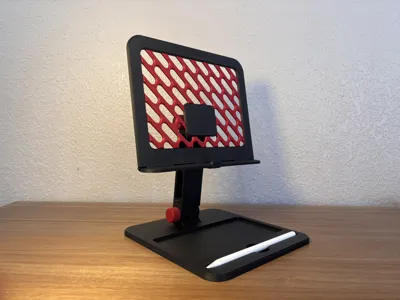
Here it is! I'm proud to present to you the new and improved V2 of my adjustable iPad stand. There were lots of things to improve, and I'm happy to say that this is a desk accessory you are going to love. V2 features a dual color design that can be done WITHOUT an AMS, is almost entirely supportless, and on top of that prints in less time than V1.

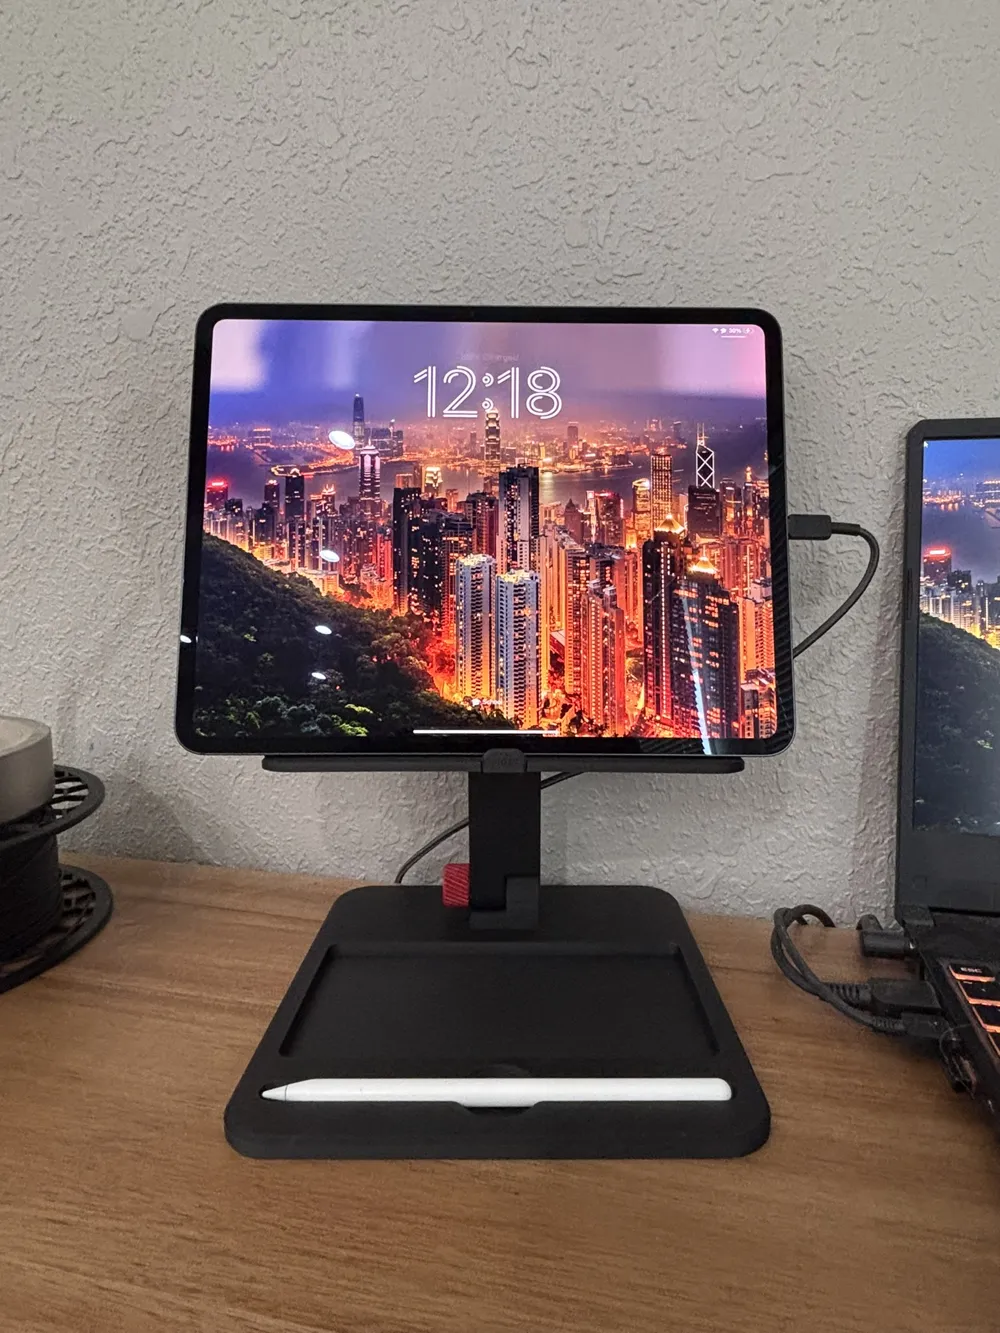
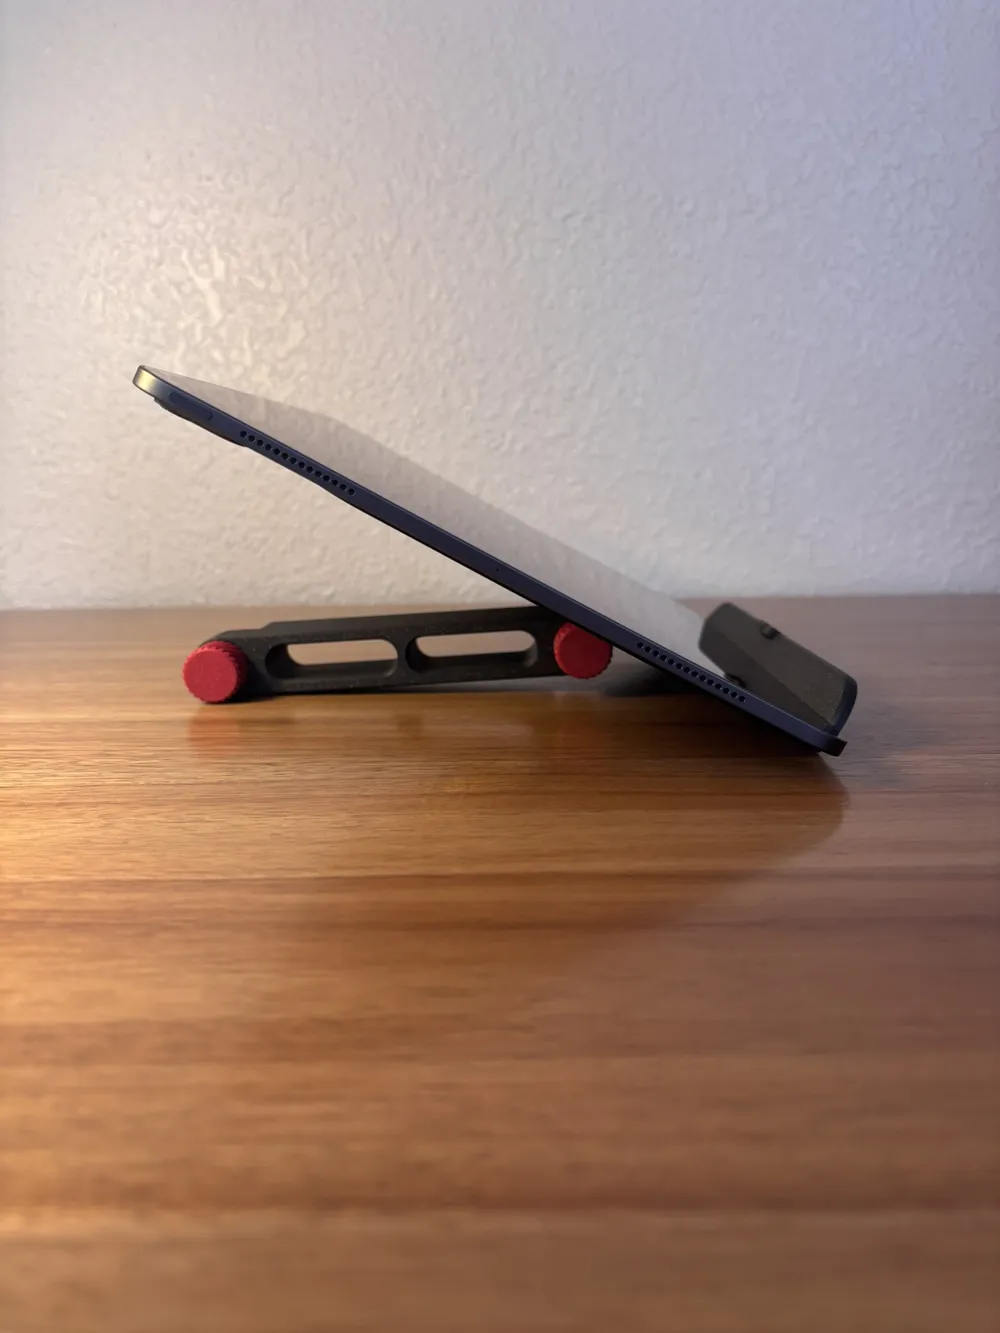
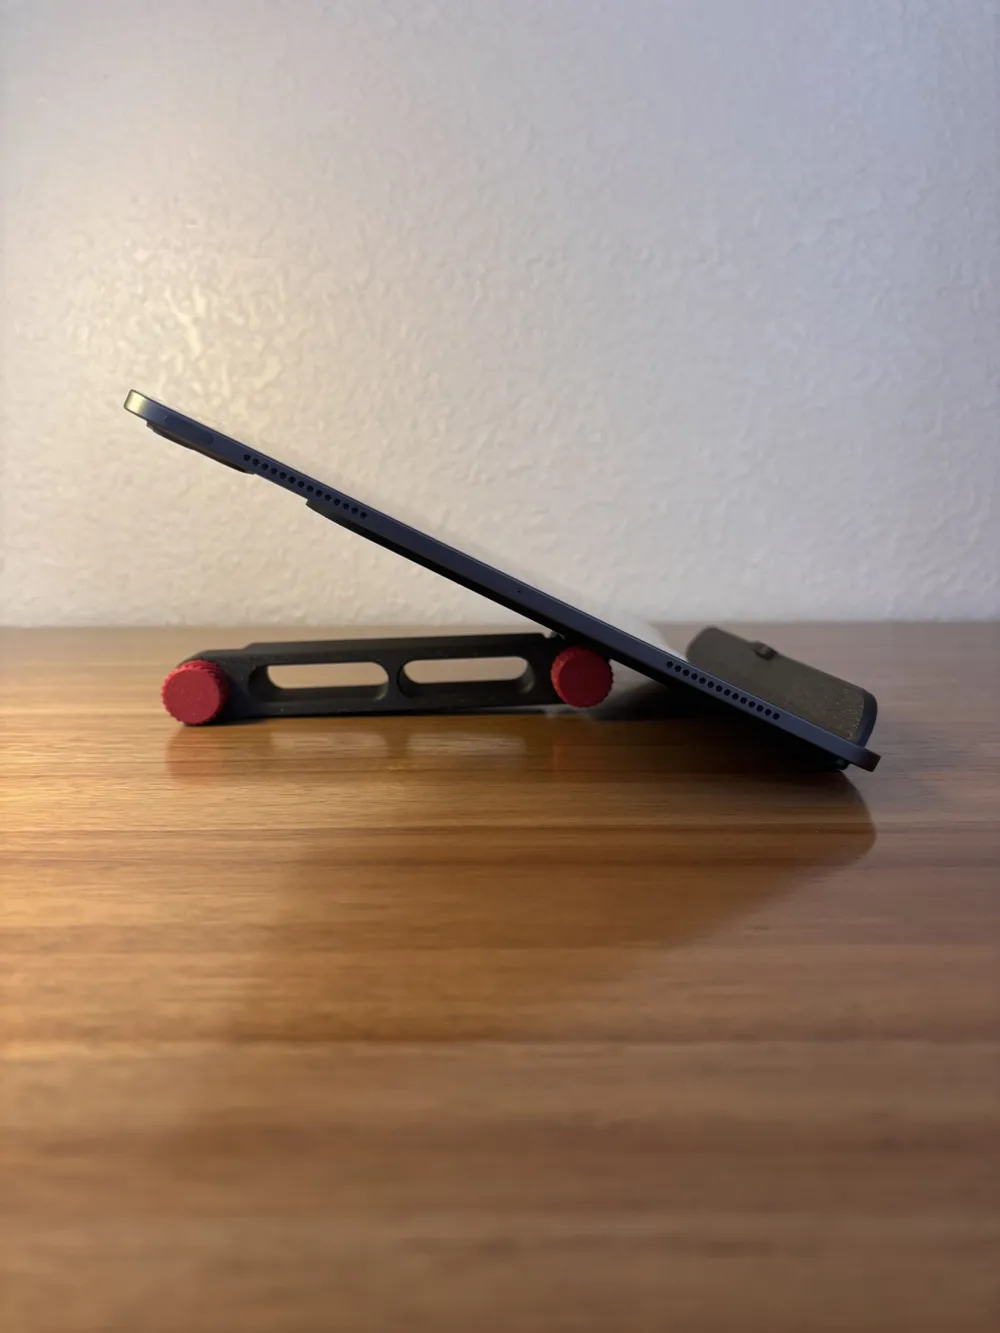
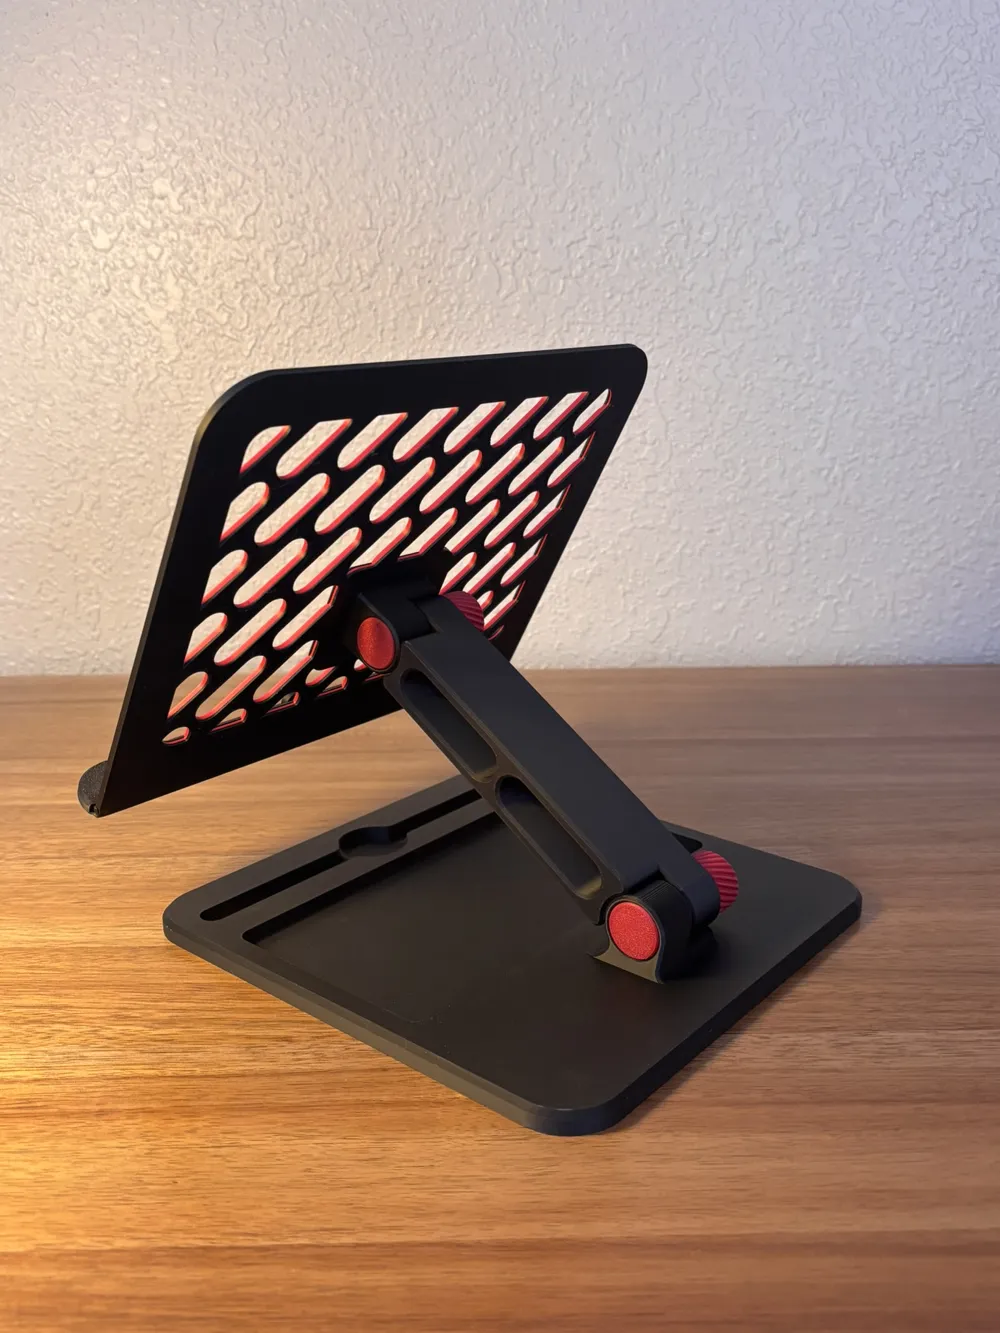
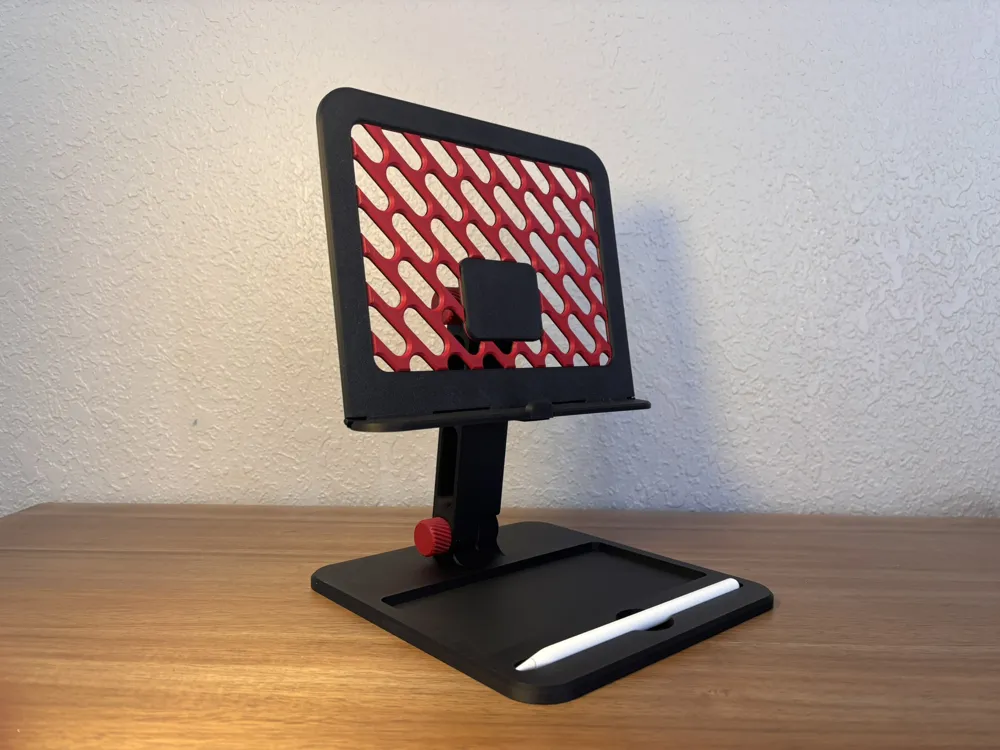
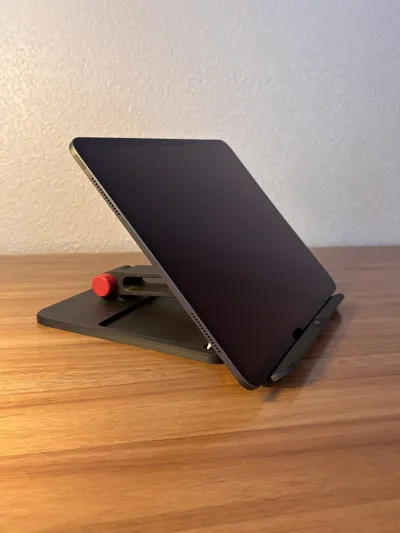
It was almost entirely redesigned from the ground up to optimize strength, functionality, aesthetics, and printability. This stand is perfect for drawing, note-taking, watching videos, reading recipes, or simple to keep your tablet at the ideal viewing angle for you. The friction hinges use printed bolts and hand-tightened knobs, allowing you to easily dial in the perfect resistance without tools. Tighten the knobs for rock-slid support or loosen them slightly for quick angle adjustments. Even lower angles can be achieved by removing the base and just using the arm and main plate.
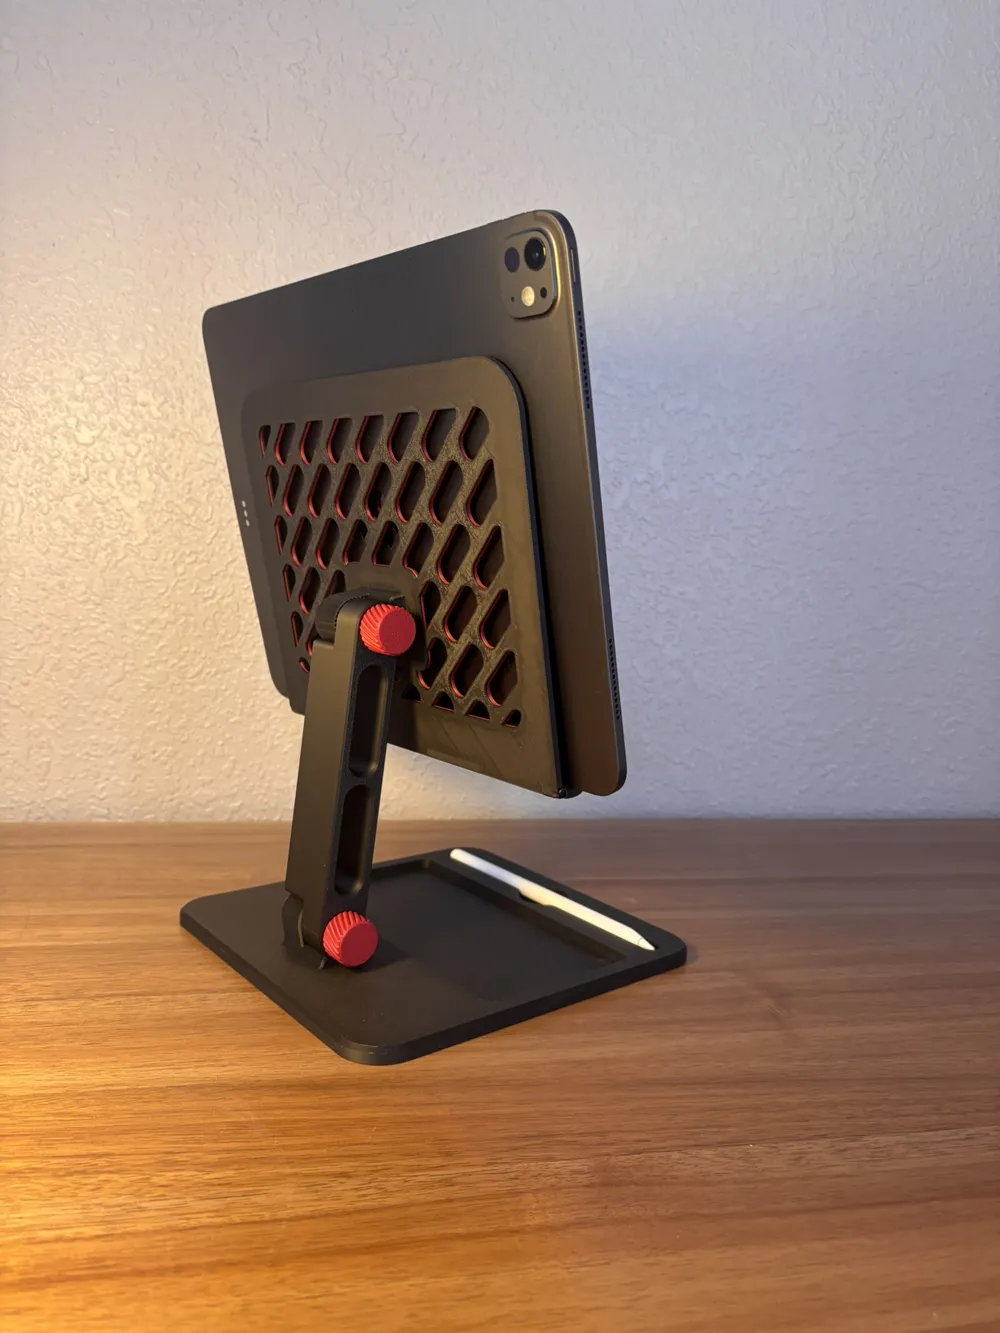
V2, with aesthetics in mind, has an accent color captive insert in the main plate. During the print, the printer has a scheduled pause where you can place the insert into the model before printing resumes, permanently trapping it inside the finished part for a seamless connection, leaving a professional two-colored print without requiring an AMS. For those who prefer a simpler print, I will shortly be publishing a single-color version that prints normally without the pause and insert. So go check that out if you're interested!
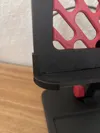
This print also utilized a unique filament-locked-living-hinge (FLLH) that creates a stable lip far beyond strong enough to support an iPad, or any tablet you choose to put on it. Check the Assembly guide for more details about FLLH assembly.
Features
• Fully adjustable viewing angle
• Strong friction hinges with printed hardware
• Tool-free tension adjustment
• Captive two-color decorative insert
• No AMS required for the two-color version
• Integrated Apple Pencil storage
• Small storage tray in the base
• Clean, modern industrial design
• Optimized for easy printing and assembly
Printing
All structural parts were designed for standard PLA.
For best results USE PROVIDED PRINT PROFILE:
- Prints the bolts and knobs at a finer layer height (0.08) for maximum thread quality and 100% infill for stronger pieces.
- Pauses automatically at the correct layer for the captive insert placement
Assembly
Assembly is, for the most part, straightforward, and requires no additional hardware. The most challenging part is the main plate. The print profile should pause all BAMBU LABS printers at the correct layer (layer 15) and you should be able to insert the accent textured plate. The print will then resume and print on top of the insert, sealing it into the print.
NOTE: For non-Bambu Labs printers, I suspect you will have to schedule your own pause, or manually pause it, at the correct layer (I don't know *shrug*, I don't own a non-Bambu Labs printer. Let me know it the comments!!!).
Once the main plate finishes, you'll need to prepare the filament-locked-living-hinge (FLLH). Crease the print at a right angle along the hinge. The thin layer of filament should fold nicely and make a strong crease. Now, holding the plate and lip folded at 90 degrees, take an 8.5-9in (21.5-22.8cm) strip of filament, preferably the same color as the plate, and thread it through the holes on the plate and lip, which should have lined up perfectly when you folded the piece. Once all the way through, you can either just cut the ends, or heat them with a lighter, and press on them to form a mushroom shape, which will prevent the filament from sliding out. Install the catch in the rectangular hole on the front of the lip, then print and attach the lip brackets (found in the second listed print profile), and the main plate is ready to go!
Now just screw in the nuts and bolts and adjust the knob to secure your stand!
Notes
This design has gone through multiple iterations focused on improving:
- Hinge strength
- Thread durability
- Print reliability
- Ease of assembly
- Overall appearance
The final version has been tested with an iPad and significantly larger devices and provides excellent holding force while still allowing smooth adjustment with a slight loosening of the knobs.
If you enjoy this model, I'd really appreciate a like, rating, or photo of your print! Seeing other people's color combinations is one of the best parts of sharing designs.
Happy printing!
Documentation (1)
License

You shall not share, sub-license, sell, rent, host, transfer, or distribute in any way the digital or 3D printed versions of this object, nor any other derivative work of this object in its digital or physical format (including - but not limited to - remixes of this object, and hosting on other digital platforms). The objects may not be used without permission in any way whatsoever in which you charge money, or collect fees.


Comment & Rating (14)