Search models, users, collections, and posts

Modular Brick Boat
IP Report
Print Profile(1)
0.16mm layer, 3 walls, 5% infill, X-Y hole/contour 0.1
Designer
12.5 h
3 plates
Open in Bambu Studio
Boost
42
89
3
0
24
13
Released
Description
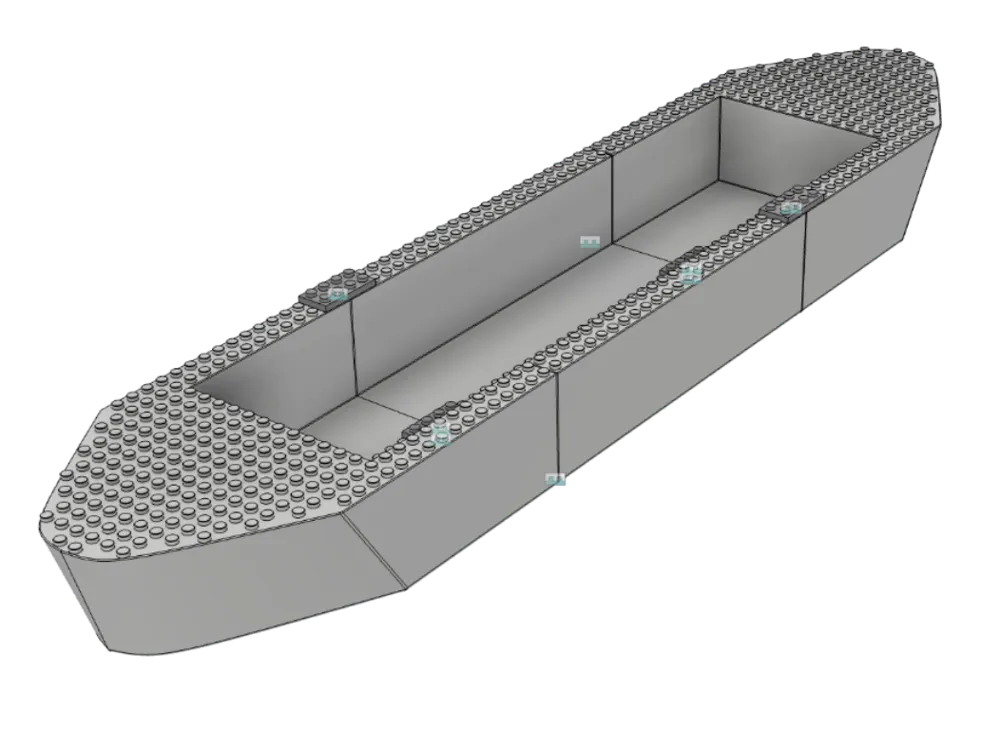
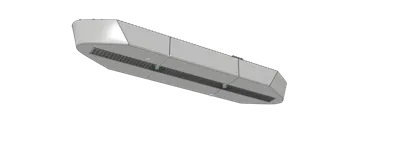
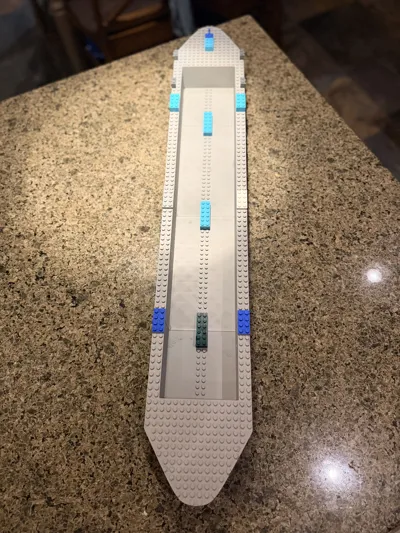
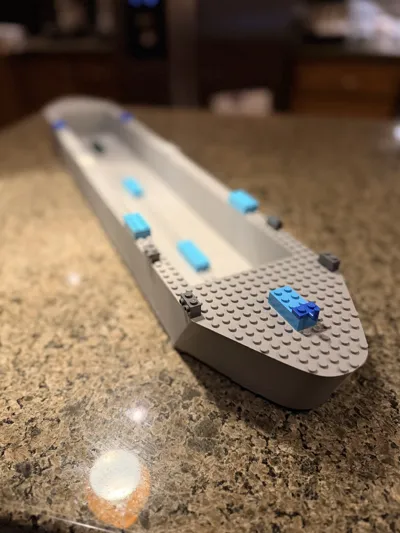
⚓ Modular Brick Compatible Boat System (Infinite Length!)
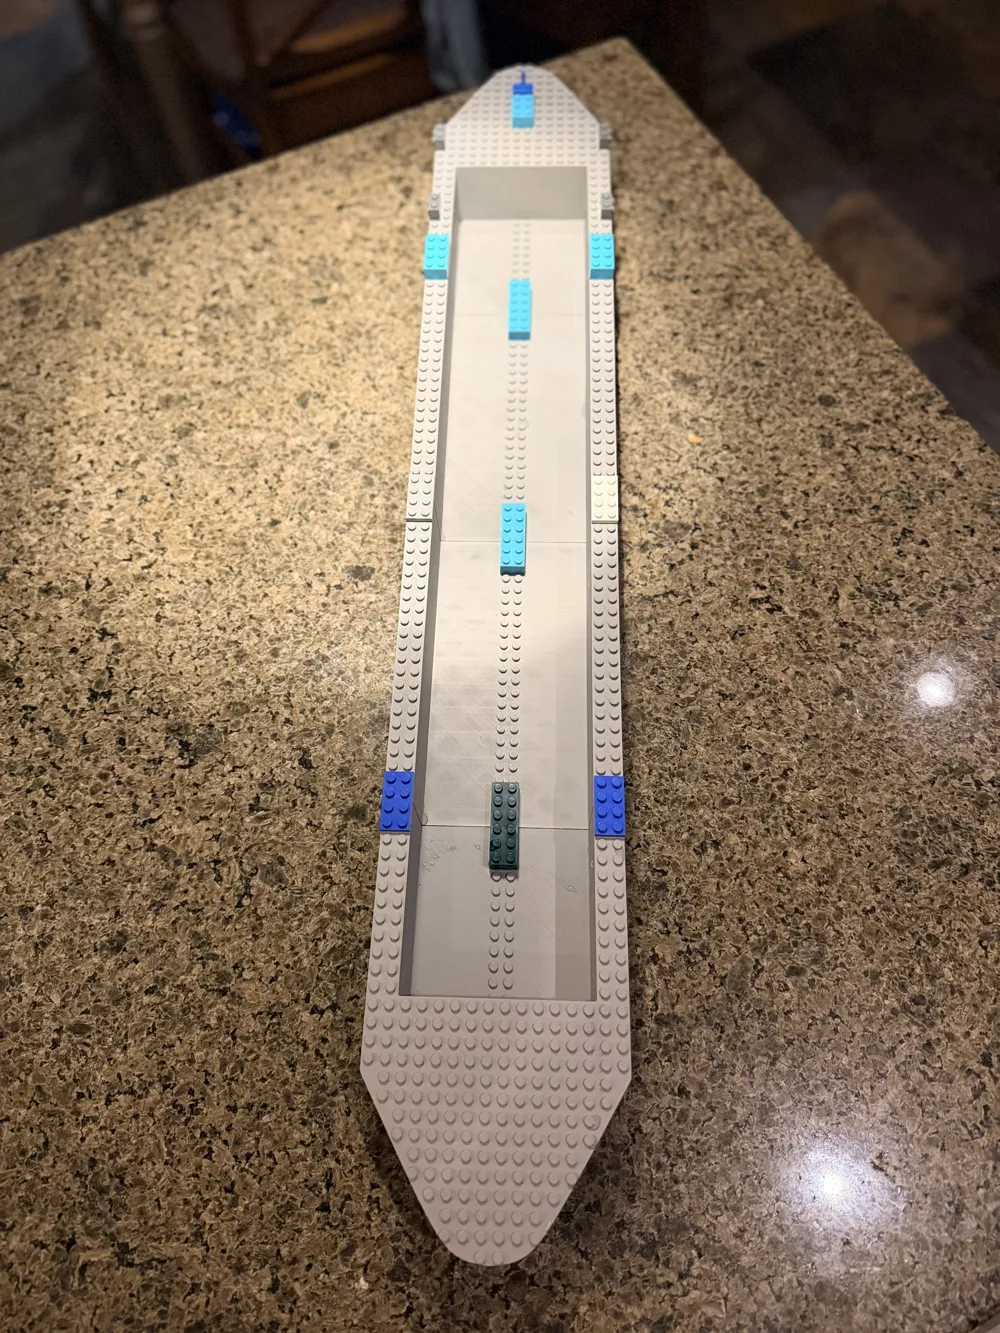
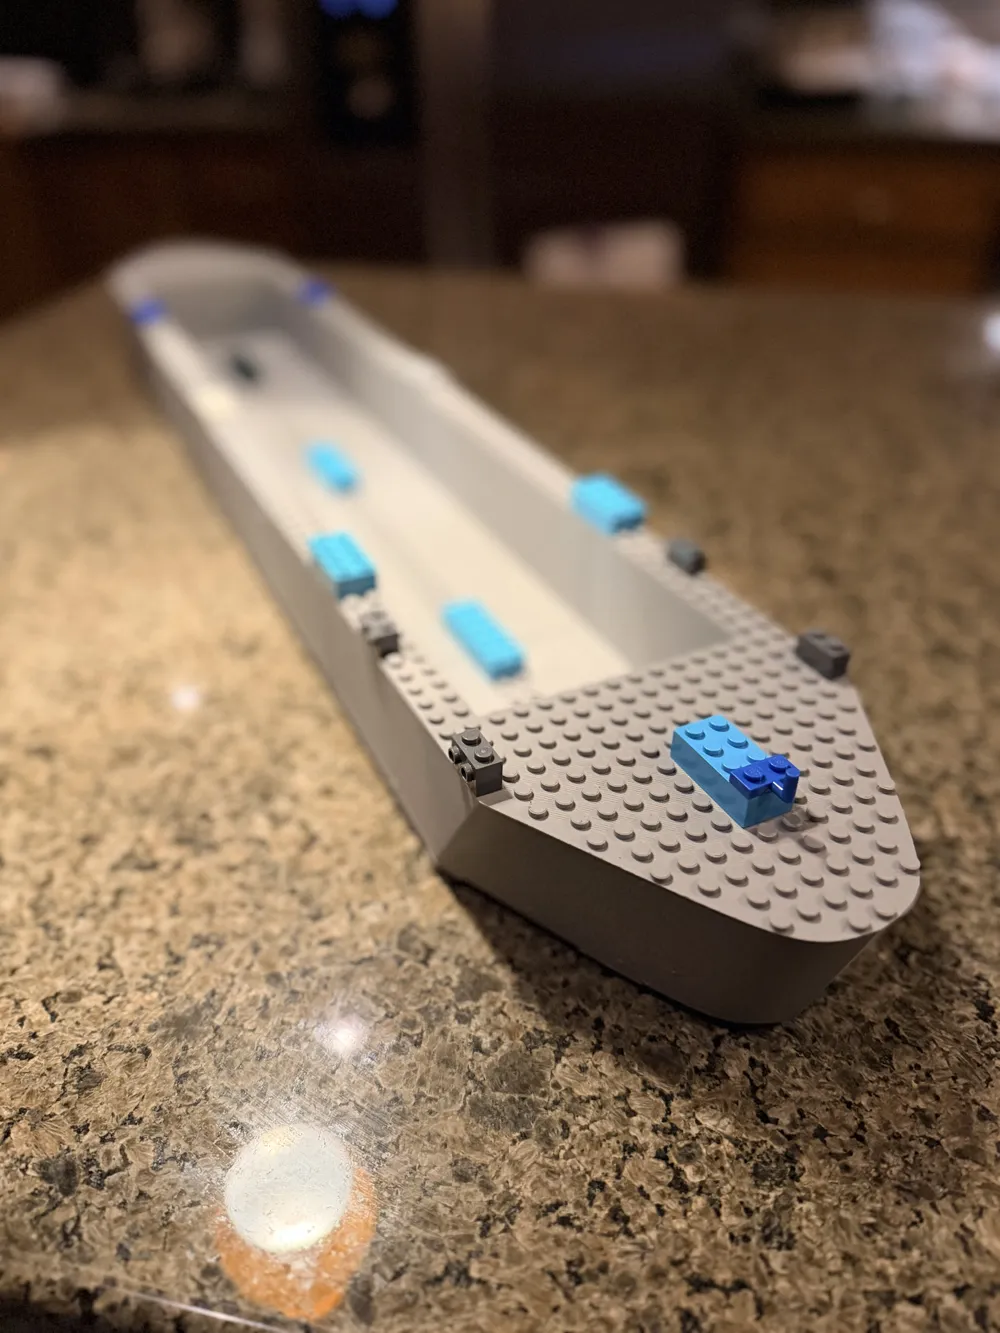
Ever wanted to build a custom brick compatible boat that is exactly as long as you want it? Designed to fulfill a request for a 16-stud-wide boat hull, this fully modular system lets you print a front bow, a rear stern, and as many middle modules as your heart desires to create a custom vessel of any length!
The design uses a clever mechanical compression system—combining a printed TPU O-ring and standard bricks—to create a completely leak-tight seal with absolutely no glue required.
🛠️ Key Features
- Infinite Expandability: Print the front and back, then add 1, 5, or 10 middle modules to scale up your ship.
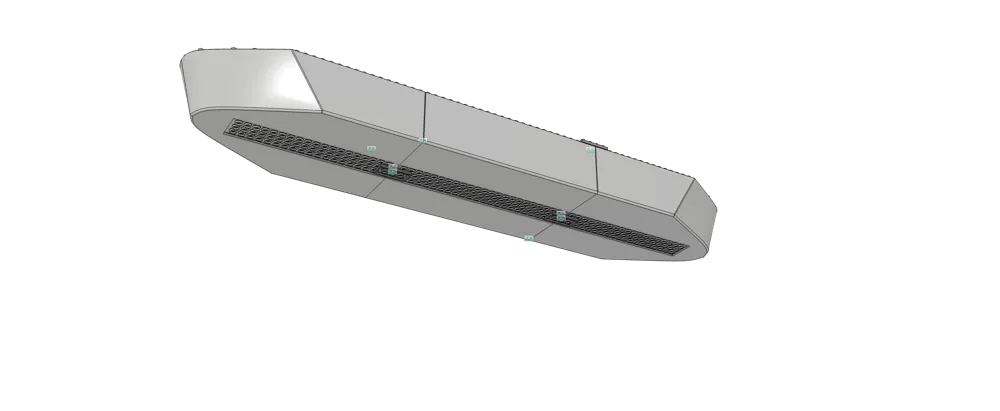
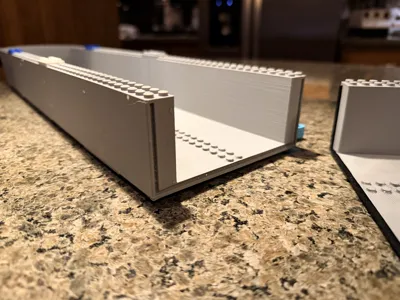
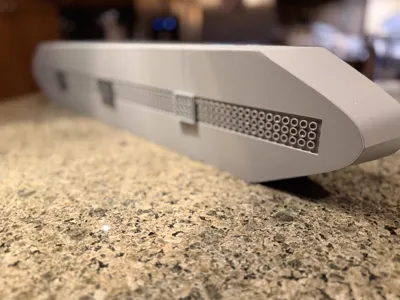
- Brick compatible: Built with standard top studs for custom decks and superstructure building, plus bottom brick connections.
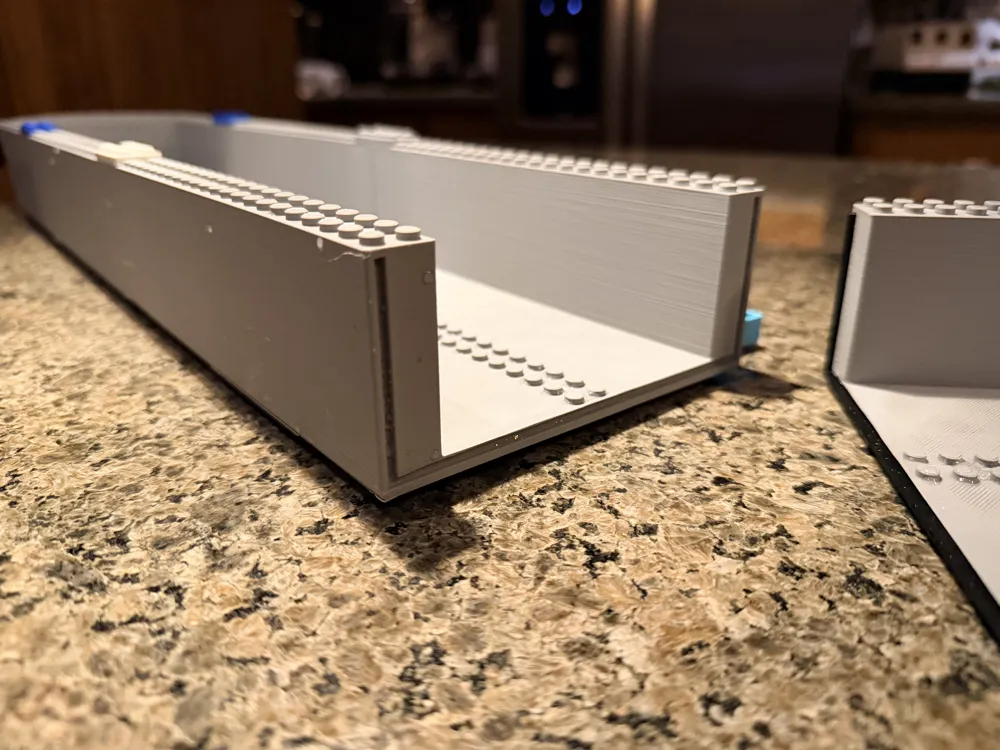
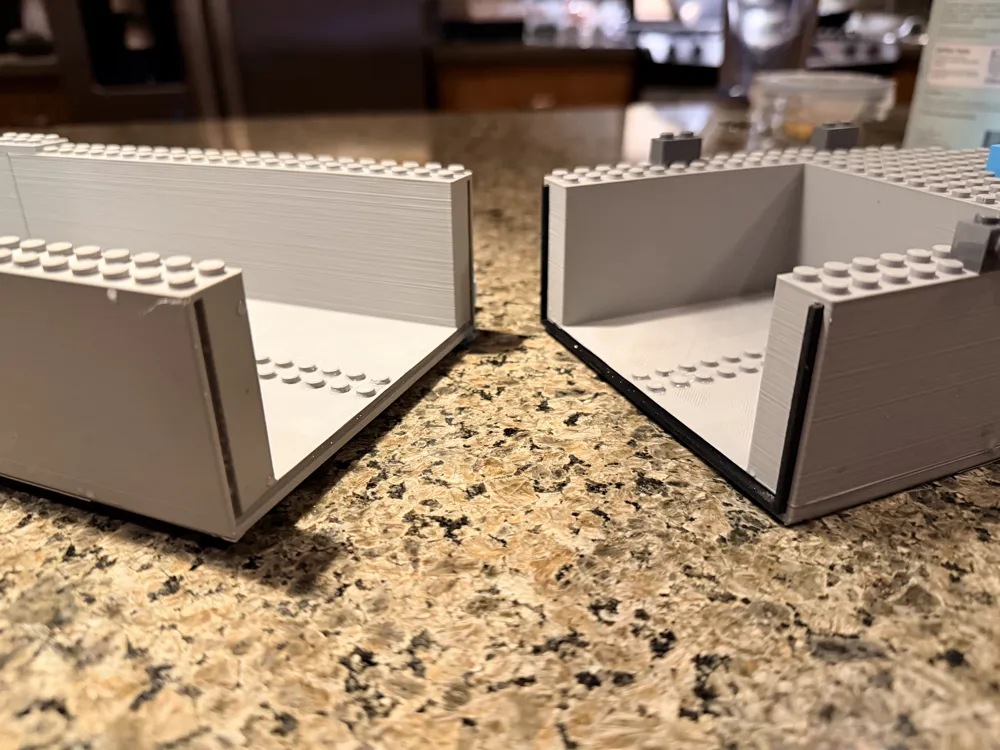
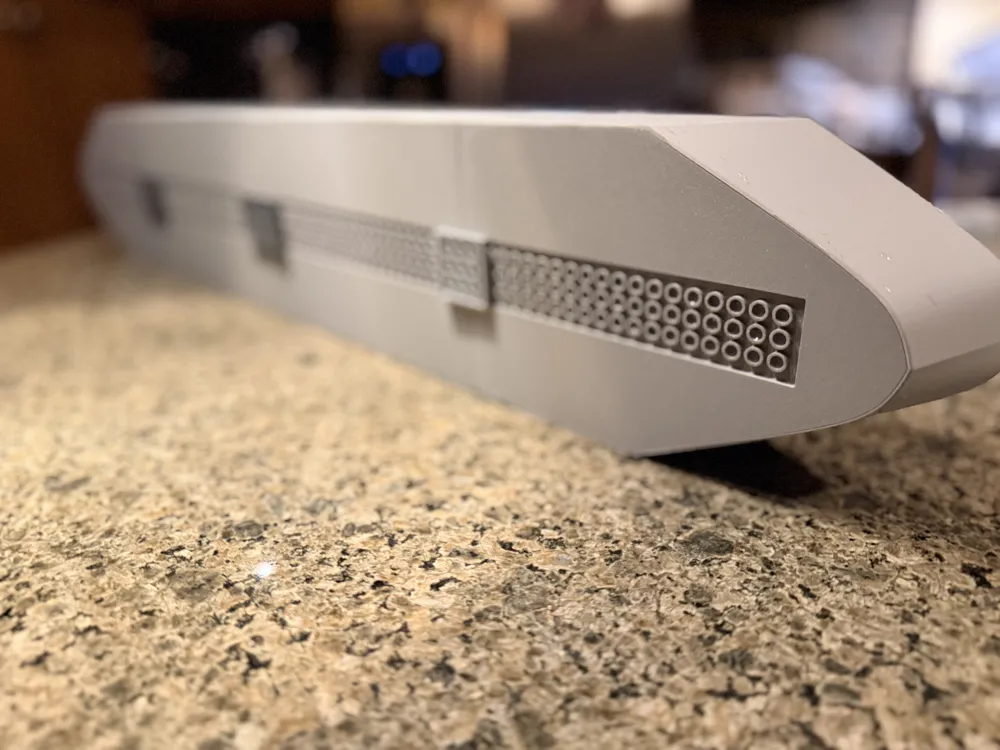
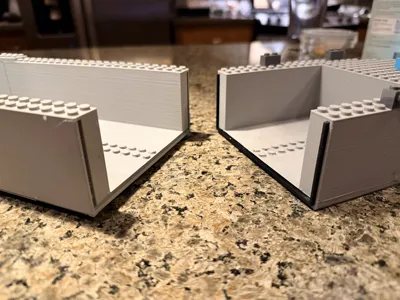
- Glue-Free Waterproof Seal: Features internal studs designed for a precise compression fit against a TPU O-ring. Snapping bricks across the top and bottom joints provides all the clamping force needed to keep water out!
- Optional Keel Attachment: Bottom brick connections can be used to add a stabilizing keel or extra bracing.
📦 Components to Print
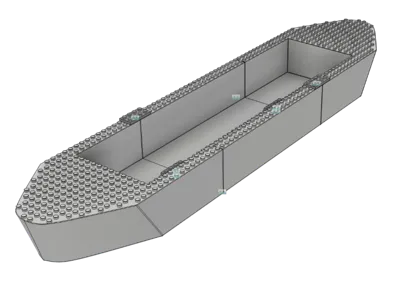
- The Bow/Stern (Front-Back Module)
- The Middle Module (Print as many as you want!)
- The O-Ring Seal (Print 1 for every joint; suggest to be printed in TPU)
🚀 Print Settings & Profiles
The included print profile has been tuned and optimized for PLA.
- Main Hull Modules: PLA (Optimized for wall thickness and stud dimensions for a perfect clutch factor).
- O-Ring Seals: TPU (Flexible filament is required to ensure a watertight gasket when compressed).
🧩 Assembly Instructions
- Place a TPU O-ring into the grooved joint between two modules.
- Align the internal compression studs.
- Bridge the seam on both the top and bottom using standard bricks (e.g., long plates or bricks spanning the joint).
- Press down firmly. The brick connection will compress the O-ring, creating an immediate waterproof seal. Launch and enjoy!
License

This user content is licensed under a
Creative Commons Attribution-Noncommercial-Share Alike


Comment & Rating (3)