
Fire Challenge
Print Profile(1)
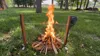
Description
Survivor-Style Fire Challenge
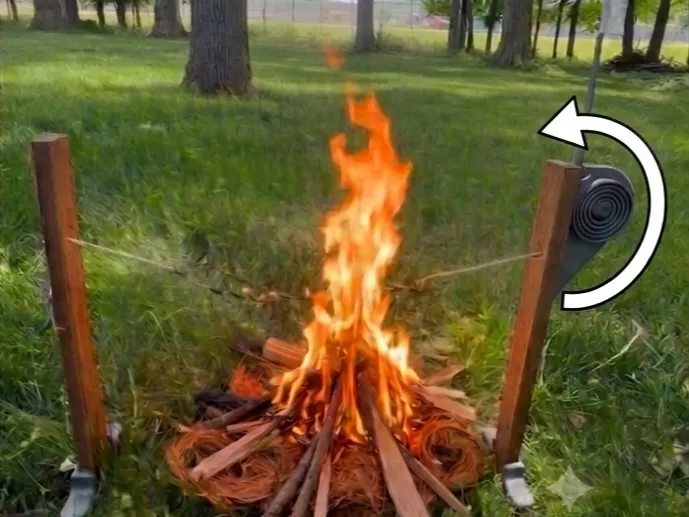
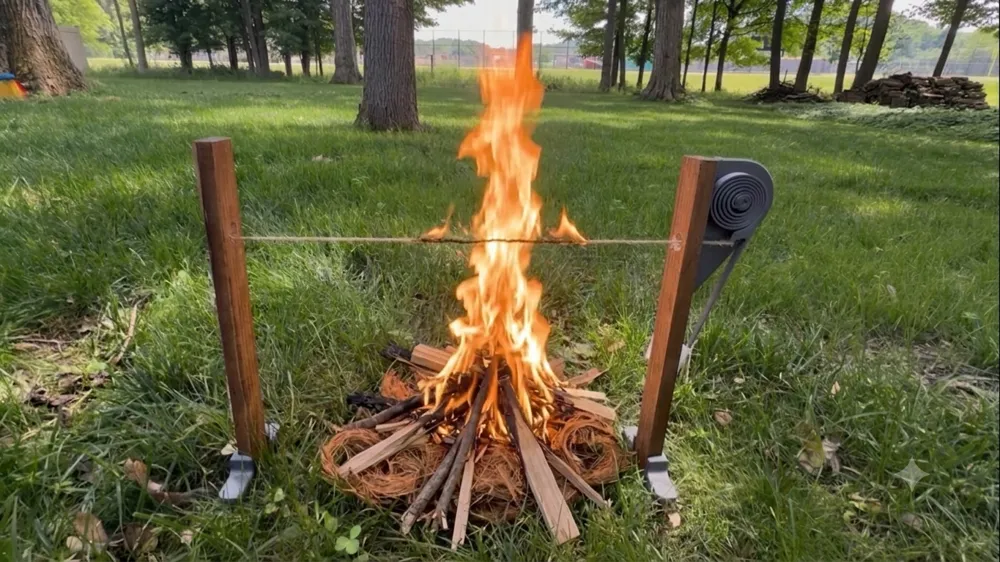
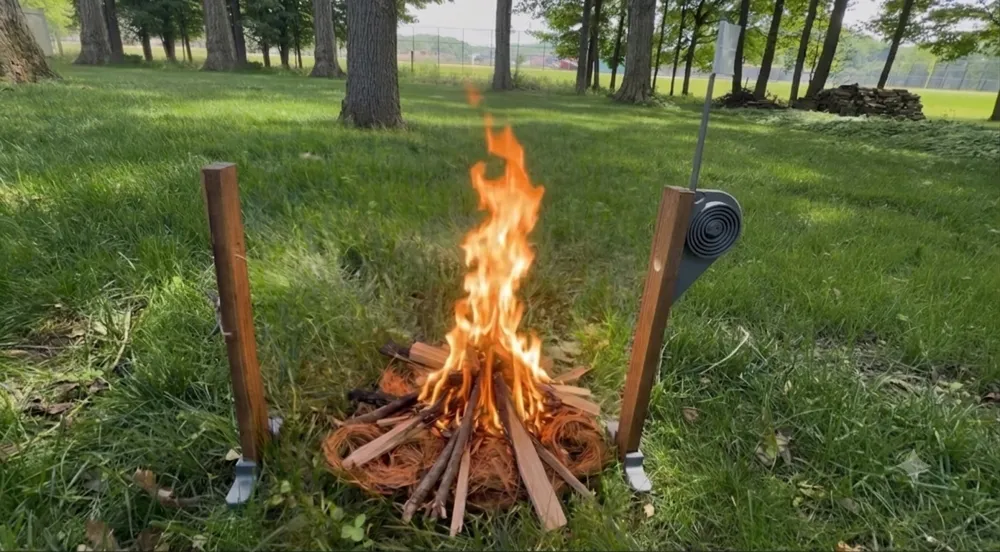
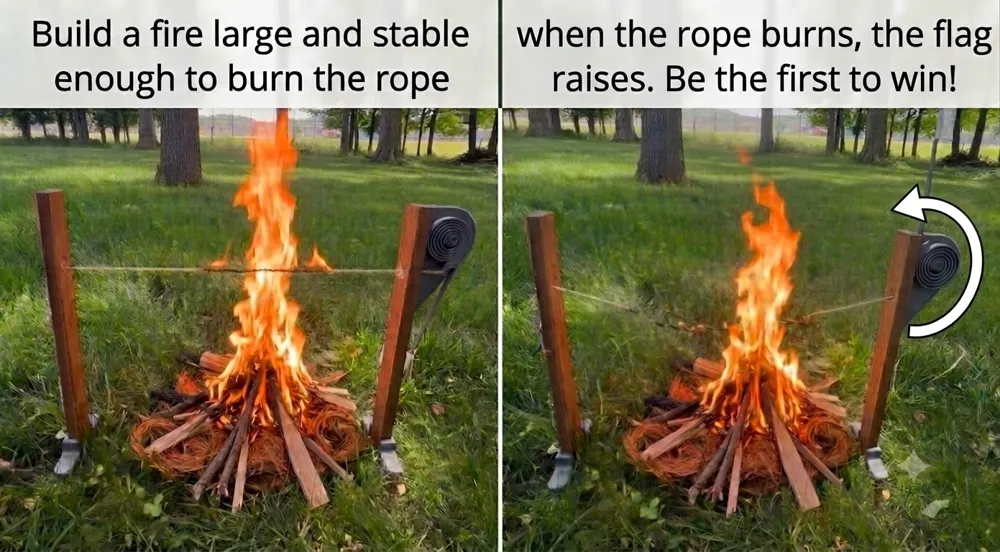
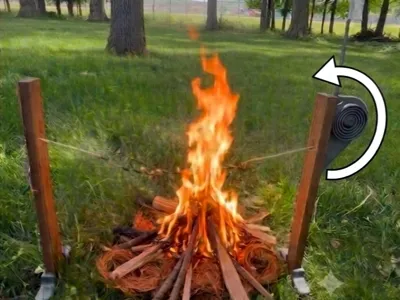
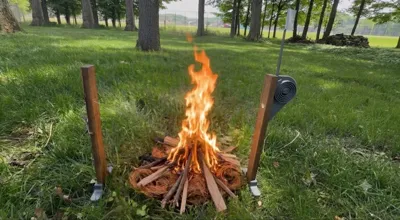
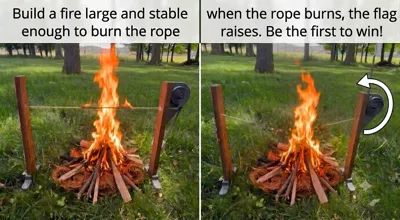
Recreate the iconic fire-making challenge from Survivor in your own backyard! Build your fire, burn the rope, and watch your flag automatically raise — first one up wins!
**WARNING – PRACTICE FIRE SAFETY AT ALL TIMES ** See additional warning as end of description
How It Works
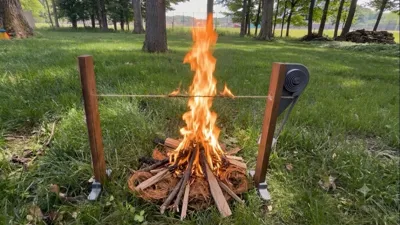
A rope is strung between two wooden posts, passing directly over the fire. On one post, a spring-loaded flag mechanism sits in tension, held in place by the rope under load. When the fire burns through the rope, the spring releases and rapidly uncoils, raising the flag. It's a satisfying, fully mechanical trigger — no electronics, no manual intervention.
What's Included (3D Printed Parts)
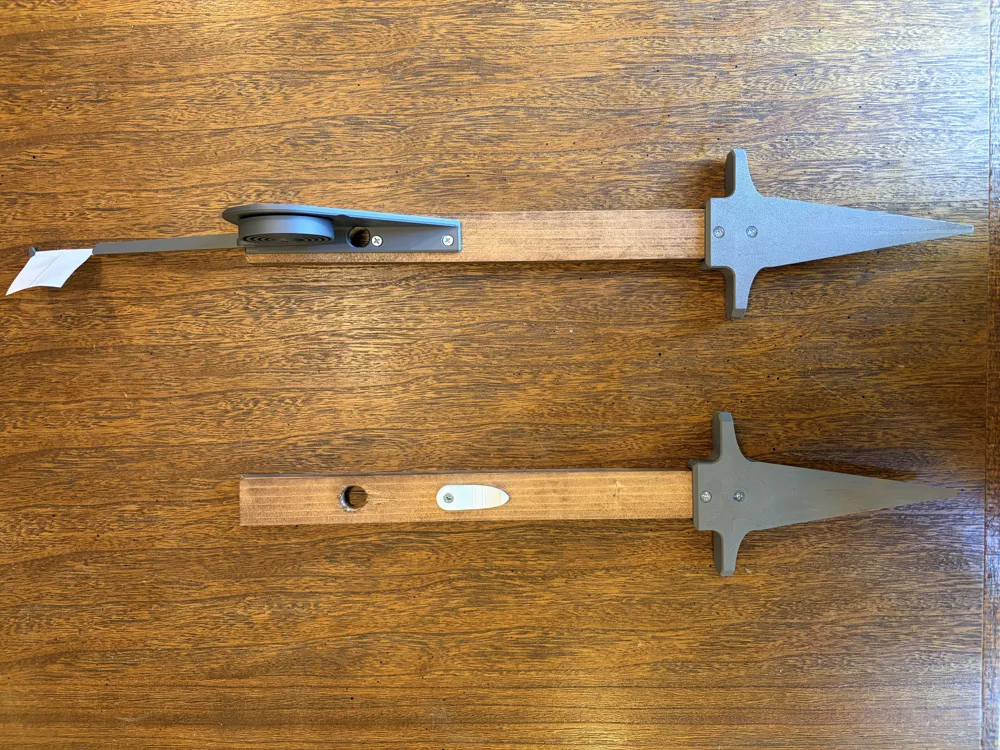
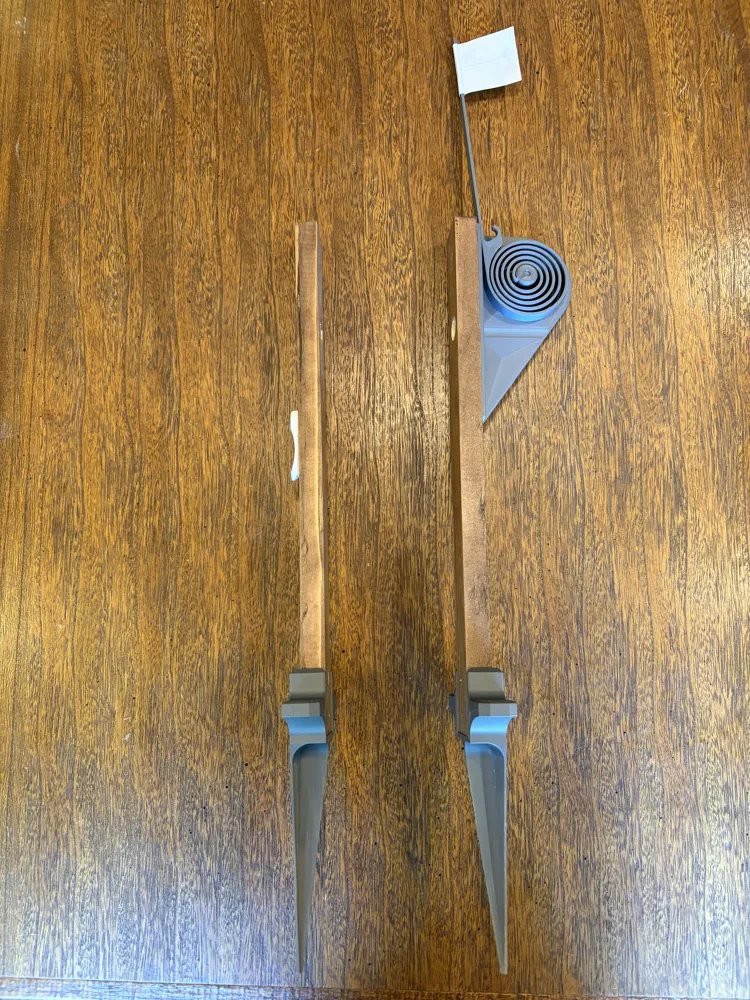
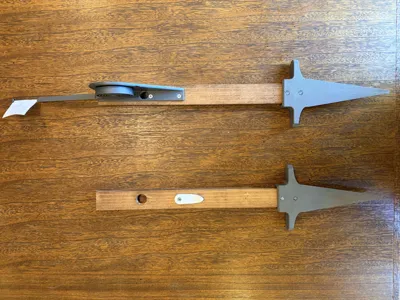
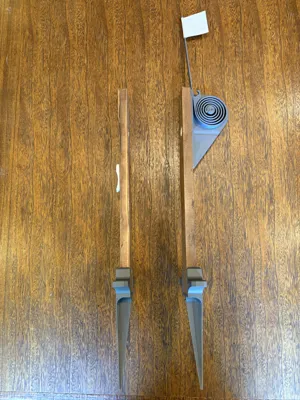
- Spring & Flag Staff— stores the mechanical energy that raises the flag when released
- Spring mount — attaches the spring mechanism to the top of the post
- Cleat — anchors the rope under tension to keep the spring loaded during the challenge
- Ground spikes (x2) — accepts standard ¾" × 1½" × 13" furring strips (supplied by the user) and are driven into the ground to hold the posts upright and stable during the burn
What You'll Supply
- 2× furring strips or lumber at ¾" × 1½" (actual size) cut to 13" (suggested) in length
- A rope or twine to string between the posts across the fire
- A flag of your choice (either cloth sewn on or duct tape folded over itself)
- 7× #8 x .75" Flat Head Wood Screws
- ¾" drill
- Kindling and tinder of your choice
- Optional: Steel tray as the fire platform
Optional: Magnesium & flint or matches
Assembly Overview
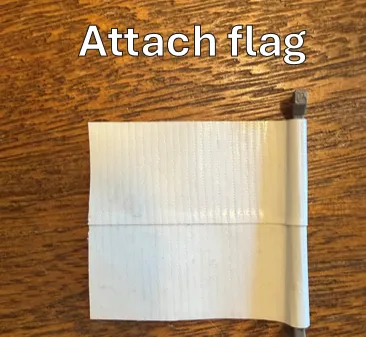
- Attach flag to Spring
either sew on cloth or simply fold over duct tape
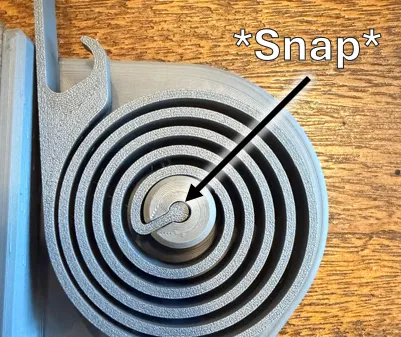
- Press Spring into mount until full seated and it “clicks”. The spring should sit below the mount boss surface.
A screwdriver could assist
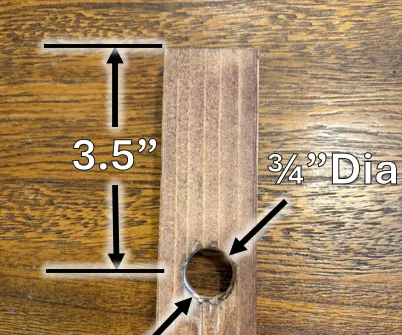
Drill a ¾" hole into each 16" long furring strip. Hole should be located centered and 3.5" from end.
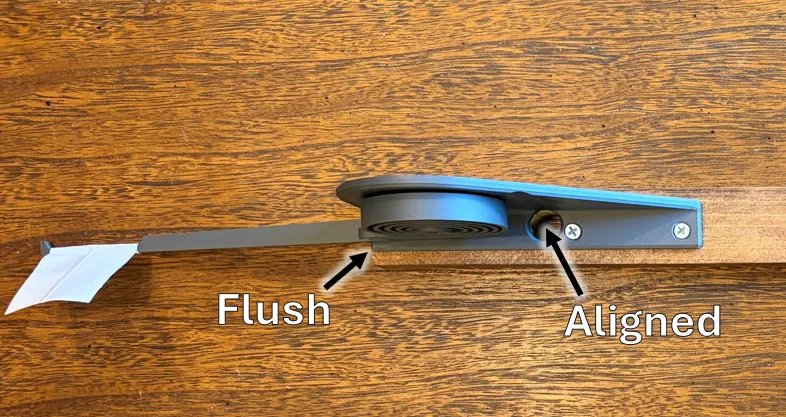
Fasten the Mount to the posts using #8 screws. The Mount should be flush with the end of the post and ¾" hole aligned with the mount hole.
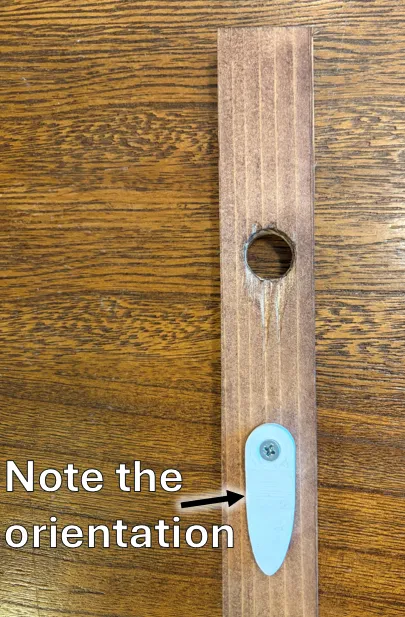
Fasten the Cleat on the other post. The distance from the hole is not critical. Secure with a #8 screw.
- Select which ground Spike you require. Press the ground Spikes onto the base of each lumber post & secure each with 2x #8 screws.
- Two spike variations are available. Only 1 set is required.
- Short: 3.5" long spike for compact soil
Long: 6" long spike with increased surface area for looser soils
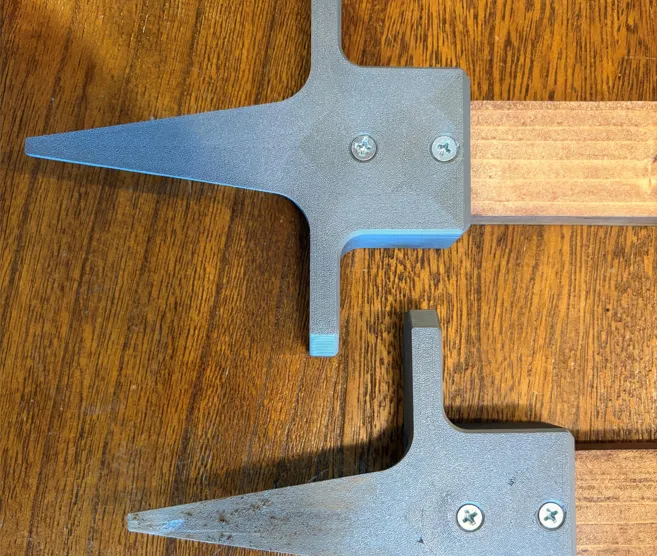
- Two spike variations are available. Only 1 set is required.
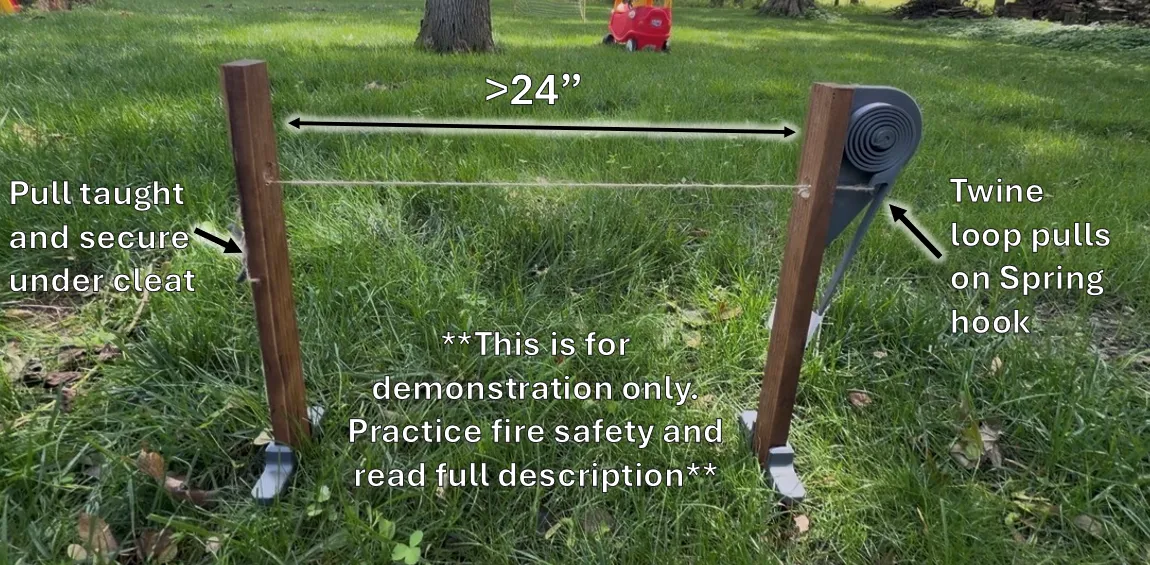
Drive both posts firmly into the ground at your desired spacing (>24"), aligned across where your fire will be built. Ensure they are firm planted by using stepping on an applying your body weight to the two tabs located on each side of the Stake. Check if they're secure by applying firm pressure at the end of the 2 poles. Do not proceed with use if not secure; reevaluate stake option used and location.
Operation Overview
Set Up:
- After installing the mechanism in a non-flammable environment
- Cut twine/string to desired length and create a loop at one end.
- Feed twin through both ¾" holes spanning the fire pit. Attach the loop to the hook on the spring.
- Apply tension to the free end of the rope. The spring should be compressed and the flag should be pointing down.
- Wedge the twine/spring under the cleat to hold the tension.
- Prepare tinder and kindle of your choice. Have the desired quantities set aside.
- Tinder: Fluffy, dry material like coconut husk fibers, dry grass, or shaved bark.
- Kindling: Small twigs and sticks ranging about the diameter of a pencil to your thumb.
You should have enough primary tinder and kindling to fill a small shoebox each
The Game (assuming 2 sets are printed):
- Commence the game at the same time
- Using the desire first starter of choice (flint and matches), build up a sustainable fire as quickly as possible.
- If you're using flint with inexperienced persons, I suggest setting a time limit (5 minutes suggested). At the end of the time limit, everyone then gets matches. This provides an advantage to anyone who can start it with flint, but still keeps the others engaged/competitive.
- The competition ends if one of the following happen:
- A contestant burns through their rope
- All contestants consume their tinder while there is still no flame
- Time limit, if imposed, is exceeded.
- If a time limit is imposed, I suggest only calling the end during a natural pause in the action (like in soccer/football). If someone is actively building a fire, let the clock continue.
Storage:
Do not store with the spring/flag in the compressed position. PLA creeps. Extended periods of time with the spring/flag in the compressed position will result in the flag not returning to the upright position. Printing in PETG or ABS may solve this. I'll work to upload a print profile in the future.
⚠️ Fire Safety & Risk Disclosure
This model is designed for use with an open flame. By downloading and using this model, you accept full responsibility for your own safety and the safety of those around you. Please read and follow all precautions below before use.
Fire Safety
- Never leave an open flame unattended at any time
- Keep a fire extinguisher, bucket of water, or garden hose within immediate reach before lighting any flame
- Ensure all flammable materials — including the model itself — are positioned a safe distance from the flame source and any surroundings
- This model is printed in PLA/PETG which is itself flammable and will deform under heat — do not position the printed parts directly in or near the flame
- Do not use indoors or in enclosed spaces
Environmental Conditions
- Do not use during high winds, drought conditions, or fire bans
- Check your local fire regulations and burn bans before use — open flame activities may be restricted or prohibited in your area
- Keep a clear perimeter free of dry grass, leaves, and other combustible materials
- Use on a non-flammable surface such as concrete, sand, or bare dirt
General
- Keep children and pets at a safe distance
- Have a designated safety person present who is not participating in the challenge
- The creator of this model assumes no liability for any injury, property damage, or environmental harm resulting from its use
Use responsibly and have fun! 🔥
License

You shall not share, sub-license, sell, rent, host, transfer, or distribute in any way the digital or 3D printed versions of this object, nor any other derivative work of this object in its digital or physical format (including - but not limited to - remixes of this object, and hosting on other digital platforms). The objects may not be used without permission in any way whatsoever in which you charge money, or collect fees.


Comment & Rating (0)