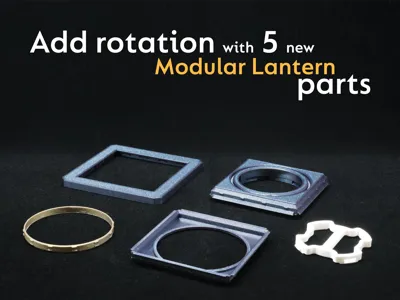
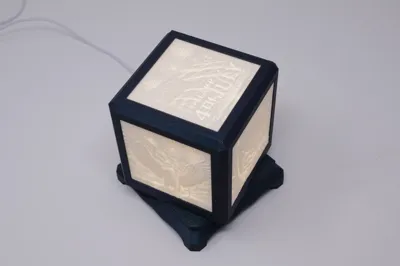
Rotating & Stackable Modular Lantern


Print Profile(2)

Bill of Materials


Description
This is part of the Modular Lantern system, a set of many parts that connect together giving many combinations of lantern styles, shapes and sizes. Compatible with over lithophanes or over 500 stencil inserts which are placed in front of a solid colour PLA panel allowing you to swap colours and patterns easily.
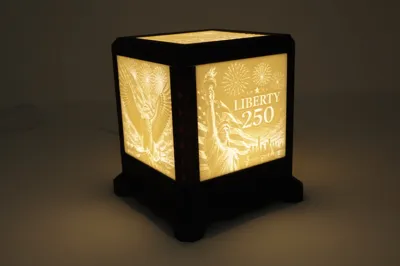
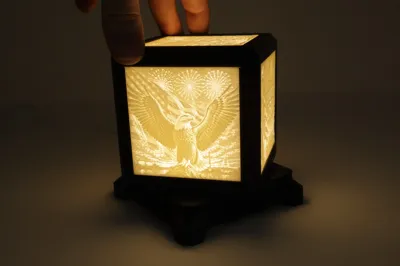
This print profile includes 4 new parts which can be added to an existing lantern to enable rotation. It also includes five 4th July lithophanes and the parts for you to be able to create a stack of rotatable cubes. Be sure to check out other profiles for the portrait lantern core or different tops and skirts.
Boost Me (for free)
A boost is exactly that. A huge boost to my confidence and reason to keep creating and sharing in this wonderful hobby. Thank you!
A Modular Lantern is built as a stack. Let’s start off at the bottom and create a base.
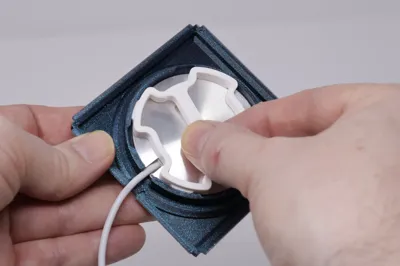
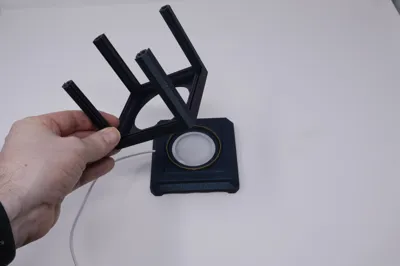
Rotating Base for Wired LED Puck
There are a few base options, this one is for the widely available wired USB LED pucks. Pop the LED in and secure by rotating the TwistLock clip found on plate 5:


Due to the heat produced by the LED I suggest printing this in PETG or other heat resistant filaments. If you only have PLA it still works it just gets a little looser than PETG.
Thin Flat Top
This part is called of ‘top’ parts because it can also be at the top of a lantern too using the panel retainer on plate 7. But for our purposes we will use it to top off a skirt. But first push the base with LED into the top and push the wire into the clamp area:


The Skirt
Now you can use MagFit or more magnets to connect this to the skirt. I personally use MagFit but the whole point of MagFit is to give you flexibility so it’s your choice. Take a read on the MagFit page to understand the options. You can download the MagFit clips from Makerworld here.
Click the base onto the skirt:


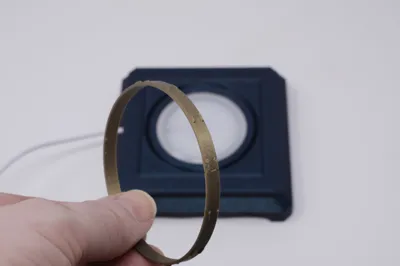
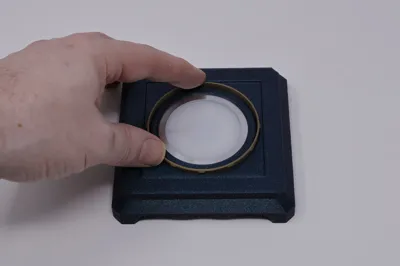
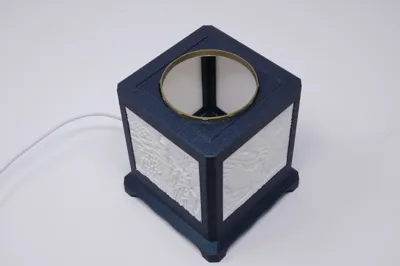
Ring Connector
There are two ring connectors, one designed to keep a 0.4mm gap between the parts and one for flush fitting. You can try them both; it's a quick print. Take a ring and push it into the outer ring of the base:


Adding a core
There are 3 medium sized cores of different aspects, the cube included here and a 2:3 aspect ratio here and a tall 1:2 one.
Add the base with a larger hole in it to the core:


Now push this onto the prepared skirt pushing at the corners until it clicks into place and rotates freely.


Adding Lithophanes or Inserts
Now pick your lithophanes which should measure 80x80mm and have a 2mmx2mm border. Or pick from the many stencils available I've released over 500 so far! You can find details of them all on my Patreon some are members only but 100s are free.

The Chamfered Flat Top
Place a lithophane or stencil in the top and secure using the retainer clip:


Add 4 MagFit clips and clip onto the top to complete the lantern.

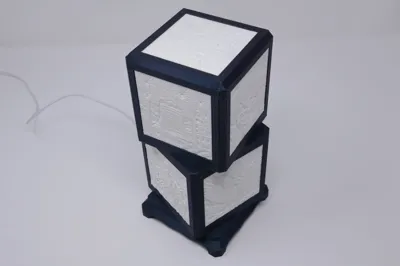
What about stacking?
Modular lantern cores naturally stack without rotation, you can clip any core to another. If you want rotation push a base into a flat top. You can use the chamfered version or one without a chamfer or the thin one we used previously. Here I'll use the standard non chamfered flat top:


Then push a core on just as you did to the skirt:

Upside Down Cores
Get creative. You can use the thin top on both cores and then connect them so that the top core is upside down. Then the join height matches the size of the uprights etc instead of having a double thickness shown above.
Snap rotation
The thin top is a unique piece it has space behind the magfit connector for a 2x6mm magnet. You still use a clip to connect to the skirt (or more magnets) but add 4 magnets to the bottom of the core. Then when you rotate the parts will snap align when the corners get close.
Take care with polarity of the magnets. I've added two magnet tools to help, one with up arrows and one with down. I place a 4mmx2mm magnet in the end allowing me to quickly attach a magnet and know it's polarity. The tool is designed to fit the thin flat top and push the magnet to the base.
You can also place a magnet in the top of the tool, if for example you do not have any 4mmx2mm magnets.
Customised Bases
Plate 11 contains a plain base that accepts the rotation ring and has no hole in it. You can stick a Tea Light onto this or make use of the slicer and a negative cylinder. There is an example of this on plate 11. Just change the size of the negative cylinder to match the diameter of your light, you can usually get quite a strong push fit connection.


License
You shall not share, sub-license, sell, rent, host, transfer, or distribute in any way the digital or 3D printed versions of this object, nor any other derivative work of this object in its digital or physical format (including - but not limited to - remixes of this object, and hosting on other digital platforms). The objects may not be used without permission in any way whatsoever in which you charge money, or collect fees.
Comment & Rating (0)