
Birdbuddy Suet Feeder
Print Profile(1)
Description
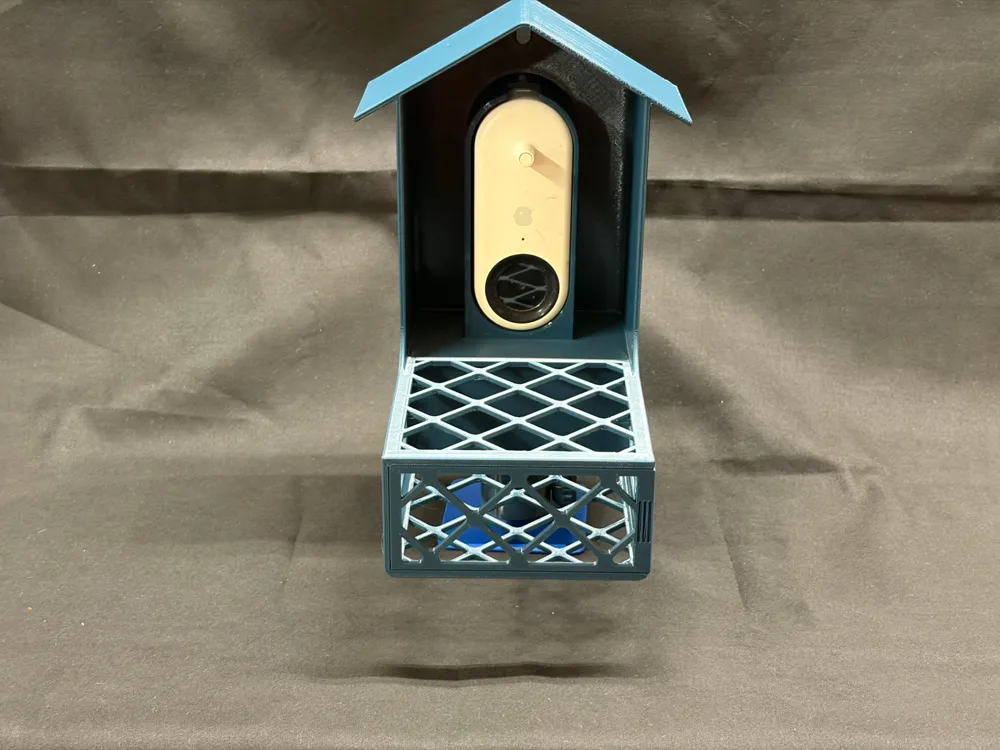
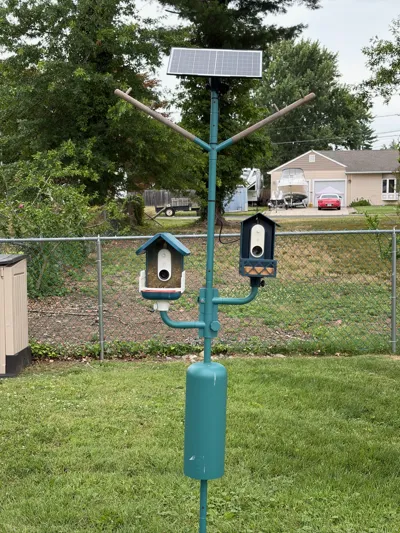
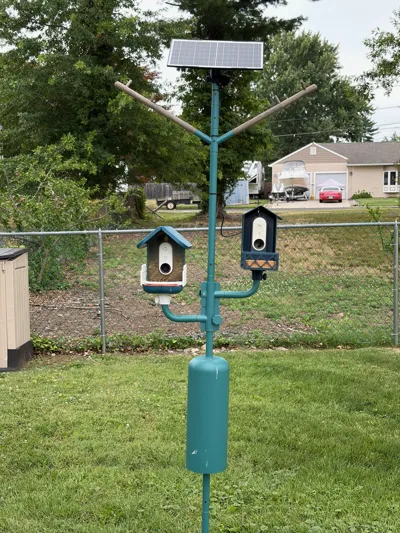
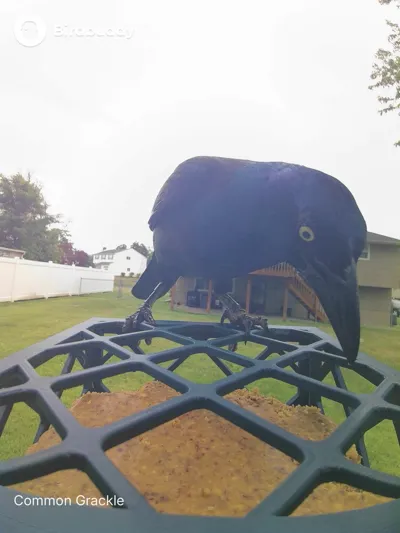
Our tale begins with a bird feeder. A smart one at that. Several years ago, my wife nabbed a Birdbuddy smart feeder from their Kickstarter. For those who don't know, it's shaped like a typical bird house, but has an embedded 1080p camera module that can charge from a USB-C solar roof. They have since expanded to other feeders. For a time, they offered a smart bird bath too. For us, that was kind of a bust. It clogged a lot and the pump didn't stop when the bath ran dry.
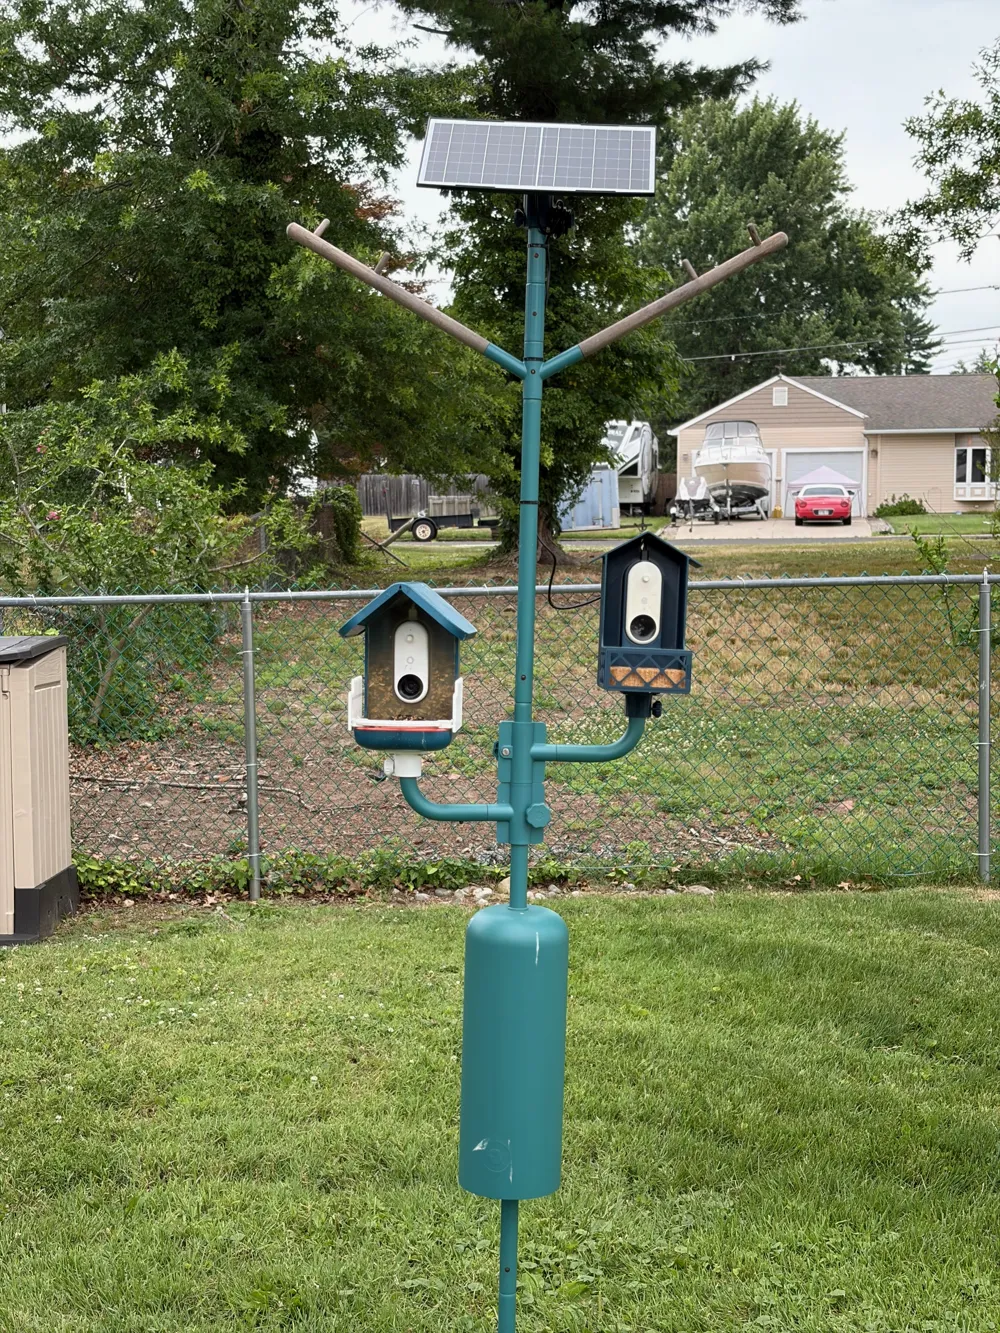
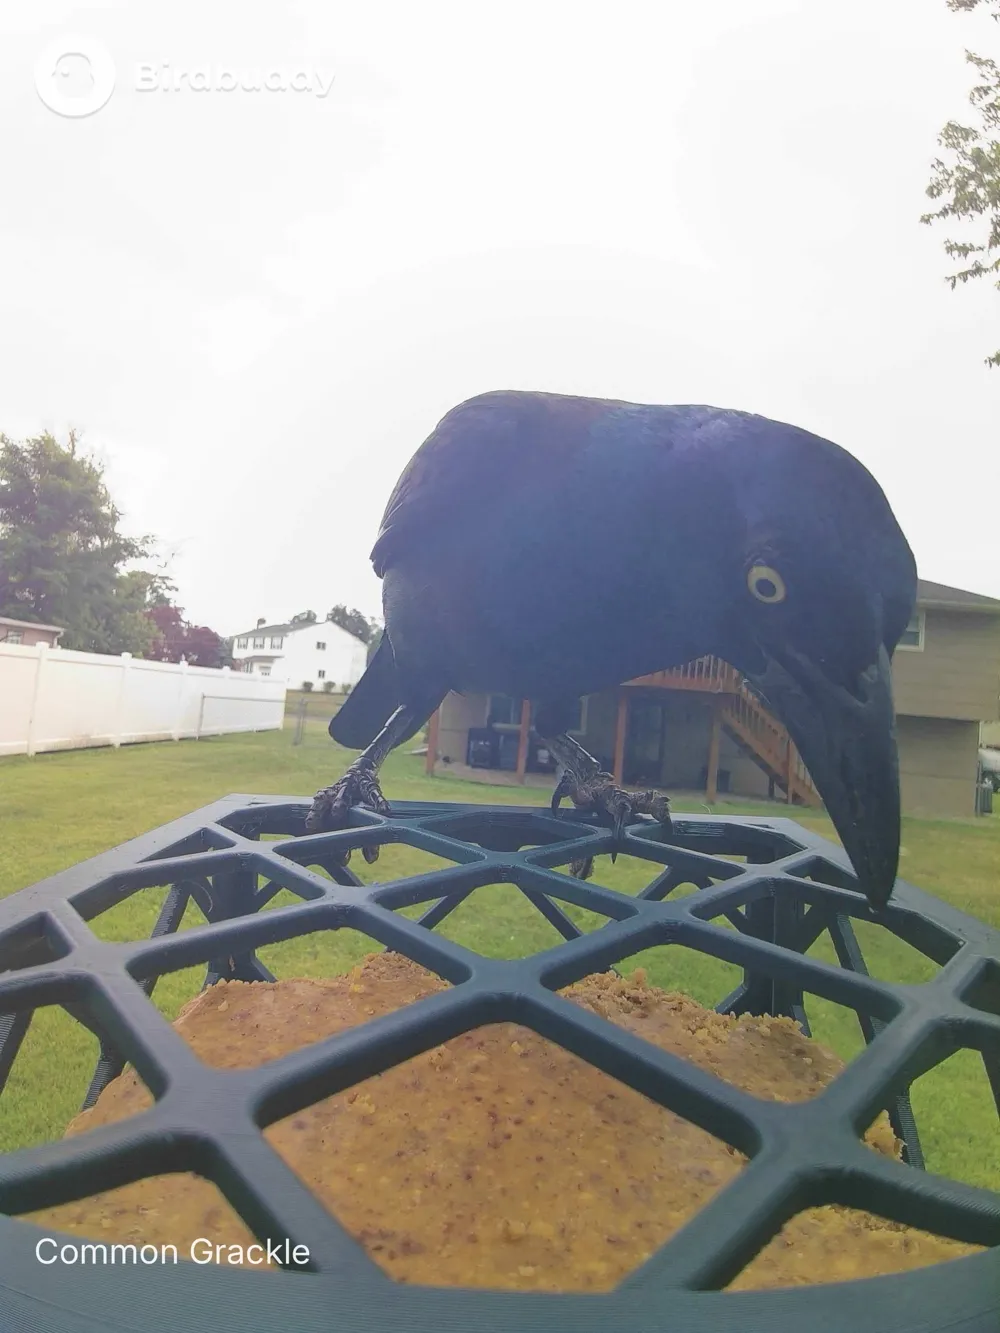
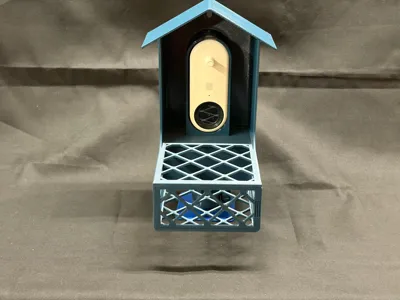
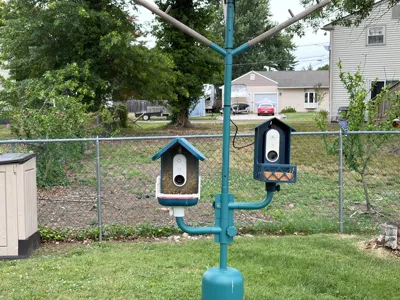
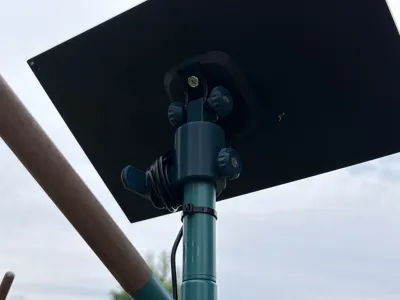
So, we decided to get rid of it, and scavenged it for parts. The cam from the bath was 2K, so that got transplanted into the orignal feeder. A while back, I'd made a suet block holder that we had hanging from the same post as the house feeder, so I decided to marry that with the camera. The Birdbuddy knows if the cam module is in the feeder by using a magnet. So I yanked the magnet out of the bath housing and used that in my new feeder. If you don't have one handy, you should be able to grab some 18x5mm magnets and use one of those. Before you set the magnet in the feeder, check the polarity to make sure the Birdbuddy app registers your cam as being inside a feeder.
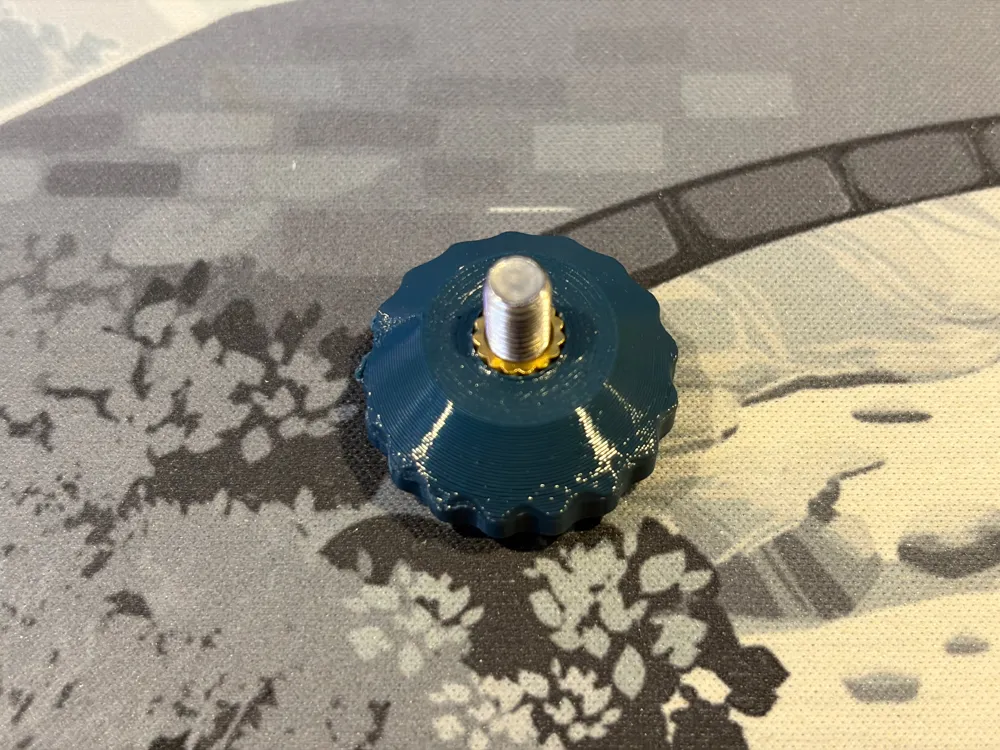
To complete the assembly, you'll need some extra hardware. You're going to need M4 and M5 heat-set inserts, as well as some screws. There's a list just below! My sample print was done using 3D Fuel's Toolbox Gunmetal Blue PCTG Pro.
What should you print this in? Something UV resistant that can live outdoors. So, minium is PETG, recommended to consider PCTG or ASA. PLA and ABS both lack the UV resistance, so avoid those.
Extra Parts:
- M4 Heat-Set Inserts (Bottom Mounting Holes): https://a.co/d/0heZ9bKl
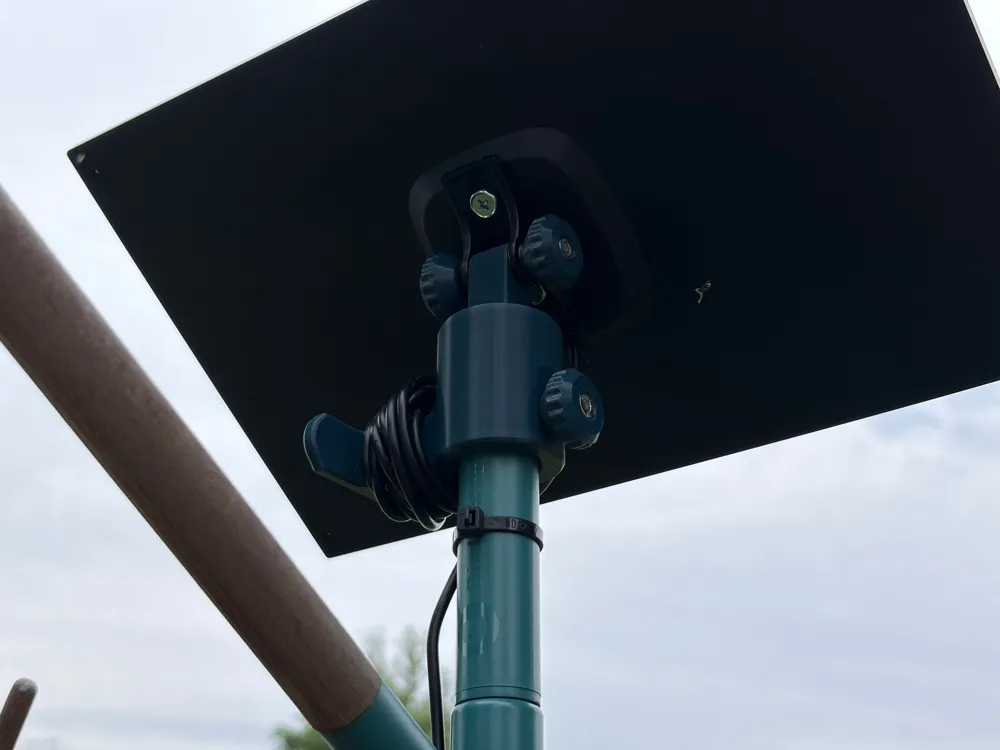
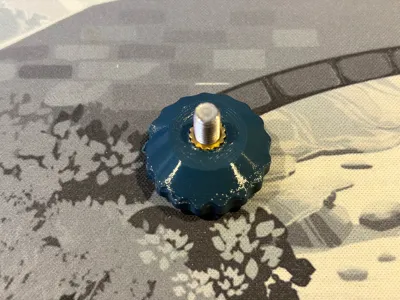
- M5 Short Heat-Set Inserts (3 for the Solar Panel Mount, 1 for the Birdbuddy pole mount, 4 for the thumscrews you'll use with M5 screws): https://a.co/d/0cBCrRXd
- M5 Assorted Screws (I like 16mm for the screws that hold the things in-place on the pole and 20mm for the solar panel mount): https://a.co/d/0bhSMHrs
- M4 Screws for the Base (If you have a Birdbuddy mount and the mounting screws, go ahead and reuse those if you like. https://a.co/d/0gmHGR2B
- Solar Panel: https://a.co/d/086b51tk
- You'll also need a way to melt in the heat-set inserts. Typically this means a soldering iron.
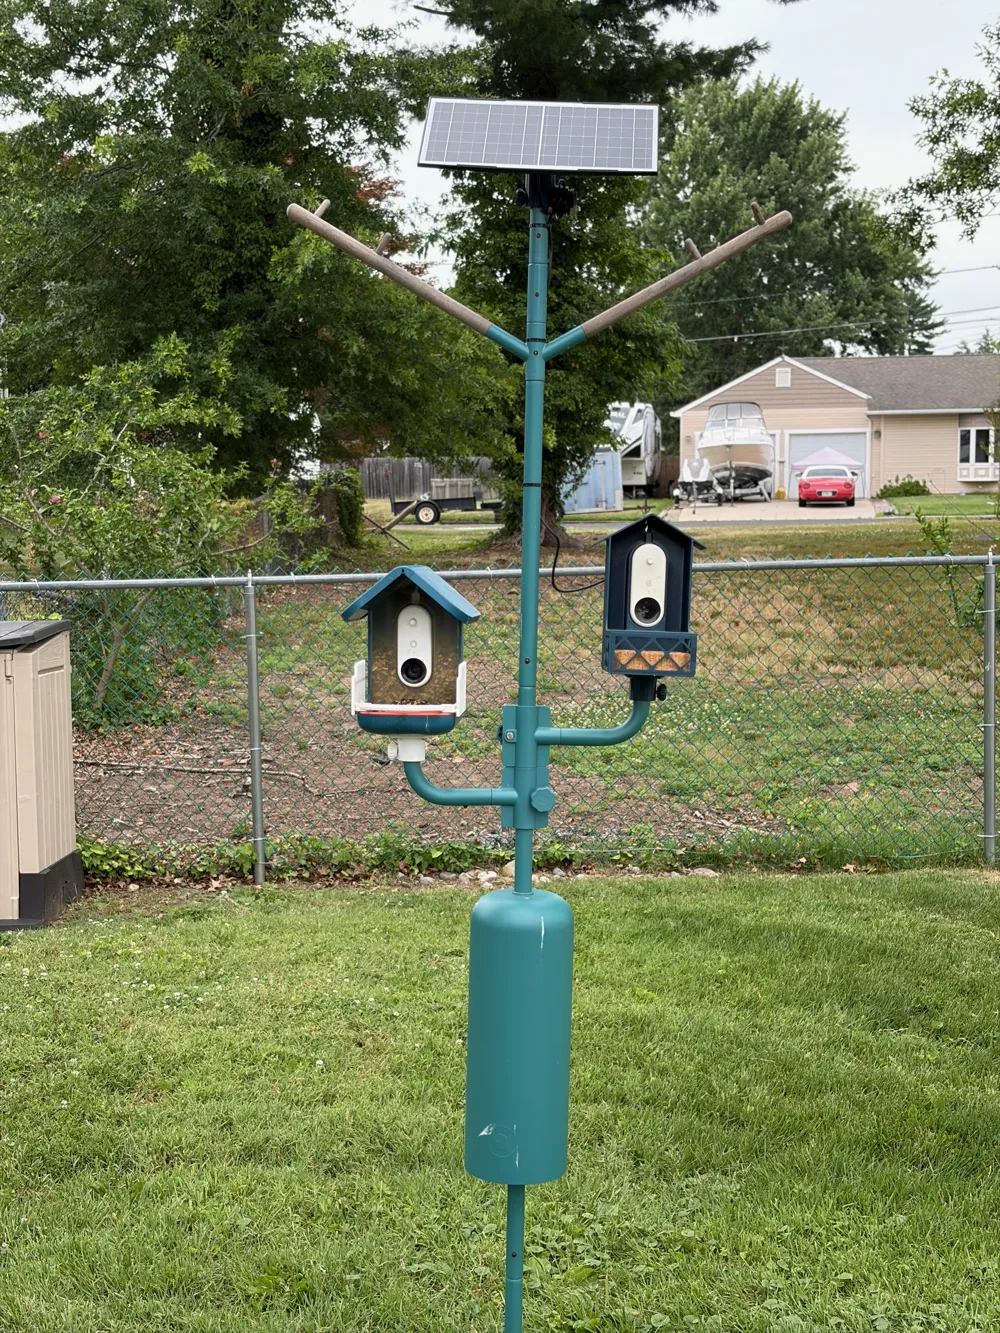
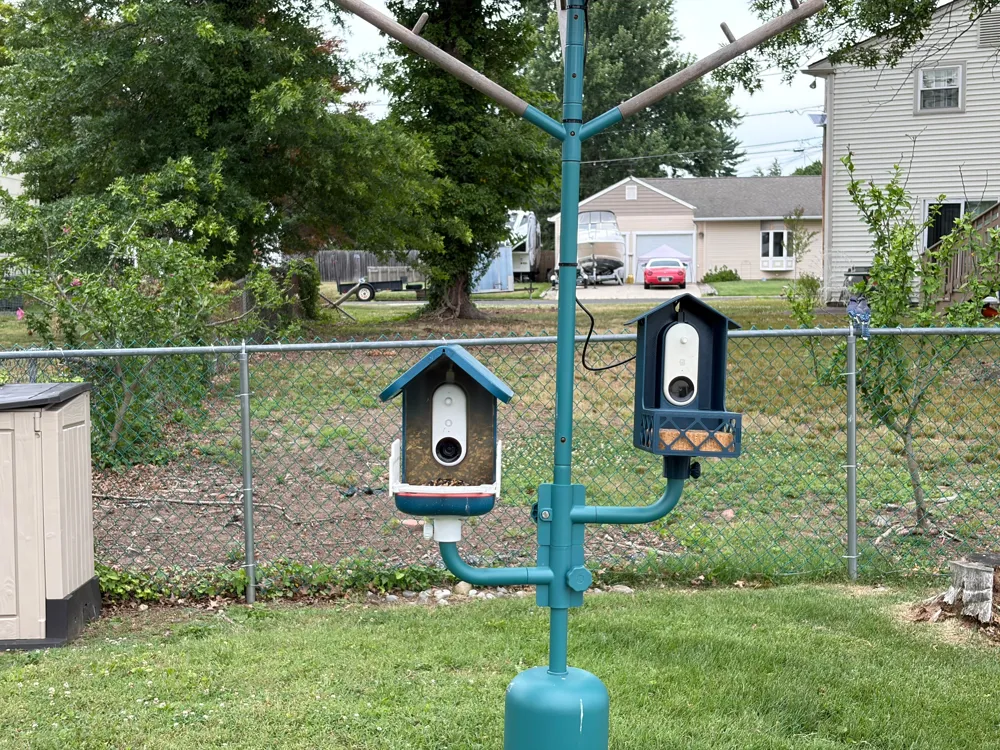
Assembly questions? Check out the pics! Very straight-forward.
Boost Me (for free)
Thank you all for your kindness, Likes, Downloads, Makes, and Boosts. Your likes, makes, boosts, and downloads help fund my supply of filaments, parts that gets used in prints, as well as consumables and various spare parts. Thank you so much for your support!
Membership
If you'd care to offer some additional support, please consider becoming a member at the Tip Jar (or higher) level. Thank you! If you’re interested in a commercial license to sell my prints, please have a look at the commercial plan offered here.
License

You may create derivative works based on this object, provided that all such derivative works are published exclusively on the MakerWorld platform and include proper attribution to the original creator. You may not share, upload, host, distribute, or publish this object—or any derivative work of this object—on any other digital platform, marketplace, or distribution channel. Commercial use of this object and any derivative works is strictly prohibited. This includes, but is not limited to, selling, renting, sublicensing, or using the object in any context in which you receive monetary compensation or other financial benefits.


Comment & Rating (0)