
Beginner Leather Wallet No Stitching Required
Print Profile(1)
Description
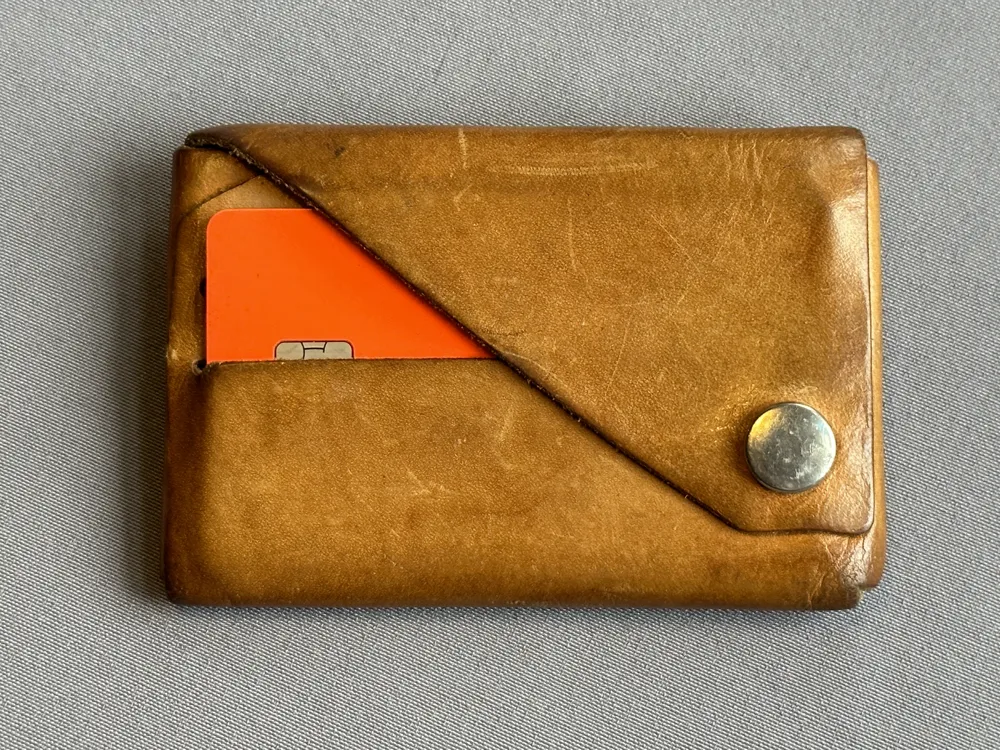
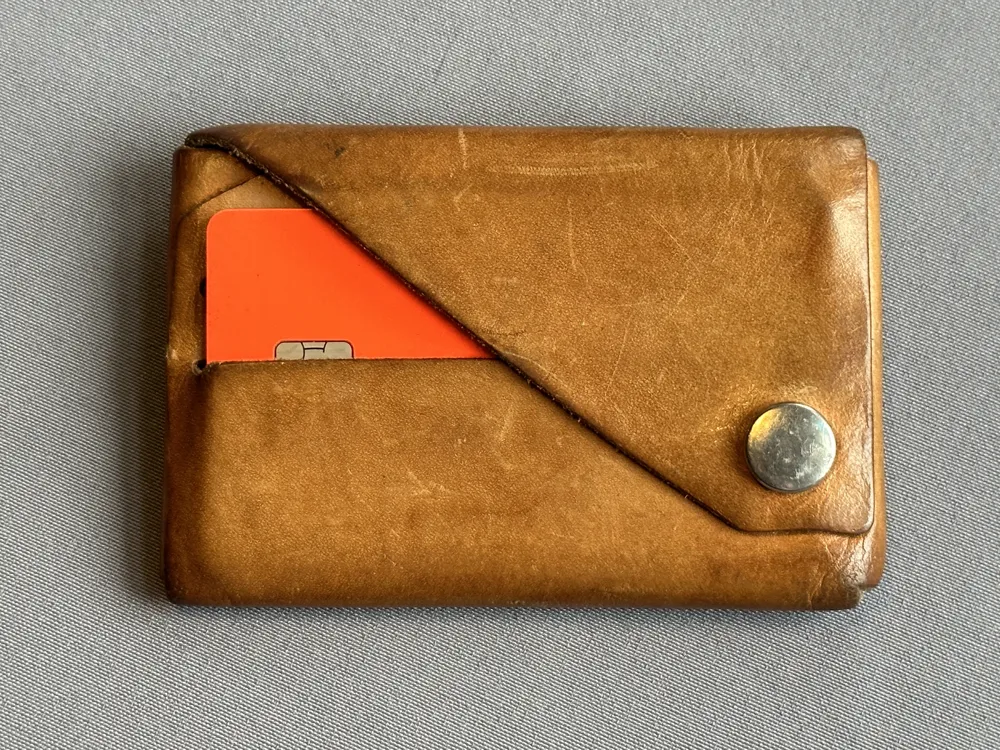
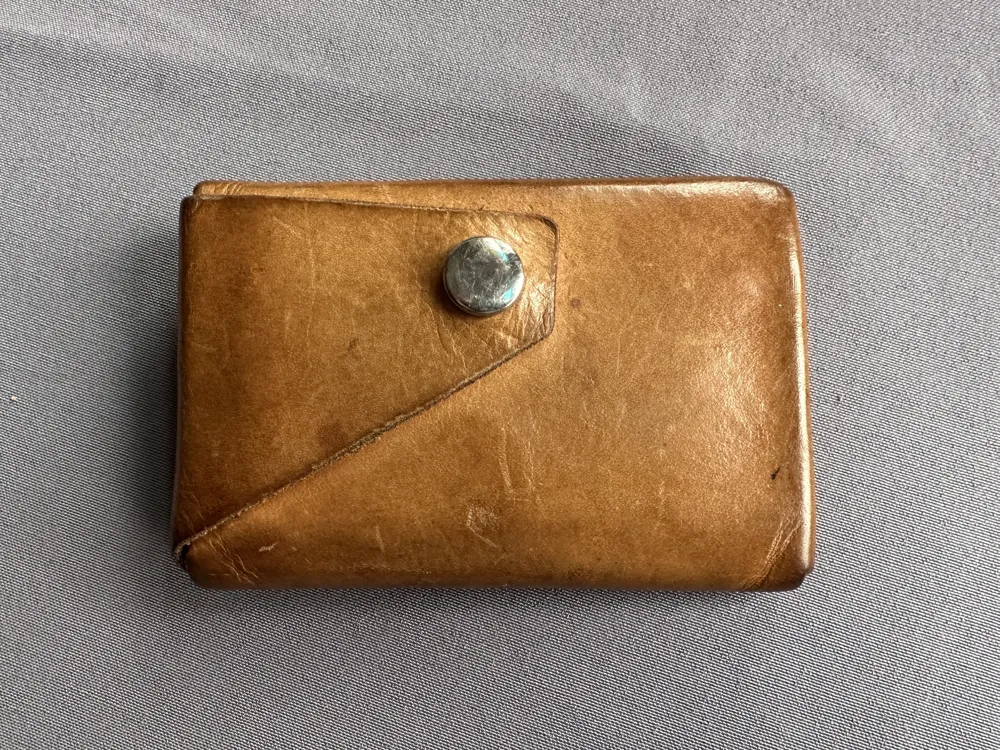
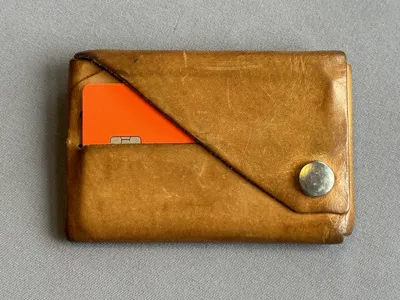
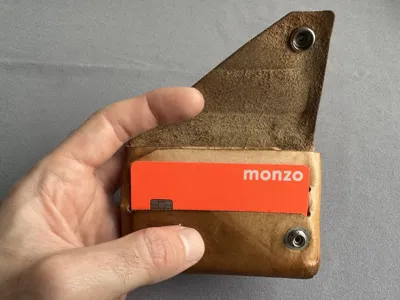
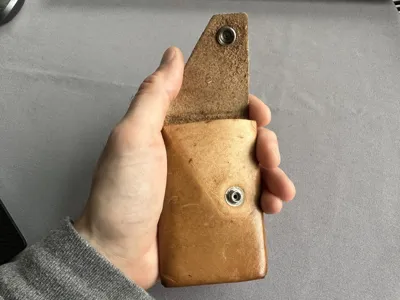
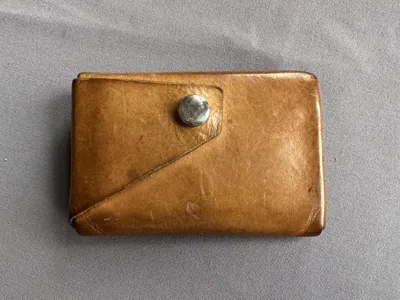
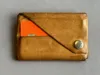
A simple leather wallet with no stitching and no gluing — a perfect first leatherwork project.
A friend of mine owned this style of wallet, and because there's no sewing or glue involved, it was simple enough to attempt as my very first leatherwork project. Years later I still carry mine every day, and I'd recommend making one yourself rather than buying one.
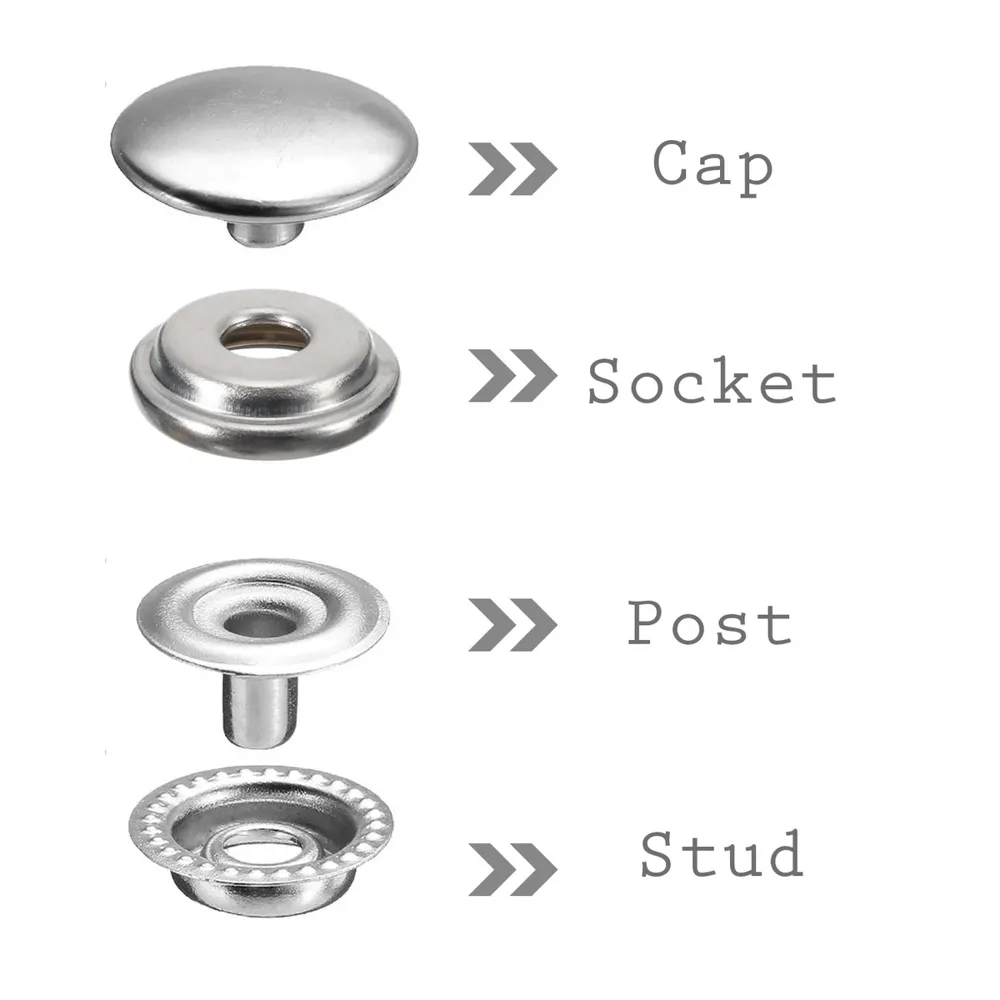
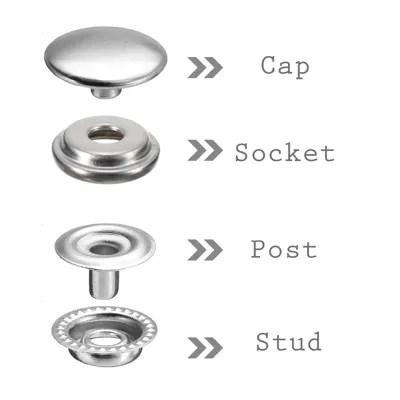
This stencil takes the guesswork out of the build. Print it, mark your hole and slot positions, cut, punch, and add the snap hardware. The labels printed on both faces tell you exactly which fastener part goes where.
Two ways to make it
- 3D printed stencil (3MF/STEP) — Print the stencil, place it on your leather, mark the holes and outline, then cut and punch by hand.
- Laser-cut (DXF) — Skip the marking and cut the leather outline, slots and holes directly.
After the leather is prepared, both methods finish the same way by installing the snap fasteners.
Materials
- 1.2–1.6mm Natural Veg Tan Cowhide works well. It can be dyed if you'd like to experiment with colour, and it ages beautifully as you handle it.
Hardware & tools
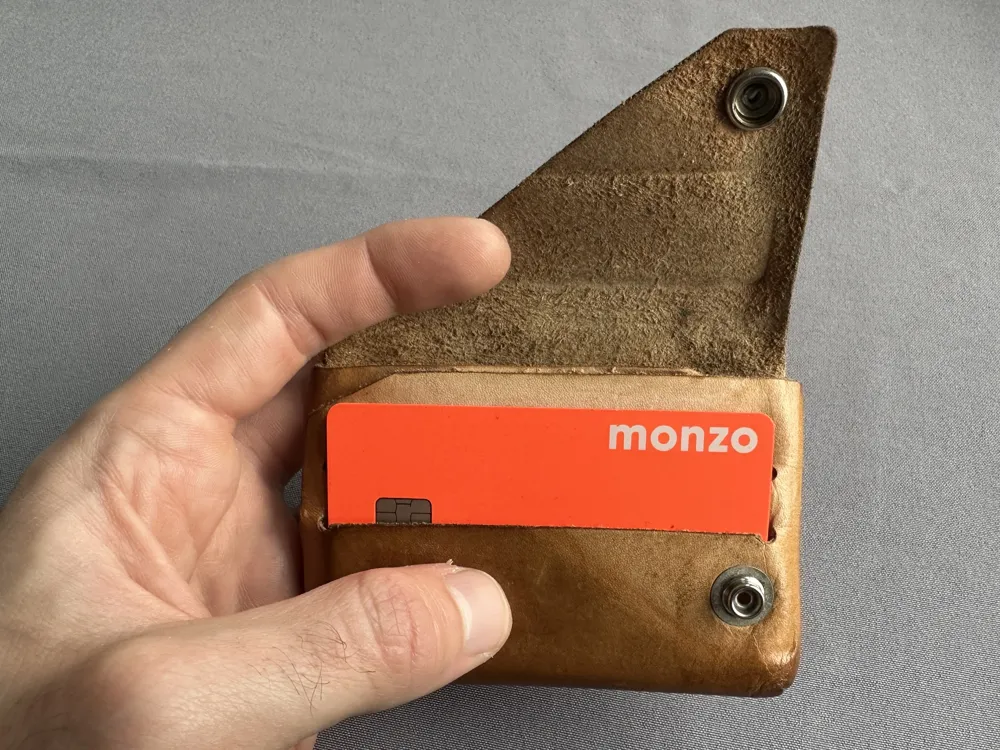
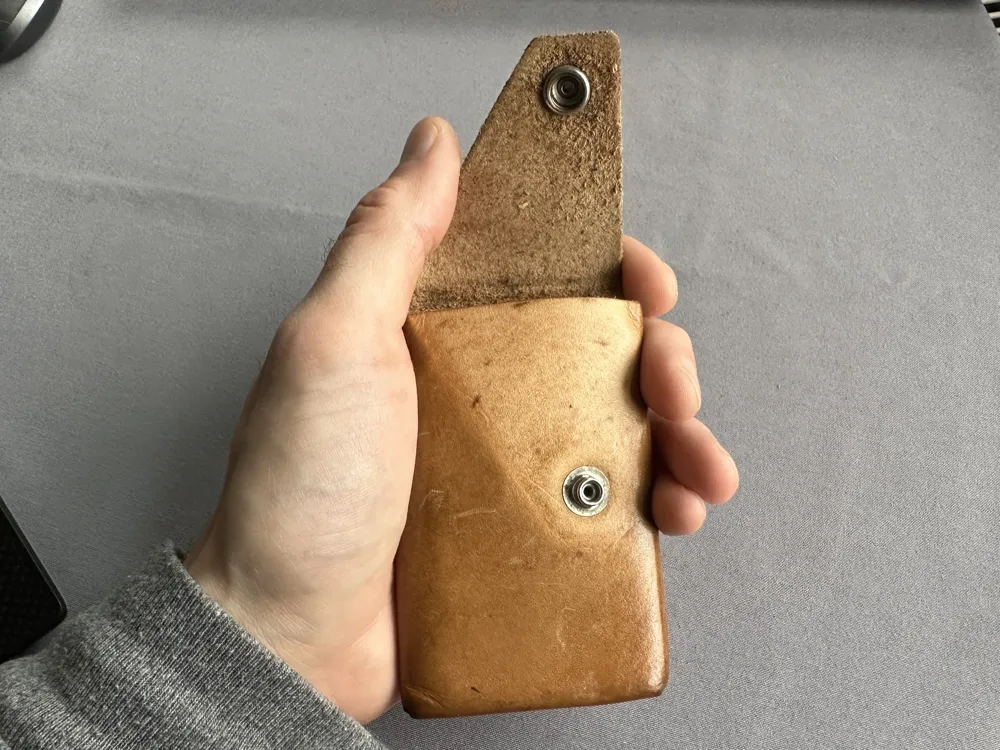
- Spring-button snap fasteners — 12.5mm caps/sockets and posts/studs recommended. Most fastener sets include the tools needed to set them.
- Hammer
- A scalpel or sharp knife, a ruler, and a hole punch set (inexpensive sets are easy to find on Amazon or eBay).
- The stencil labels each position: Cap pairs with Socket, Post pairs with Stud — check both sides of the template so each part lands on the correct face of the leather.
Steps
- Place the stencil on the leather, shiny side up (it's designed to sit on the rough side so any pen/pencil marks stay hidden).
- Cut around the template with a scalpel/knife — or laser cut everything from the DXF.
- Cut the card slots between the marked holes, using a ruler for a clean line.
- Punch the fastener holes and install the snap studs where labelled.
Note: holes may need to be slightly larger depending on your specific hardware.
Tips
- The DXF includes an inner bounding box for scaling — it should measure 400 × 280mm. Use it to confirm the file imported at the correct size.
- Decide which way you want to flip the stencil and which side of the leather you cut before you start.
- Want it to hold more cards? You can tweak the snap fastener hole positions to suit.
- Make a cardboard or paper version first to test the size and fit.
Inspiration
License

You shall not share, sub-license, sell, rent, host, transfer, or distribute in any way the digital or 3D printed versions of this object, nor any other derivative work of this object in its digital or physical format (including - but not limited to - remixes of this object, and hosting on other digital platforms). The objects may not be used without permission in any way whatsoever in which you charge money, or collect fees.


Comment & Rating (0)